一、环境以及工具准备
软件:VMWare Workstation 2016
( 下载链接:https://pan.baidu.com/s/1iX1VRilerYPGbGvX4pvaKw 提取码:75R6 )
镜像:Windows Server 2016
( 下载地址: MSDN, 我告诉你 - 做一个安静的工具站 )
二、AD域服务器安装
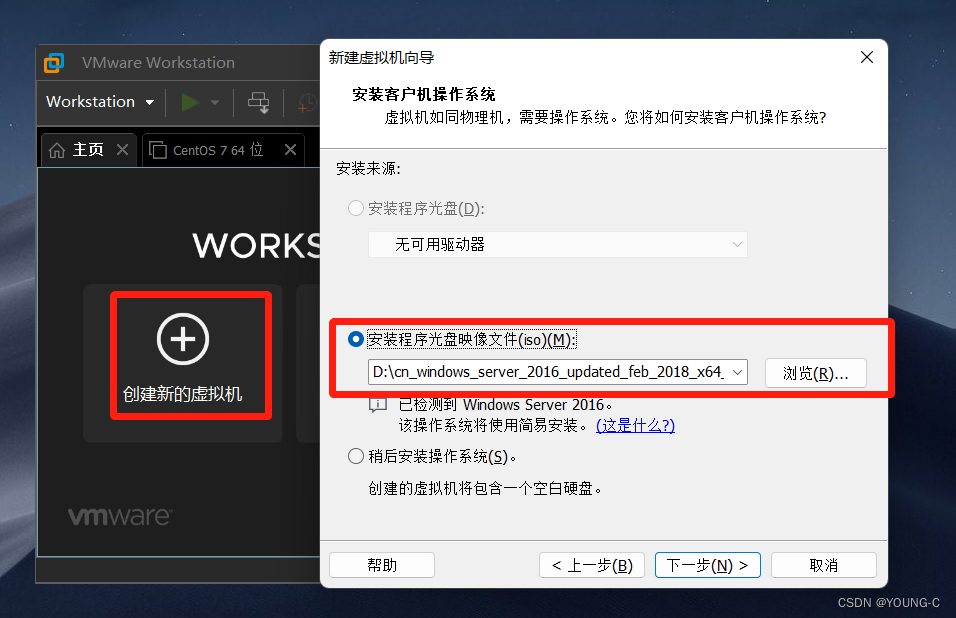 用VMware直接安装 Windows Server 2016镜像
(安装具体过程没什么注意点,省略)
IP地址固定、计算机名更改
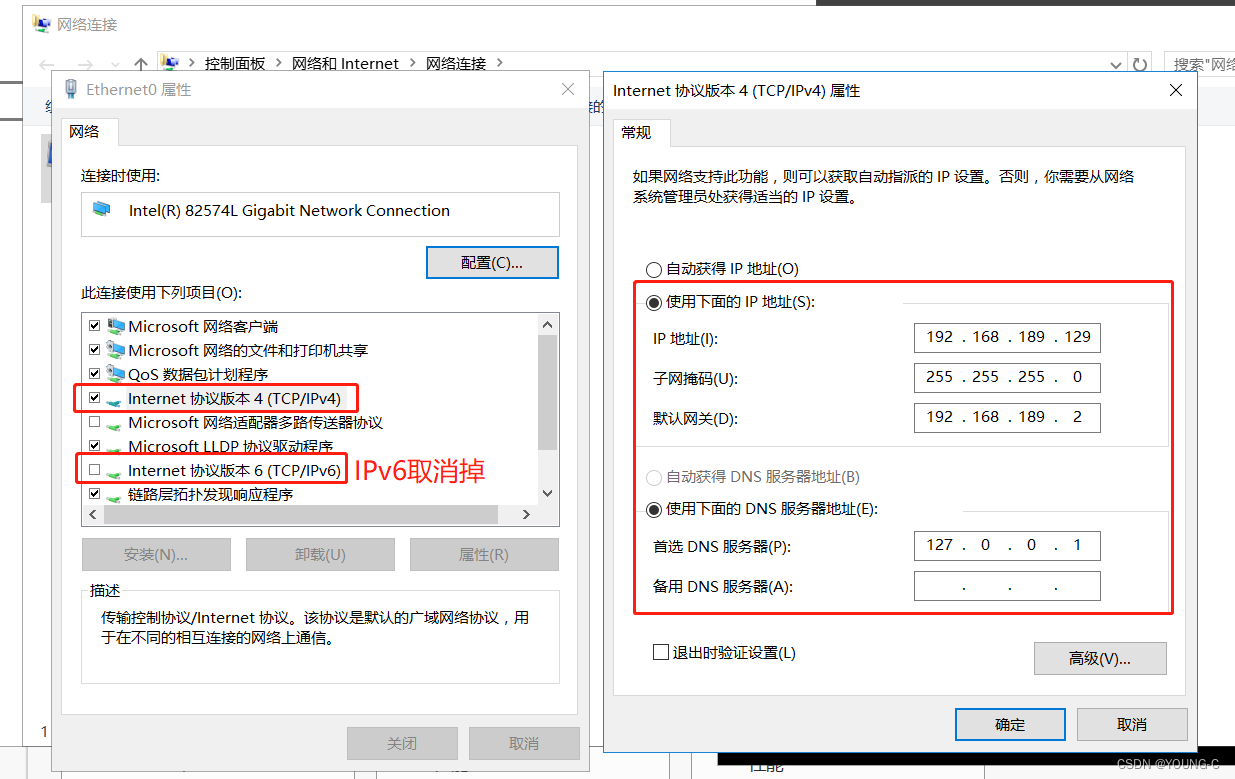 固定一个IP地址(最好把IPv6取消掉,可能影响到客户端加域)
 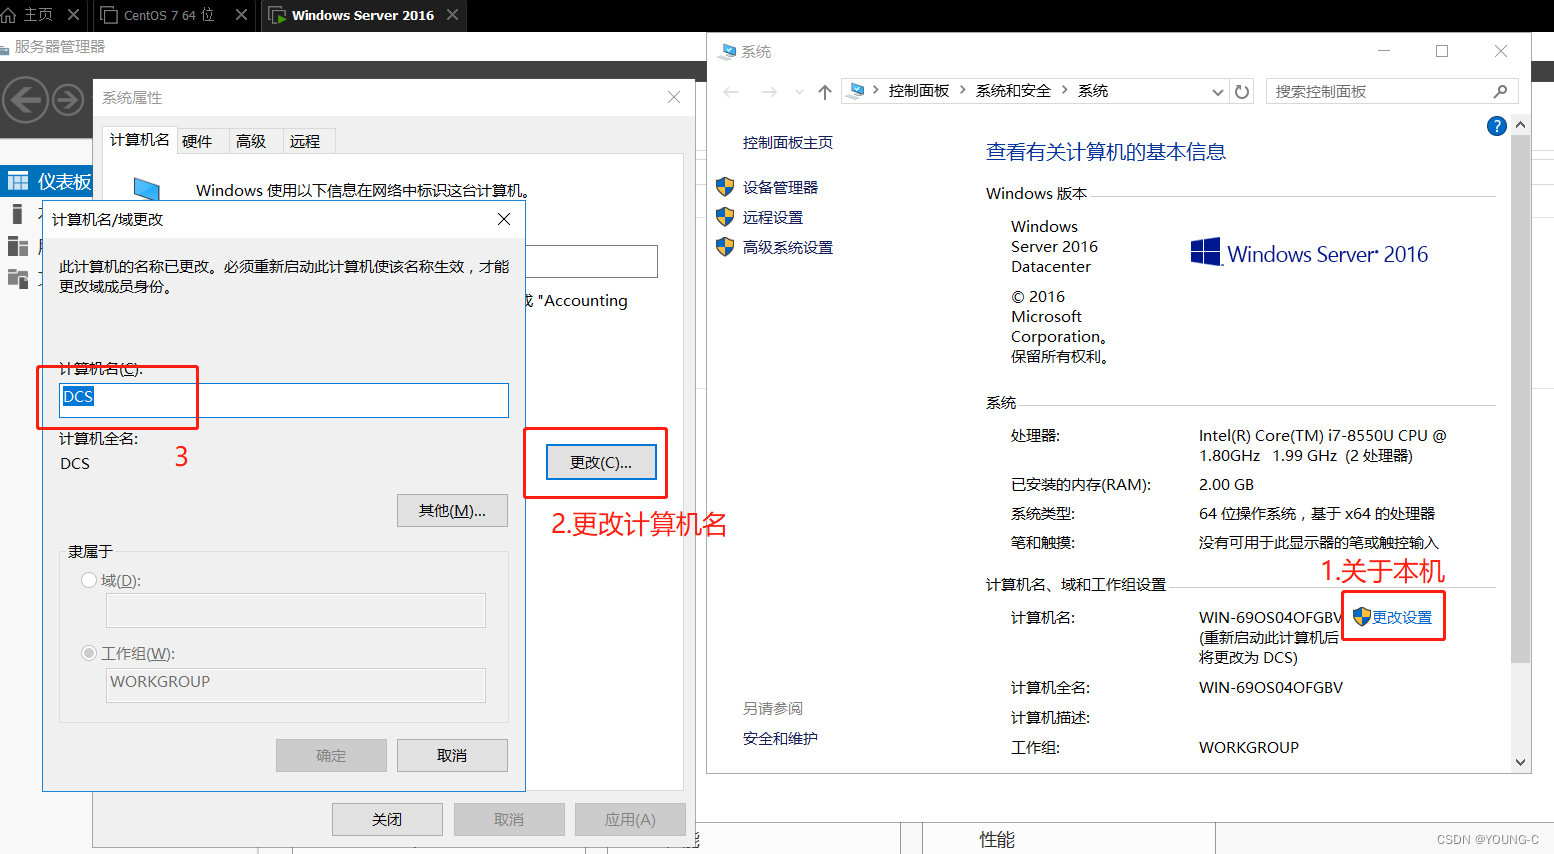 将服务器名更改未DCS(关于本机—更改设置—更改—确定—重启电脑)
 安装域服务
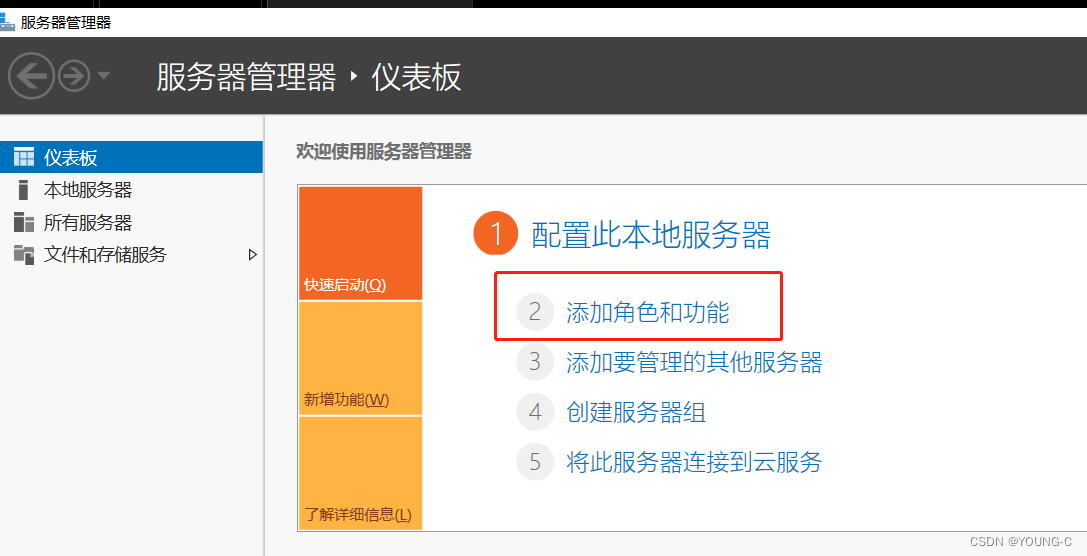 点击 “ 添加角色和功能 ”
 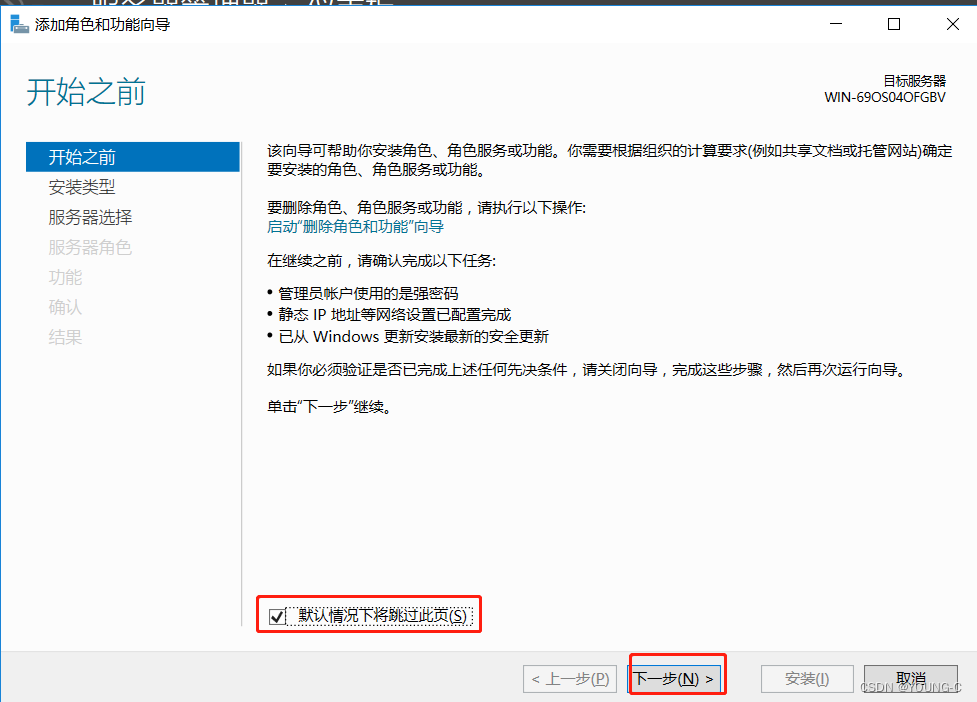 勾选默认情况下跳过此页,然后下一步
 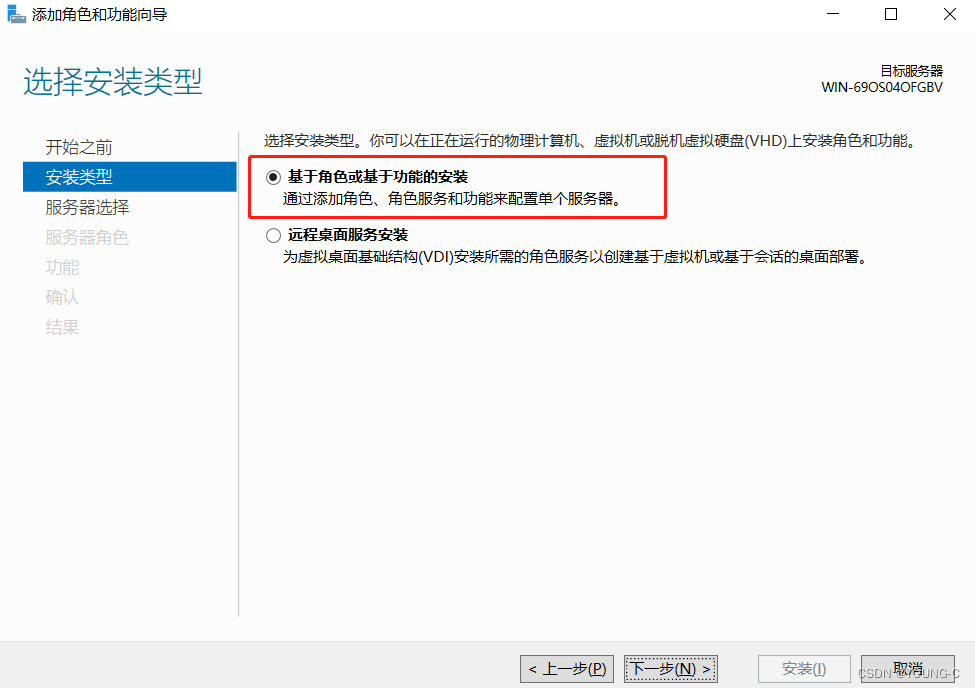 勾选基于角色或基于功能的安装,点击下一步
 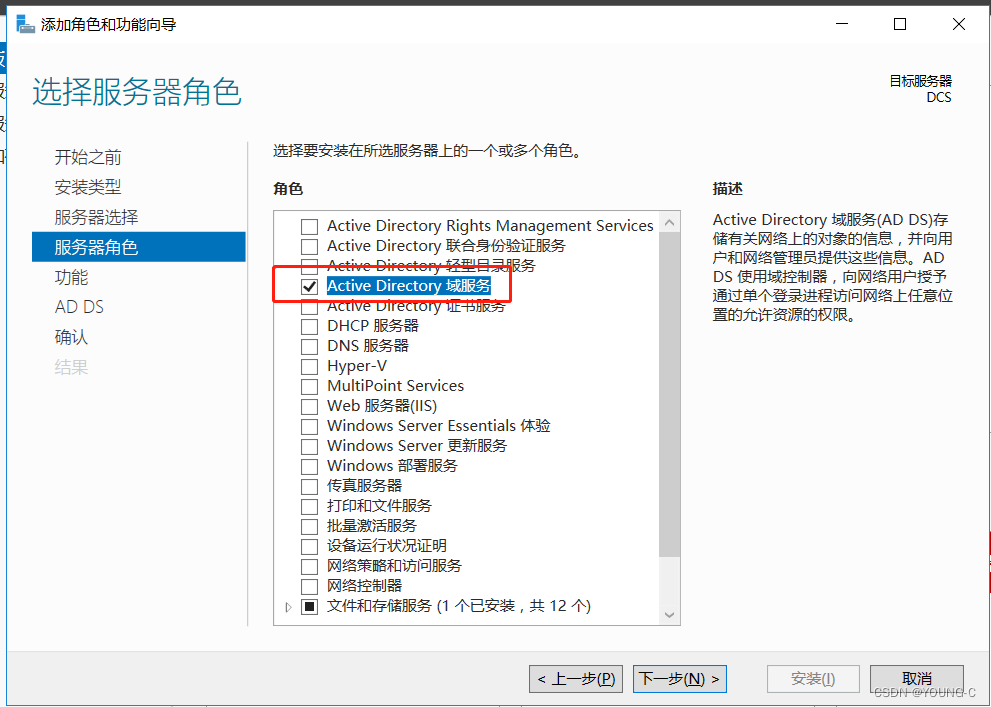 勾选 “ Active Directory 域服务 ” ,点击下一步
 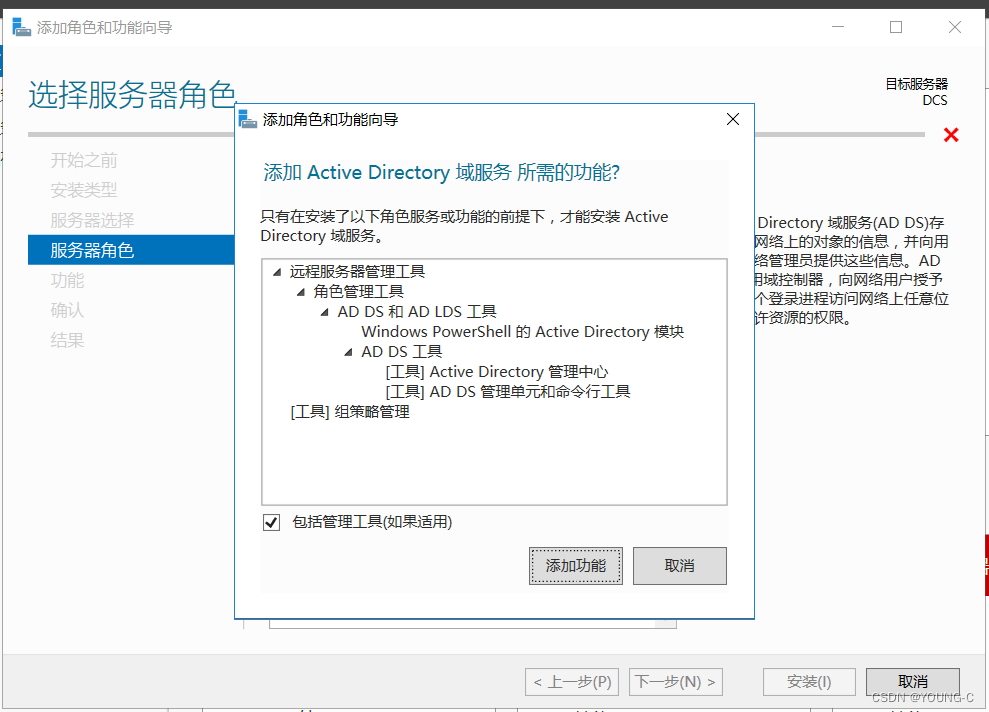 勾选 “ 包括管理工具 ” ,点击添加功能然后下一步
 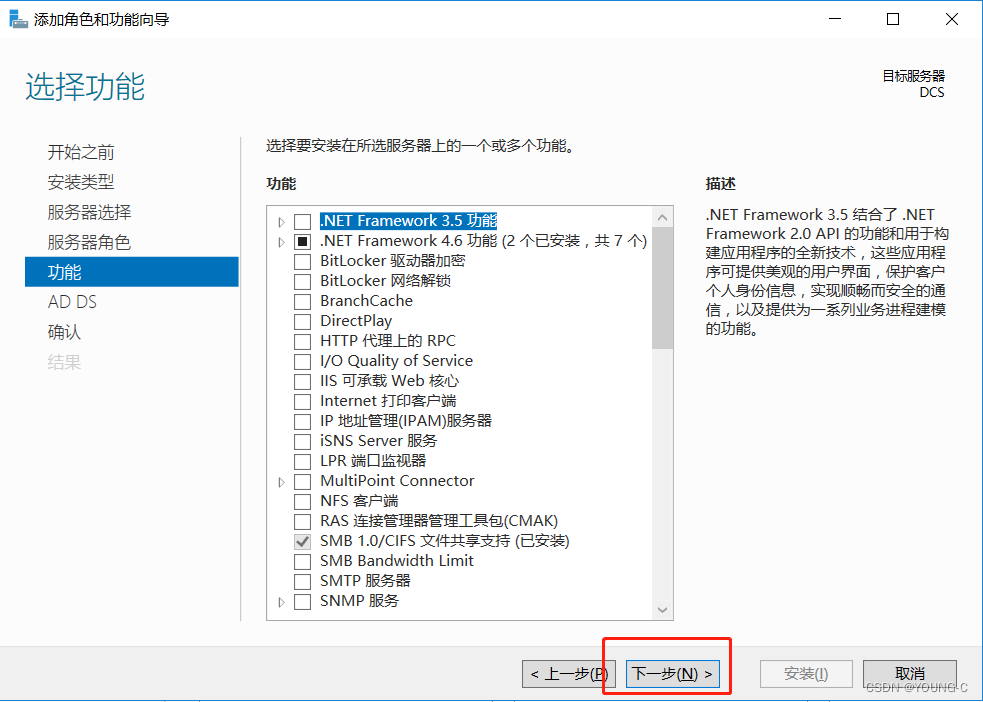 点击下一步
点击下一步 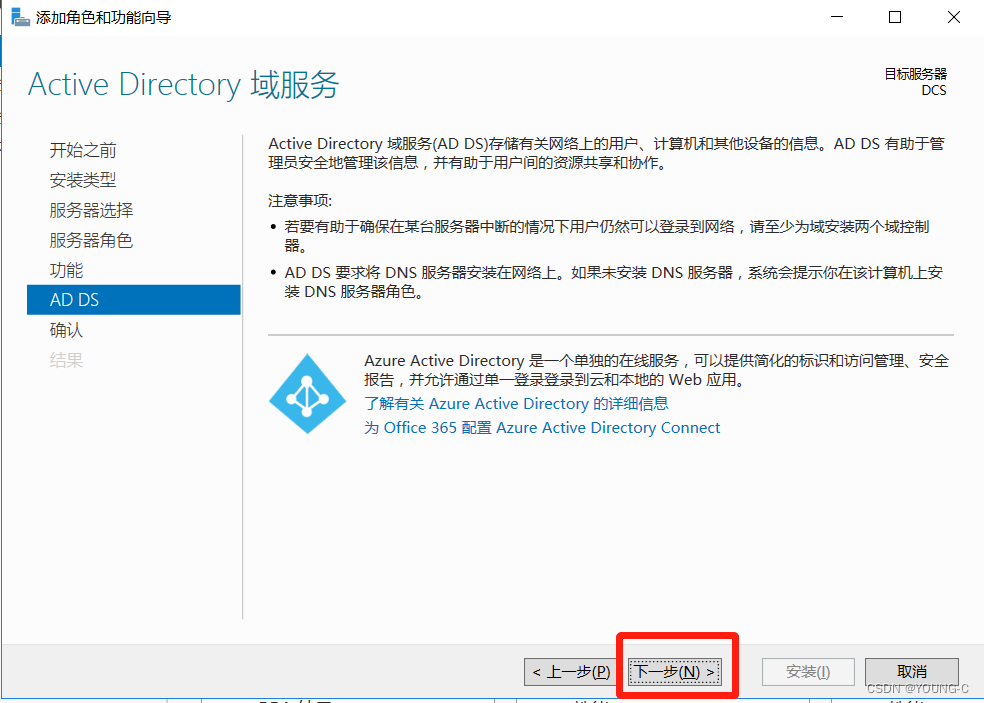 继续下一步
继续下一步 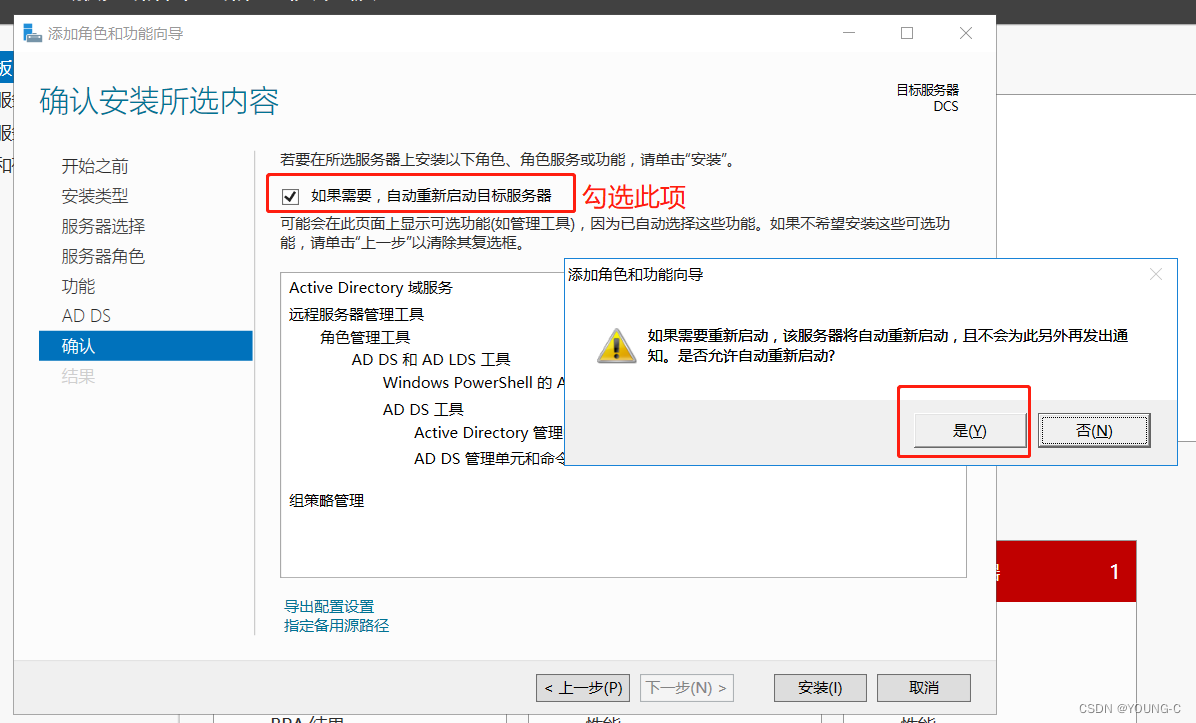 勾选“ 自动重新启动目标服务器 ” ,点击 “ 是 ” ,然后点击安装
 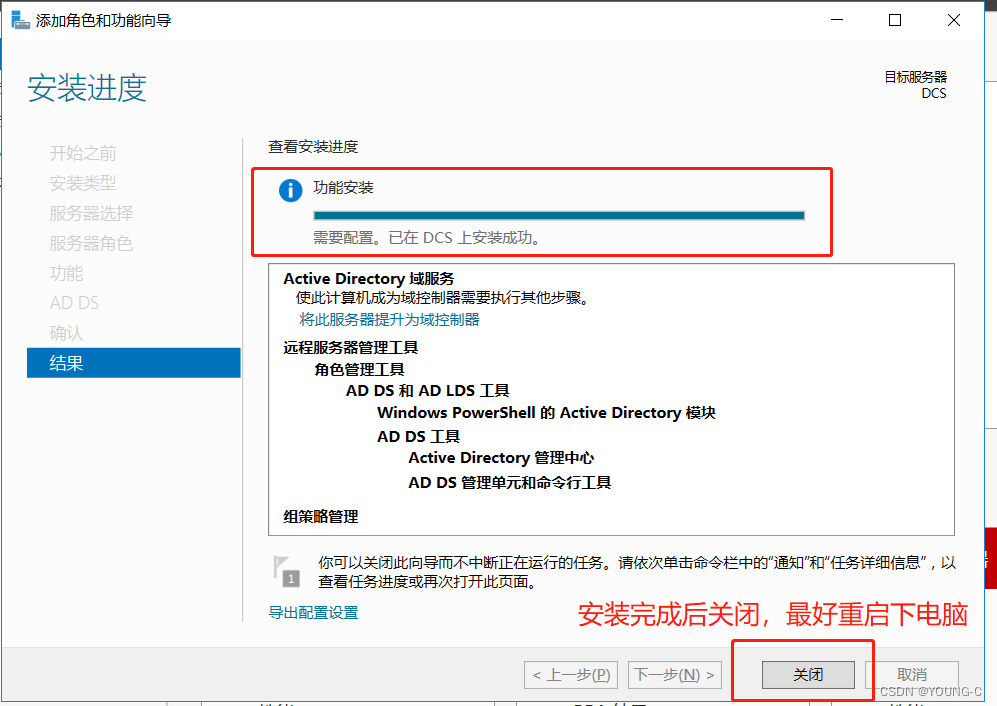 安装完成后点击关闭,最好重启一下电脑
 4.将服务器提升为域控制器
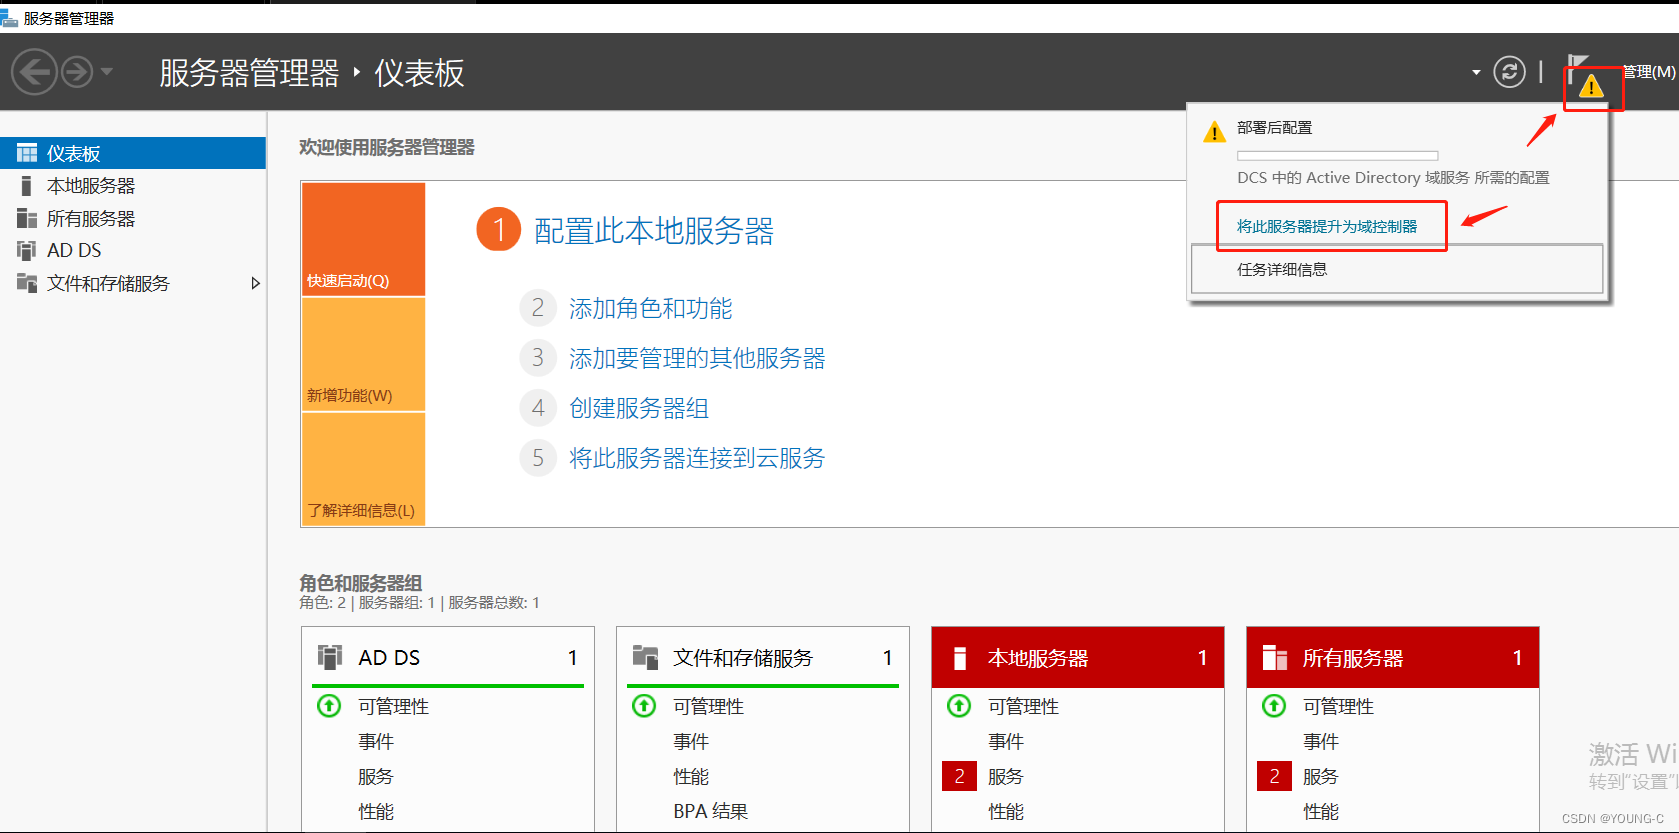 点击右上角感叹号,然后点击 “ 将此服务器提升为域服务器 ”
 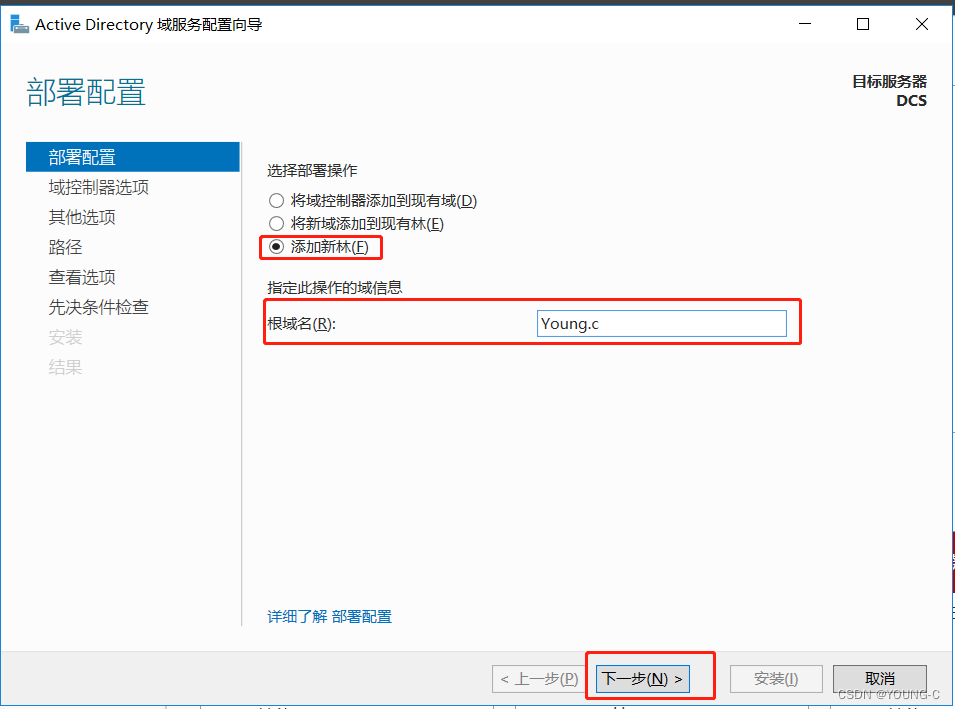 选择“ 添加新林 ” ,自定义根域名,然后下一步
 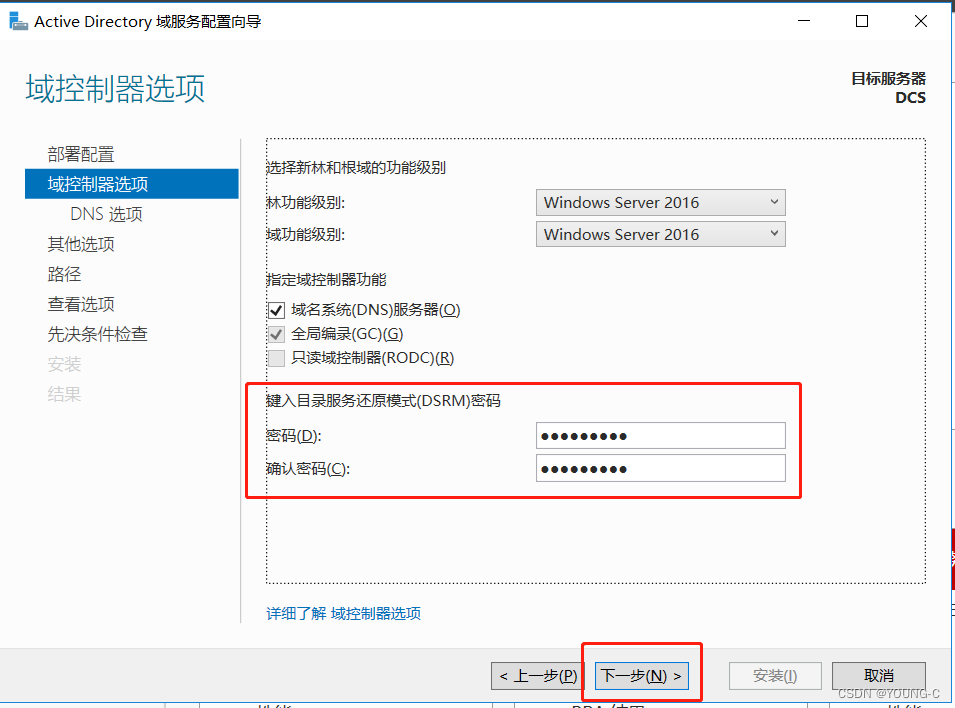 键入目录服务还原模式密码
 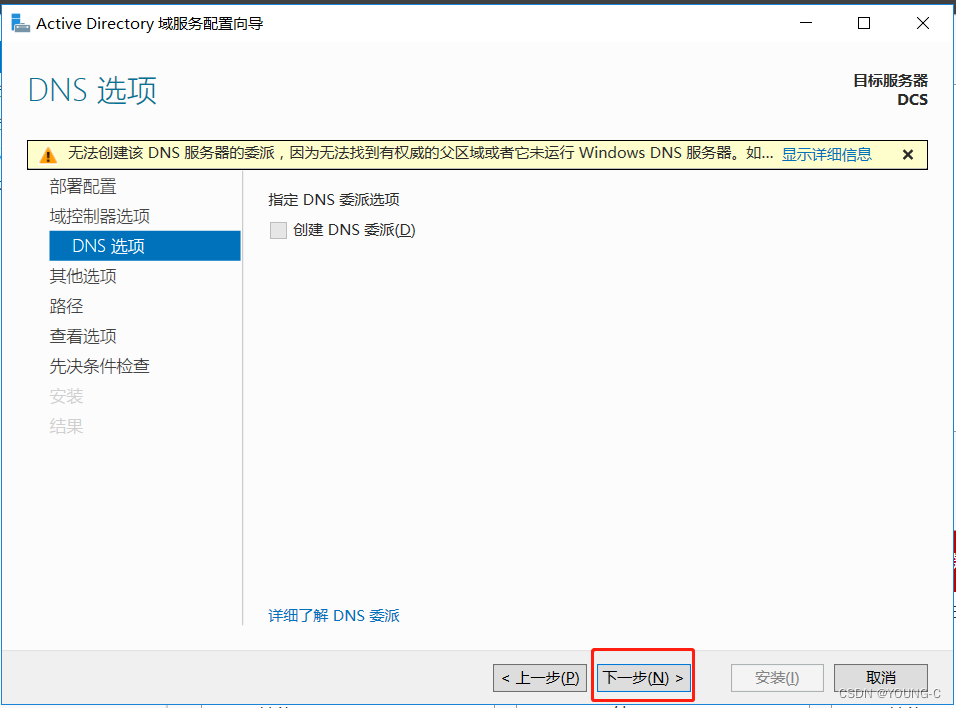 直接点击下一步(无视警告)
 继续下一步
继续下一步
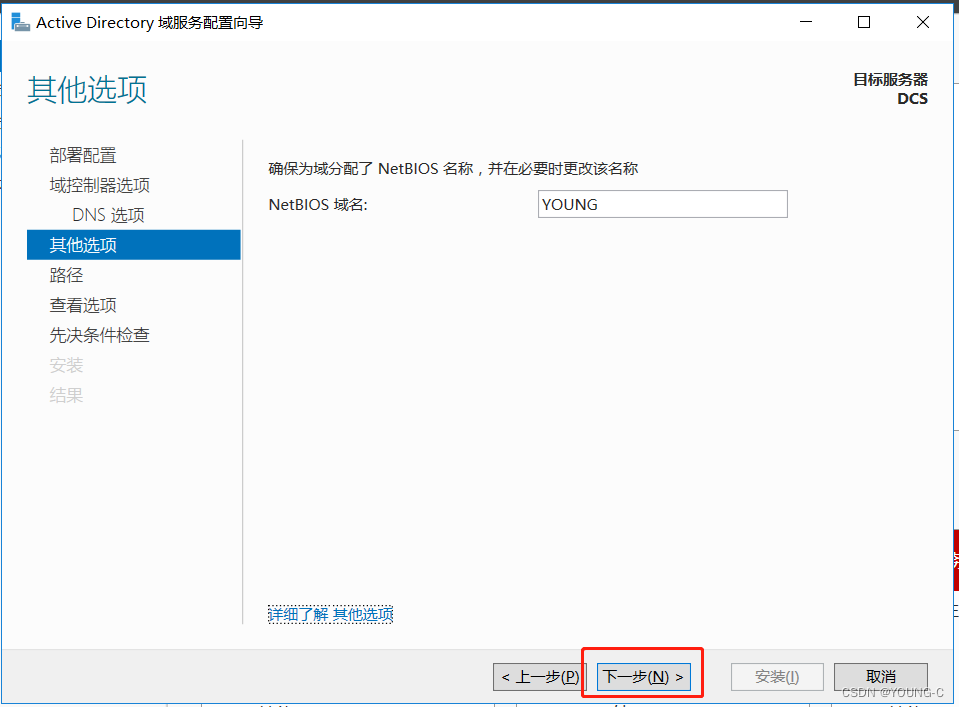
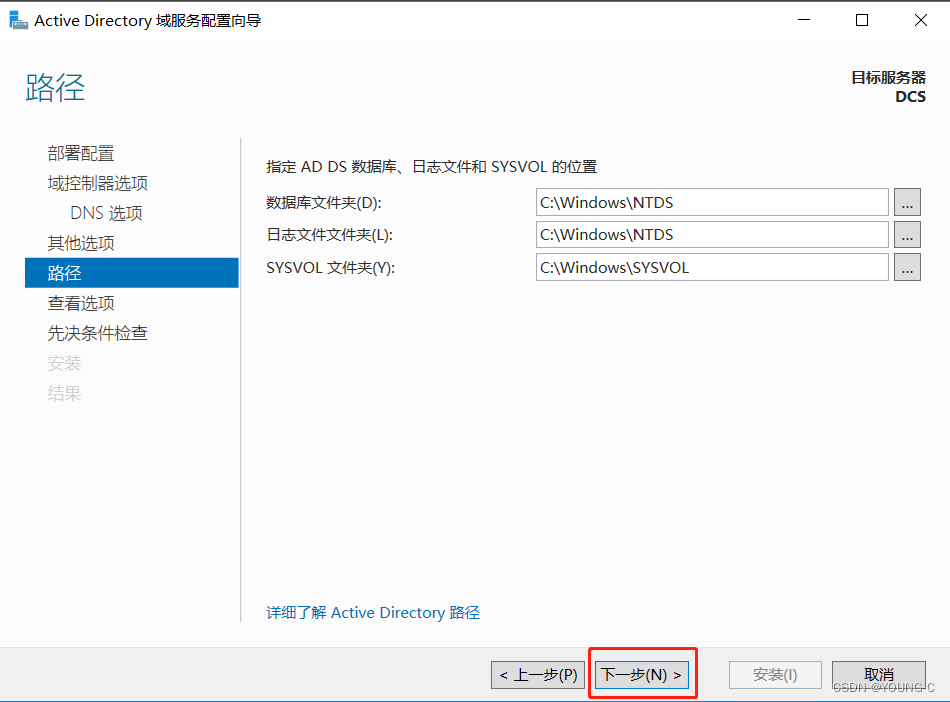 可更改数据库文件夹位置,可默认直接下一步
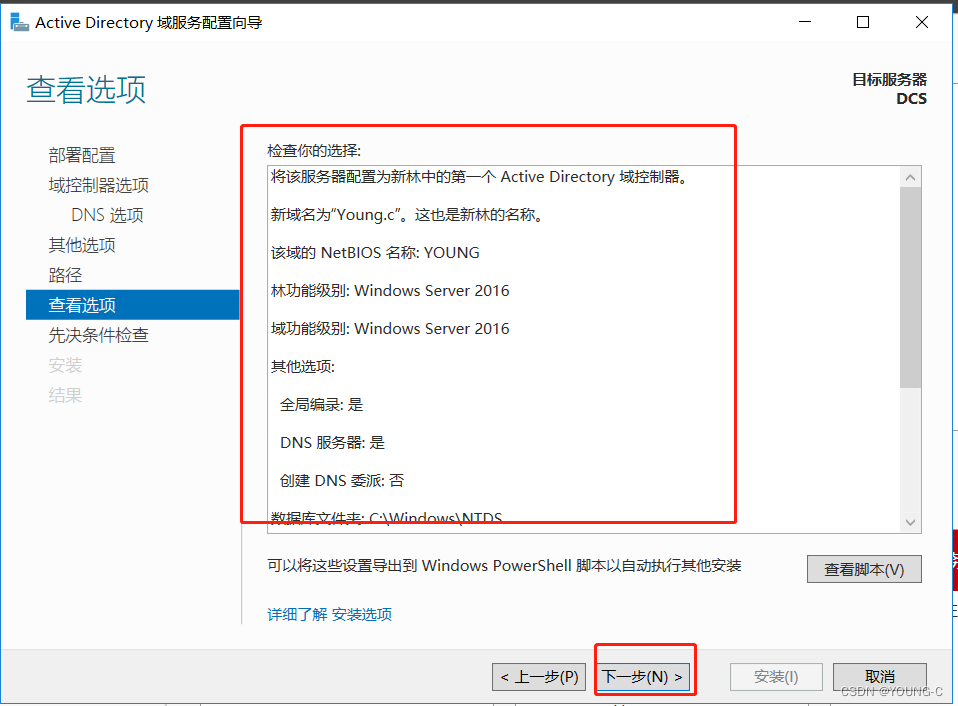 检查选项,然后下一步
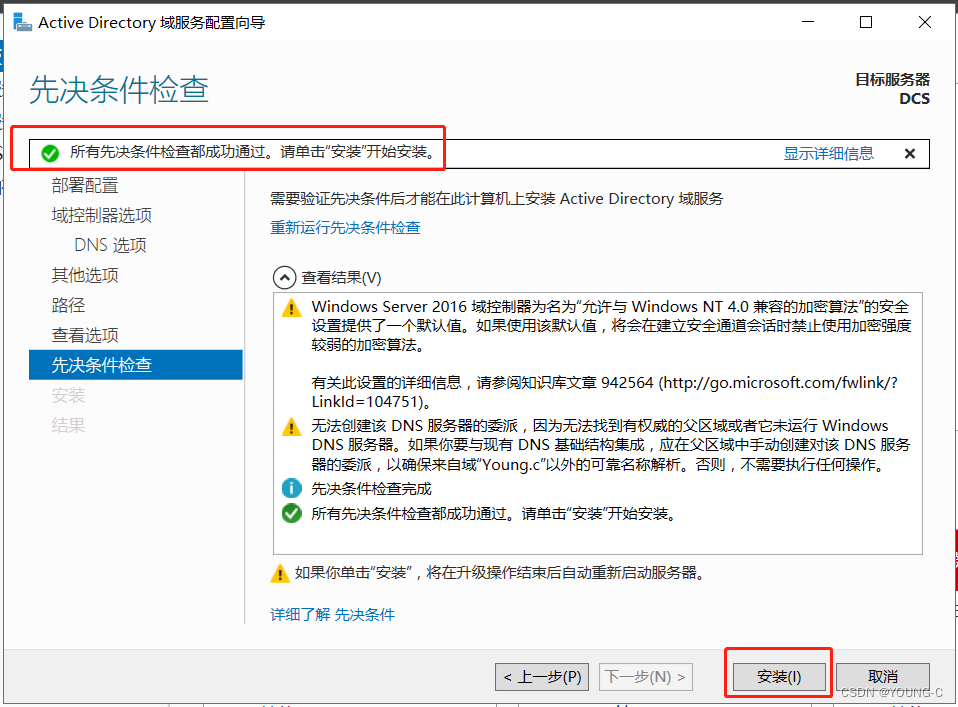 先决条件检查通过后直接点击安装,安装完毕会自动重启(先决条件警告可无视)
至此,域服务器安装配置完成!
三、创建部门和用户
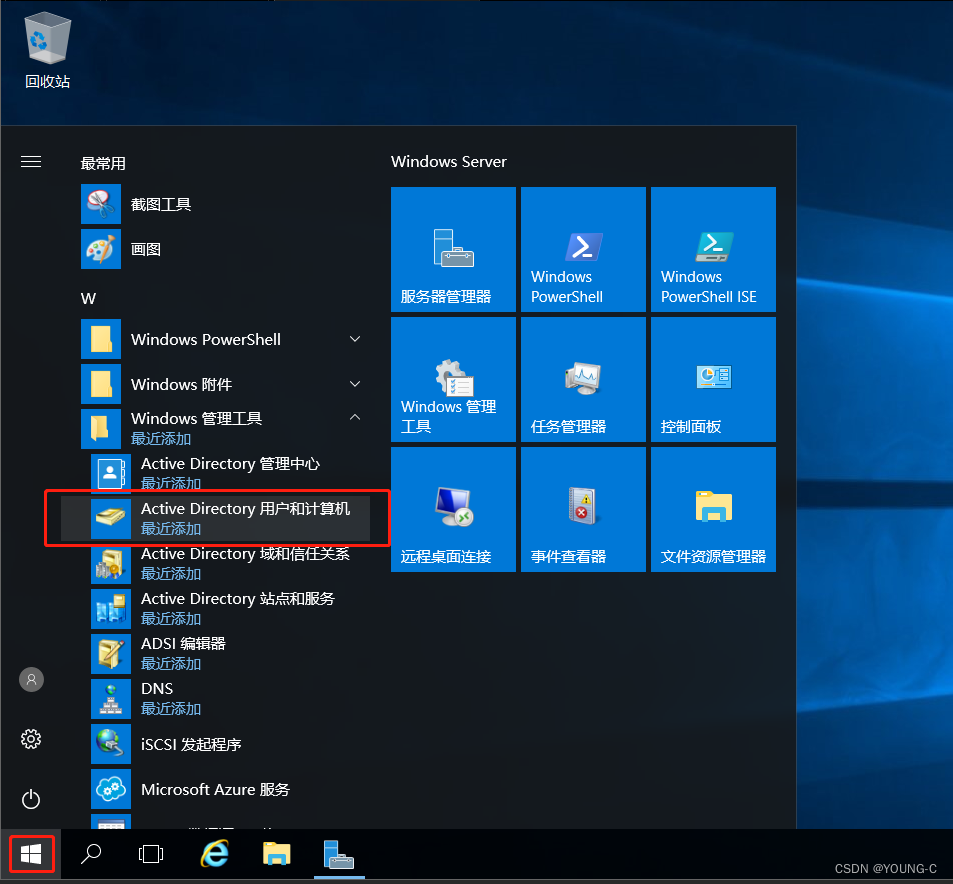 打开AD用户和计算机
 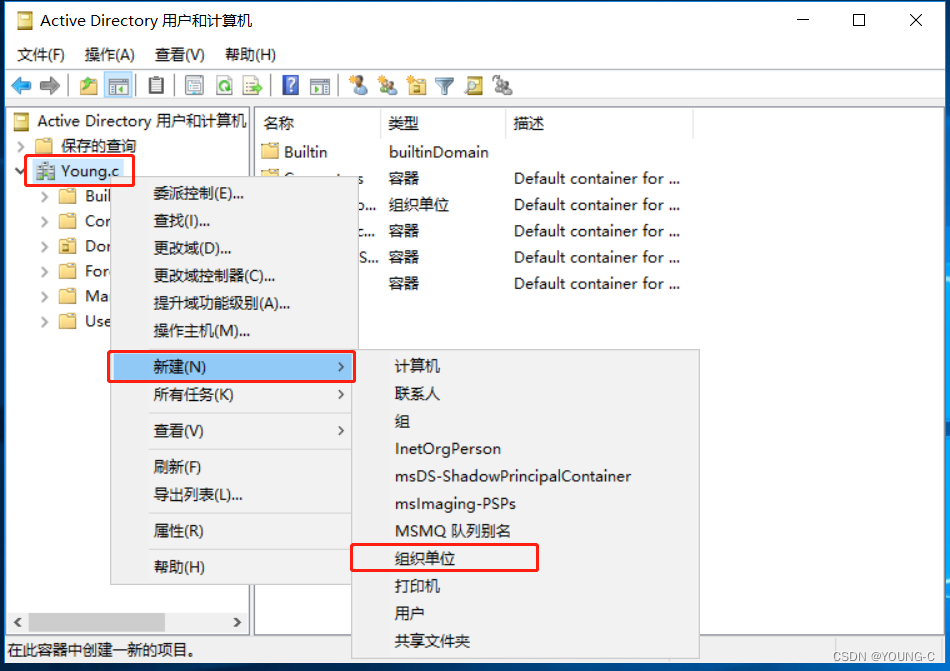 在根域名下添加组织单位
 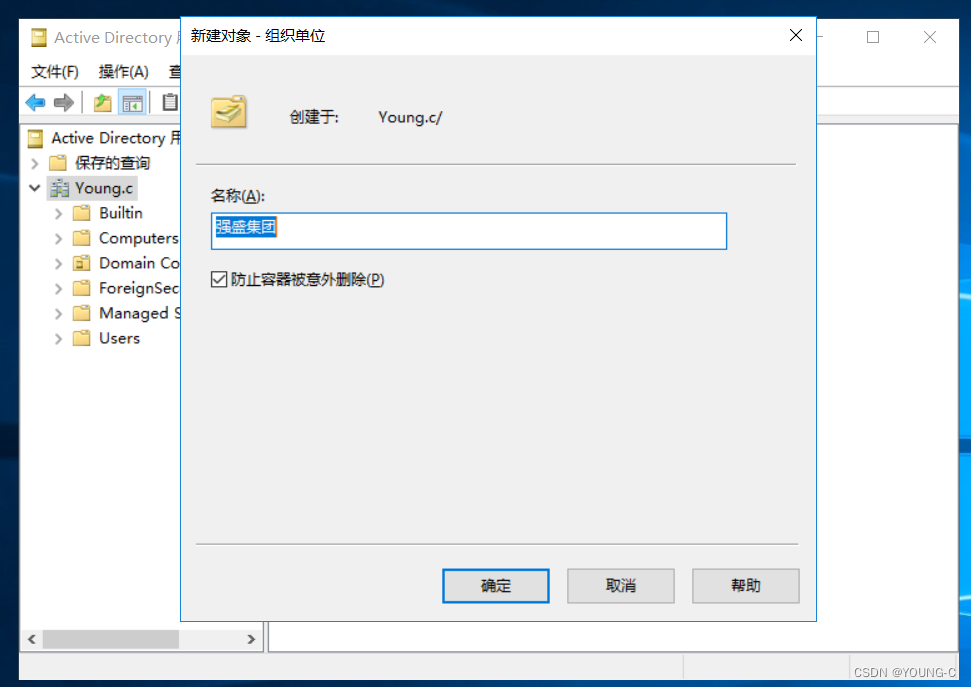 输入名称,即公司名称
 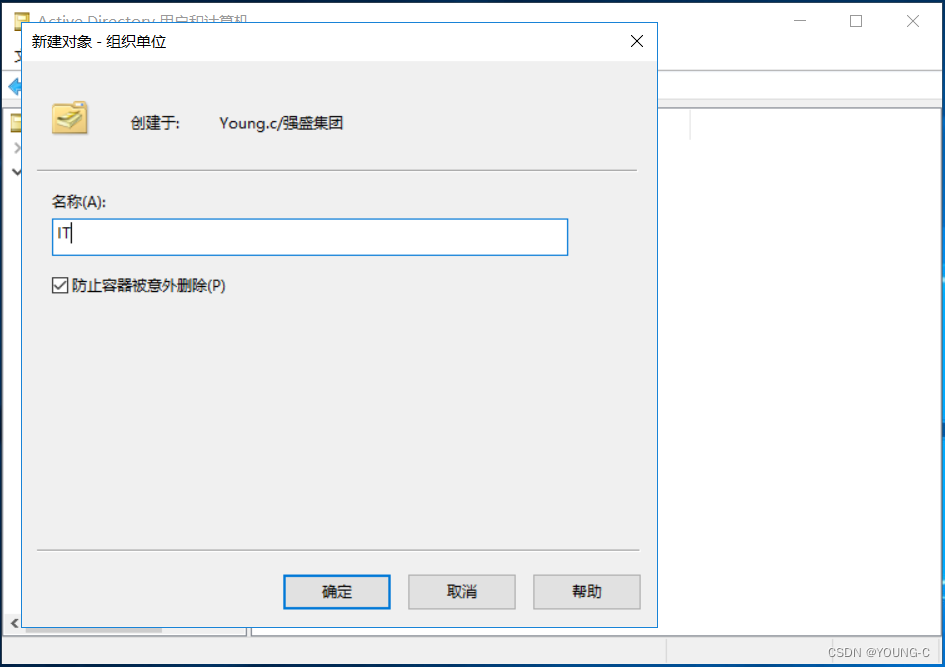 在公司名称下创建组织单位即部门名称
 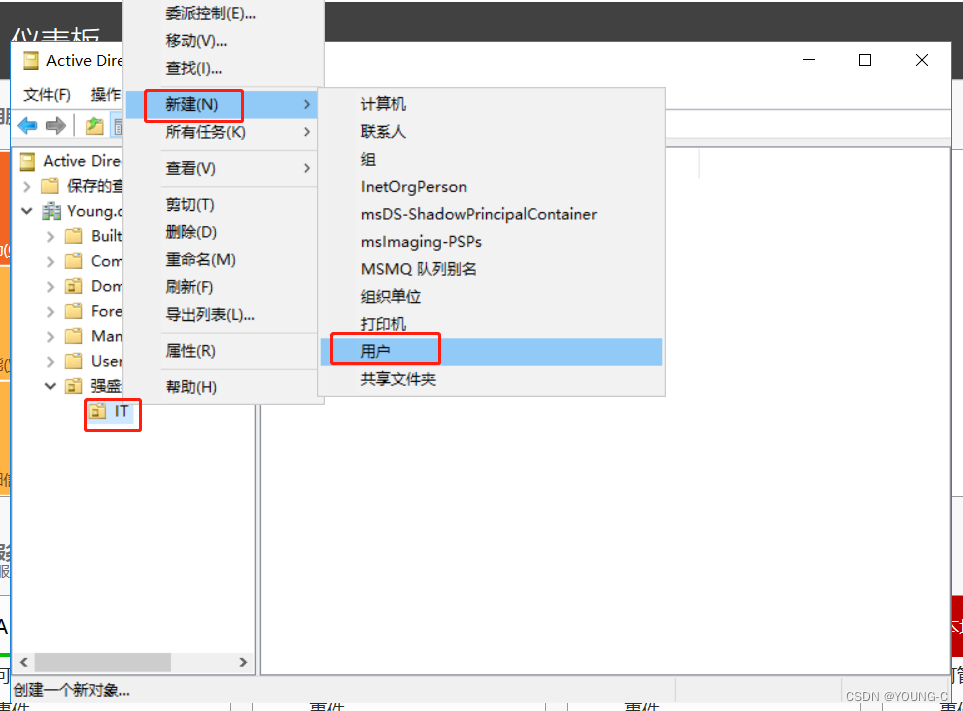 在部门下新建用户
 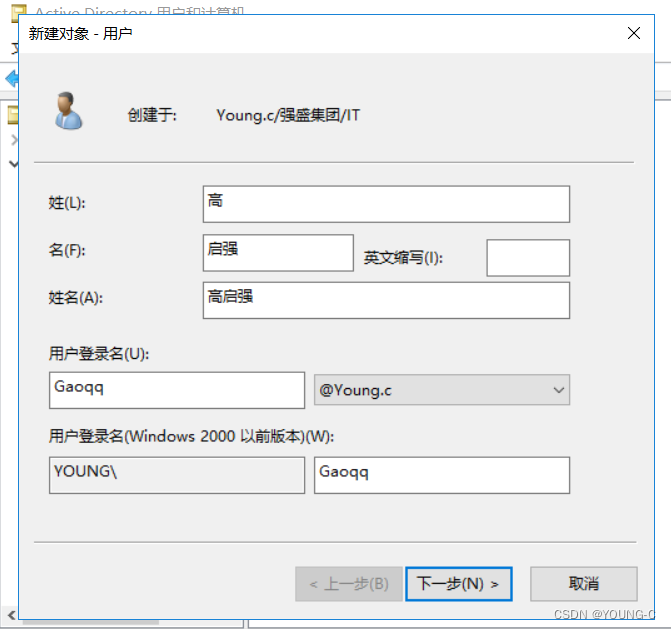 输入用户名称和用户登录名后点击下一步
 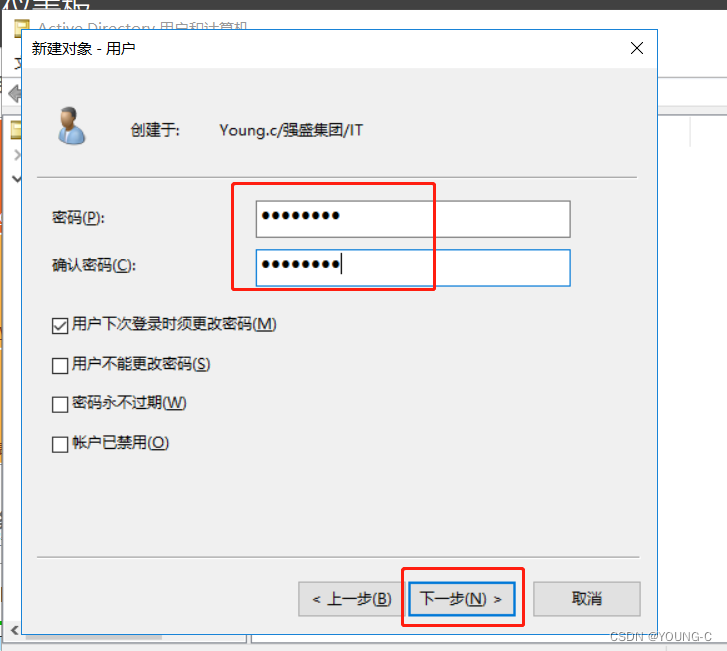 输入用户密码,点击下一步,新建用户完成
四、客户端加域
 ( 准备一台客户端,虚拟机安装win10测试即可 )
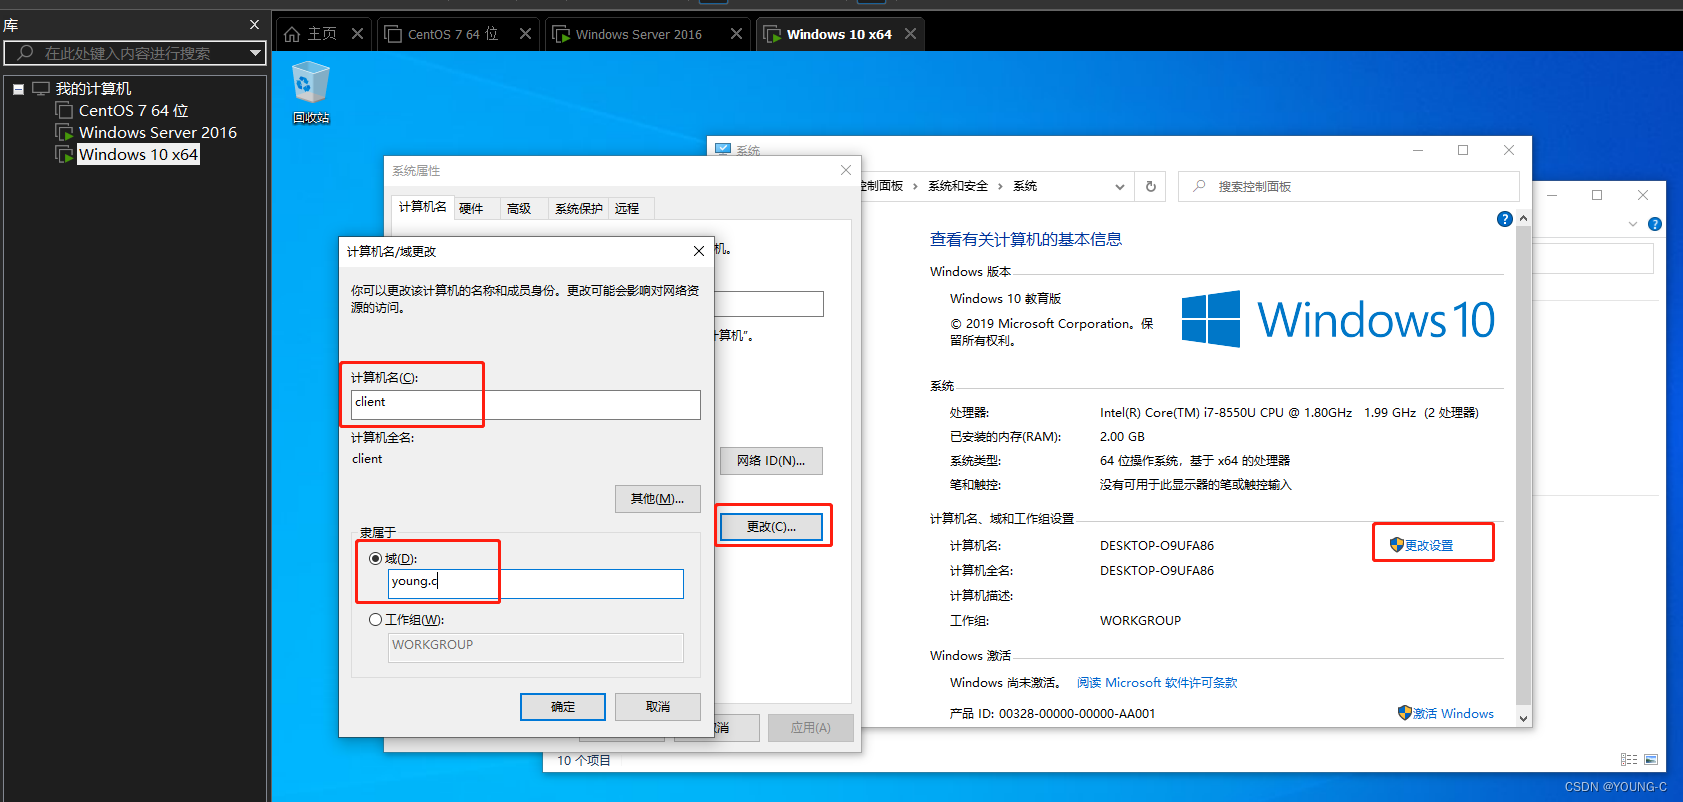
 客户端关于本机—更改设置—更改—计算机名—域名—确定
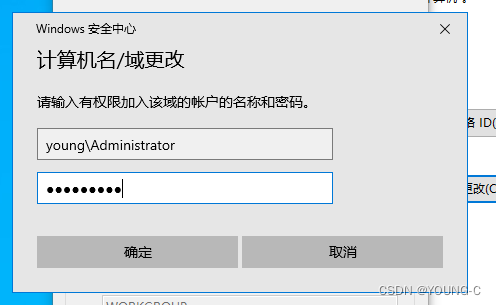 输入域账户管理员账户密码
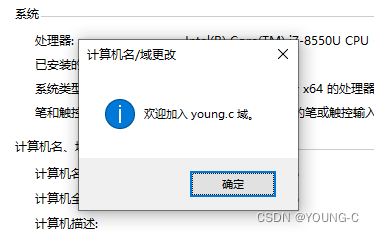 加域成功,重启电脑即可登录域账户
五、错误锦集(持续更新)
客户端加域报错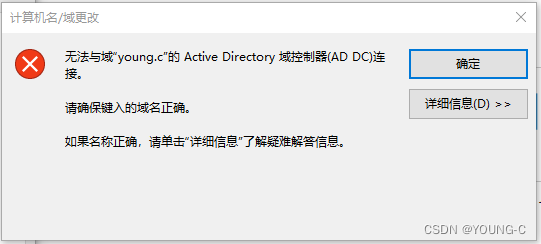 报错:无法与域控制器连接
 解决方案:将客户端的DNS固定为AD域控的IP地址即可