1、安装路由
npm i vue-router2、编写需要展示的路由
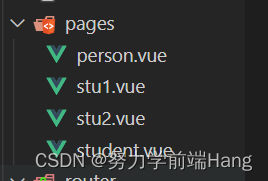
在src目录下创建pages文件夹,里面创建两个vue文件命名为student.vue,person.vue
分别编写两个vue文件
student.vue和person.vue
<template> 学生</template><script setup></script><style scoped lang="less"></style><template>人类</template><script setup></script><style scoped lang="less"></style>3、配置路由
在src目录下配置router.js文件
import { createRouter,createWebHistory } from "vue-router";const router=createRouter({ history:createWebHistory(), routes:[ { component:()=>import('../pages/person.vue'), name:'person', path:'/person' }, { component:()=>import('../pages/student.vue'), name:'student', path:'/student' }, { //实现路由重定向,当进入网页时,路由自动跳转到/student路由 redirect:'/student', path:'/' } ]})export default router3、使用路由
在main.js中使用路由
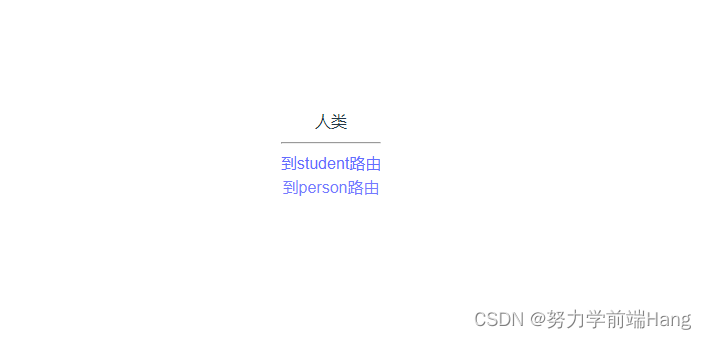
import { createApp } from 'vue'import App from './App.vue'import router from './router'createApp(App).use(router).mount('#app')在app.vue中进行路由展示,使用router-link进行路由跳转,to代表跳转到哪个路由
<template> <router-view></router-view> <hr> <div> <router-link to="/student">到student路由</router-link> <br> <router-link to="/person">到person路由</router-link> </div></template><script setup></script><style scoped></style>效果如下图所示,点击(到student路由)或(到person路由)会进行路由跳转
4、編程式路由
声明式路由通过router-link进行路由跳转,編程式路由通过函数实现
修改app.vue,vue3使用的是组合式API,需要引入
要引入useRouter,useRoute,还要
const router=useRouter()
const route=useRoute()
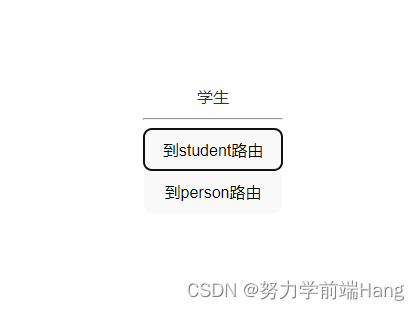
<template> <router-view></router-view> <hr> <div> <button @click="toStudent">到student路由</button> <br> <button @click="toPerson">到person路由</button> </div></template><script setup>import {useRouter,useRoute} from 'vue-router'const router=useRouter()const route=useRoute()const toStudent=()=>{ router.push('student')}const toPerson=()=>{ router.push('person')}</script><style scoped></style>通过router.push进行路由跳转
路由之间用router路由器,当前路由使用toute路由
结果如下图所示,实现編程式路由跳转
如果在配置路由时没有设置别名,需要通过router.push配置对象进行跳转
const toStudent=()=>{ router.push({ path:'/student' })}const toPerson=()=>{ router.push({ path:'/person' })}5、路由传参
5、1query参数传递
向student路由传递id,name
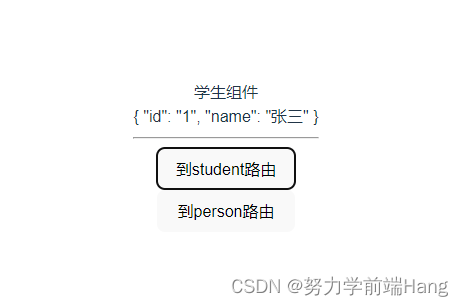
const toStudent=()=>{ router.push({ path:'/student', query:{ id:1, name:'张三' } })}student路由接收query参数
<template> 学生组件 <div>{{data.query}}</div></template><script setup>import { reactive } from 'vue';import {useRouter,useRoute} from 'vue-router'const route=useRoute()let data=reactive({ query: route.query})</script>效果如下图所示
5、2传递params参数
假设向person路由传递params参数,要在路由配置时进行修改
params传参需要使用name进行指定路由
const toPerson=()=>{ router.push({ name:'person', params:{ keyword:2 } })}同时在路由配置需要修改,假设传递的是keyword,
需要在path使用占位符加关键字
?表示可传可不传
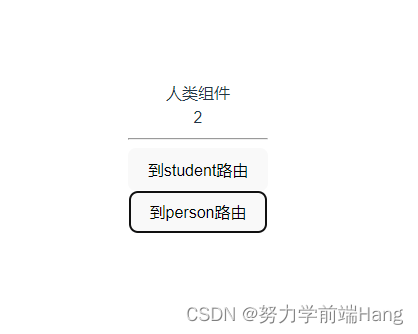
{ component:()=>import('../pages/person.vue'), name:'person', path:'/person/:keyword?'},在person.vue中接收params参数
<template> 人类组件 <div>{{data.params.keyword}}</div></template><script setup>import { reactive } from 'vue';import {useRouter,useRoute} from 'vue-router'const route=useRoute()let data=reactive({ params: route.params})</script>效果如下所示
6、子路由配置
给student路由添加子组件(stu1,stu2组件)
子组件的path不带 /
{ component:()=>import('../pages/student.vue'), name:'student', path:'/student', children:[ { path:'stu1', name:'stu1', component:()=>import('../pages/stu1.vue') }, { path:'stu2', name:'stu2', component:()=>import('../pages/stu2.vue') }, { path:'', component:()=>import('../pages/stu1.vue') } ] }编写stu1组件
<template>stu1</template><script setup></script><style scoped lang="less"></style>编写stu2组件
<template>stu2</template><script setup></script><style scoped lang="less"></style>在student组件进行子组件展示
<template> 学生组件 <div>{{data.query}}</div> 子组件展示 <router-view></router-view> <router-link to="/student/stu1">到stu1</router-link> <router-link to="/student/stu2">到stu2</router-link></template><script setup>import { reactive } from 'vue';import {useRouter,useRoute} from 'vue-router'const route=useRoute()let data=reactive({ query: route.query})</script>通过使用router-link进行路由跳转,也可以通过編程式路由跳转
to="/student/stu1" 需要使用完整路径进行跳转
效果展示
