配置所需要工具:
推荐dev-sidecar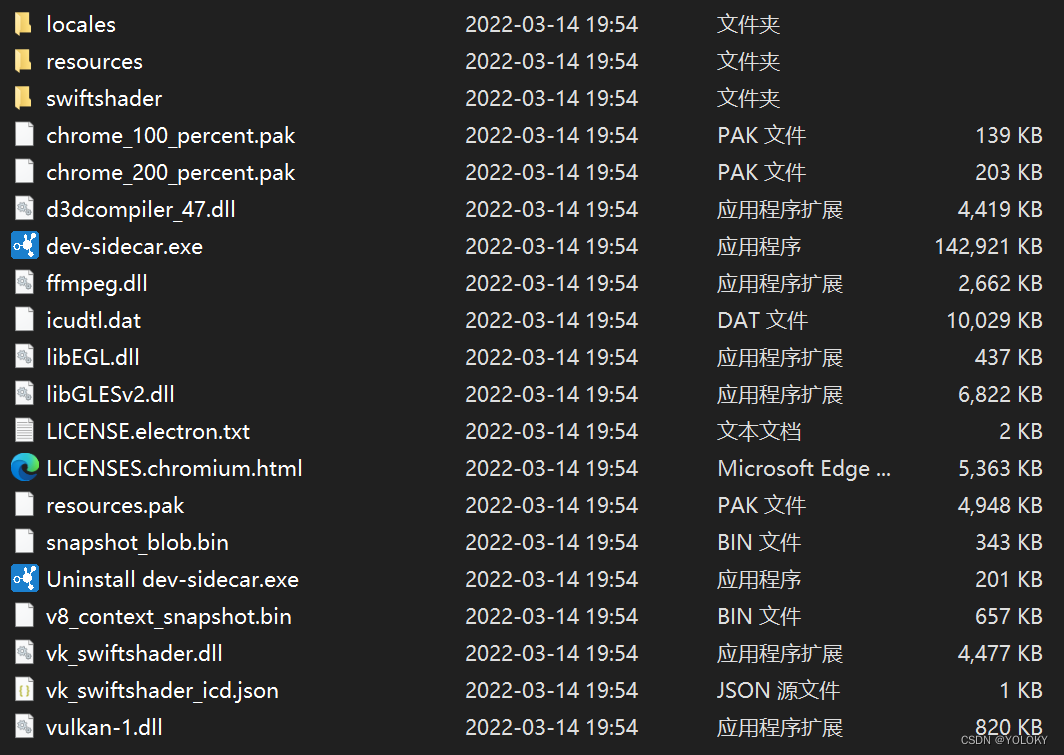 系统版本 windows10,windows11显卡(越强越好,显存越大越好,本人是RTX 3060)用AMD显卡的参考:Install and Run on AMD GPUs · AUTOMATIC1111/stable-diffusion-webui Wiki (github.com)进行配置内存(16G可以正常运行,8G没有测试)CUDA(下载低于现显卡版本的)
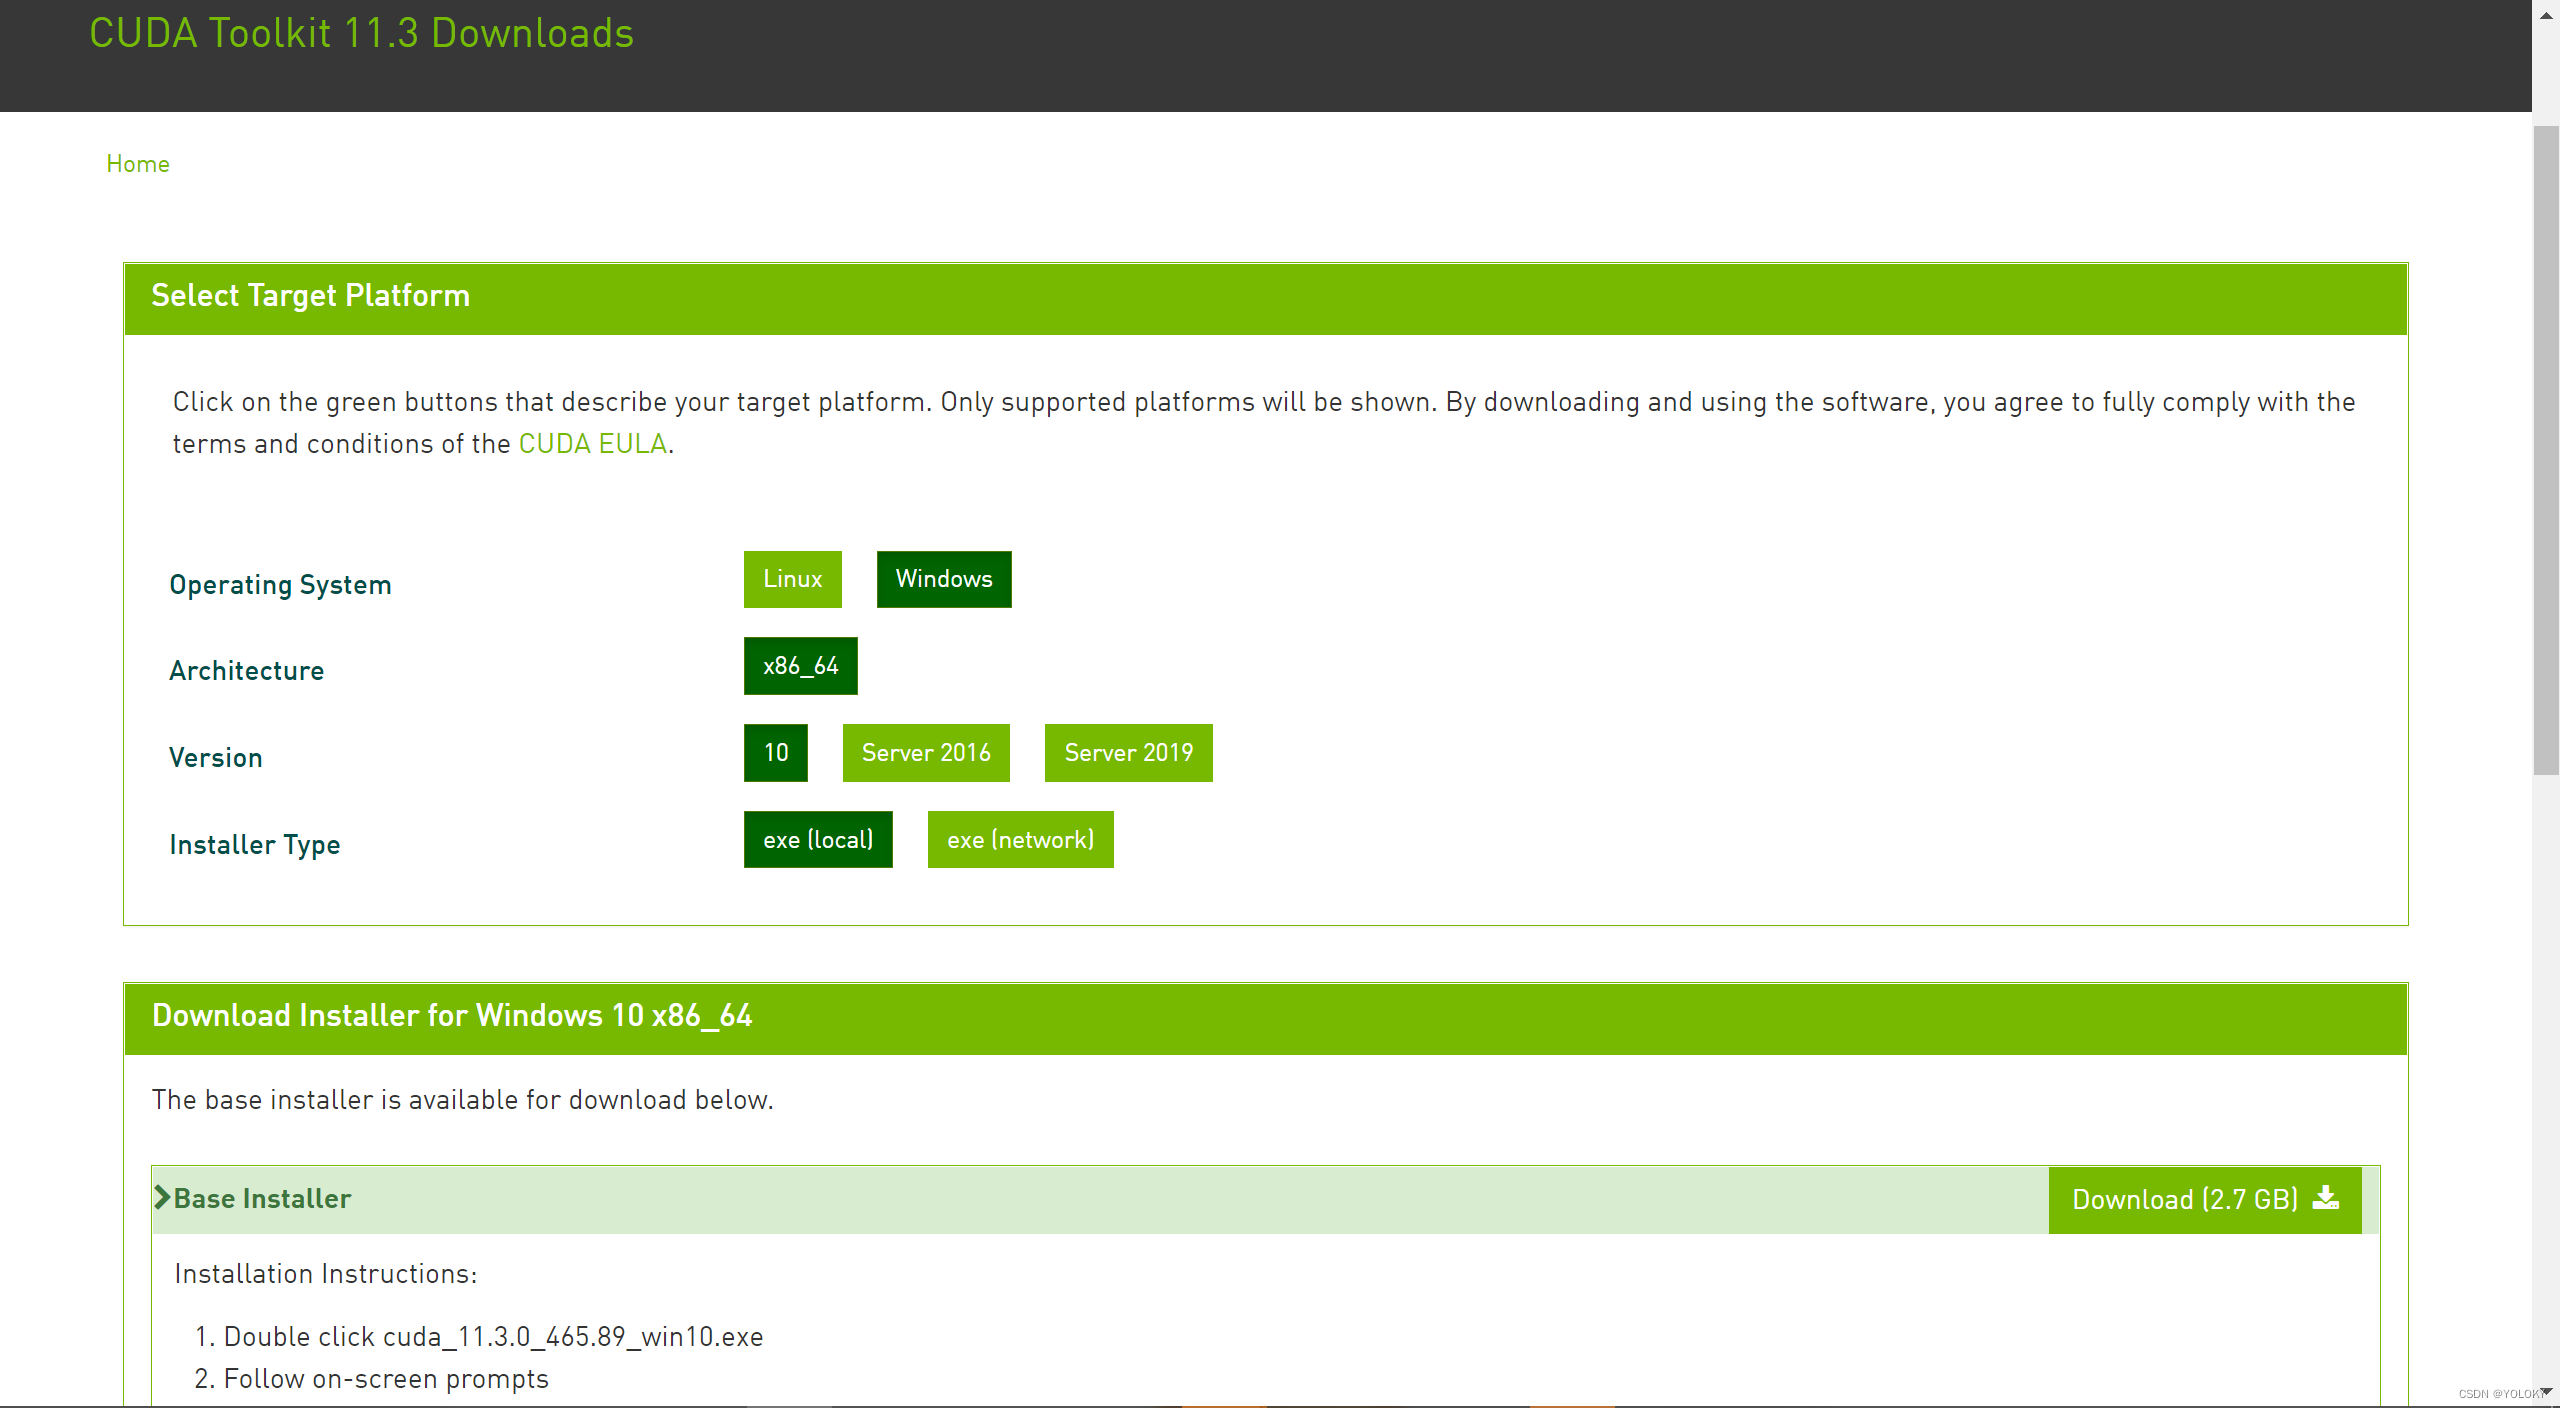 Anaconda 或者 Git(此教程使用Git)
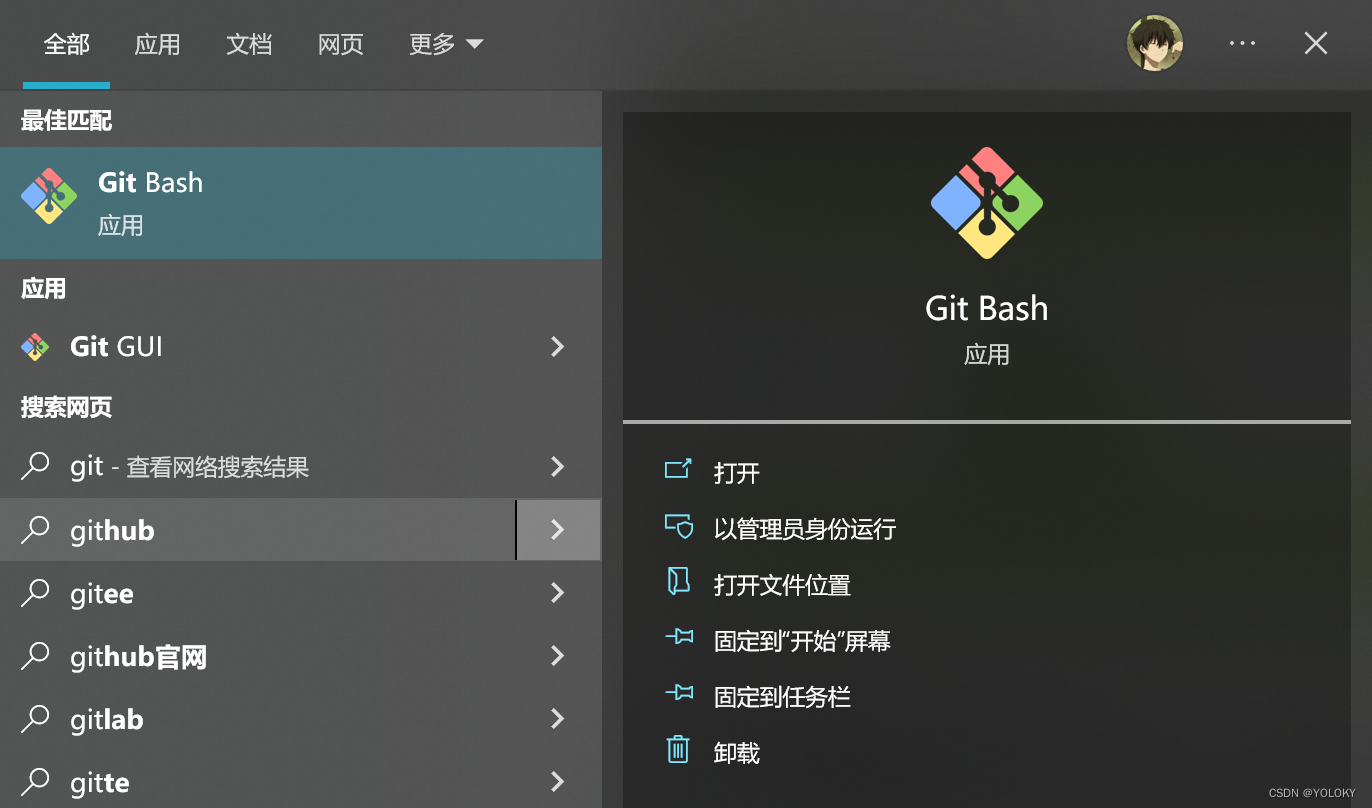 安装前准备(下载并安装Windows Terminal,Git,下载 GFPGANv1.4.pth, NodelAI 模型)Windows TerminalGitGFPGANv1.4.pthNovelAI(novelaileak(50g))模型,磁力链接:magnet:?xt=urn:btih:5bde442da86265b670a3e5ea3163afad2c6f8ecc&dn=novelaileakPython(版本要求:3.10.7+)Powershell检测Python和git版本
 git versionpython --versiongit clone 项目
在没有Stable Diffusion web UI 安装路径的时候用,相当于是导入了webui,如果在其他渠道获取了webui的文档则不需要进行给git clone如果有工具可以执行以下命令,设置当前环境HTTP,HTTPS代理(注意7890要换成自己的HTTP代理端口)用cmd设置就行,此代理要和魔法代理相同,不然git(pytorch)就会非常慢!!没有工具请转到清华源!!!pip config set global.index-url https://pypi.tuna.tsinghua.edu.cn/simplegit config --global http.proxy "http://127.0.0.1:7890"pip config set global.proxy http://127.0.0.1:7890cd F:\NovelAi\Nasgit clone [https://github.com/AUTOMATIC1111/stable-diffusion-webui.git](https://github.com/AUTOMATIC1111/stable-diffusion-webui.git)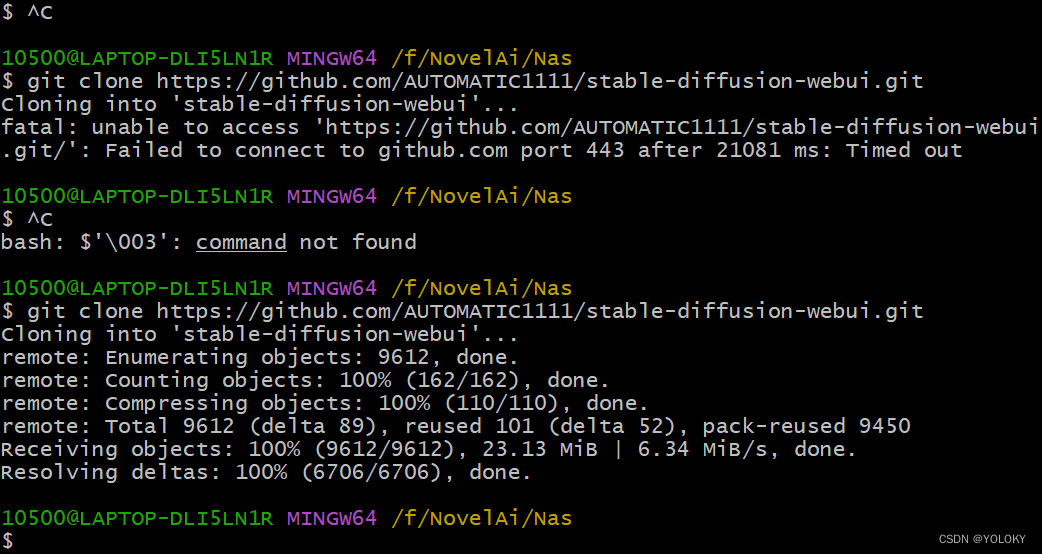
复制或移动下载好的NovelAI模型到项目文件夹 stable-diffusion-webui
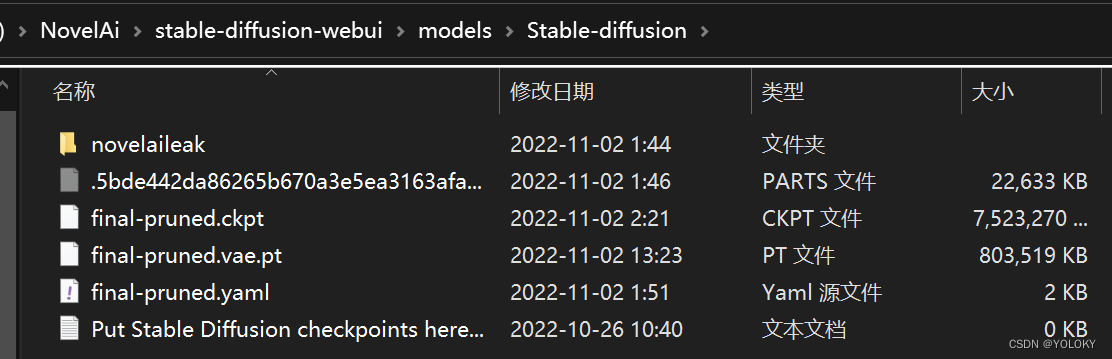
复制GFPGANv1.4.pth 到 stable-diffusion-webui 根目录。复制novelaileak\stableckpt\animefull-latest\model.ckpt 到 stable-diffusion-webui\models\Stable-diffusion目录下,并改名为final-pruned.ckpt, 可能有同学会问,为什么是这个模型,我只能告诉你,这是成年人的快乐 :)。复制novelaileak\stableckpt\animefull-latest\config.yaml 到 stable-diffusion-webui\models\Stable-diffusion目录下,并改名为final-pruned.yaml 。复制novelaileak\stableckpt\animevae.pt 到 stable-diffusion-webui\models\Stable-diffusion目录下,并改名为final-pruned.vae.pt 。复制novelaileak\stableckpt\modules\modules下的所有文件 到 stable-diffusion-webui\models\hypernetworks目录下,如果hypernetworks目录不存在,新建文件夹即可。 如下图所示,代表正常(我是直接存到NovelAi的文件下了):
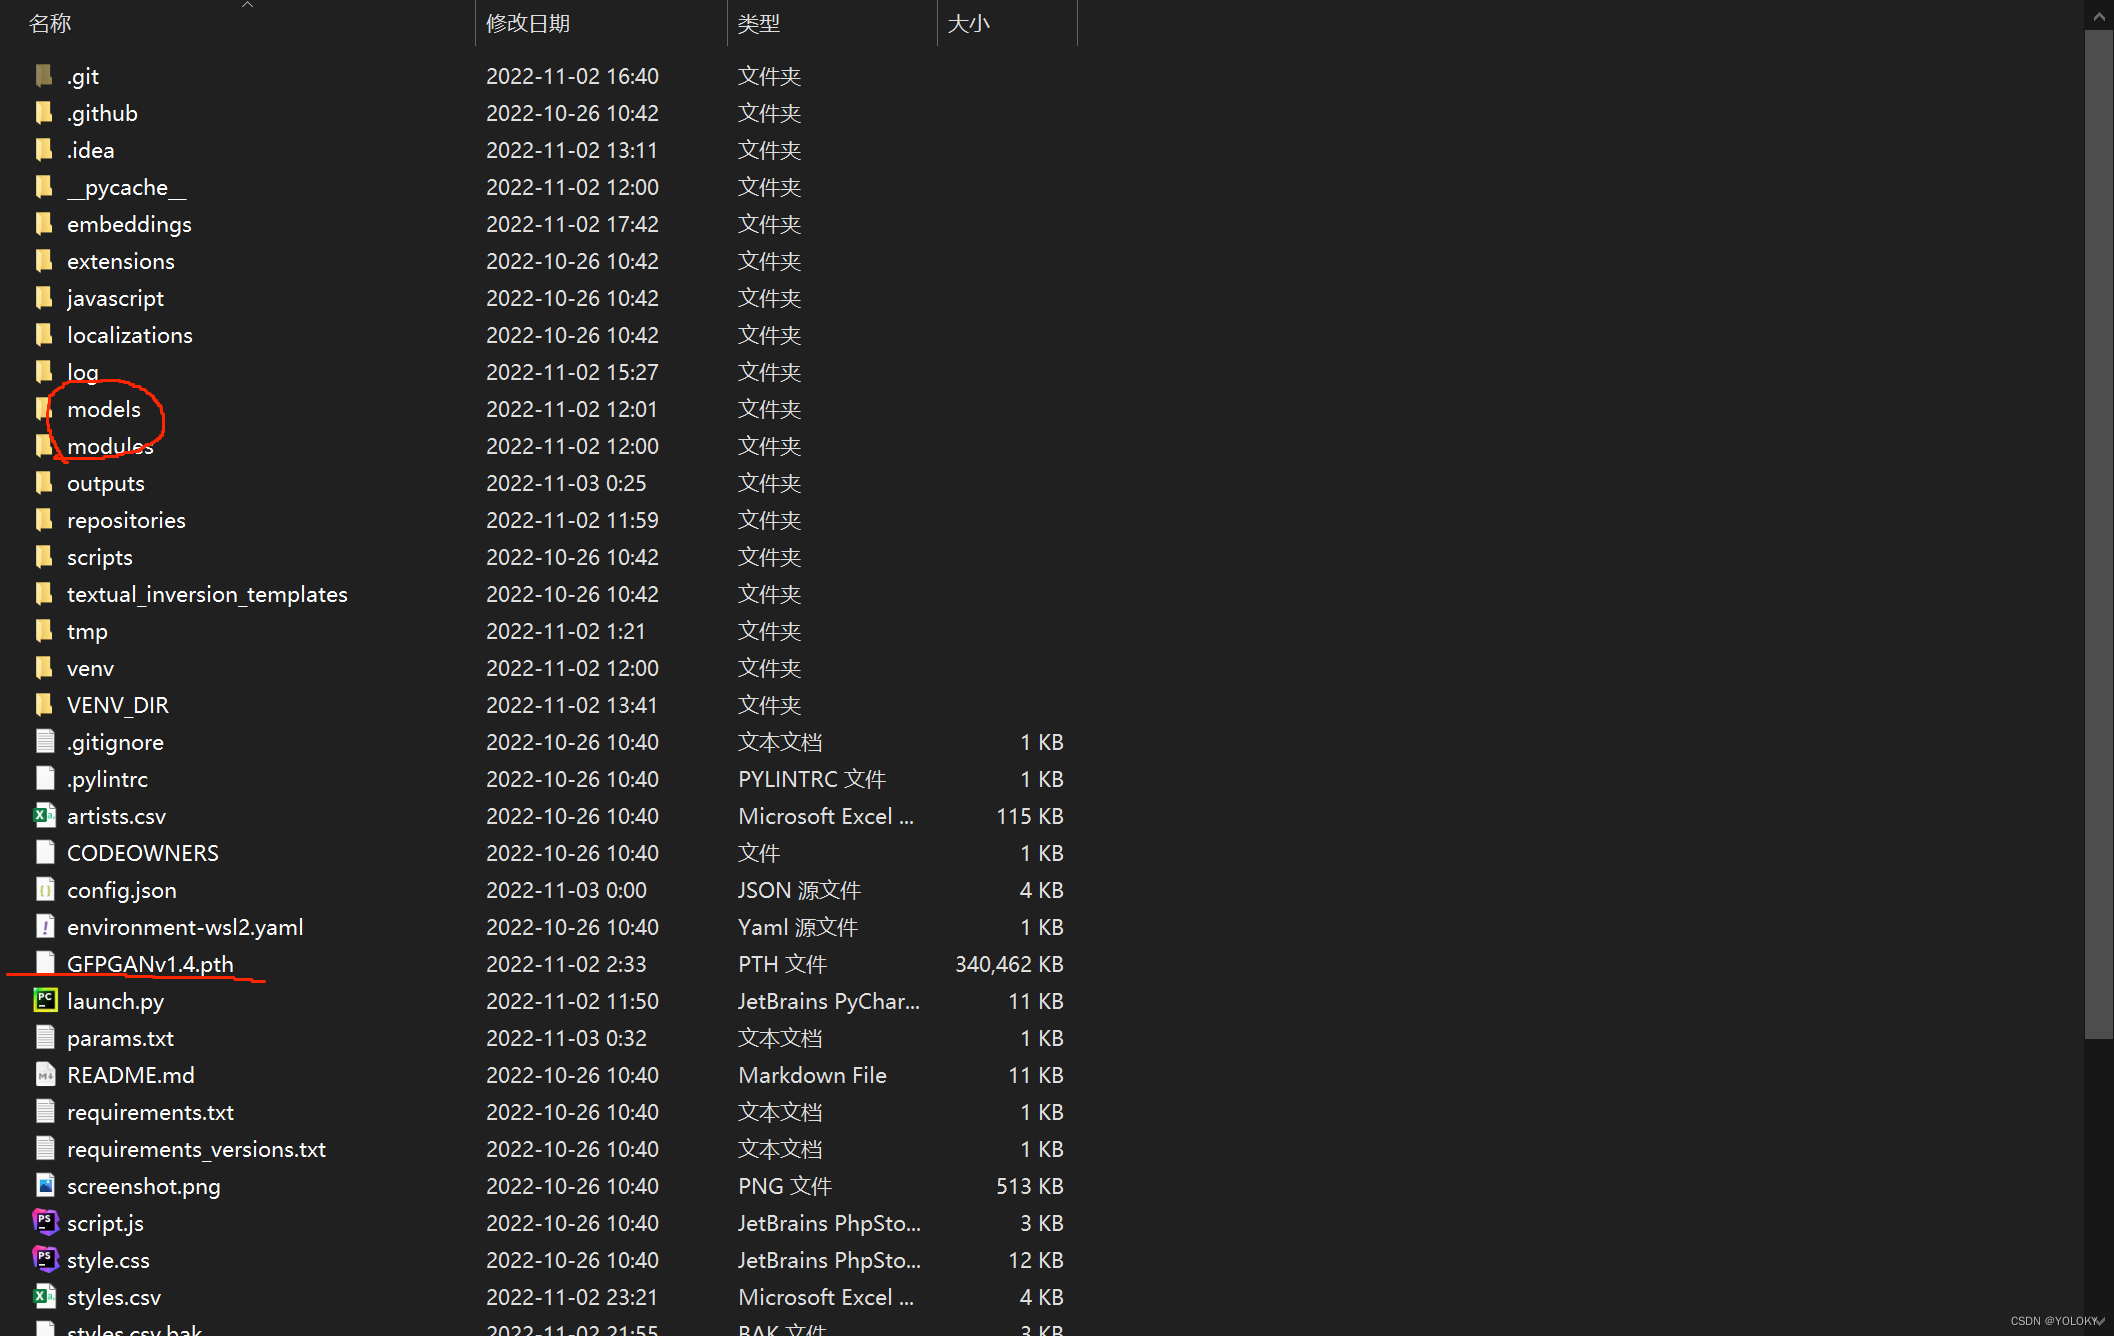 对照一下:
对照一下: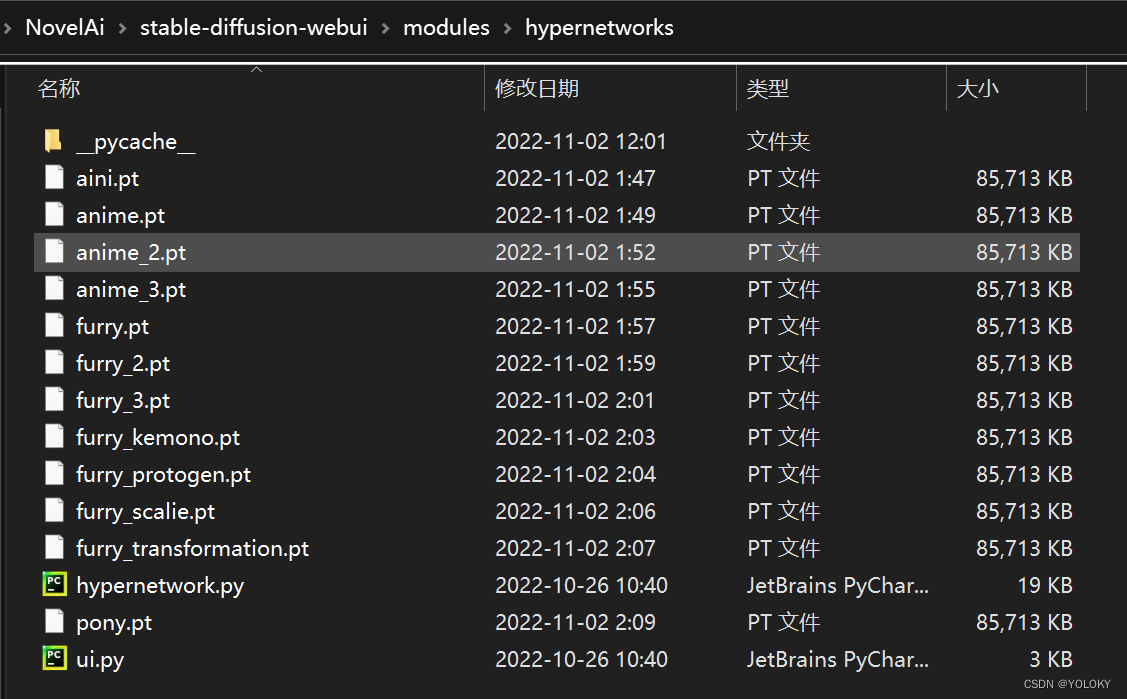
执行webui.bat,启动webui: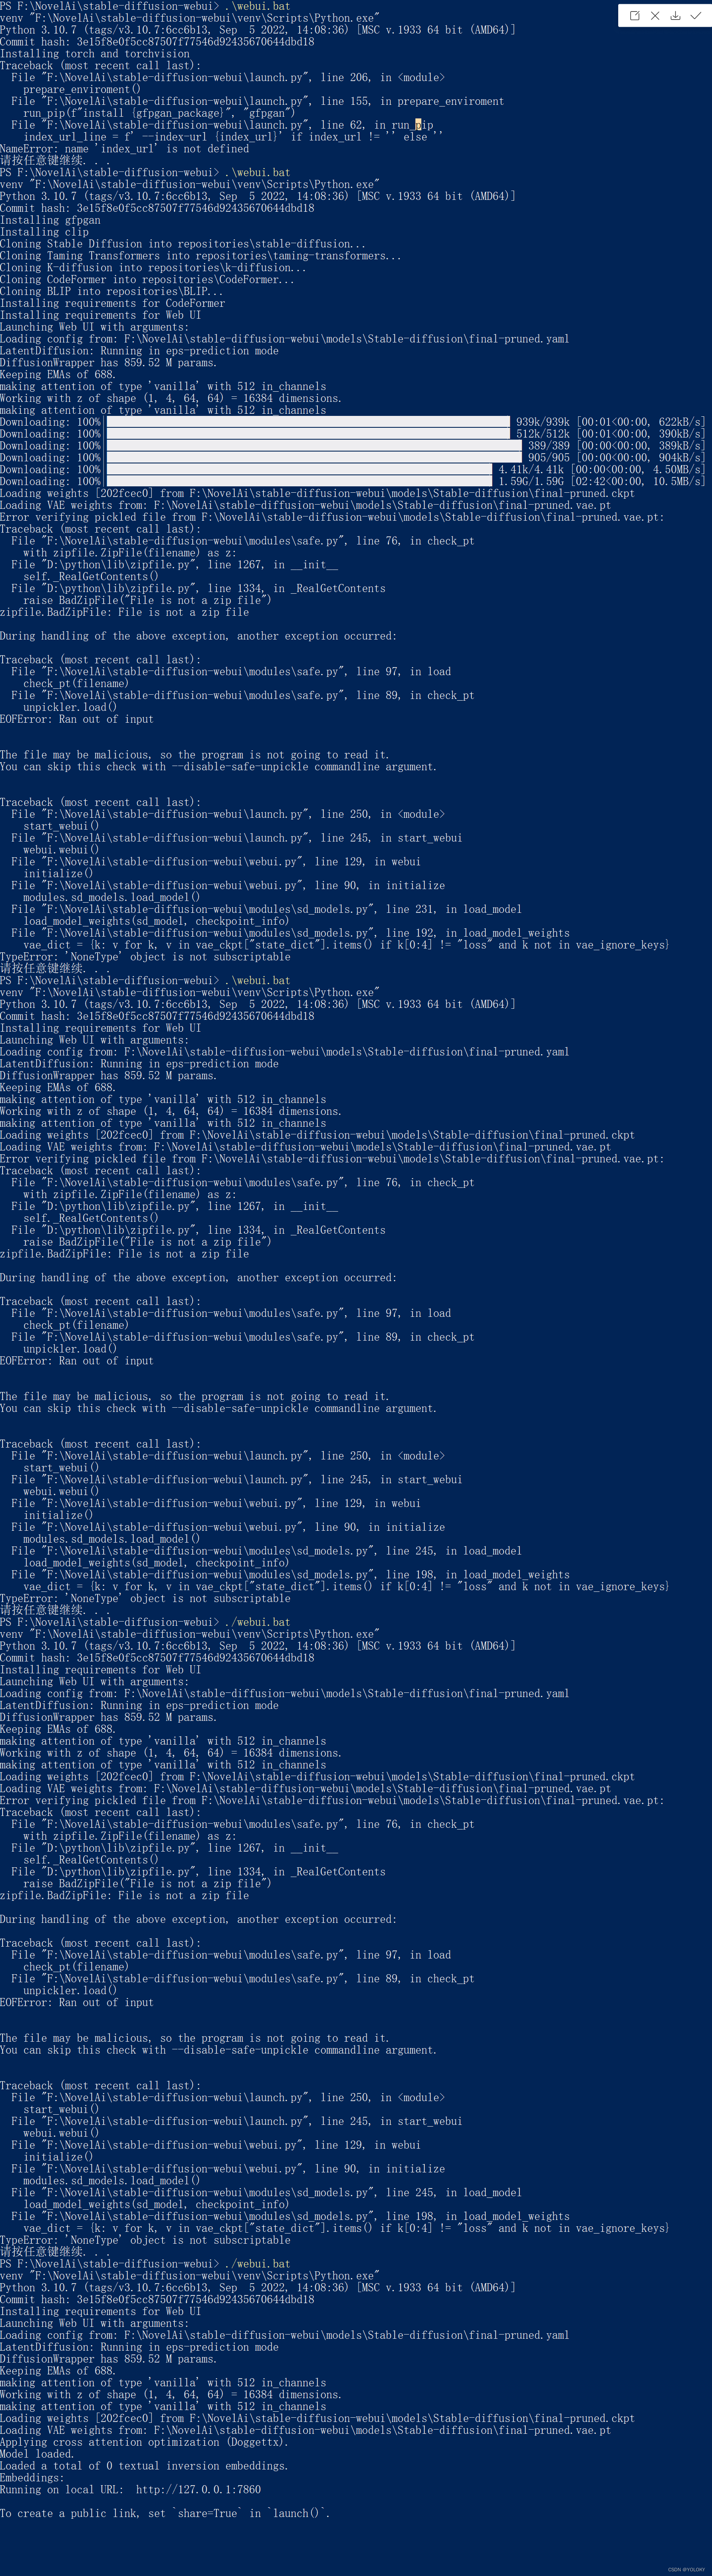
当现显示:Running on local URl时,表示已经配置完成之间我也填了不少的坑,比如卡在Install torch and torchvision 那一行;Solution:两种解决方式1、针对github访问缓慢,推荐使用dev-sidecar。2、换成清华源。不要再用阿里源了!!阿里源更新缓慢没有新的包!!中间有一个modules.py的报错:最后查看python代码发现是我的vae模型出了点问题,用磁力链接重新下了animevae.pt文件就没有报错了时间很长耐心等待,若出现报错可以去贴吧或者小破站向大佬求助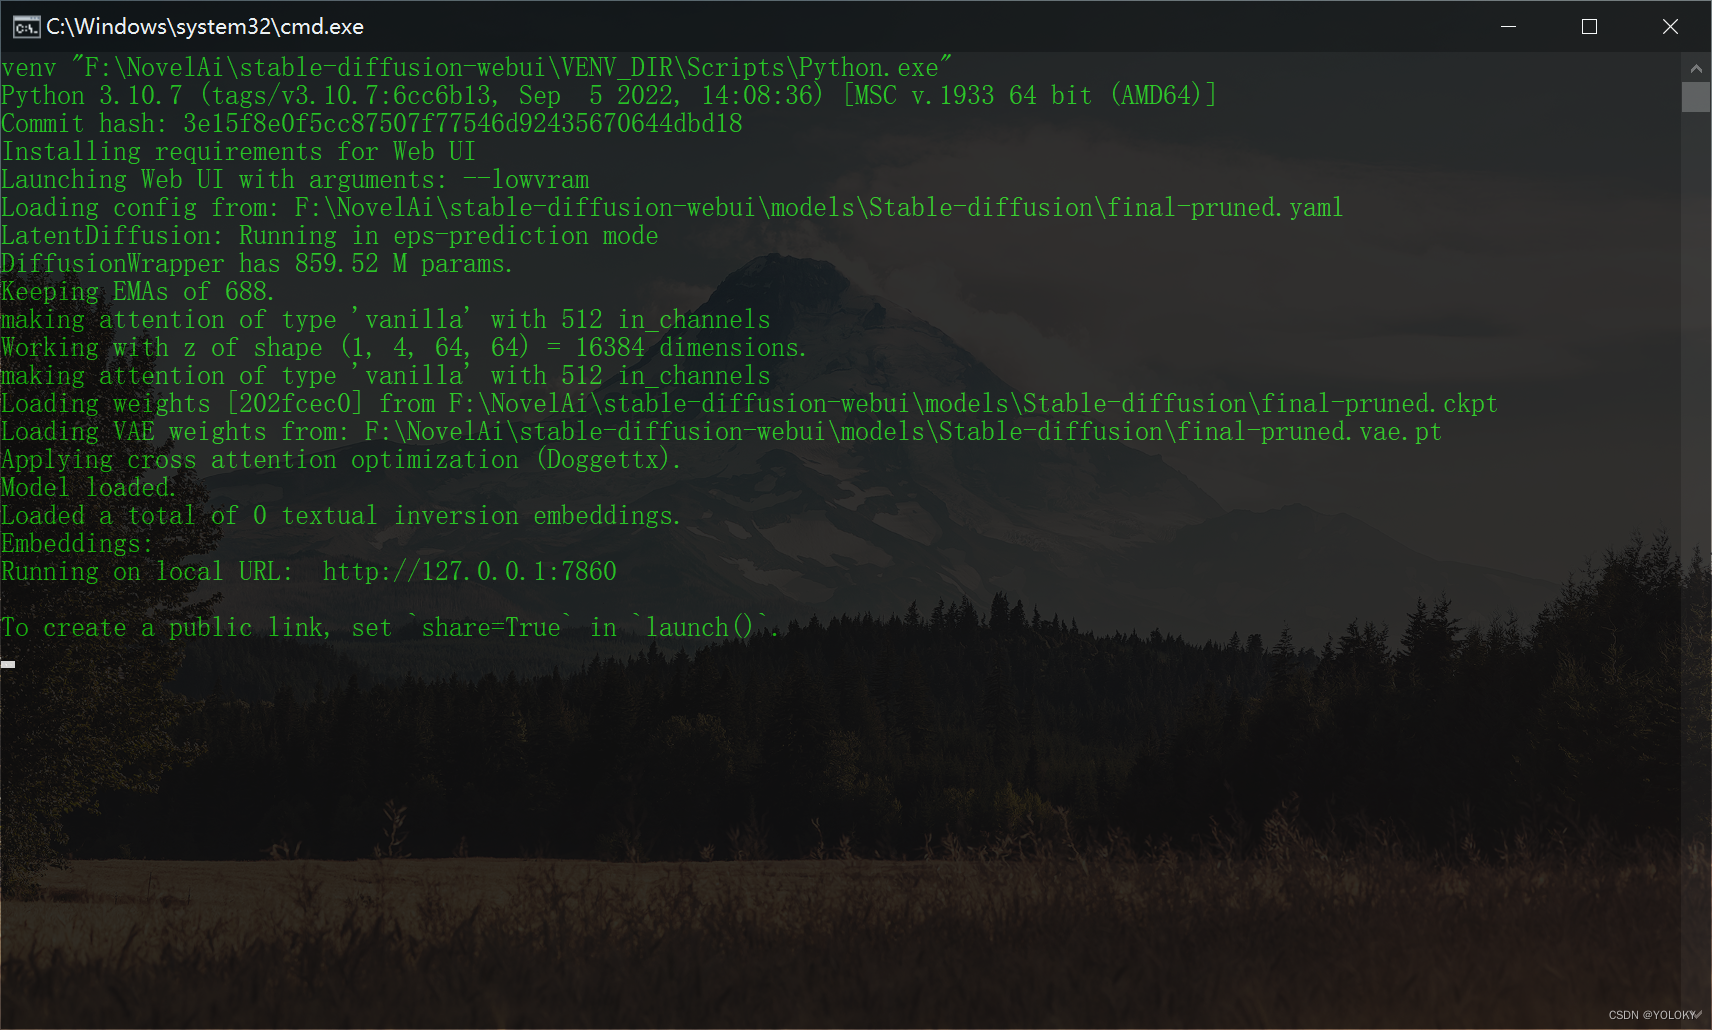
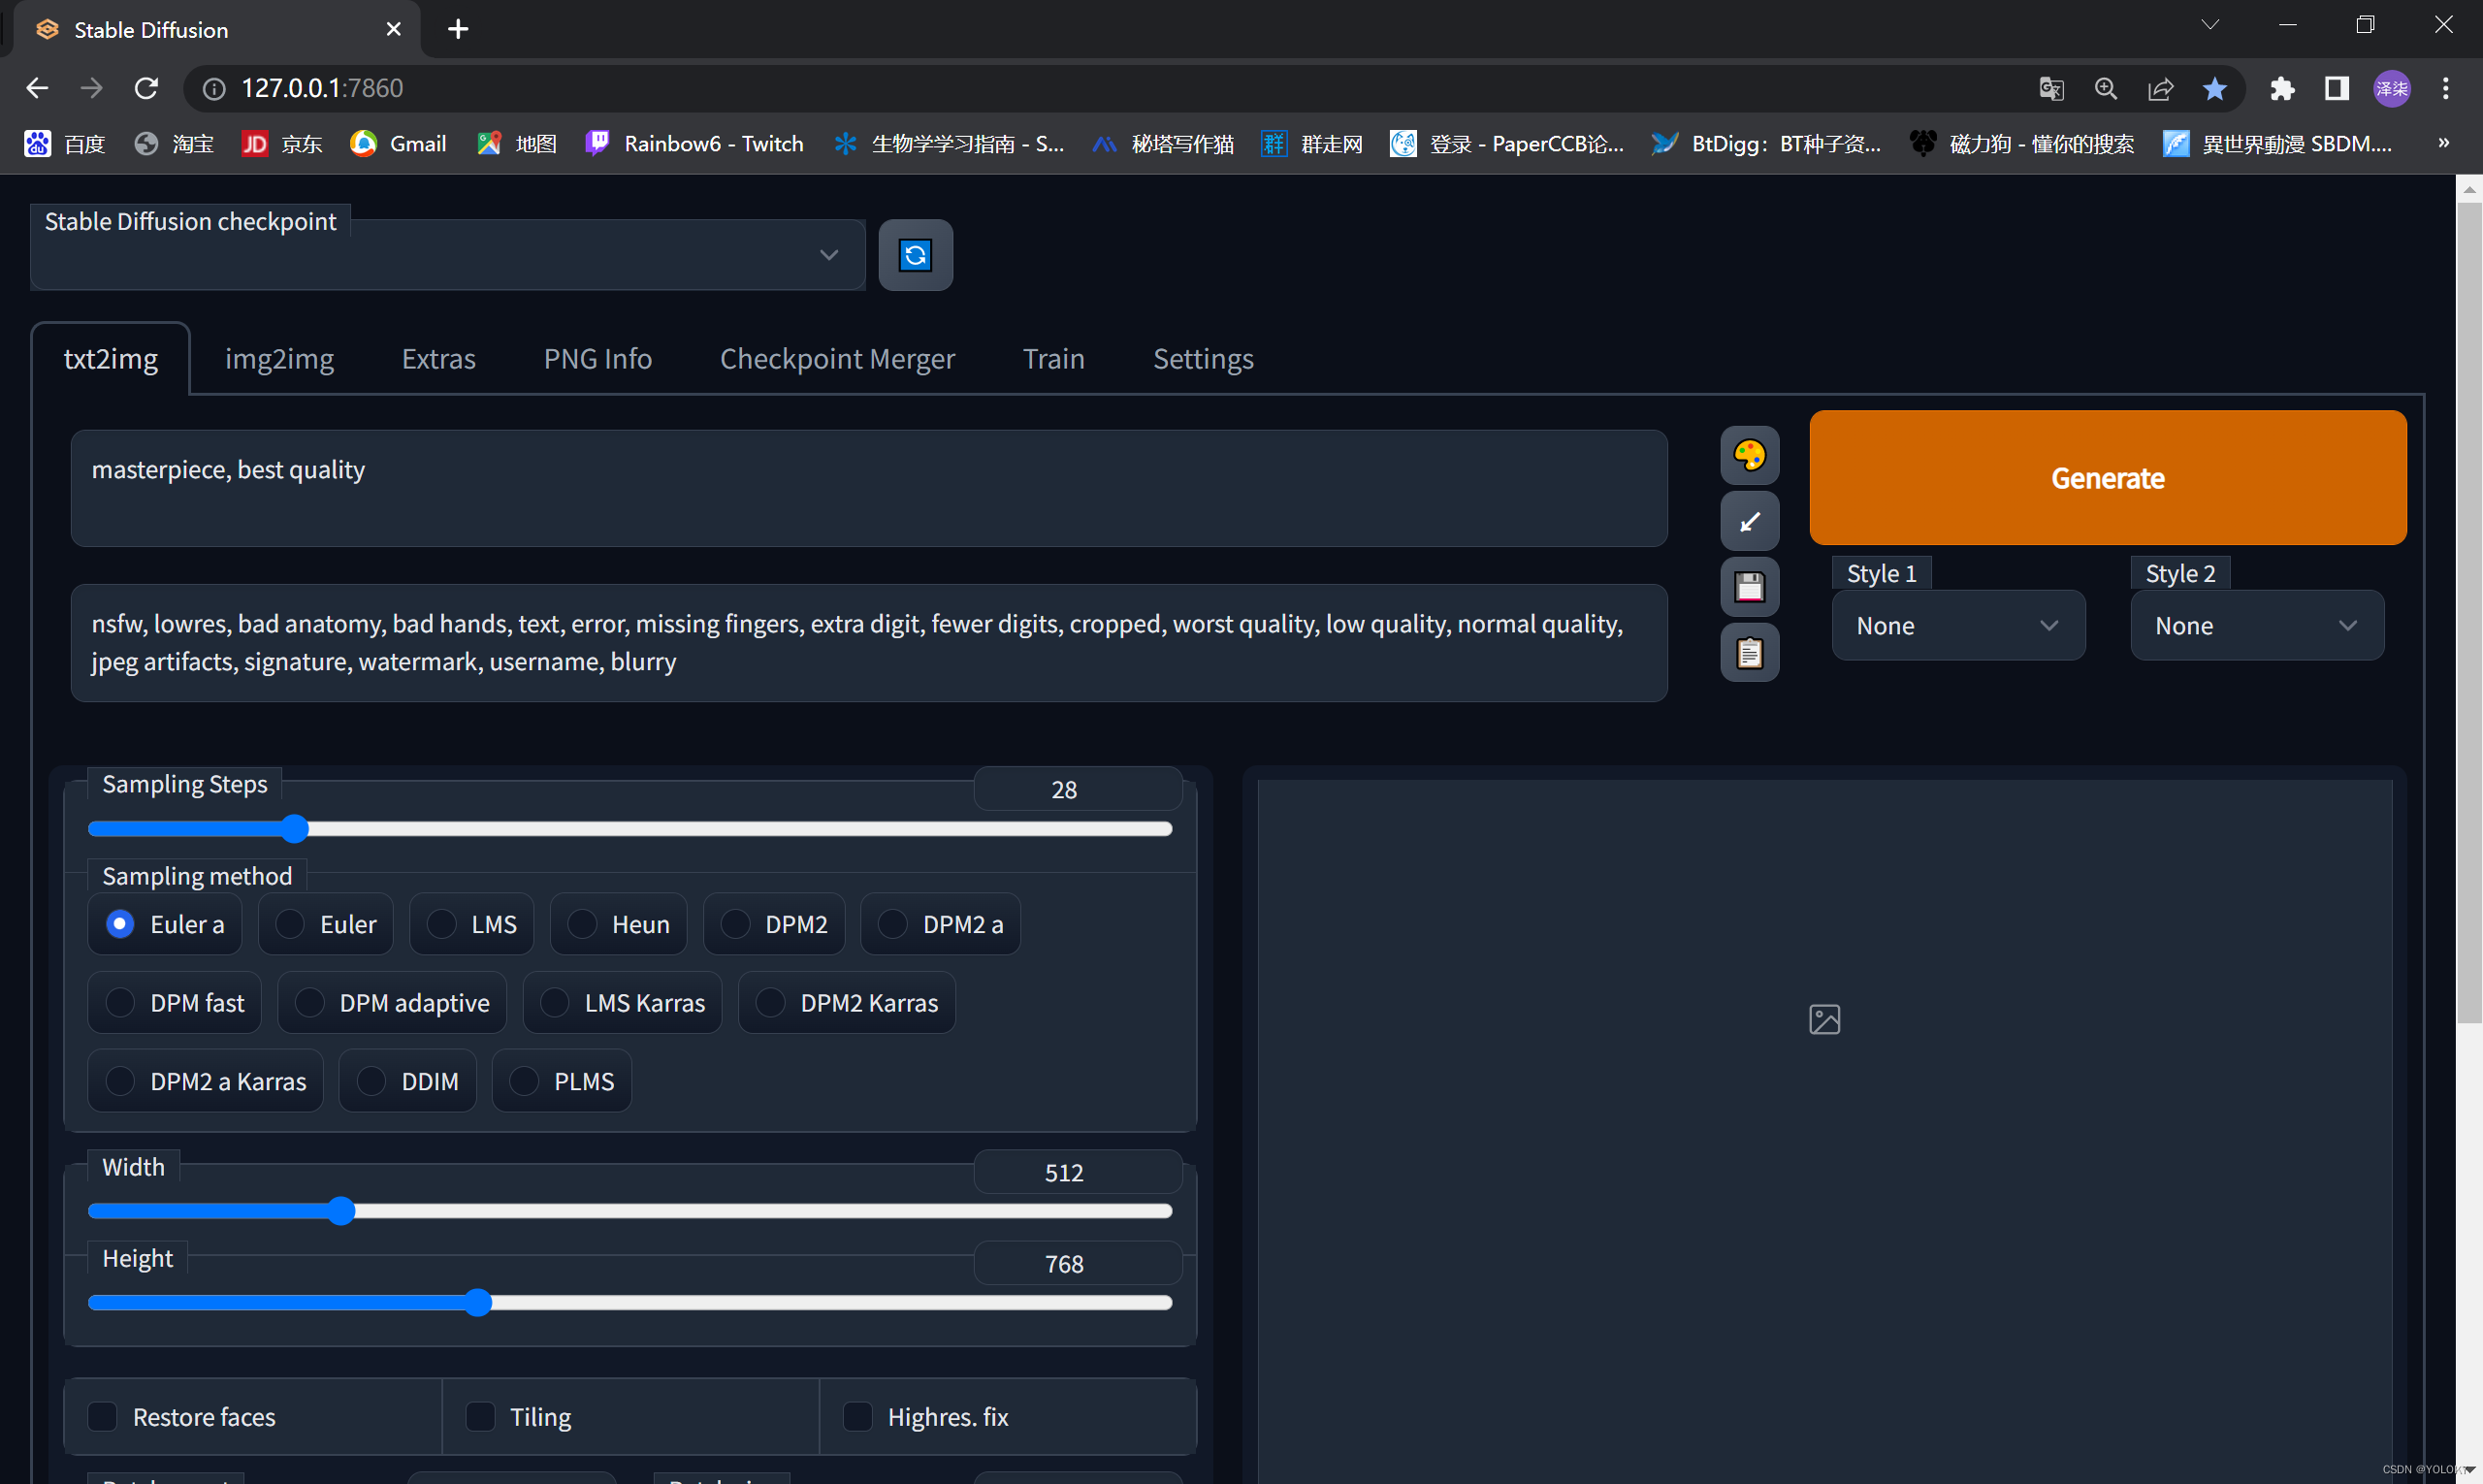
浏览器输入 http://127.0.0.1:7860
16xx显卡,生成绿图、黑图的:
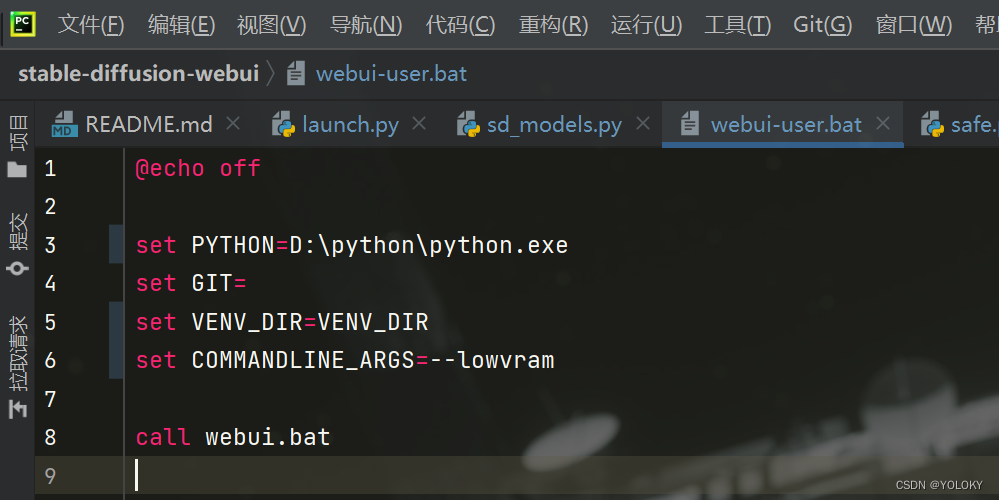
编辑 stable-diffusion-webui\webui-user.bat,在 set COMMANDLINE_ARGS= 这行代码后,加入 --precision full --no-halfset COMMANDLINE_ARGS=--precision full --no-half2G,4G显存的:
编辑 stable-diffusion-webui\webui-user.bat,在 set COMMANDLINE_ARGS= 这行代码后
2G 显存的增加 --lowvram
4G 显存的增加 --medvram