1.项目搭建node版本在16以上
1.1创建项目
npm create vite 项目名
1.2选择框架
vue+javaScript
1.3进入项目安装依赖
cd 项目名
npm install
1.4安装cesium依赖
pnpm i cesium vite-plugin-cesium
1.5修改vite.config.js文件
import { defineConfig } from 'vite'import vue from '@vitejs/plugin-vue'import cesium from 'vite-plugin-cesium'// https://vitejs.dev/config/export default defineConfig({ plugins: [vue(),cesium()]})1.6在app.vue中引入Cesium并打印
import * as Cesium from ‘cesium’
console.log(Cesium)
1.7运行项目
npm run dev
2.Hello Cesium
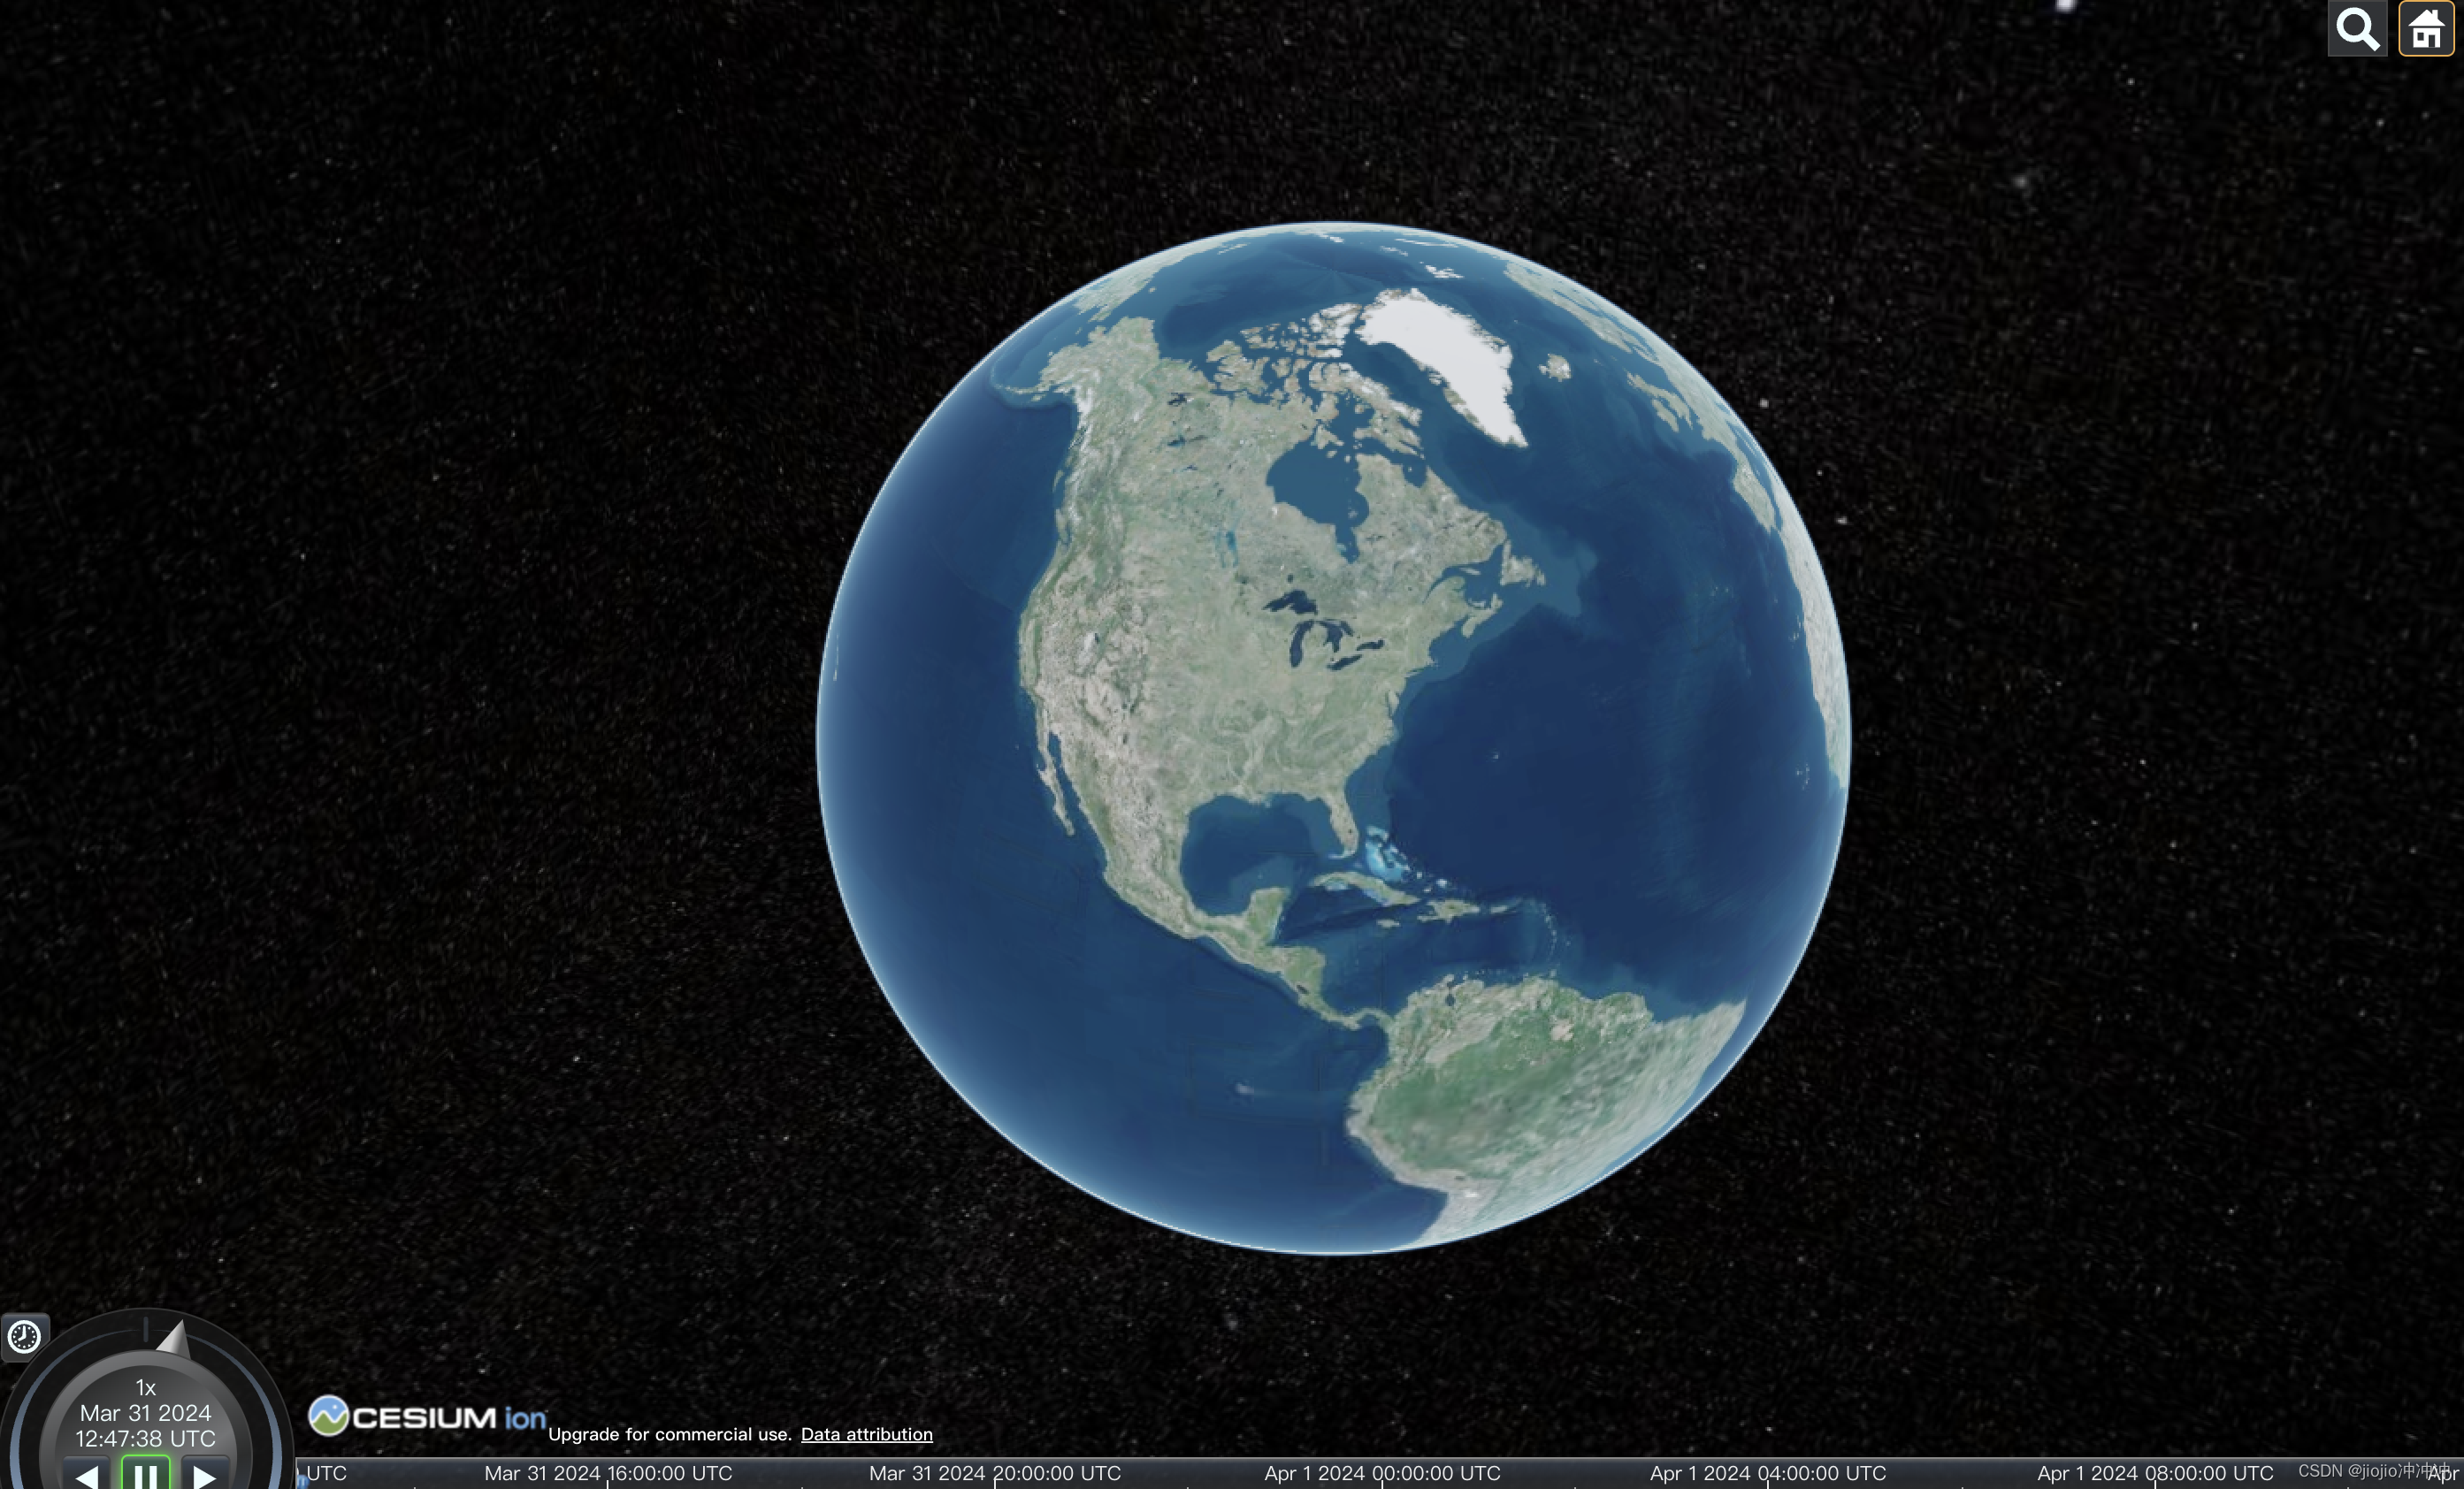
<template> <div id="cesiumContainer"></div></template><script setup>import * as Cesium from 'cesium'import { onMounted } from 'vue'onMounted(() => { Cesium.Ion.defaultAccessToken = '申请的token' new Cesium.Viewer('cesiumContainer')})</script> <style scoped>#cesiumContainer { width: 100vw; height: 100vh; overflow: hidden;}</style>3.控件
Cesium内置了一些小控件,可以在new Cesium.Viewer时传入参数进行控制
3.1自定义地图影像
onMounted(() => { Cesium.Ion.defaultAccessToken = 'token' const esri = new Cesium.ArcGisMapServerImageryProvider({ url: "https://services.arcgisonline.com/ArcGIS/rest/services/World_Imagery/MapServer", enablePickFeatures: false, }); const viewer = new Cesium.Viewer('cesiumContainer', { imageryProvider: esri, //默认的谷歌地图影像 影像图层 ImageryLayer //地形图层TerrainProvider terrainProvider: Cesium.createWorldTerrain({ requestWaterMask: true //水面特效 }), }) })3.2控件显示隐藏默认显示
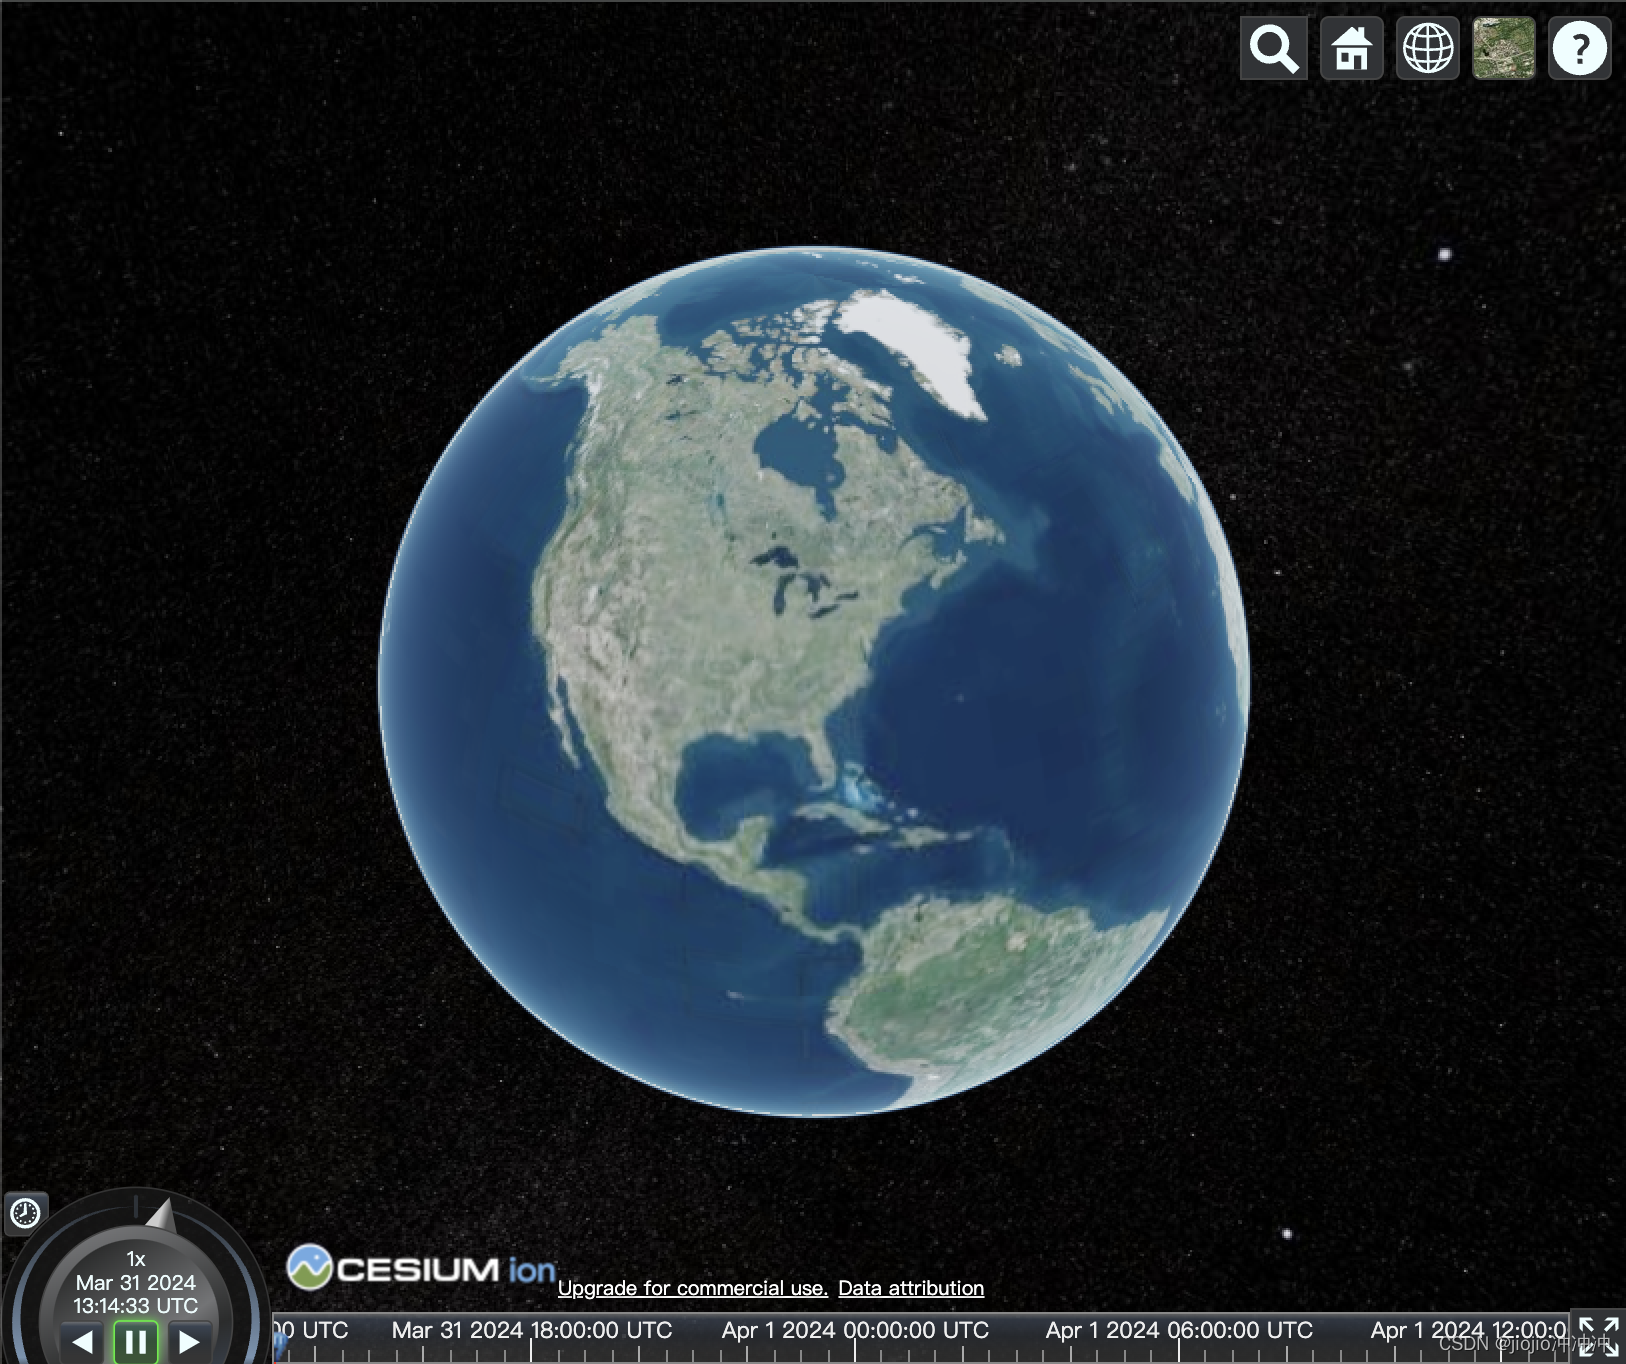
// Viewer是一切API的开始 let viewer = new Cesium.Viewer('cesiumContainer', { baseLayerPicker: false, //是否显示图层选择控件 animation: false, //是否显示动画控件 timeline: false, //是否显示时间轴控件 fullscreenButton: false, //是否显示全屏按钮 geocoder: false, //是否显示搜索按钮 homeButton: false, //是否显示主页按钮 navigationHelpButton: false,//是否显示帮助提示按钮 sceneModePicker: false//是否显示投影方式按钮 })4.坐标转换
4.1经纬度转笛卡尔
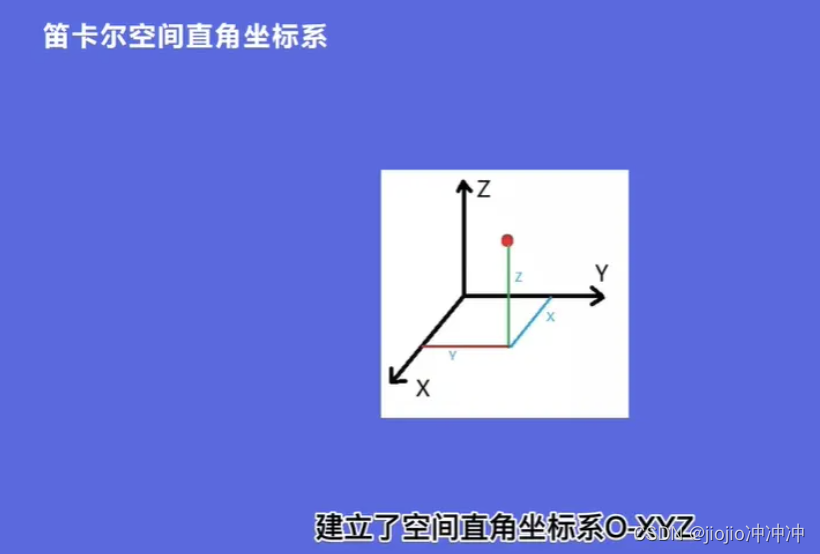
const Cesium1= Cesium.Cartesian3.fromDegrees(114, 30, 1000)//经度 纬度 高度console.log(Cesium1)//返回的是一个笛卡尔坐标4.2笛卡尔转经纬度
Cesium中的地理坐标单位默认是弧度制,用Cartographic变量表示,通过new Cesium.Cartographic()创建构造Cartographic对象
//第一步:笛卡尔转弧度let cartographic = Cesium.Cartographic.fromCartesian(Cesium1)console.log(cartographic)//第二步:弧度坐标转角度坐标// let lon = 180 / Math.PI * cartographic.longitude// let lat = 180 / Math.PI * cartographic.latitudelet lon = Cesium.Math.toDegrees(cartographic.longitude)let lat = Cesium.Math.toDegrees(cartographic.latitude)console.log(lon)console.log(lat)console.log(cartographic.height)5.相机
在Cesium中,我们确定的视角,需要设置相机的位置和方向。
● destination用于设置相机的位置。
● orientation用于设定相机的方向
orientation是用来控制相机的heading(偏航角) pitch(仰俯角) roll(翻滚角)。最简单的理解就是相机镜头当前浏览器窗口所在的位置
heading 偏航角 -->Y
pitch俯仰角–>x
roll 旋转角–z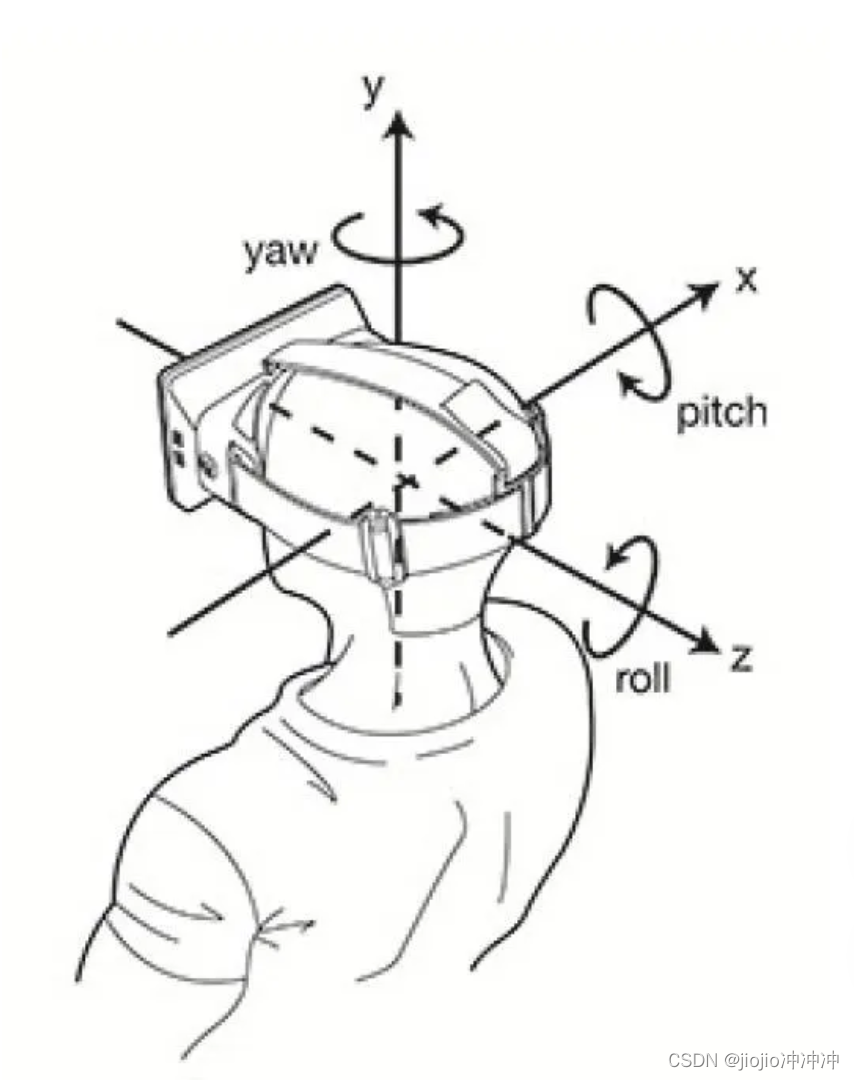
5.1setView
setView通过定义相机飞行目的点的三维坐标和视角,没有飞行过程,直接定位到设定的视域范围,用于快速切换视角
const position = Cesium.Cartesian3.fromDegrees(110, 30, 20000) viewer.camera.setView({ destination: position, orientation: {//默认(0,-90,0) heading: Cesium.Math.toRadians(0), pitch: Cesium.Math.toRadians(90), roll: Cesium.Math.toRadians(0) } })5.2 flyTo
flyTo是快速切换视角,带有飞行动画,可以设置飞行时长
const position = Cesium.Cartesian3.fromDegrees(110, 30, 20000)viewer.camera.flyTo({ destination: position, orientation: { heading: Cesium.Math.toRadians(20), // 默认 pitch: Cesium.Math.toRadians(-90.0), // 默认 roll: 0.0 // 默认 }, duration: 3, })5.3 lookAt
lookAt将视角固定在所设置的目的点上,可以任意旋转视角,但是不会改变位置
const position = Cesium.Cartesian3.fromDegrees(110, 30)viewer.camera.lookAt(position, new Cesium.HeadingPitchRange( Cesium.Math.toRadians(0), Cesium.Math.toRadians(-90), 20000,//中心点距离地面的距离))6.entity实体
Cesium丰富的空间数据可视化API分为两部分:Primitive API 面向三维图形开发者,更底层一些。Entity API 是数据驱动更高级一些。
Primitive API的主要目的是为了完成(可视化)任务的最少的抽象需求。他要求我们以一个图形开发者的方式去思考,并且使用了一些图形学术语。它是为了最高效最灵活的实现可视化效果,忽略了API的一致性。比如绘制三维模型和创建Billboard不同,和多边形绘制更是彻底不同。每种可视化都有自己鲜明的特色。此外,他们每种都有自己的独特的性能提升方式,也需要遵守不同的优化原则。虽然它很强大又很灵活,但是大多数项目需要比Primitive API更高层次的抽象。
Entity AP的主要目的是定义一组高级对象,它们把可视化和信息存储到统一的数据结果中,这个对象叫Entity。 它让我们更加关注我们的数据展示而不是底层的可视化机制。它提供了很方便的创建复杂的,与静态数据相匹配的随时间变化的可视化效果。Entity API实际内部在使用Primitive API ,它的实现细节,我们无需关心。经过各种数据的测试,Entity API提供灵活的,高层次的可视化,同时暴露一些一致性的、容易去学习和使用的接口
地址
6.1 entity实体点
//实体中都是笛卡尔坐标// entity是基于primitive封装的点// 写法一const point1 = new Cesium.Entity({ id: 'point1', position: Cesium.Cartesian3.fromDegrees(120, 30),//笛卡尔坐标 point: { color: Cesium.Color.BLUE, pixelSize: 20 }})viewer.entities.add(point1)// 写法二(推荐)const point2 = viewer.entities.add({ id: 'point2', position: Cesium.Cartesian3.fromDegrees(121, 30),//笛卡尔坐标 point: { color: Cesium.Color.BLUE, pixelSize: 20 }})viewer.zoomTo(point2)6.2标注
const billboard = viewer.entities.add({position: Cesium.Cartesian3.fromDegrees(116,40,10),billboard: {image: '/src/assets/position.png'.scale: 0.3,color: Cesium.Color.YELLOWviewer.zoomTo(billboard)
const label = viewer.entities.add({ position: Cesium.Cartesian3.fromDegrees(122, 30), label: { text: '新中地', fillColor: Cesium.Color.YELLOWGREEN,//变量 showBackground: true, backgroundColor: new Cesium.Color(255, 255, 0,)//实例化 }})viewer.zoomTo(label)6.3 entity实体线
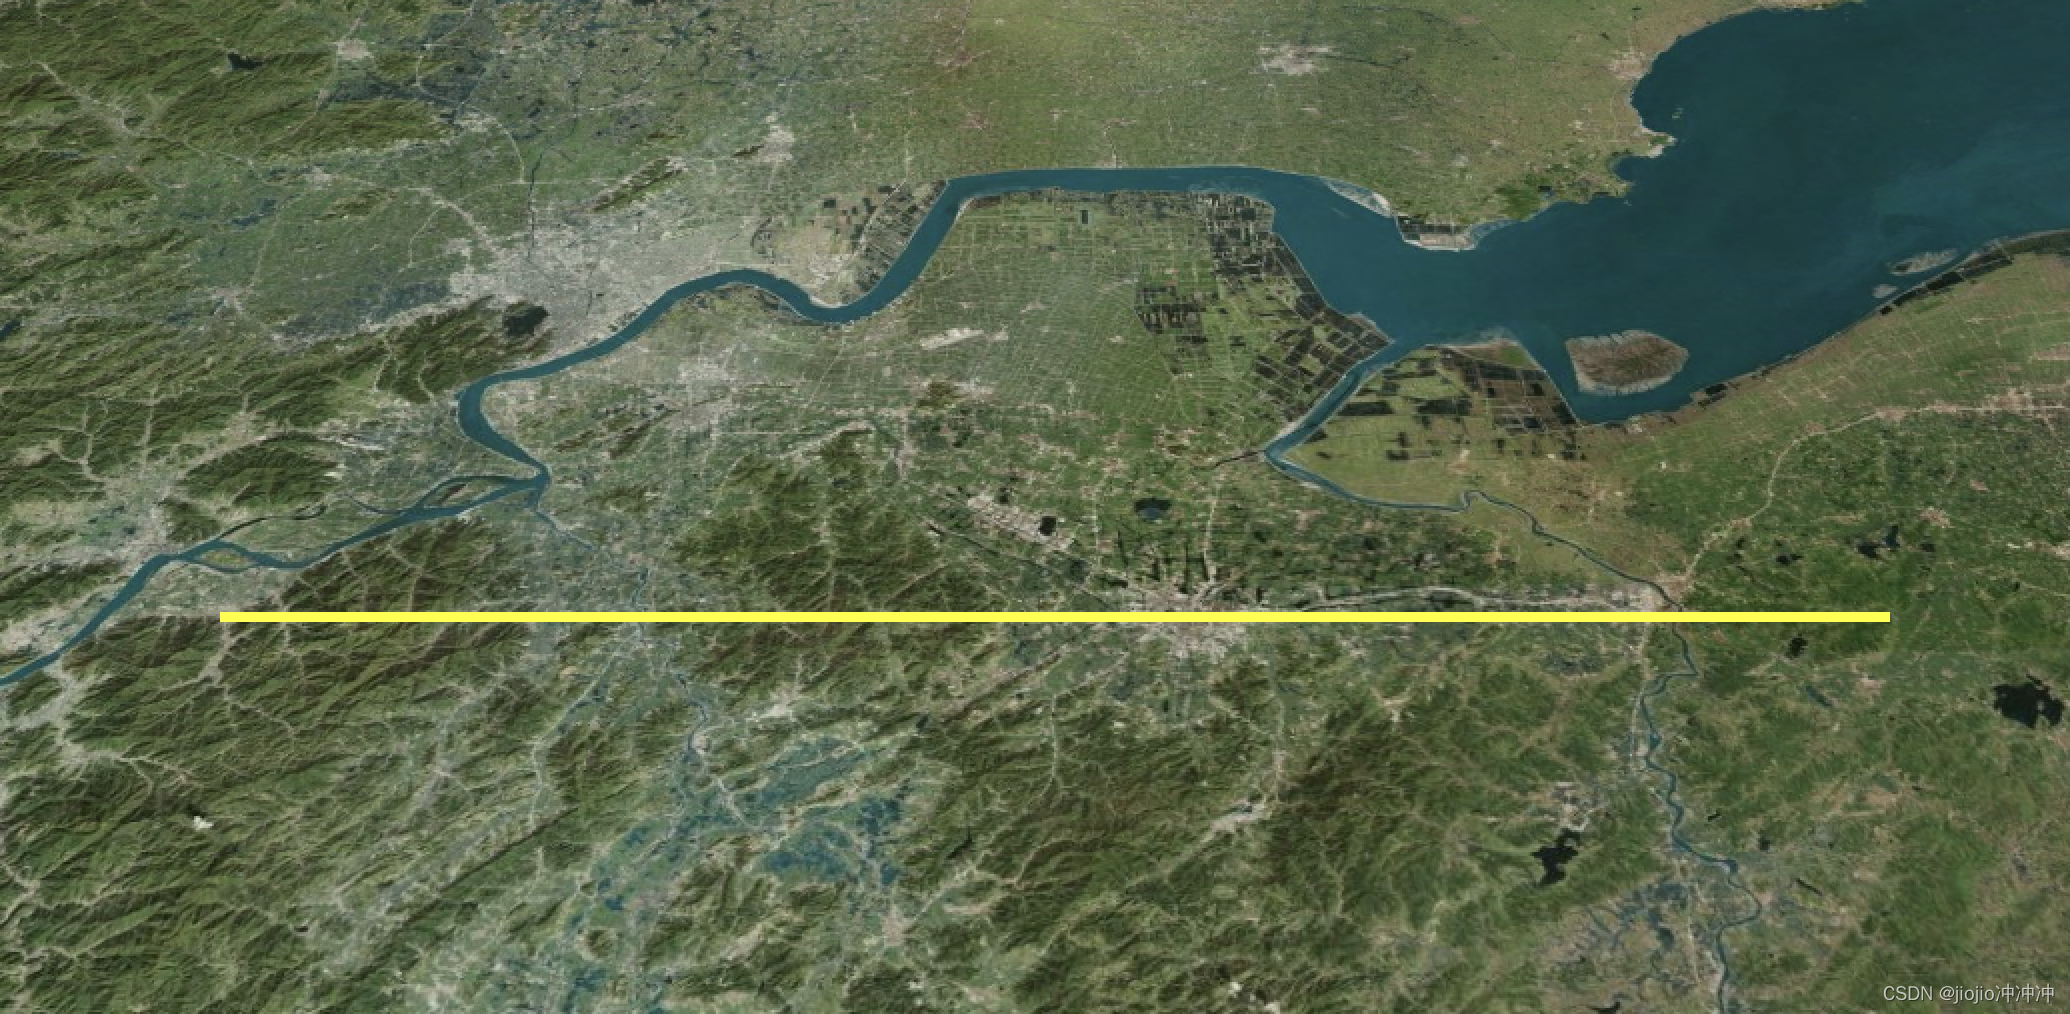
const line = viewer.entities.add({ polyline: { positions: Cesium.Cartesian3.fromDegreesArray([120, 30, 121, 30]),//返回笛卡尔坐标数据 material: Cesium.Color.YELLOW,//颜色 width: 5 }})viewer.zoomTo(line)6.4 entity实体面

const polygon = viewer.entities.add({ polygon: { hierarchy: { positions: Cesium.Cartesian3.fromDegreesArray([120, 29, 121, 29, 120.5, 28]), }, material: Cesium.Color.RED.withAlpha(0.5), height: 10000, //离地面高度 extrudedHeight: 20000, // 拉伸高度 outline: true, //比较拉伸后使用 outlineColor: Cesium.Color.WHITE, fill:false//是否填充 }})viewer.zoomTo(polygon)6.5 entity实体立方体
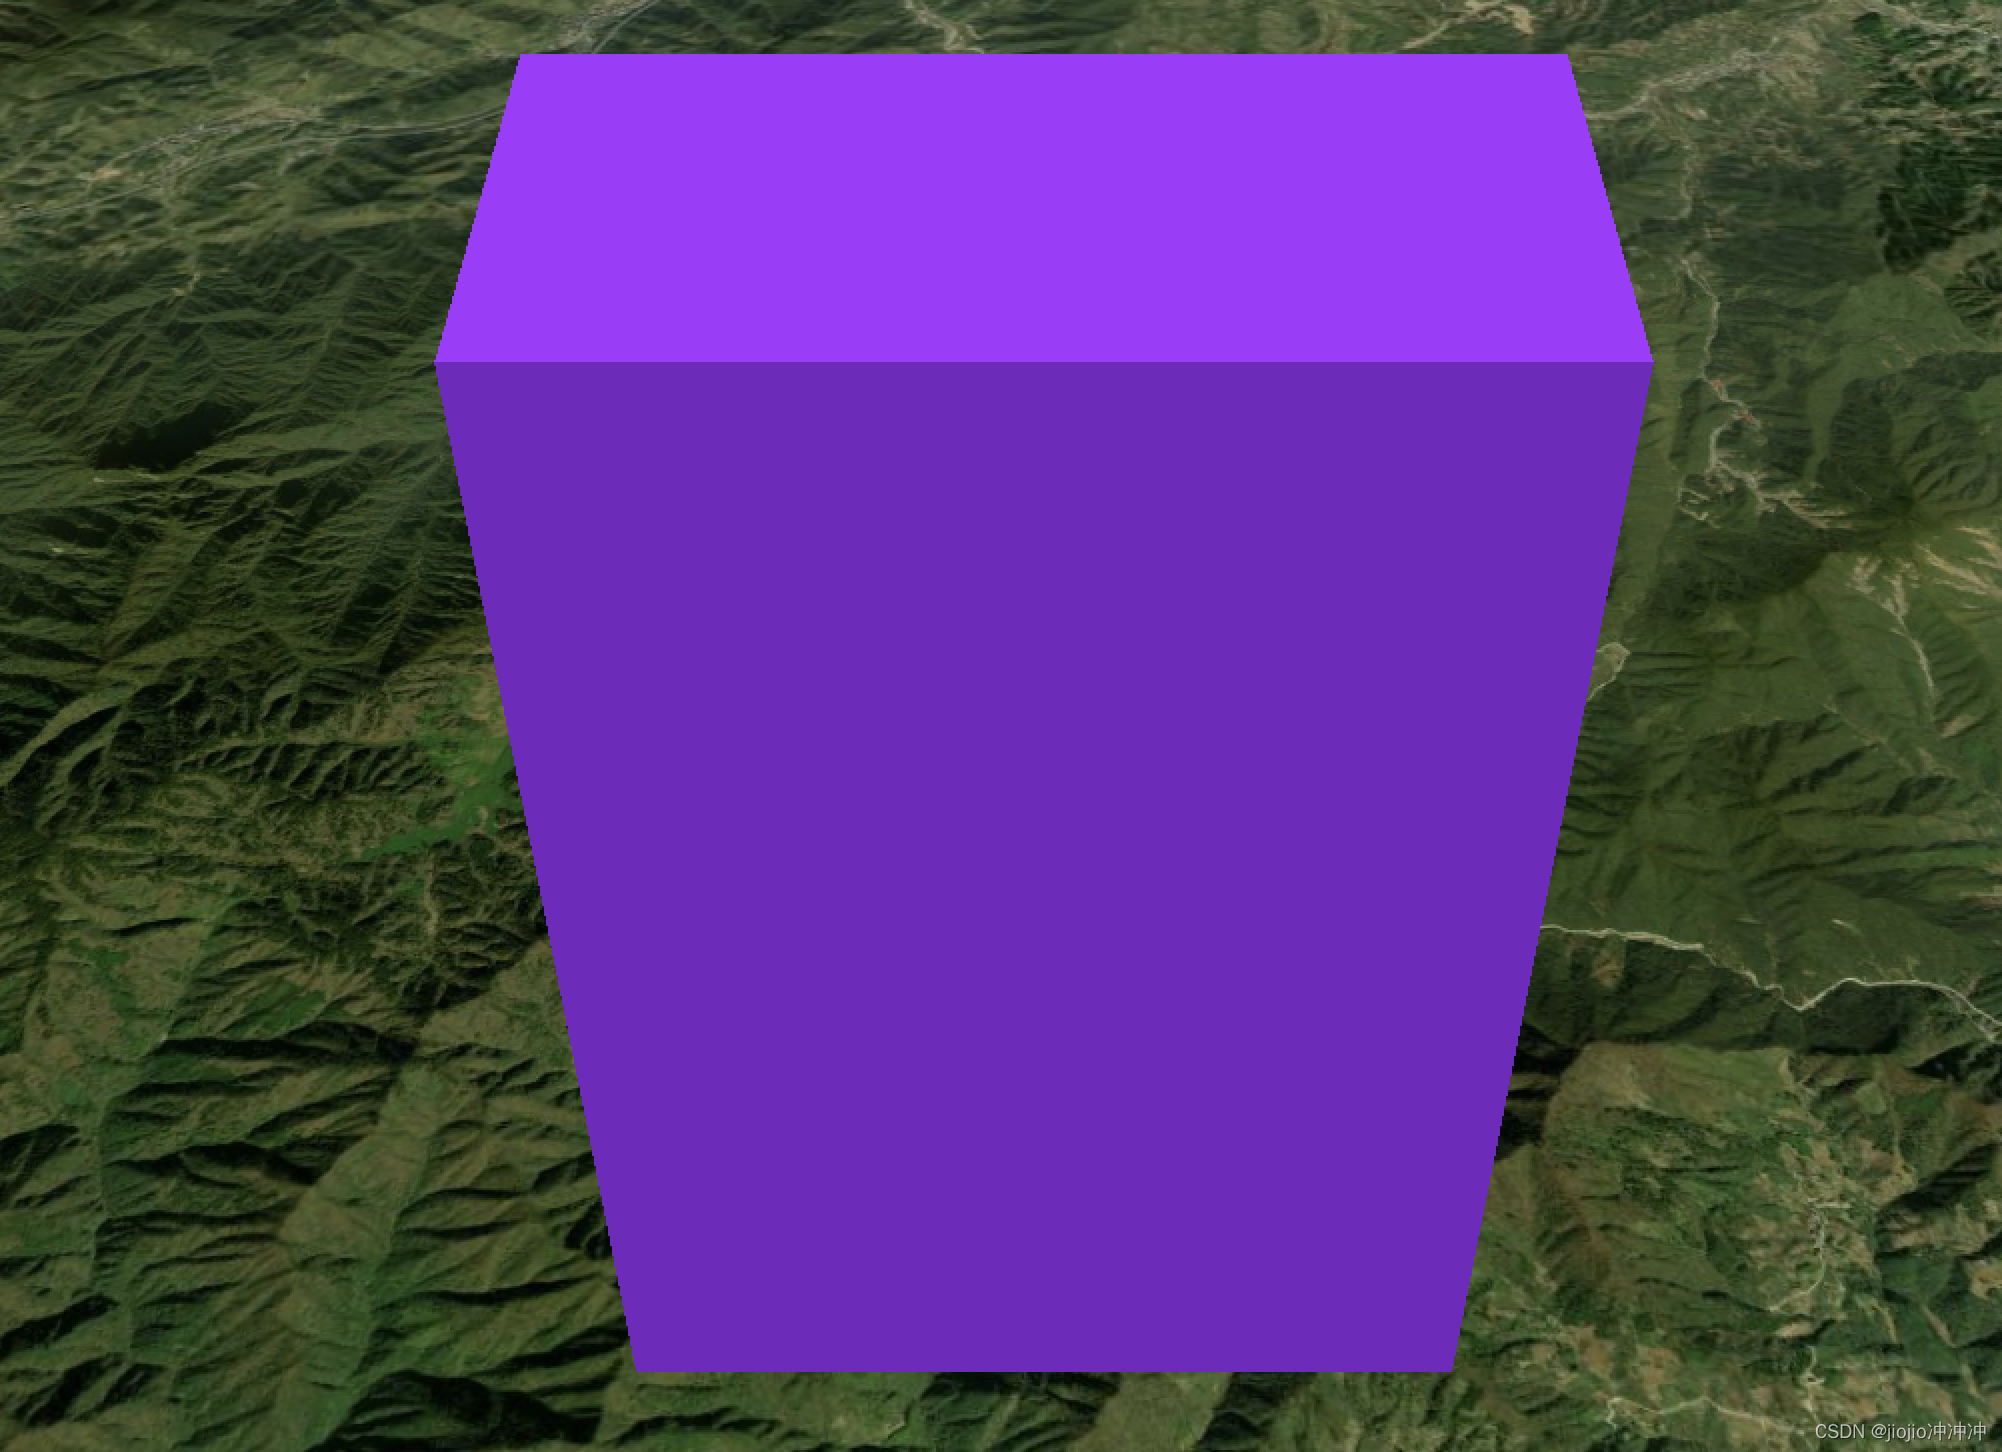
const box = viewer.entities.add({ position: Cesium.Cartesian3.fromDegrees(119, 30, 3000), box: { dimensions: new Cesium.Cartesian3(2000, 1000, 3000), material: Cesium.Color.BLUEVIOLET //图片的话直接写路径 }})viewer.zoomTo(box)6.6 entity实体椭圆
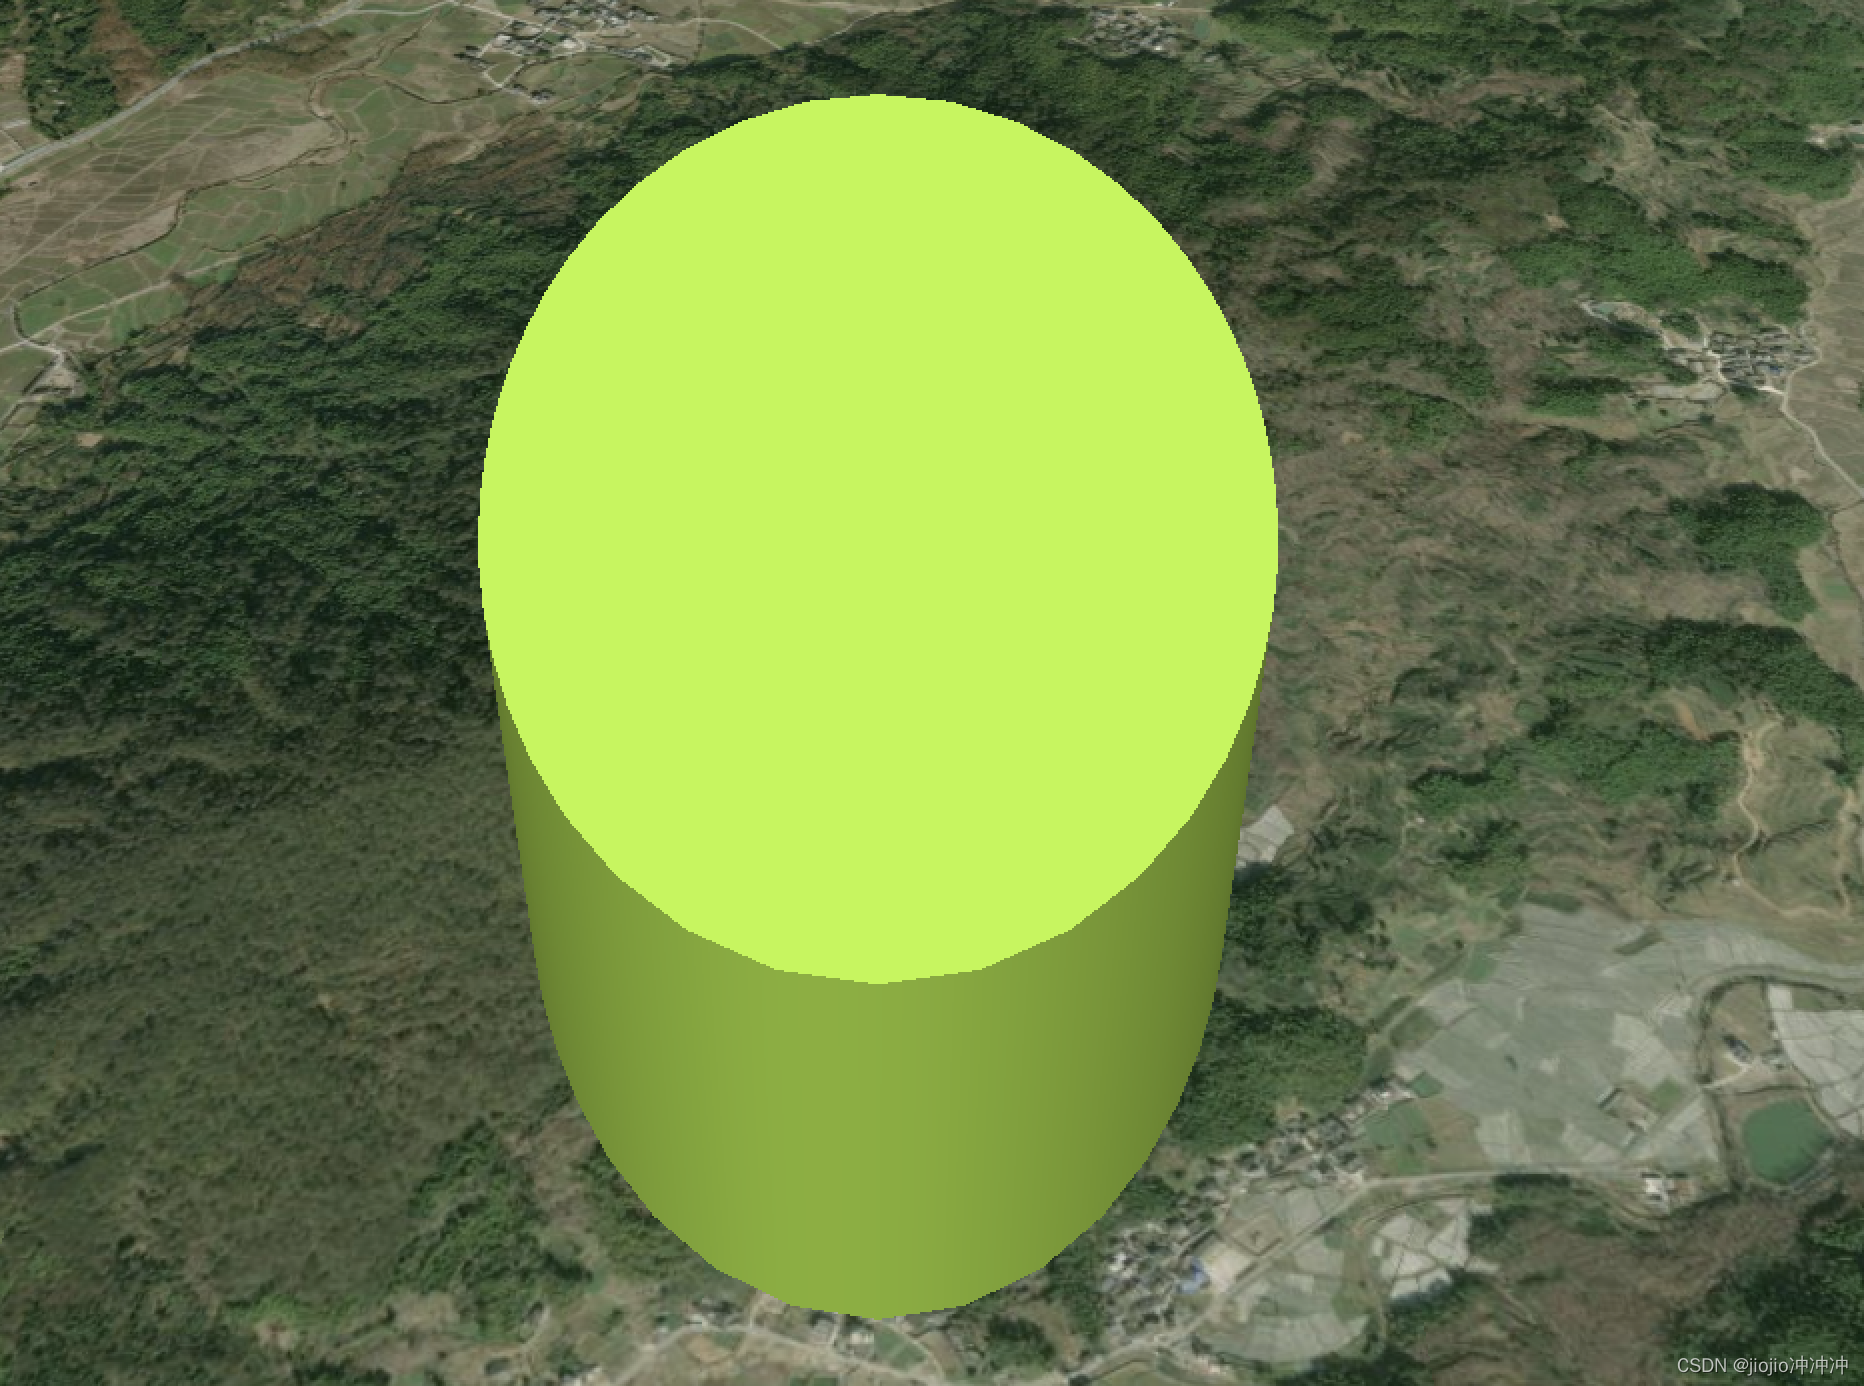
const ellipse = viewer.entities.add({ position: Cesium.Cartesian3.fromDegrees(118, 30), ellipse: { semiMajorAxis: 500, semiMinorAxis: 300, material: Cesium.Color.YELLOWGREEN, extrudedHeight: 400.0, rotation: Math.PI / 2 }})viewer.zoomTo(ellipse)6.7entity实体组合
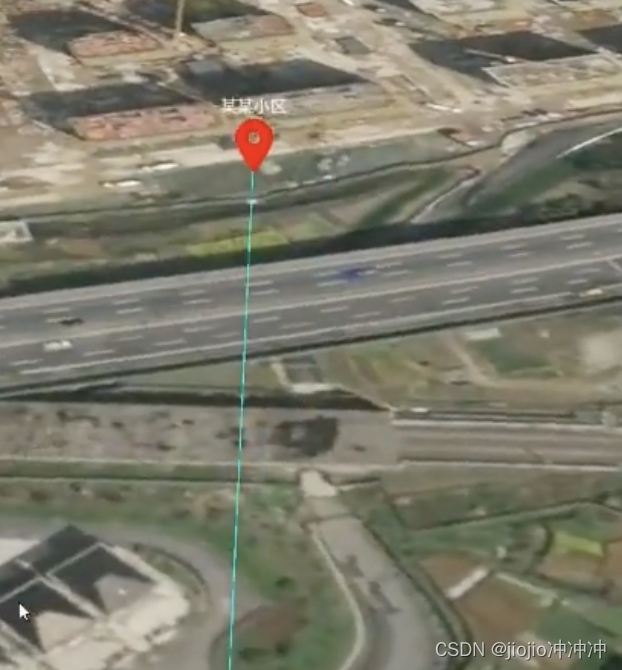
const viewer = new Cesium.Viewer('cesiumContainer', {}) const billboard = viewer.entities.add({ position: new Cesium.Cartesian3.fromDegrees(120, 30, 100), billboard: { image: '/src/assets/position.png', scale: 0.3, color: Cesium.Color.RED }, polyline: { positions: Cesium.Cartesian3.fromDegreesArrayHeights([120, 30, 0, 120, 30, 100]), material: Cesium.Color.AQUA }, position: new Cesium.Cartesian3.fromDegrees(120, 30, 108), label: { text: '某某小区', font: '13px', fillcolor: Cesium.Color.WHITE, pixelOffset:new Cesium.Cartesian2(0,40) } }) viewer.zoomTo(billboard)7.删除entity
let viewer, point1, point2, point3, blueList = []point1 = viewer.entities.add({ id: 'id1', position: Cesium.Cartesian3.fromDegrees(121, 30), point: { color: Cesium.Color.BLUE, pixelSize: 20 }})blueList.push(point1)point2 = viewer.entities.add({ id: 'id2', position: Cesium.Cartesian3.fromDegrees(121.0001, 30), point: { color: Cesium.Color.BLUE, pixelSize: 20 }})blueList.push(point2)point3 = viewer.entities.add({ id: 'id3', position: Cesium.Cartesian3.fromDegrees(121.0002, 30), point: { color: Cesium.Color.GREEN, pixelSize: 20 }})//const entity = viewer.entities.getById('point1') //通过id查实体viewer.zoomTo(point1)const toDel = () => { // 方式一 直接删除remove // viewer.entities.remove(point1) // 方式二 先查再删 // const entity = viewer.entities.getById('id1') // viewer.entities.remove(entity) // 方式三 全删 // viewer.entities.removeAll() // console.log(viewer.entities) // console.log(point2) //实体变量还存在,只是不在viewer.entities.values中//方式四 先拿后删//const entity = viewer.entities.getById(entity) //通洋ID获取//viewer.entities.remove(entity)//假设要删除一百个点,首先设置空数组把点push进去 然后再循环删除这个数组,数组当图层用删除 blueList.forEach(item => { viewer.entities.remove(item) }) blueList = []}8.用CallbackProperty生成动态实体
动态画出一条线
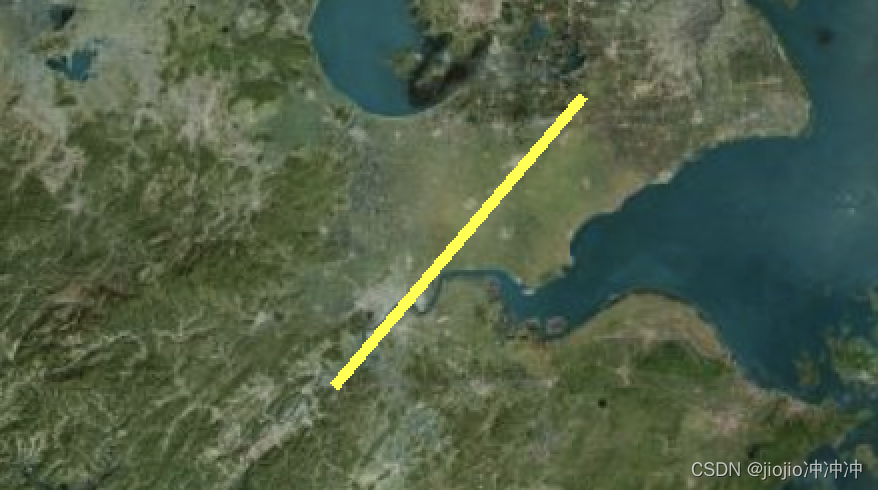
const viewer = new Cesium.Viewer('cesiumContainer', {}) let lon, lat, num = 0 const line = viewer.entities.add({ polyline: { positions: new Cesium.CallbackProperty(() => { num += 0.002 lon = 120 + num lat = 30 + num if (lon < 121) { return Cesium.Cartesian3.fromDegreesArray([120, 30, lon, lat]) } else { line.polyline.positions = new Cesium.Cartesian3.fromDegreesArray([ 120, 30, 121, 31, ]); } }, false), material: Cesium.Color.YELLOW, width: 5 } }) let position = Cesium.Cartesian3.fromDegrees(120, 30, 1000000) viewer.camera.setView({ destination: position })9.dataSources数据加载
9.1geoJson数据
GeoJSON是一种对各种地理数据结构进行编码的JSON数据格式。GeoJSON支持点线面等多种几何图形。type表示要素类型,coordinates表示坐标数据,坐标通常是WGS-84。
turf
//在index.html中引入turf<script src="https://unpkg.com/@turf/turf/turf.min.js"></script>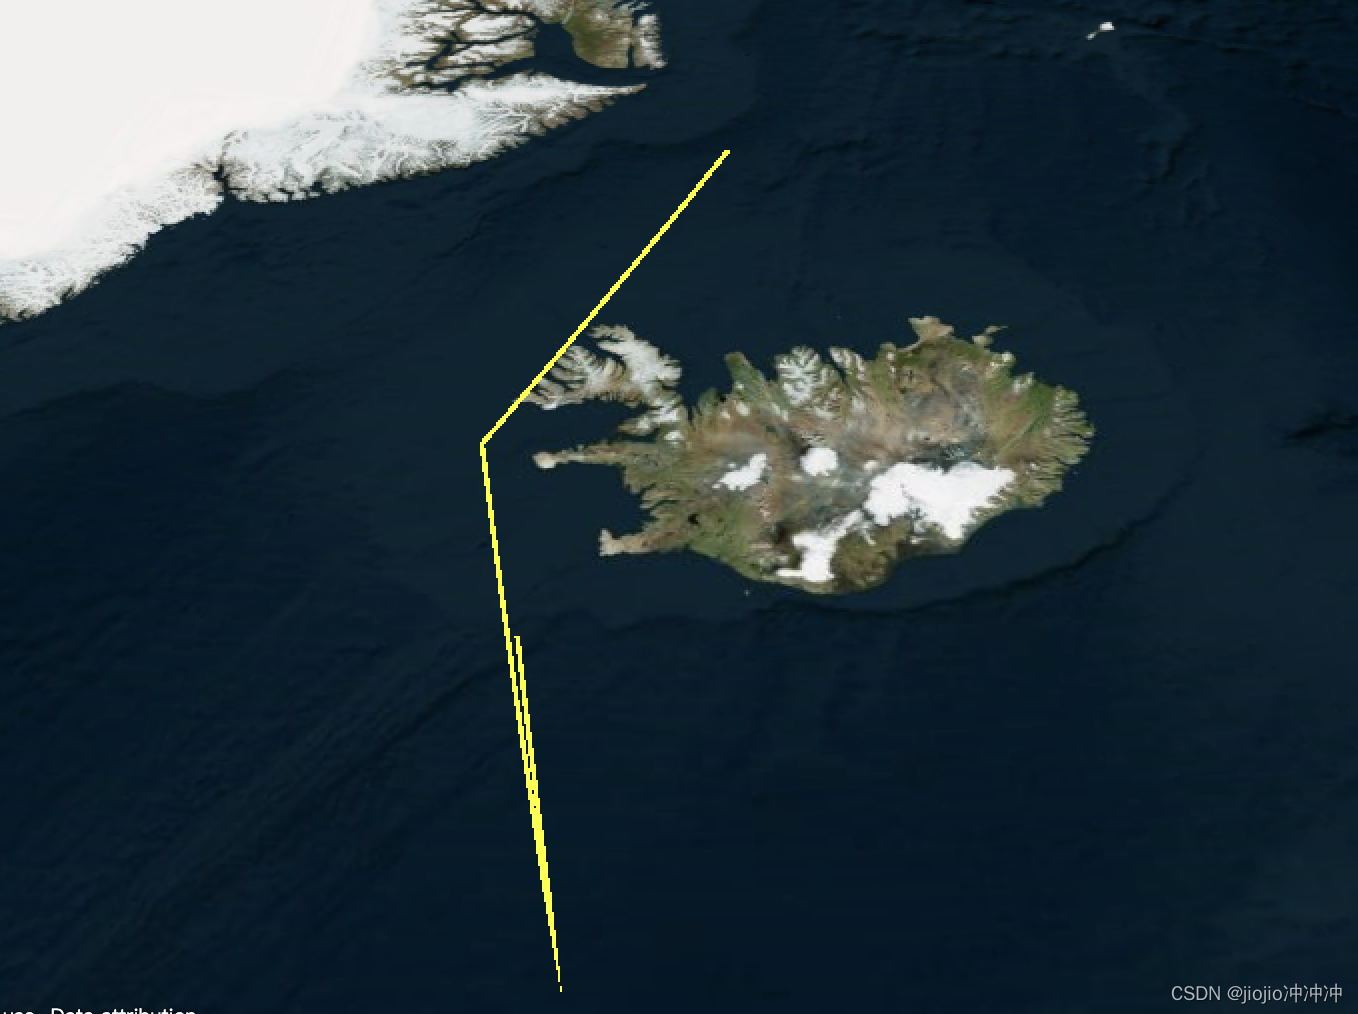
const viewer = new Cesium.Viewer('cesiumContainer', {}) const linestring1 = turf.lineString([[-24, 63], [-23, 60], [-25, 65], [-20, 69]]); console.log(linestring1) // 把geoJson对象转换成了实体entity const data = Cesium.GeoJsonDataSource.load(linestring1) data.then(res => { viewer.entities.add(res.entities.values[0]) viewer.zoomTo(res.entities.values[0]) })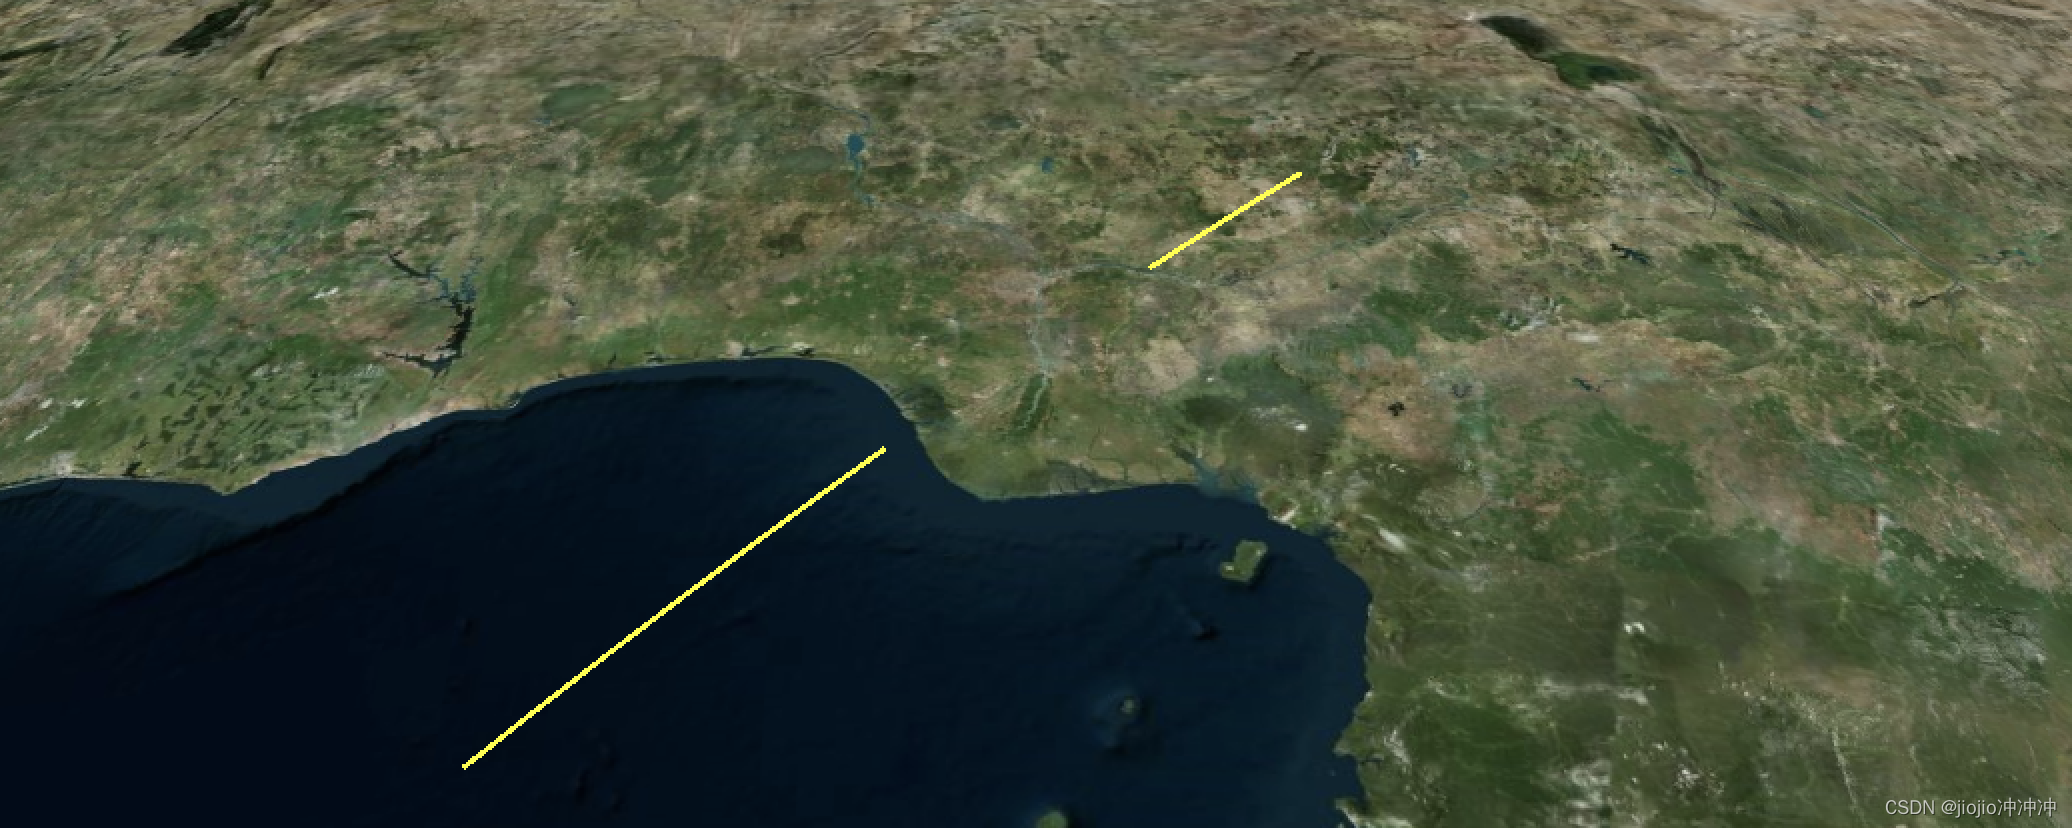
const viewer = new Cesium.Viewer('cesiumContainer', {}) const multiLine = turf.multiLineString([[[8, 8], [10, 10]], [[1, 1], [5, 5]]]); Cesium.GeoJsonDataSource.load(multiLine).then(res => { var data = res viewer.dataSources.add(data); viewer.zoomTo(data); })9.2topoJson数据
TopoJSON 是 GeoJSON 按拓扑学编码后的扩展形式,是由 D3 的作者 Mike Bostock 制定的。相比 GeoJSON 直接使用 Polygon、Point 之类的几何体来表示图形的方法,TopoJSON 中的每一个几何体都是通过将共享边(被称为arcs)整合后组成的。TopoJSON 拓扑表示共享一个称为弧的位置序列的一个或多个几何。
TopoJSON 作为 GeoJSON 的扩展,支持多种几何类型:Point,LineString,Polygon,MultiPoint,MultiLineString,MultiPolygon 和 GeometryCollection。 TopoJSON 中的几何可能包含其他属性,以对非几何数据进行编码。Mapshaper和arcgis都采用过这种拓扑格式。TopoJSON消除了冗余,共享的弧段仅存储一次,允许将相关的几何有效地存储在同一文件中。例如,内蒙古自治区和辽宁省之间的共享边界仅存储一次,而不是在两个省都重复。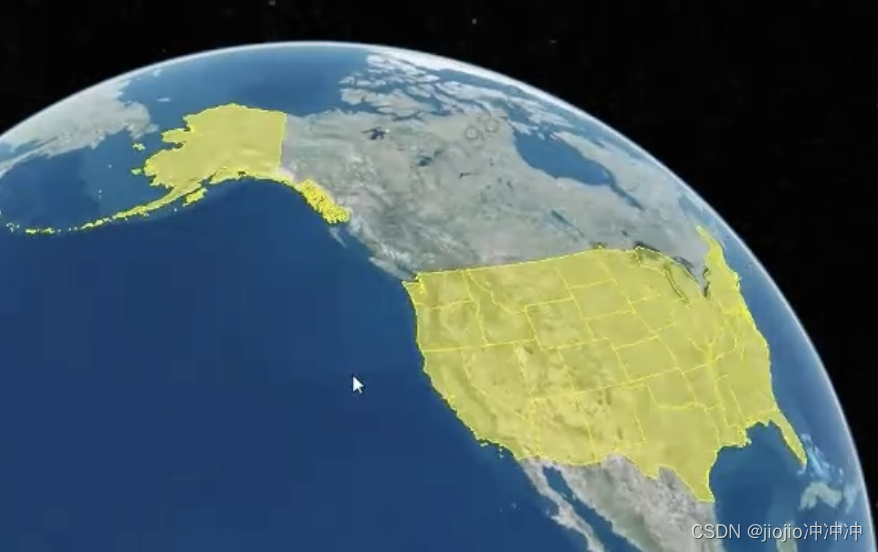
const promise = Cesium.GeoJsonDatasource.load('/src/assets/usa.topojson') viewer.datasources.add(promise) viewer.zoomTo(promise)9.3kml
KML全称:Keyhole Markup Language,是基于XML(eXtensible Markup Language,可扩展标记语言)语法标准的一种标记语言(markup language),采用标记结构,含有嵌套的元素和属性。由Google(谷歌(页面存档备份,存于互联网档案馆))旗下的Keyhole公司发展并维护,用来表达地理标记。根据KML语言编写的文件则为KML文件,格式同样采用的XML文件格式,应用于Google地球相关软件中(Google Earth,Google Map, Google Maps for mobile…),用于显示地理数据(包括点、线、面、多边形,多面体以及模型…)。而现在很多GIS相关企业也追随Google开始采用此种格式进行地理数据的交换。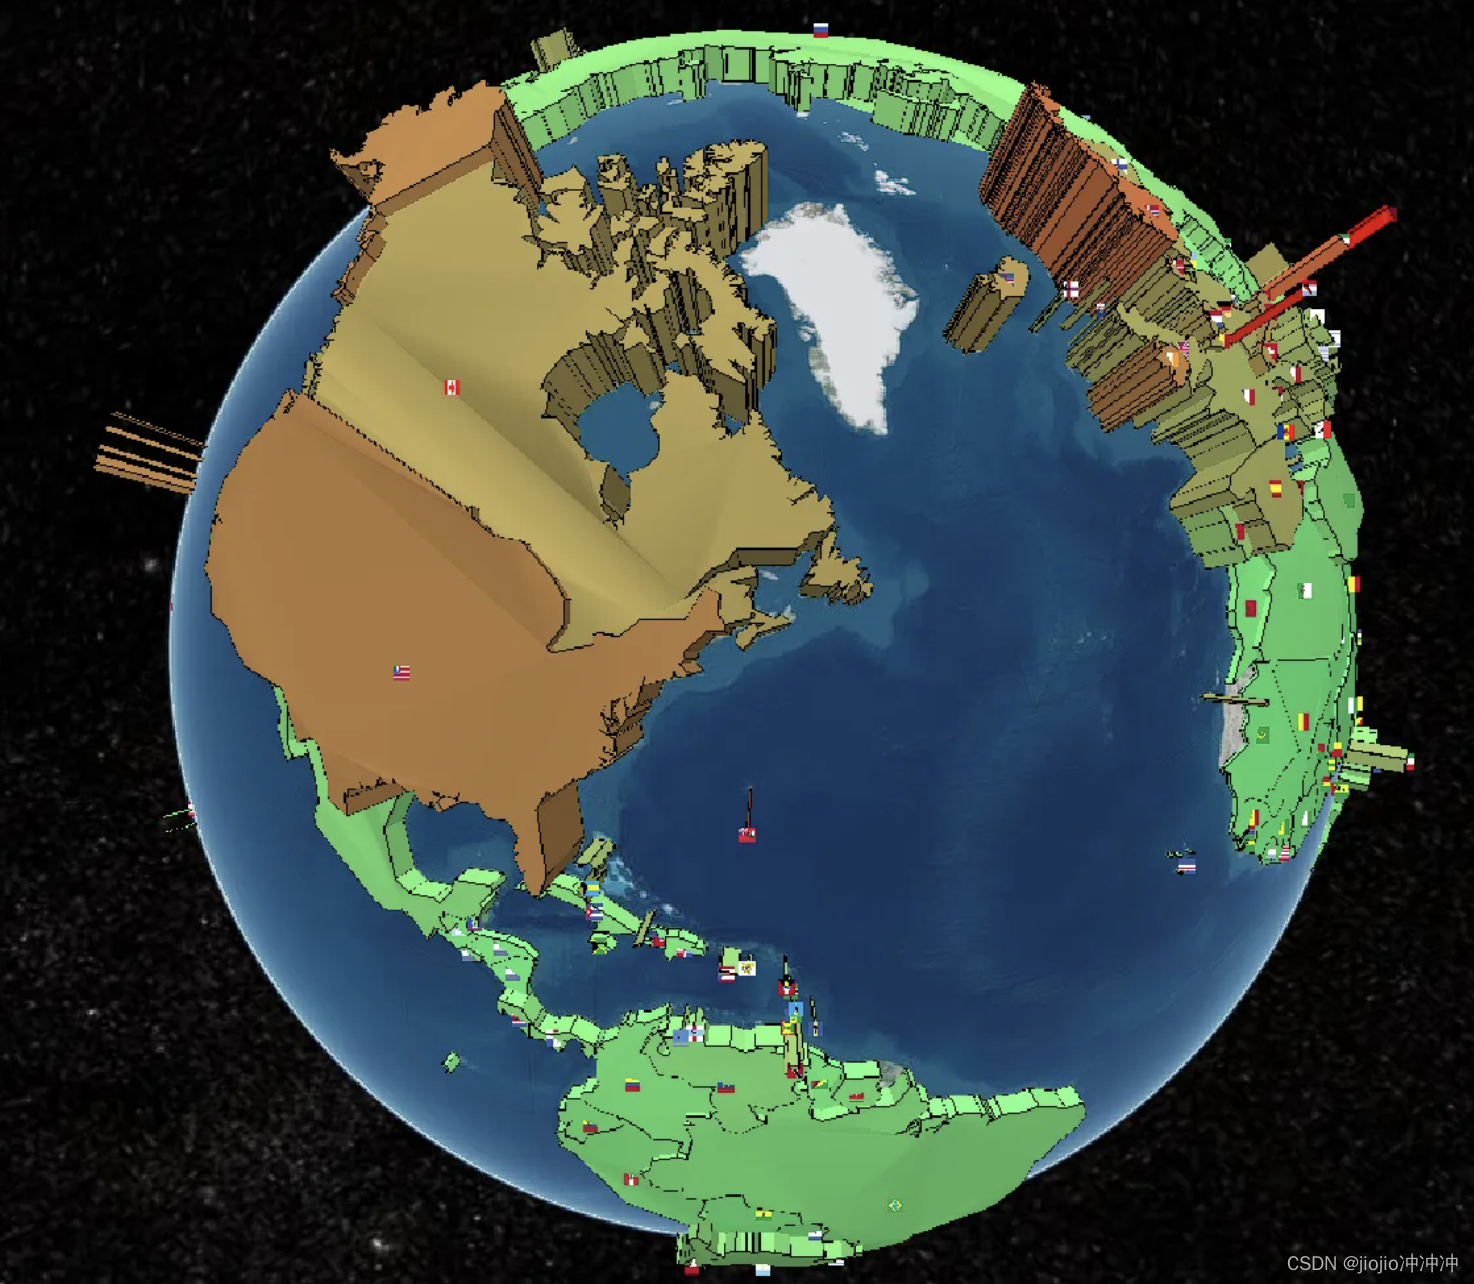
const promise = Cesium.KmlDataSource.load('/src/assets/gdp2008.kmz')console.log(promise)viewer.dataSources.add(promise)9.4动态数据格式CZML
CZML是JSON的子集,这意味着一个有效的CZML文档也是一个有效的JSON文档。具体来说,CZML文档包含一个JSON数组,其中数组中的每个对象字面量元素都是一个CZML Packet。CZML包描述场景中单个对象的图形属性,例如单个飞机。
这种数据格式,使得Cesium具备实现动态数据的能力。
CZML包含点、线、地标、模型等一些图形元素,并指明了这些元素如何随时间而变化。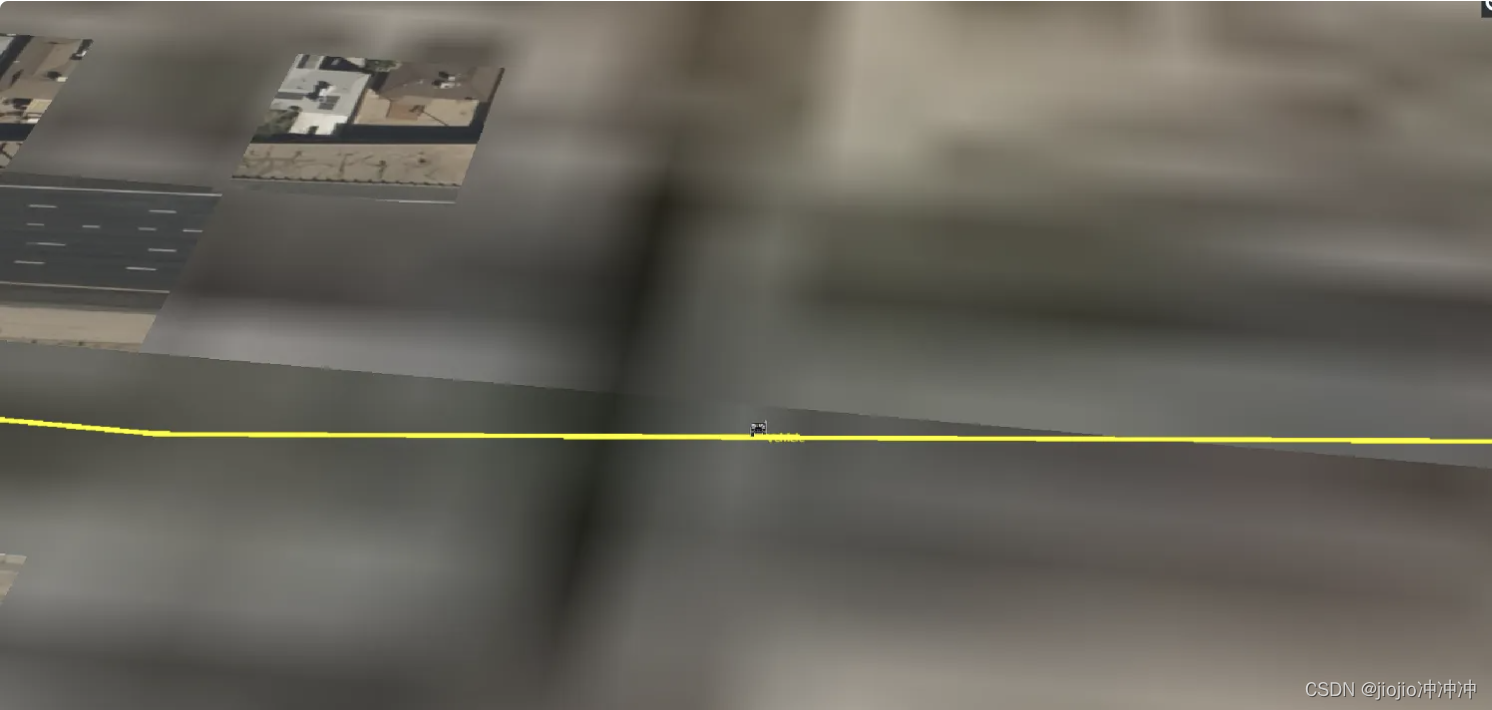
viewer = new Cesium.Viewer('cesiumContainer', { shouldAnimate: true //开启场景动画})//Cesium.CzmlDataSourcedata.then(res => { viewer.dataSources.add(res); let entity = res.entities.getById("Vehicle") viewer.trackedEntity = entity; //trackedEntity 可以实现一直移动相机跟踪entity目标})10.primitive图元
Cesium丰富的空间数据可视化API分为两部分:Primitive API 面向三维图形开发者,更底层一些。Entity API 是数据驱动更高级一些。
区别:
entity:调用方便,封装完美,是基于primitive的封装
primitive:更接近底层,可以绘制高级图形、组合图形,由Geometry(几何形状)、(Appearance )外观组成
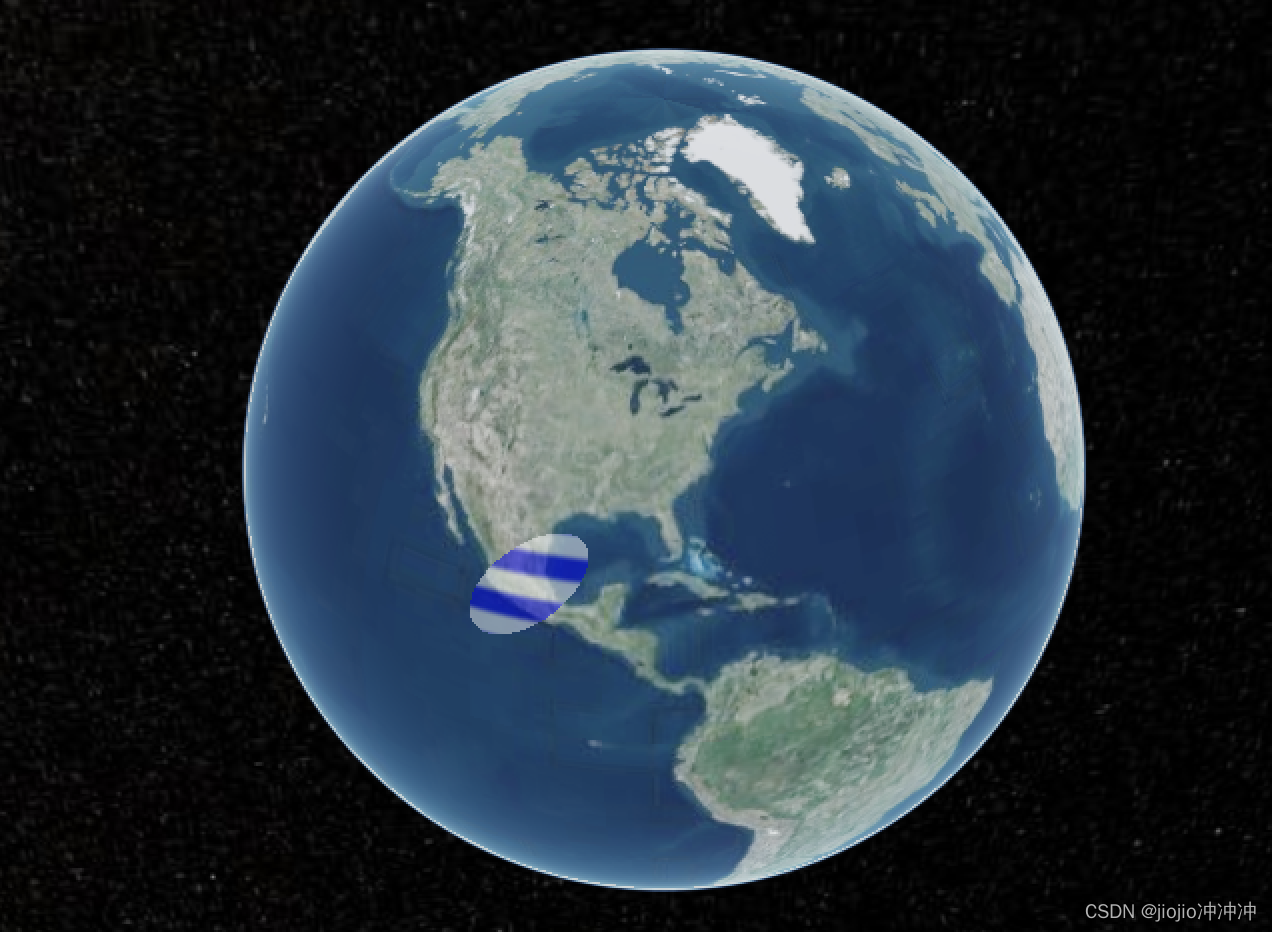
const viewer = new Cesium.Viewer('cesiumContainer', {}) const primitive = new Cesium.Primitive({ geometryInstances: new Cesium.GeometryInstance({ geometry: new Cesium.EllipseGeometry({ center: Cesium.Cartesian3.fromDegrees(-100.0, 20.0), semiMinorAxis: 500000.0, semiMajorAxis: 1000000.0, rotation: Cesium.Math.PI_OVER_FOUR, vertexFormat: Cesium.VertexFormat.POSITION_AND_ST }), }), appearance: new Cesium.EllipsoidSurfaceAppearance({ material: Cesium.Material.fromType('Stripe') }) }) viewer.scene.primitives.add(primitive);10.1组合图形
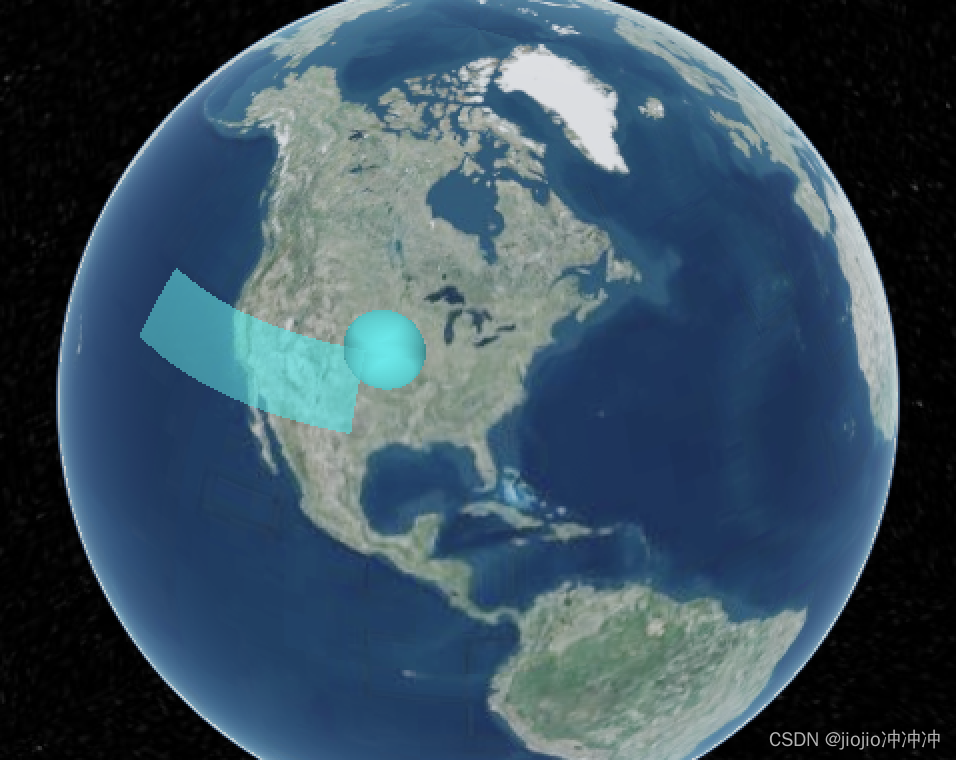
const viewer = new Cesium.Viewer('cesiumContainer', {}) const rectangleInstance = new Cesium.GeometryInstance({ geometry: new Cesium.RectangleGeometry({ rectangle: Cesium.Rectangle.fromDegrees(-140.0, 30.0, -100.0, 40.0), vertexFormat: Cesium.PerInstanceColorAppearance.VERTEX_FORMAT }), id: 'rectangle', attributes: { color: new Cesium.ColorGeometryInstanceAttribute(0.0, 1.0, 1.0, 0.5) } }); const ellipsoidInstance = new Cesium.GeometryInstance({ geometry: new Cesium.EllipsoidGeometry({ radii: new Cesium.Cartesian3(500000.0, 500000.0, 1000000.0), vertexFormat: Cesium.VertexFormat.POSITION_AND_NORMAL }), modelMatrix: Cesium.Matrix4.multiplyByTranslation(Cesium.Transforms.eastNorthUpToFixedFrame( Cesium.Cartesian3.fromDegrees(-95.59777, 40.03883)), new Cesium.Cartesian3(0.0, 0.0, 500000.0), new Cesium.Matrix4()), id: 'ellipsoid', attributes: { color: Cesium.ColorGeometryInstanceAttribute.fromColor(Cesium.Color.AQUA) } }); viewer.scene.primitives.add(new Cesium.Primitive({ geometryInstances: [rectangleInstance, ellipsoidInstance], appearance: new Cesium.PerInstanceColorAppearance() }));11.3DTiles加载
3D Tiles是Cesium提出的处理三维地理大数据的数据格式,目前已经是OGC的数据标准之一,在web端的三维数据传输中已经得到了广泛的应用。从数据结构关系上来看,3DTiles属于Primitive,具有很高的数据加载效率。
3D Tiles 是在glTF的基础上,加入了分层LOD的概念(可以把3D Tiles简单地理解为带有 LOD 的 glTF ),专门为流式传输和渲染海量 3D 地理空间数据而设计的,例如倾斜摄影、3D 建筑、BIM/CAD、实例化要素集和点云。它定义了一种数据分层结构和一组切片格式,用于渲染数据内容。3D Tiles 没有为数据的可视化定义明确的规则,客户可以按照自己合适的方式来可视化 3D 空间数据。同时,3D Tiles 也是 OGC 标准规范成员之一,可用于在台式机、Web端和移动应用程序中实现与海量异构3D地理空间数据的共享、可视化、融合以及交互功能
定义
3D Tiles是Cesium于2016年3月定义的一种三维模型瓦片数据结构。3D Tiles将海量的三维模型瓦片数据,以分块,分层的形式组织起来,这样就大大减轻了浏览器和图形处理单位(GPU)的负担。
3D Tiles建立在glTF格式之上,并引入了三维图形领域的技术。
3D Tiles还支持交互旋转和样式的设置。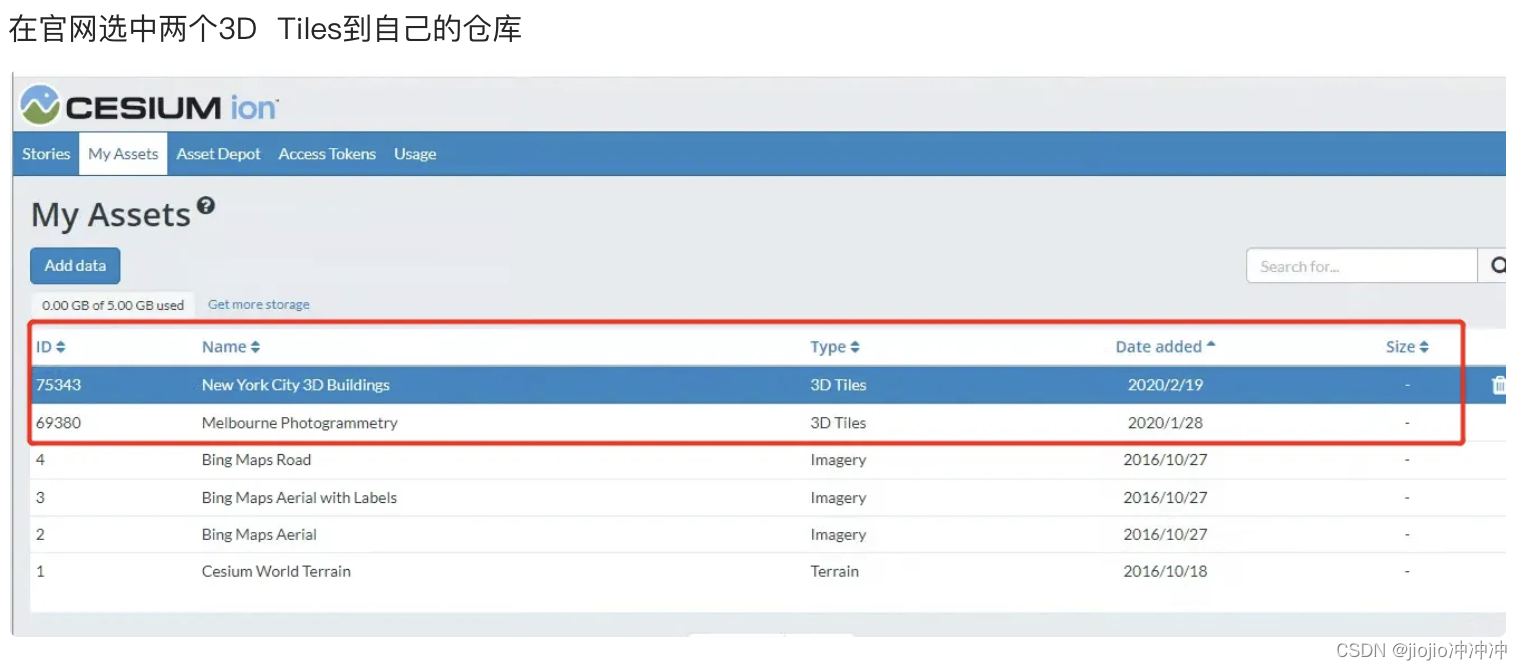
11.1加载墨尔本
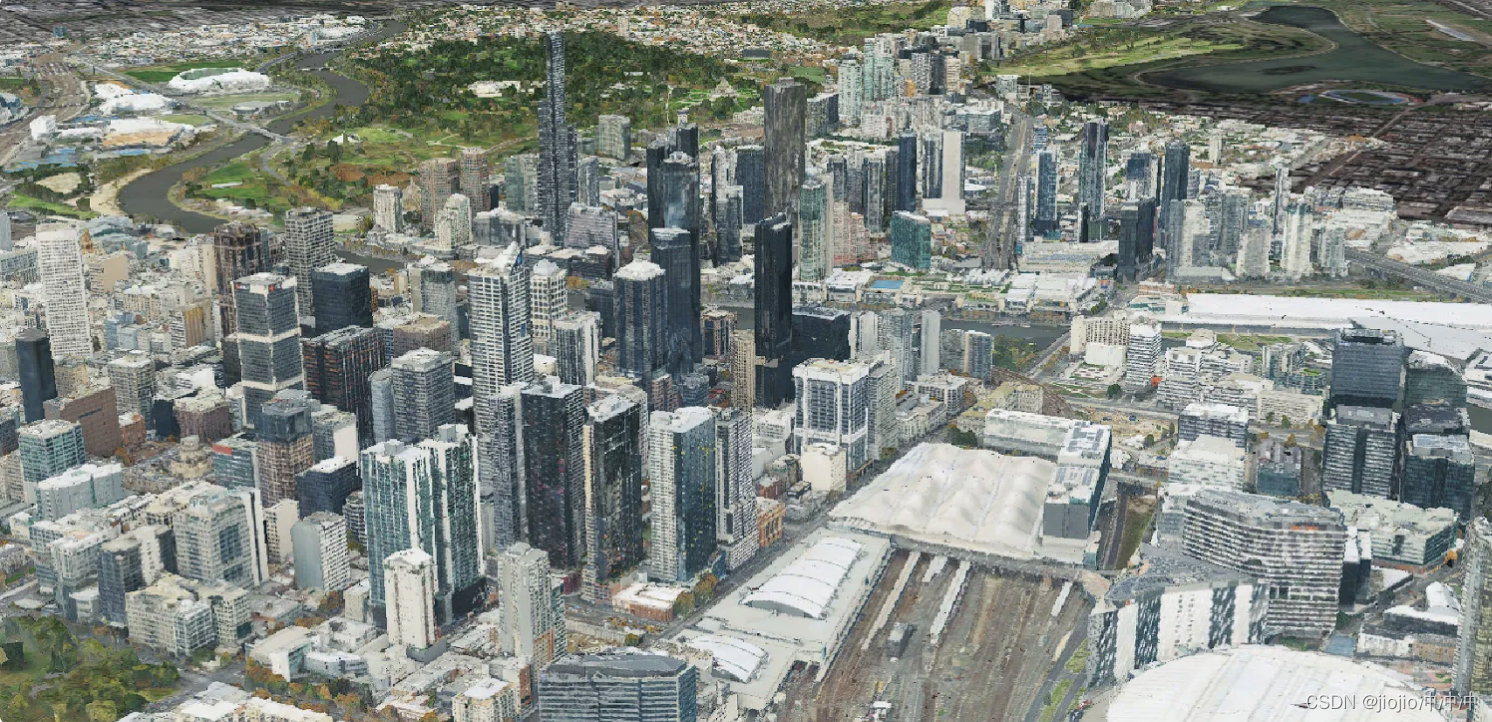
const tileset = viewer.scene.primitives.add( new Cesium.Cesium3DTileset({ url: Cesium.IonResource.fromAssetId(69380) }))viewer.flyTo(tileset)11.2 加载纽约
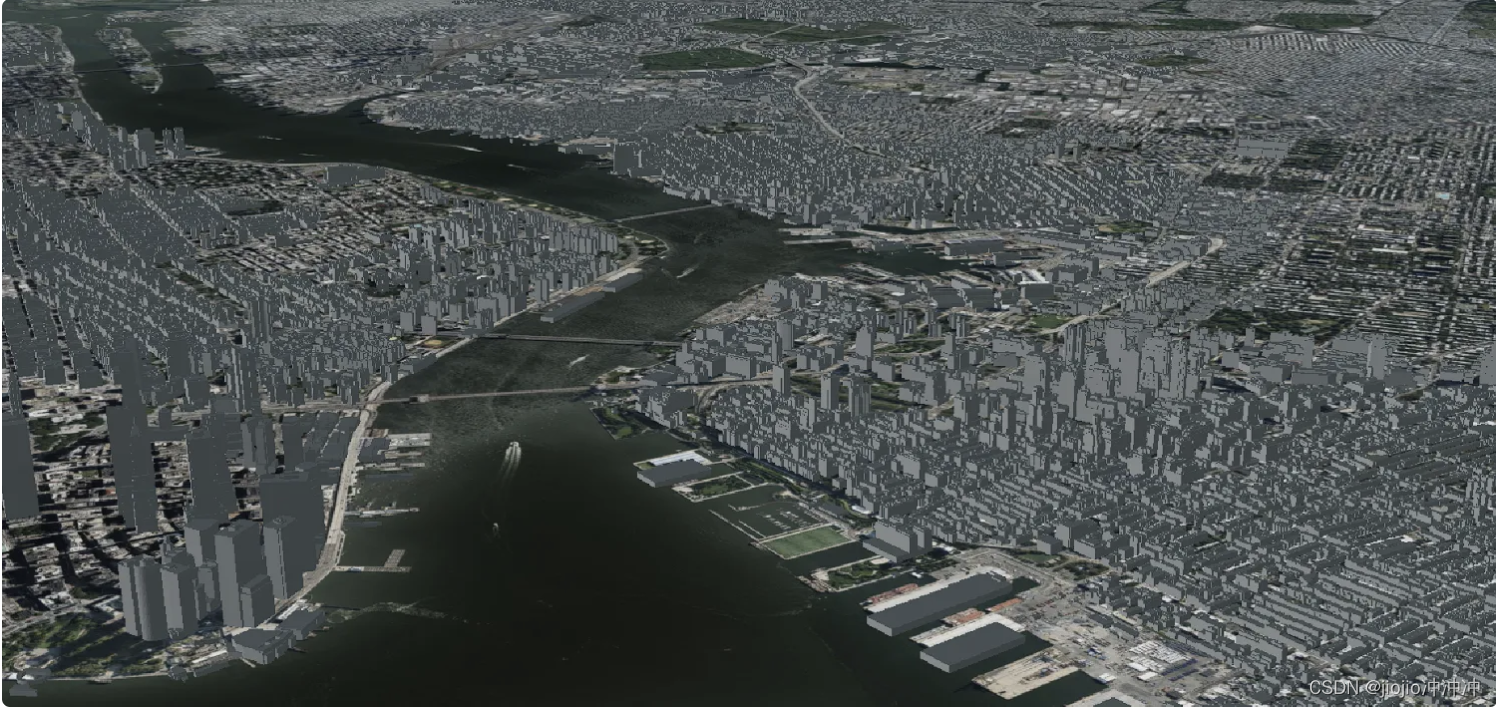
const tileset = viewer.scene.primitives.add( new Cesium.Cesium3DTileset({ url: Cesium.IonResource.fromAssetId(75343) }))viewer.flyTo(tileset)