简介
Zabbix 是一款企业级的开源监控解决方案,主要用于分布式系统和网络设备的监控。它提供了基于Web界面的集中管理和监控功能,能够实时监控服务器的各项性能指标,如CPU负载、内存使用情况、磁盘空间占用,以及网络流量等,并且支持自动发现网络中的服务器与设备。
安装步骤
一、安装前准备
1.关闭防火墙
#systemctl stop firewalld#systemctl disable firewalld2. 关闭selinux
#SELINUX=disabled这是临时关闭,重启后恢复,我没有永久关闭,Zabbix正常使用永久关闭可以参考这篇文章
二、Zabbix的安装
1.点击跳转Zabbix官网
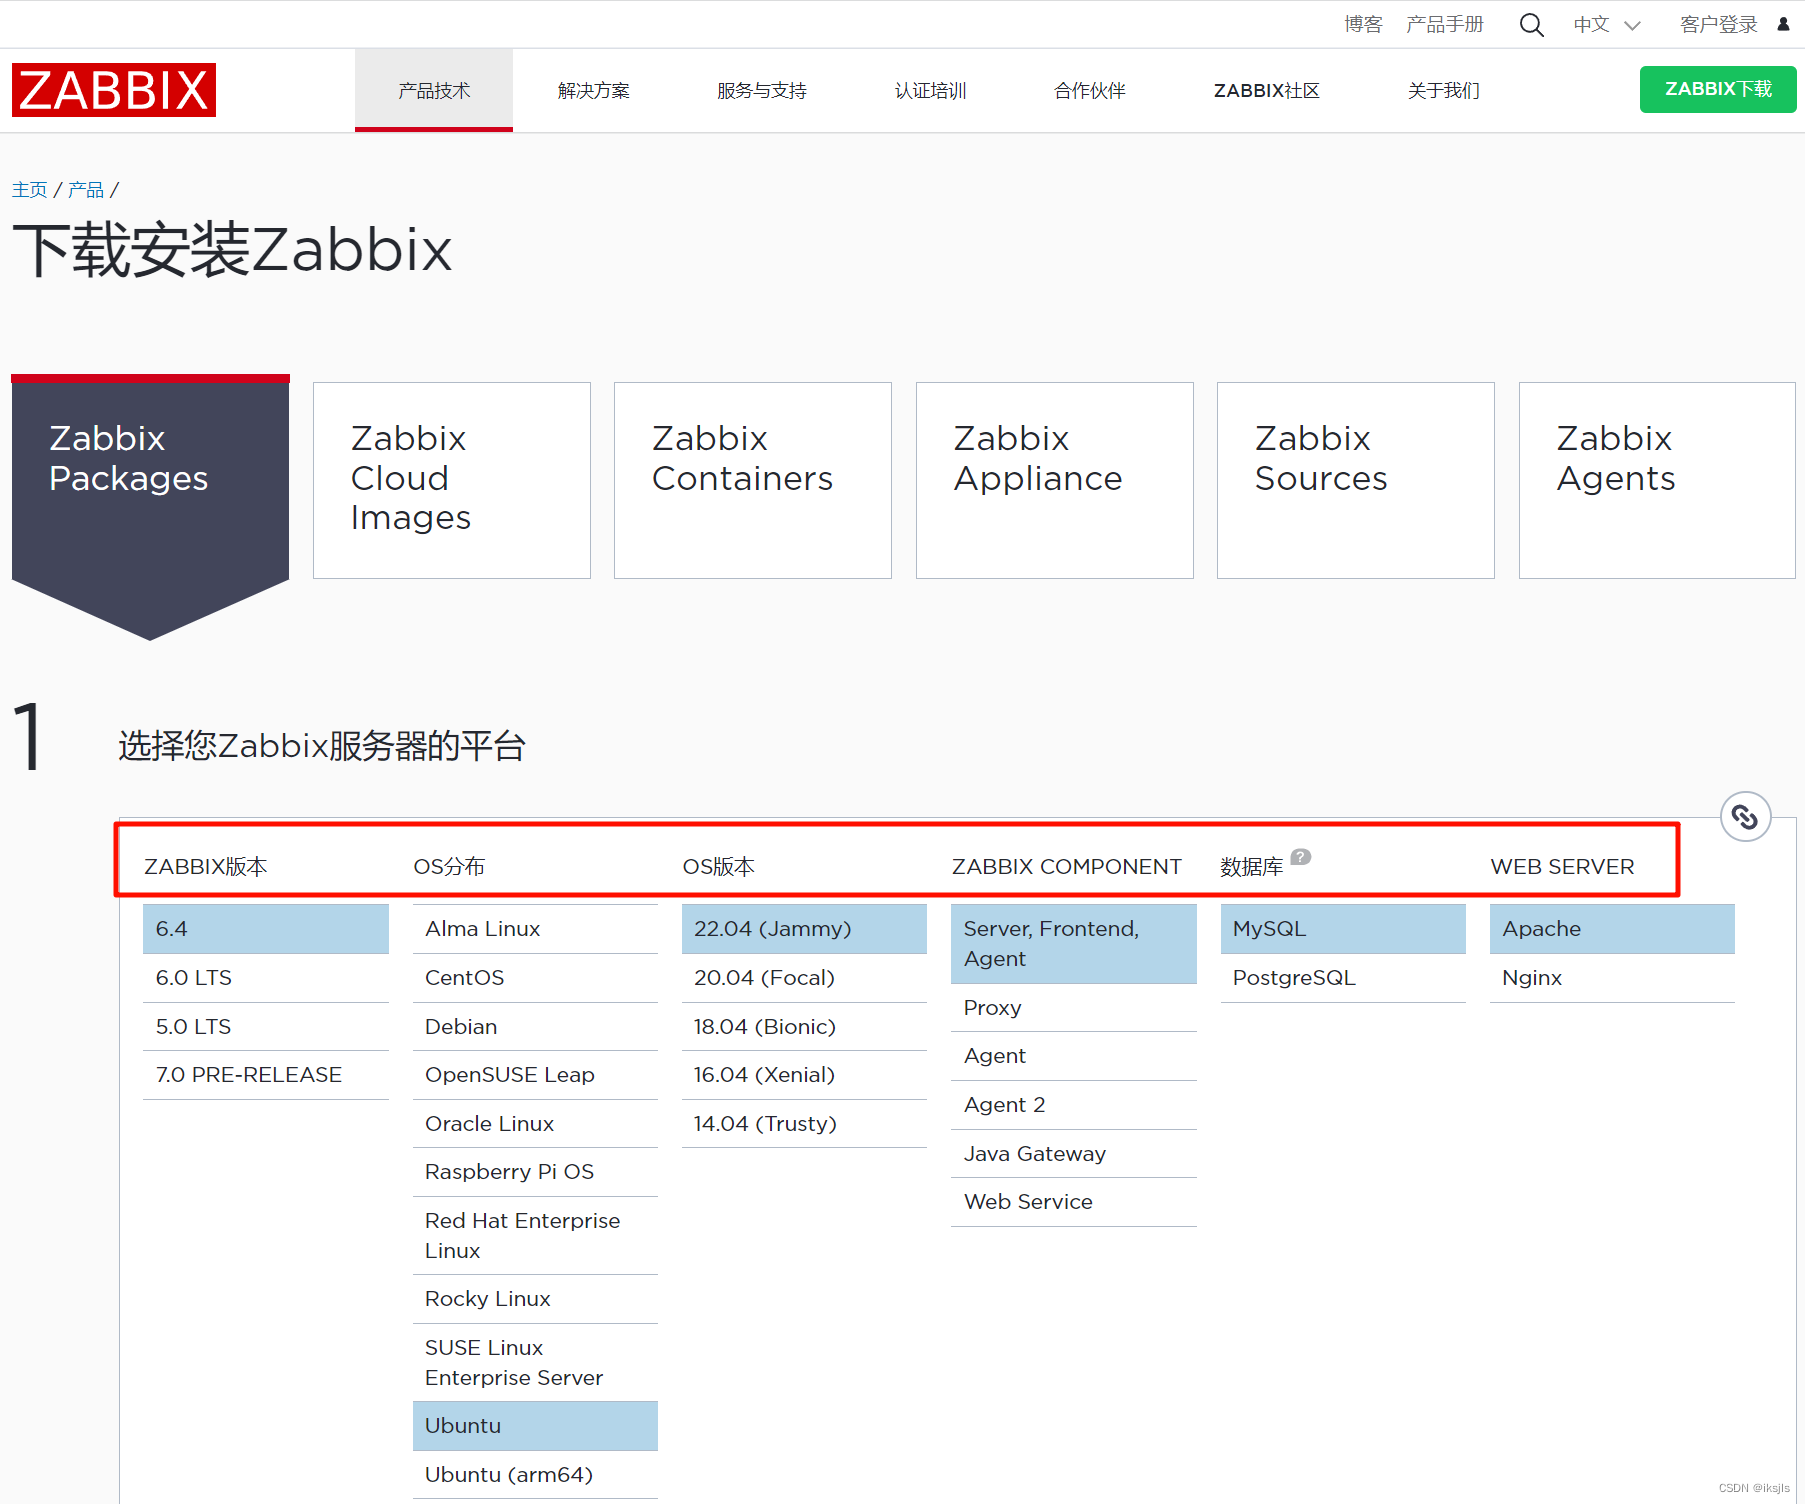
根据自己的OS和需求选择对应的版本和组件

我是使用Ubuntu22.04安装的,这里你可以根据自己的需求选择就行了
2.开始安装和配置Zabbix
选择好后在该网页的下方会有官方的安装步骤,如下图所示

A. 安装 Zabbix 存储库
# wget https://repo.zabbix.com/zabbix/6.4/ubuntu/pool/main/z/zabbix-release/zabbix-release_6.4-1+ubuntu22.04_all.deb# dpkg -i zabbix-release_6.4-1+ubuntu22.04_all.deb# apt updateb. 安装Zabbix server,Web前端,agent
# apt install zabbix-server-mysql zabbix-frontend-php zabbix-apache-conf zabbix-sql-scripts zabbix-agent官方教程的这两个步骤是没问题的,直接照着操作就行了
c. 创建初始数据库
这里我是使用的mariadb数据库,下面是具体的安装步骤
# apt install mariadb-server -y# systemctl start mariadb# systemctl enable mariadb# mysql_secure_installationNOTE: RUNNING ALL PARTS OF THIS SCRIPT IS RECOMMENDED FOR ALL MariaDB SERVERS IN PRODUCTION USE! PLEASE READ EACH STEP CAREFULLY!Enter current password for root (enter for none): # 当前root还没有密码,直接回车即可Set root password? [Y/n] y# 是否要设置root密码,yNew password: # 123(可自定义)Re-enter new password: # 再次确认一遍密码Password updated successfully!Reloading privilege tables.. ... Success!By default, a MariaDB installation has an anonymous user, allowing anyoneto log into MariaDB without having to have a user account created forthem. This is intended only for testing, and to make the installationgo a bit smoother. You should remove them before moving into aproduction environment.Remove anonymous users? [Y/n] y# 当前有个anonymous用户,是否移除 y ... Success!Normally, root should only be allowed to connect from 'localhost'. Thisensures that someone cannot guess at the root password from the network.Disallow root login remotely? [Y/n] n# 不允许root远程登录, n ... skipping.By default, MariaDB comes with a database named 'test' that anyone canaccess. This is also intended only for testing, and should be removedbefore moving into a production environment.Remove test database and access to it? [Y/n] y# 是否移除test数据库 y - Dropping test database... ... Success! - Removing privileges on test database... ... Success!Reloading the privilege tables will ensure that all changes made so farwill take effect immediately.Reload privilege tables now? [Y/n] y# 是否重载权限表 y ... Success!Cleaning up...All done! If you've completed all of the above steps, your MariaDBinstallation should now be secure.Thanks for using MariaDB!# 配置完成然后就可以照着官方教程继续往下了,新建用户,设置密码,授予权限等。
# mysql -uroot -p这里输入刚刚设置的mariadb数据库的密码mysql> create database zabbix character set utf8mb4 collate utf8mb4_bin;mysql> create user zabbix@localhost identified by '123'; #这里密码123可自定义,下一步需要用到mysql> grant all privileges on zabbix.* to zabbix@localhost;mysql> set global log_bin_trust_function_creators = 1;mysql> quit;导入初始架构和数据,系统将提示您输入新创建的密码 ,这里输入上一步自定义的user zabbix@localhost的密码
# zcat /usr/share/zabbix-sql-scripts/mysql/server.sql.gz | mysql --default-character-set=utf8mb4 -uzabbix -p zabbix导入数据库模式后禁用 log_bin_trust_function_creators 选项,这里跟着官方教程来就行
# mysql -uroot -p这里是mariadb数据库密码mysql> set global log_bin_trust_function_creators = 0;mysql> quit;d. 为Zabbix server配置数据库
编辑配置文件 /etc/zabbix/zabbix_server.conf
vi /etc/zabbix/zabbix_server.conf修改
# DBPassword=password这里要找到这一行,把前面的#号去掉,并修改后面的password为自己设置的数据库密码,具体vim命令可参考Ubuntu虚拟机vim操作命令
e. 启动Zabbix server和agent进程
启动Zabbix server和agent进程,并为它们设置开机自启:
# systemctl restart zabbix-server zabbix-agent apache2# systemctl enable zabbix-server zabbix-agent apache2这里也是直接按照官方教程来就行
F. 打开 Zabbix UI 网页
使用 Apache Web 服务器时 Zabbix UI 的默认 URL 是 http://host/zabbix,host为Ubuntu的ens33的ip地址,可以使用 ip a 命令查看ens33的ip地址信息。
这里可能出现apache2的80端口被占用的问题,可以使用nestat -tnlp |grep 80查看,如果是被占用了,可以使用kill 进程号的命令杀掉对应进程。
注:在配置DB连接时只需输入自己之前创建的mariadb数据库密码即可
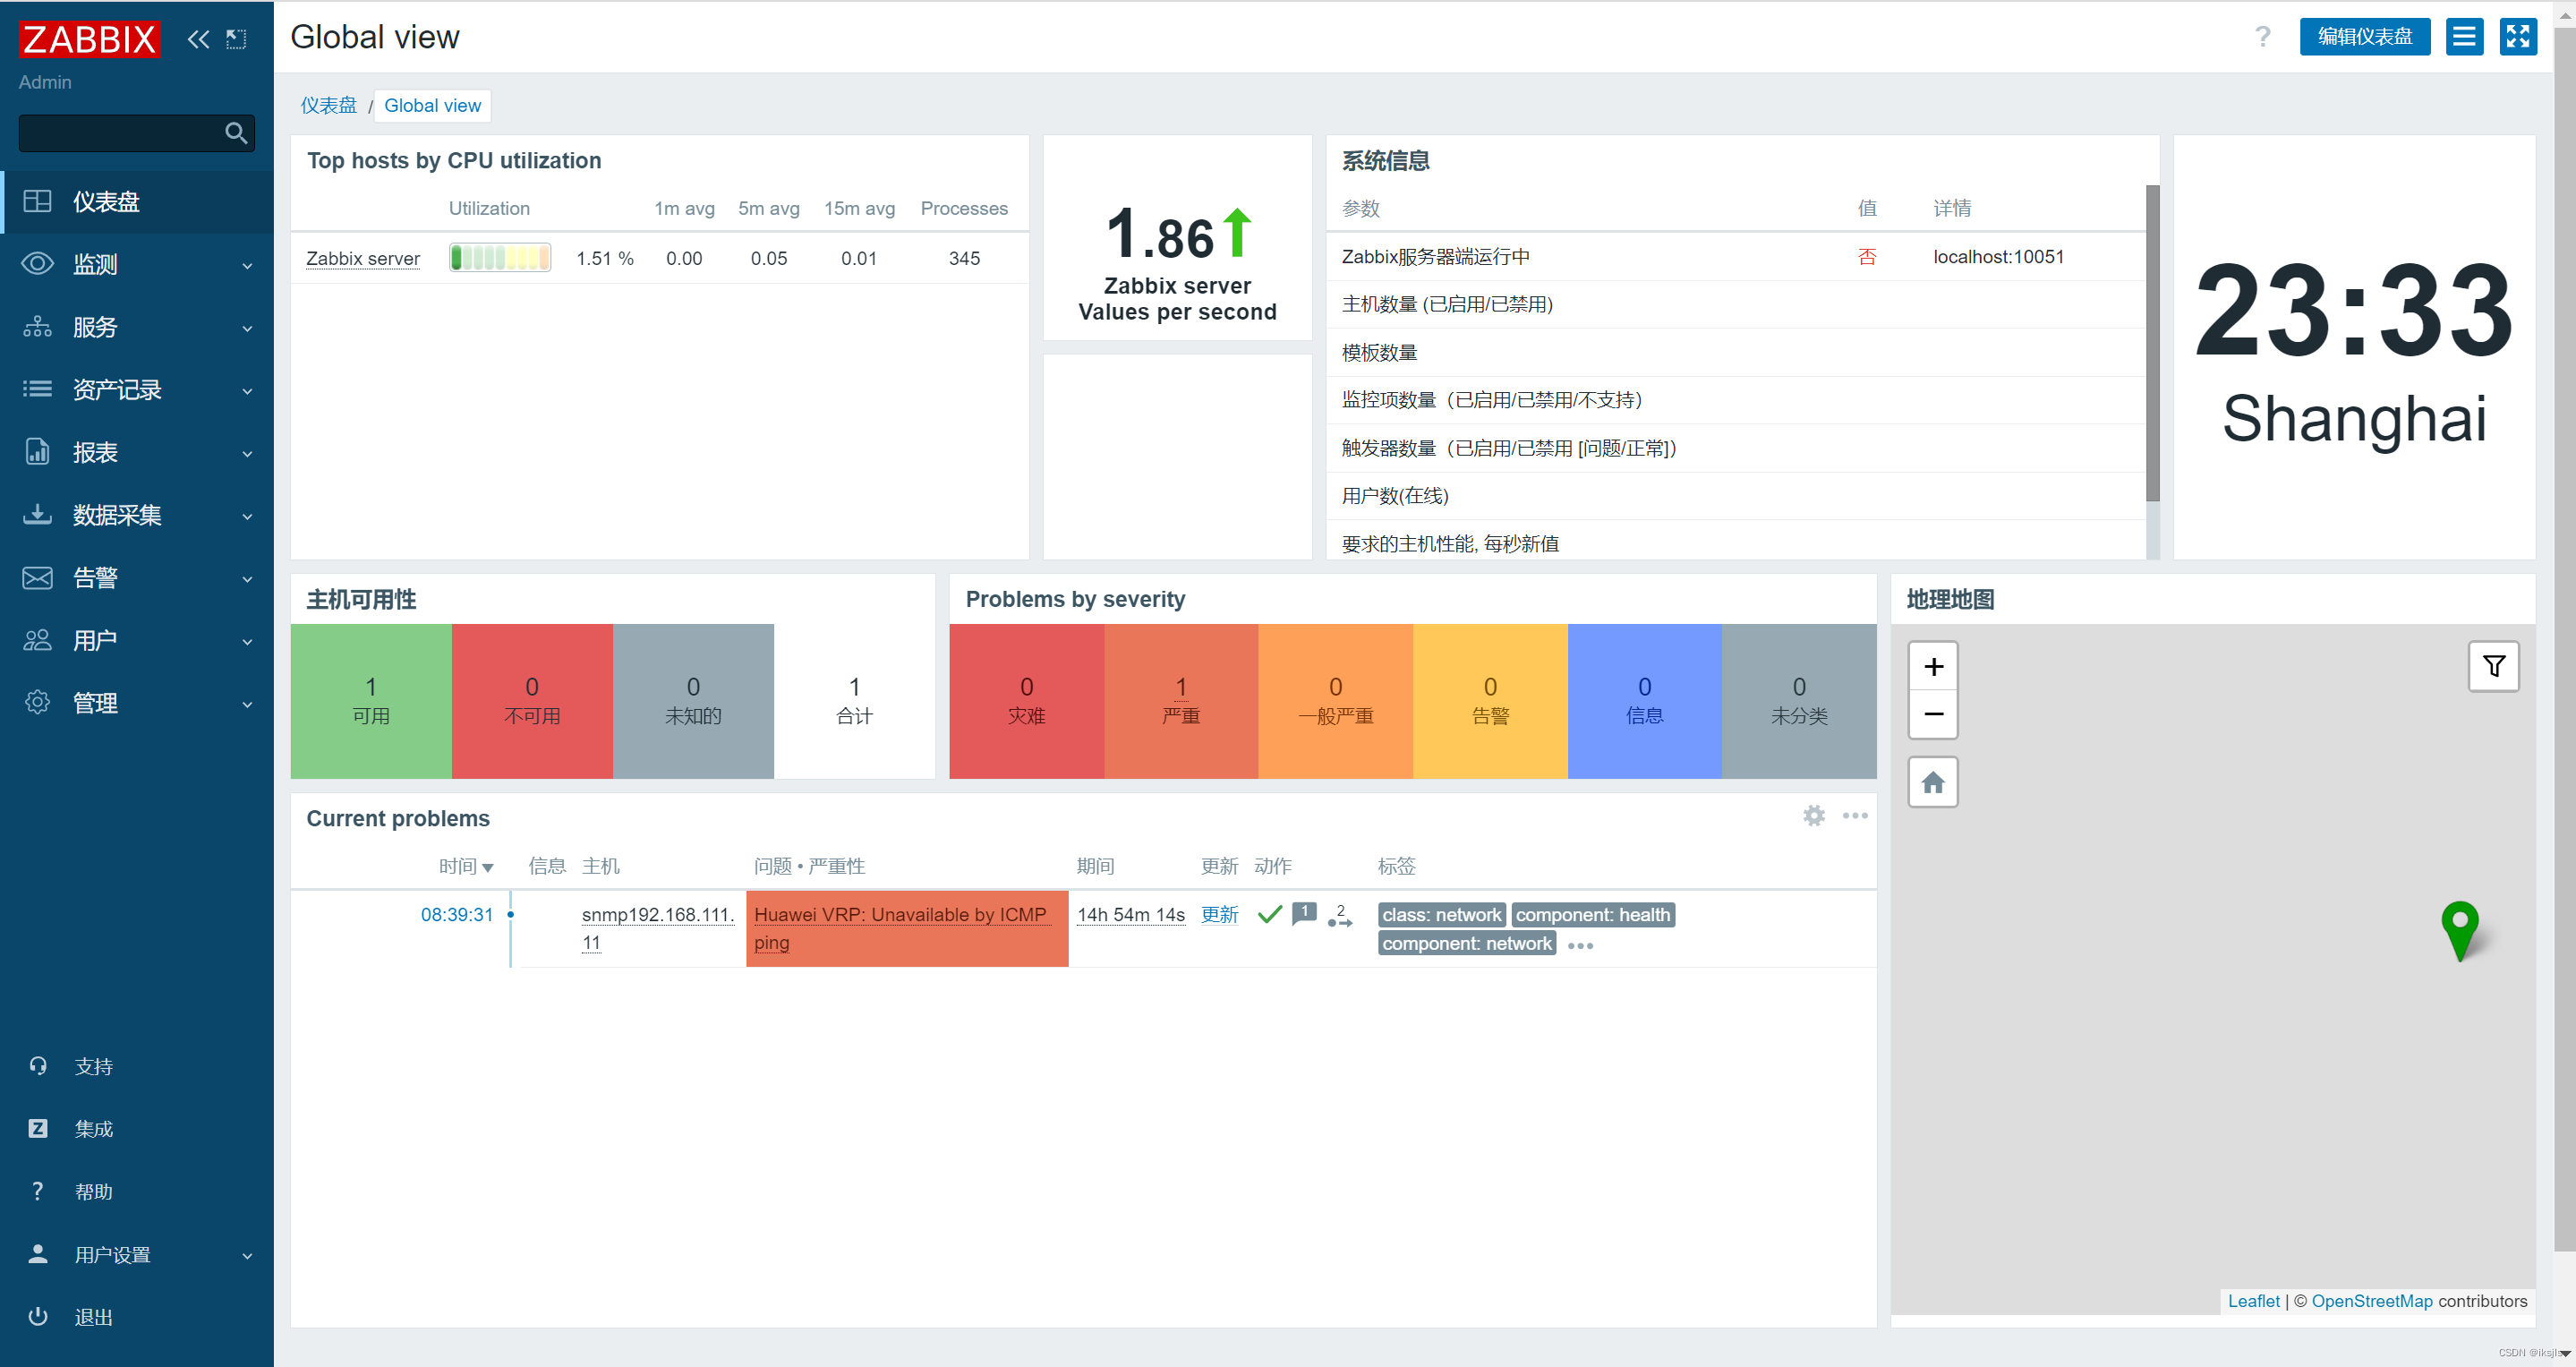
安装完成

至此,Ubuntu 22.04.4 Zabbix6.4部署安装完成。