最近发现了一个不错的网盘项目, 把很多资源放到阿里云盘了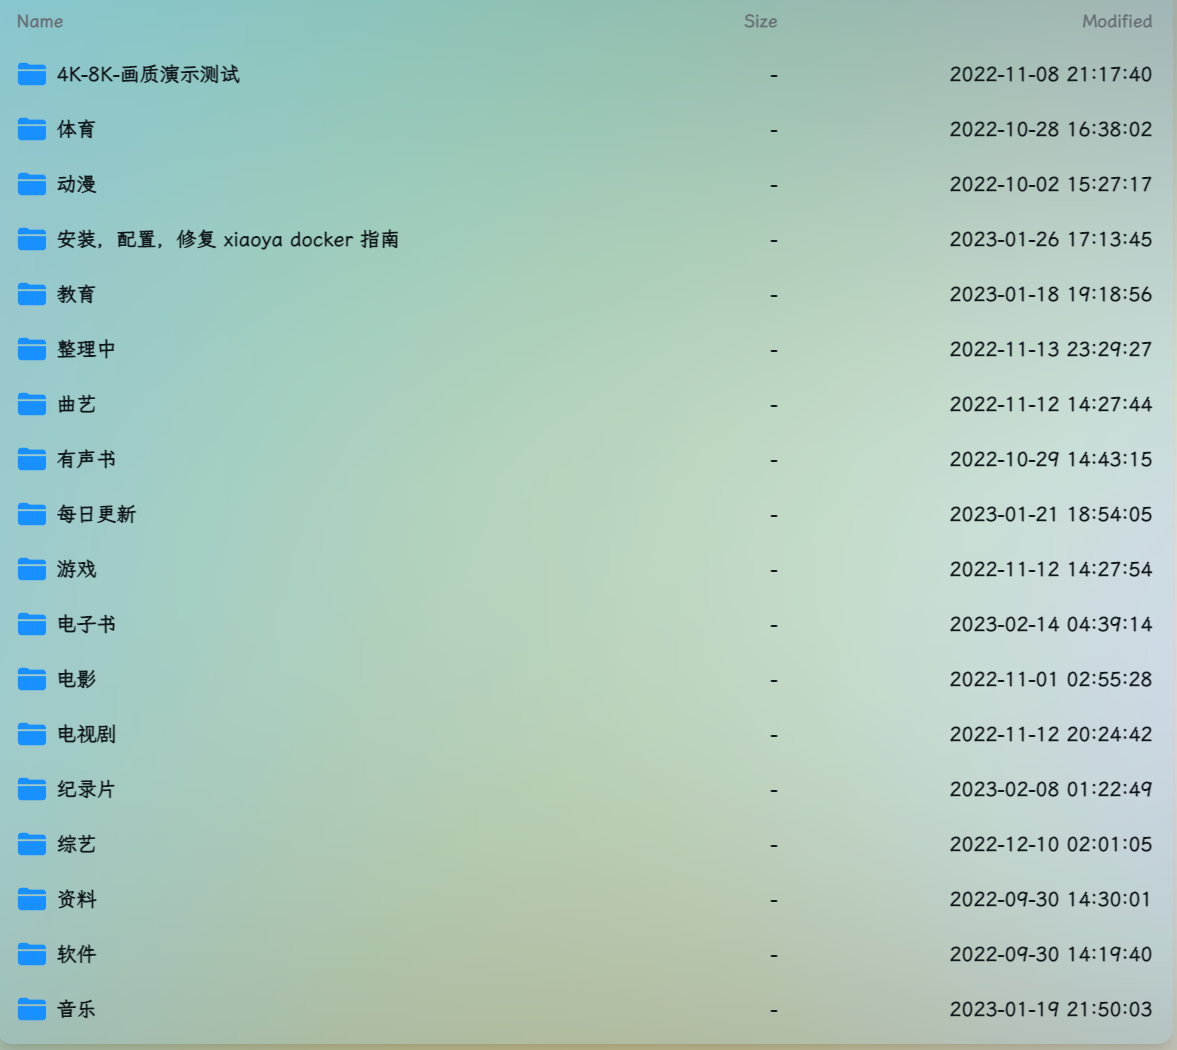 地址在这里 小雅
现在想把小雅通过webdav的方式挂在到fedora的系统下
安装小雅
1234567891011
| 一键安装和更新容器curl -s http://docker.xiaoya.pro/update_xiaoya.sh | bash端口:5678访问: http://xxxxx:5678/ (xxxx 为你alist所在设备的 IP)webdav 账号密码用户: guest 密码: guest_Api789重启就会自动更新数据库及搜索索引文件docker restart xiaoya
|
davfs2 ——
安装davfs2
1
| sudo dnf install davfs2
|
挂载小雅
创建挂在目录
1
| sudo mkdir -m 755 /mnt/xiaoya
|
挂载
1
| sudo mount -t davfs -o noexec http://xxxxx:5678/dav /mnt/xiaoya
|
按提示输入Username和Password, 两个分别是guest和guest_Api789
查看、确认已挂载成功
1234
| df -h /mnt/xiaoya#输出Filesystem Size Used Avail Use% Mounted onhttp://192.168.0.99:5678/dav 1.3T 763G 509G 61% /mnt/xiaoya
|
卸载
注:出现umount target is busy 可以通过lsof查找占用进程
123456
| sudo lsof /mnt/xiaoyaCOMMAND PID USER FD TYPE DEVICE SIZE/OFF NODE NAMEupdatedb 512750 root 6r DIR 0,330 792 1 /mnt/xiaoyaupdatedb 512750 root 7r DIR 0,330 0 94620245402672 /mnt/xiaoya/整理中/xxT影视资源/美剧/B(33部)/b 布里奇顿/布里奇顿S01sudo kill 512750
|
开机自动挂载小雅
修改/etc/fstab 在/etc/fstab添加以下记录
1
| http://192.168.0.99:5678/dav /mnt/xiaoya davfs noauto,user 0 0
|
修改/etc/davfs2/secrets
在/etc/davfs2/secrets里添加主机、用户名、密码
1
| http://192.168.0.99:5678/davguestguest_Api789
|
/etc/rc.d/rc.local 设置开机启动
rclone
安装
1
| sudo dnf install rclone
|
配置rclone
要配置 WebDAV 远程,您需要有一个 URL,以及一个用户名和密码。如果您知道您正在连接的是哪种系统,那么 rclone 可以启用额外的功能。
这是一个如何制作一个名为 remote 的遥控器的示例。第一次运行:
这将引导您完成交互式设置过程:
123456789101112131415161718192021222324252627282930313233343536373839404142434445464748495051525354
| No remotes found, make a new one?n) New remotes) Set configuration passwordq) Quit confign/s/q> nname> remoteType of storage to configure.Choose a number from below, or type in your own value[snip]XX / WebDAV \ "webdav"[snip]Storage> webdavURL of http host to connect toChoose a number from below, or type in your own value 1 / Connect to example.com \ "https://example.com"url> http://192.168.0.99:5678/davName of the WebDAV site/service/software you are usingChoose a number from below, or type in your own value...44 / Union merges the contents of several upstream fs \ (union)45 / Uptobox \ (uptobox)46 / WebDAV \ (webdav)...vendor> 46User nameuser> guestPassword.y) Yes type in my own passwordg) Generate random passwordn) No leave this optional password blanky/g/n> yEnter the password:password:Confirm the password:password:Bearer token instead of user/pass (e.g. a Macaroon)bearer_token>Remote config--------------------[remote]name = xiaoyatype = webdavurl = http://192.168.0.99:5678/dav....--------------------y) Yes this is OKe) Edit this remoted) Delete this remotey/e/d> y
|
配置完成后,您就可以像这样使用 rclone, 在 WebDAV 的顶层列出目录
列出 WebDAV 中的所有文件
将本地目录复制到名为 backup 的 WebDAV 目录
1
| rclone copy /home/source remote:backup
|
挂载小雅
1
| rclone mount Alist: /home/gebaocai/xiaoya --use-mmap --umask 000 --allow-other --allow-non-empty --dir-cache-time 24h --cache-dir=/home/gebaocai/cache --vfs-cache-mode full --buffer-size 512M --vfs-read-chunk-size 16M --vfs-read-chunk-size-limit 64M --vfs-cache-max-size 10G --daemon
|
卸载
1
| umount /home/gebaocai/xiaoya
|