使用的是2022.1.10版本的Unity
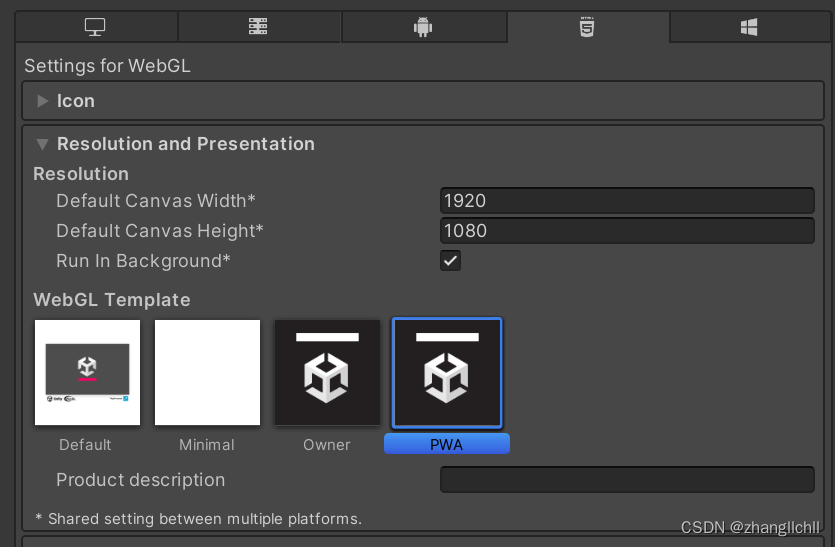
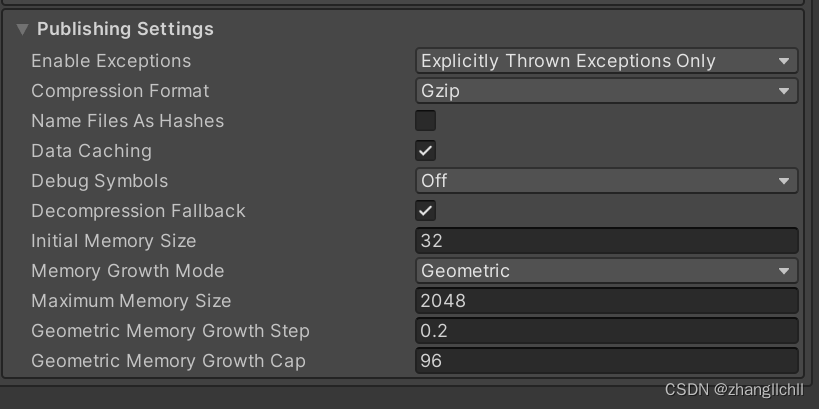
一、首先是Project Settings中的配置如下,可以解决一开始的报错,注意:PWA模板在2020版本中是没有的。

二、网页在浏览器中显示时,想要全屏,可以使用PWA模板,但是会有下拉条的出现,需要在导出后,在TemplateData文件中,找到style.css,打开后,在最下方输入下方的代码,即可全屏。
html,body{width:100%;height:100%;margin:0;padding:0;overflow:hidden;}.webgl-content{width: 100%; height: 100%;}.unityContainer{width: 100%; height: 100%;}如图所示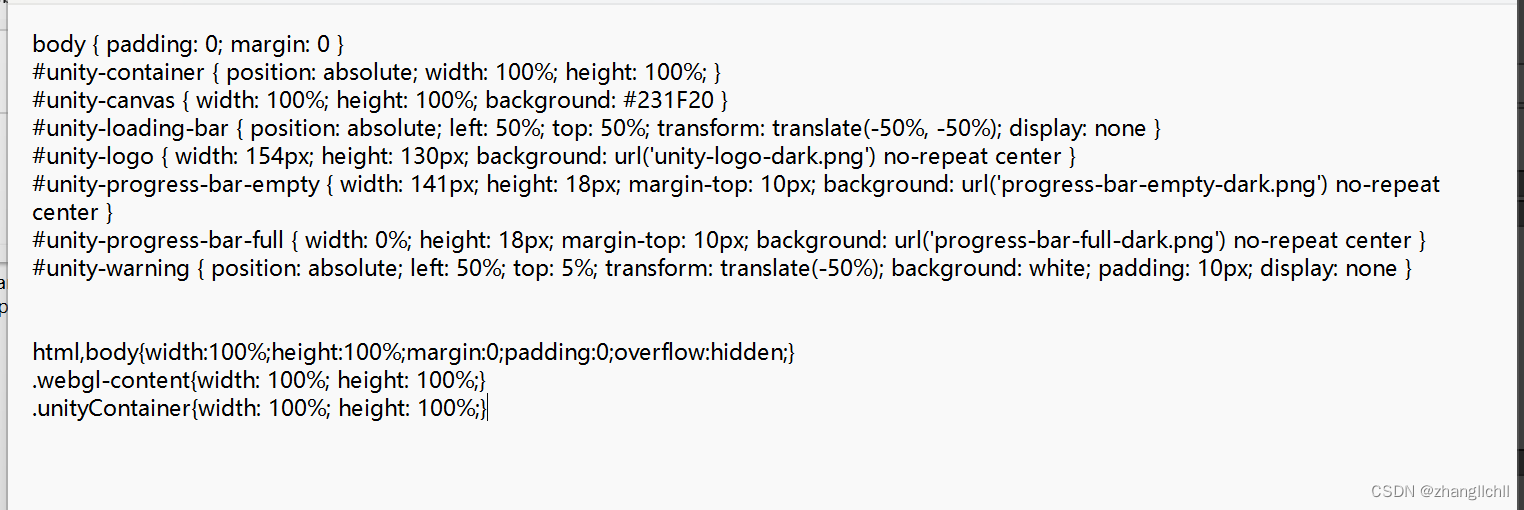
三、在浏览器中显示时,标题上前面会显示“Unity WebGL Player | ”,在导出的文件中找到index.html,如下图,删掉即可。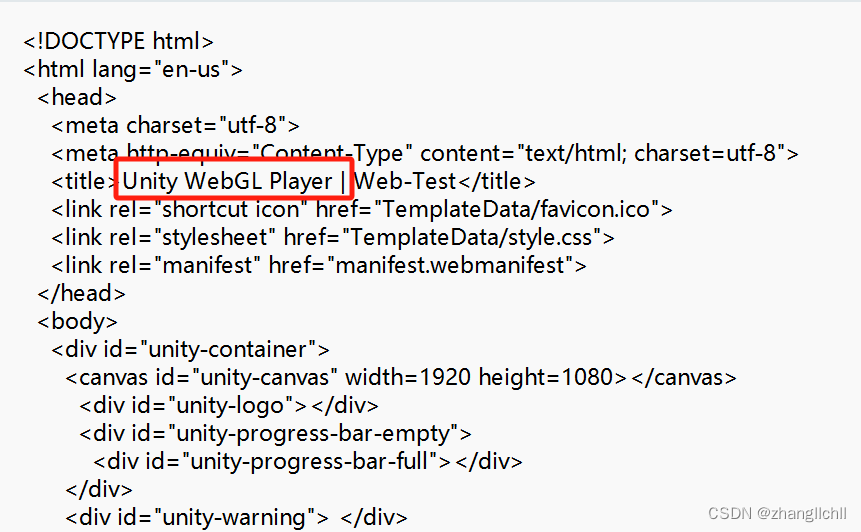
四、要修改LOGO,可以在模板中路径的TemplateData文件夹中修改,模板路径为XX版本\Editor\Data\PlaybackEngines\WebGLSupport\BuildTools\WebGLTemplates。替换就行。或者导出后进行修改。

五、正常情况下在Input Field控件中,无法切换中文输入法,可下载“WebGLSupport.unitypackage”,把WebGLInput脚本拖到 Input Field 上即可。
Release Release · kou-yeung/WebGLInput · GitHub
六、WebGl中无法使用 System.Net.Http;、System.Threading.Tasks;,其它的还在研究中。
七、WebGl中无法使用DLL,还在找方法中。
八、WebGl无法直接打开浏览本地文件的窗口,先在Unity中创建如下脚本
using UnityEngine;using UnityEngine.UI;using TMPro;public class FileOpener : MonoBehaviour{ public TMP_InputField urlInputField; private void Start() { } public void OpenFile() { // 调用JavaScript函数打开文件选择窗口 Application.ExternalCall("OpenFile"); } // 从JavaScript获取文件信息 public void GetFileInfo(string fileInfo) { urlInputField.text = fileInfo; Debug.Log("Selected file: " + fileInfo); }}并且绑定在GameManager物体中
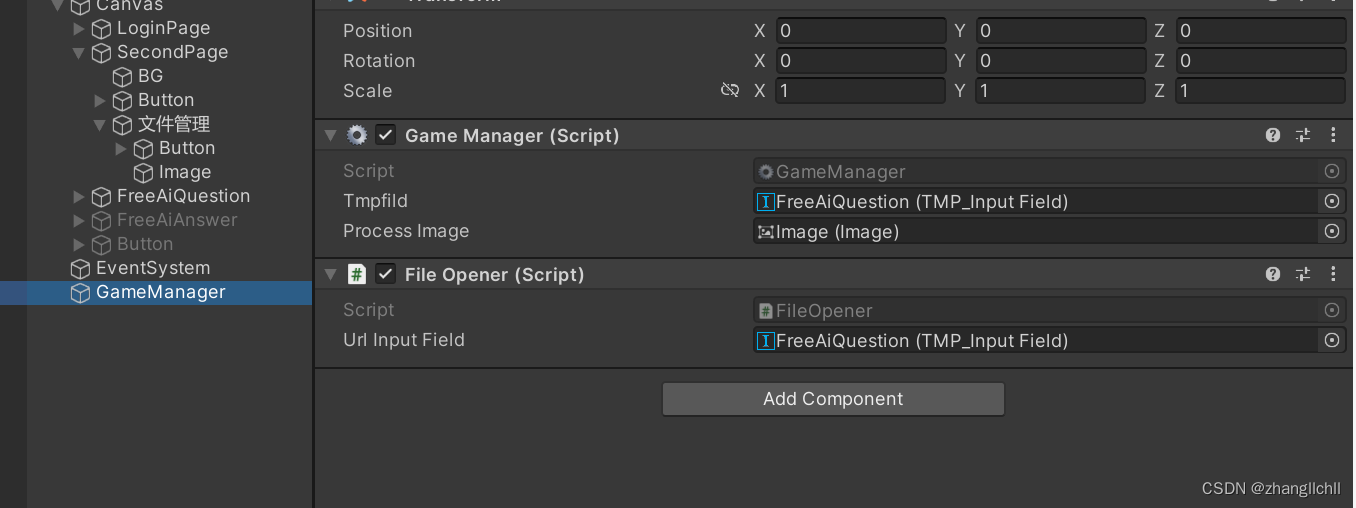
在Button按钮中绑定OpenFile。

随后在<script></script>块中,找到这个位置
loadingBar.style.display = "block"; var script = document.createElement("script"); script.src = loaderUrl; script.onload = () => { createUnityInstance(canvas, config, (progress) => { progressBarFull.style.width = 100 * progress + "%"; }).then((unityInstance) => { loadingBar.style.display = "none"; }).catch((message) => { alert(message); }); }; document.body.appendChild(script); </script> </body></html>改成如下代码,其中GameManager为脚本绑定的物体。
需要注意的是file无法获取到路径,只能获取到名称、大小和类型。
loadingBar.style.display = "block"; var myGameInstance = null; var script = document.createElement("script"); script.src = loaderUrl; script.onload = () => { createUnityInstance(canvas, config, (progress) => { progressBarFull.style.width = 100 * progress + "%"; }).then((unityInstance) => { loadingBar.style.display = "none";myGameInstance = unityInstance; }).catch((message) => { alert(message); }); }; document.body.appendChild(script);// JavaScript代码 function OpenFile() { var fileInput = document.createElement("input"); fileInput.type = "file"; fileInput.addEventListener("change", function(event) { var file = event.target.files[0]; // 只处理第一个被选择的文件 var fileInfo = { name: file.name, size: file.size, type: file.type, }; // 将文件信息传递给Unity myGameInstance.SendMessage("GameManager", "GetFileInfo", JSON.stringify(fileInfo)); }); fileInput.click(); } </script> </body></html>网上有些是下面这种的,但是UnityLoader缺少unityloader.js,webgl.json也没有描述是什么文件,就不知道怎么用了,不过新版好像已经不用UnityLoader了。
var gameInstance = UnityLoader.instantiate("gameContainer", "Build/Webgl.json", //发送给unitygameInstance.SendMessage("TestObj", "GetBase64", s);九、如果要去掉Web打开时的进度条,去掉下面两张图上红框中的代码就行。


十、正在研究怎么上传文件到阿里云的OSS上,参考链接如下,有结果的可以交流下
如何进行服务端签名直传_对象存储(OSS)-阿里云帮助中心
十一、获取今日天气
可使用高德的免费天气查询API,如何开通并获取key,请参考下方链接
Unity 接入天气系统_unity天气系统-CSDN博客
具体实现方法及解析方法如下:
using System.Collections;using UnityEngine;using UnityEngine.Networking;using System.Collections.Generic;public class GetWeather : MonoBehaviour{public void Awake() {StartCoroutine(GetFutureWeatherInfoNew());}#region 输入城市,获取今日天气/// <summary>/// API接口文档:https://lbs.amap.com/api/webservice/guide/api/weatherinfo/// </summary>IEnumerator GetFutureWeatherInfoNew(){var publicIpReq = new UnityWebRequest($"https://restapi.amap.com/v3/weather/weatherInfo?city=citykey&key=api_key&extensions=base&output=JSON", UnityWebRequest.kHttpVerbGET);publicIpReq.downloadHandler = new DownloadHandlerBuffer();yield return publicIpReq.SendWebRequest();if (!string.IsNullOrEmpty(publicIpReq.error)){Debug.Log($"获取今日天气失败:{publicIpReq.error}");yield break;}var info = publicIpReq.downloadHandler.text;Debug.Log(info);//json解析var resData = JsonUtility.FromJson<FutureWeatherData>(info);Debug.Log($"weather:{resData.lives[0].weather}|temperature:{resData.lives[0].temperature}|winddirection:{resData.lives[0].winddirection}");}#region 用于接收天气返回值json的反序列化数据[System.Serializable]public class FutureWeatherData{public int status;public int count;public string info;public int infocode;public List<FutureData> lives;}[System.Serializable]public class FutureData{public string province;public string city;public string adcode;public string weather;public string temperature;public string winddirection;public string windpower;public string humidity;public string reporttime;public string temperature_float;public string humidity_float;}#endregion#endregion}代码中的city=citykey&key=api_key,需要自行填写,city为城市编码,可在下面链接中下载查询。
https://a.amap.com/lbs/static/code_resource/AMap_adcode_citycode.zip
如果要获取预报信息,extensions中的base改成all。
十二、想要在浏览器上查看的话,可以使用Nginx,下载地址如下:
https://nginx.org/download/nginx-1.25.4.zip
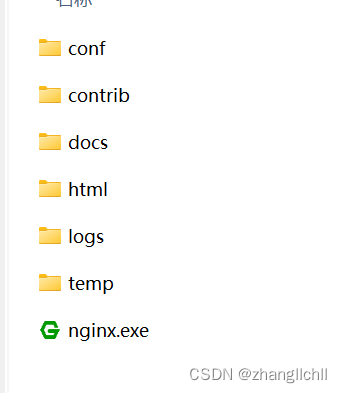
下载完成后,解压缩。文件如下。注意不要直接双击打开nginx.exe。需要用批处理的方式进行打开。
首先新建两个批处理,启动和重载
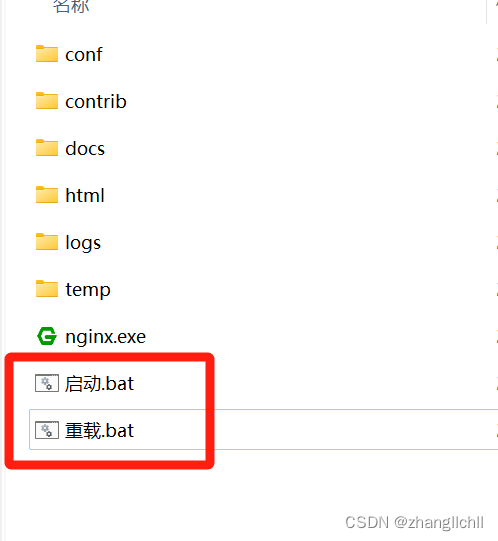
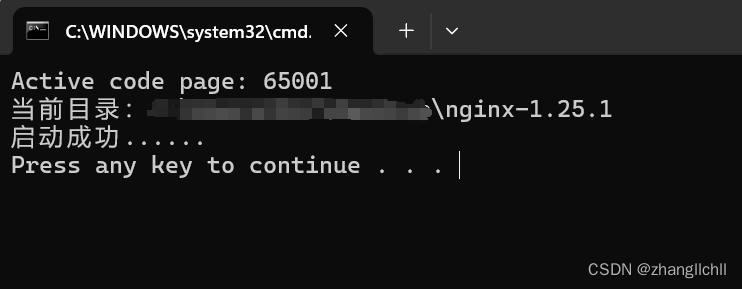
启动.bat里的内容如下,打开后就即启动了nginx。
chcp 65001@echo offecho 当前目录:%CD%start nginx.exeecho 启动成功......pause启动正常是这样的
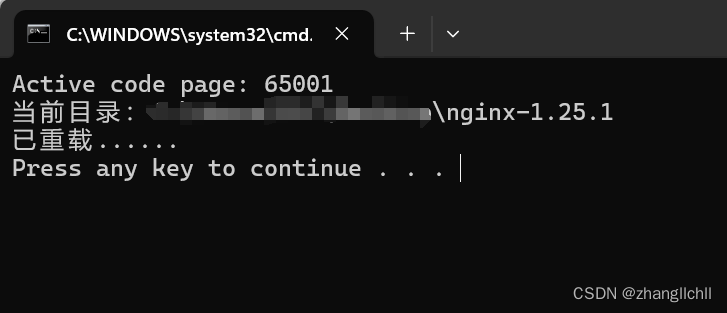
重载.bat里的内容如下,打开后就即重新启动了nginx。
chcp 65001@echo offecho 当前目录:%CD%.\nginx.exe -s reloadecho 已重载......pause重载正常是这样的
随后,打开conf文件夹,找到nginx.conf,以记事本方式打开。在以下位置添加框中的代码,其中root 后面的是路径,可自行修改。
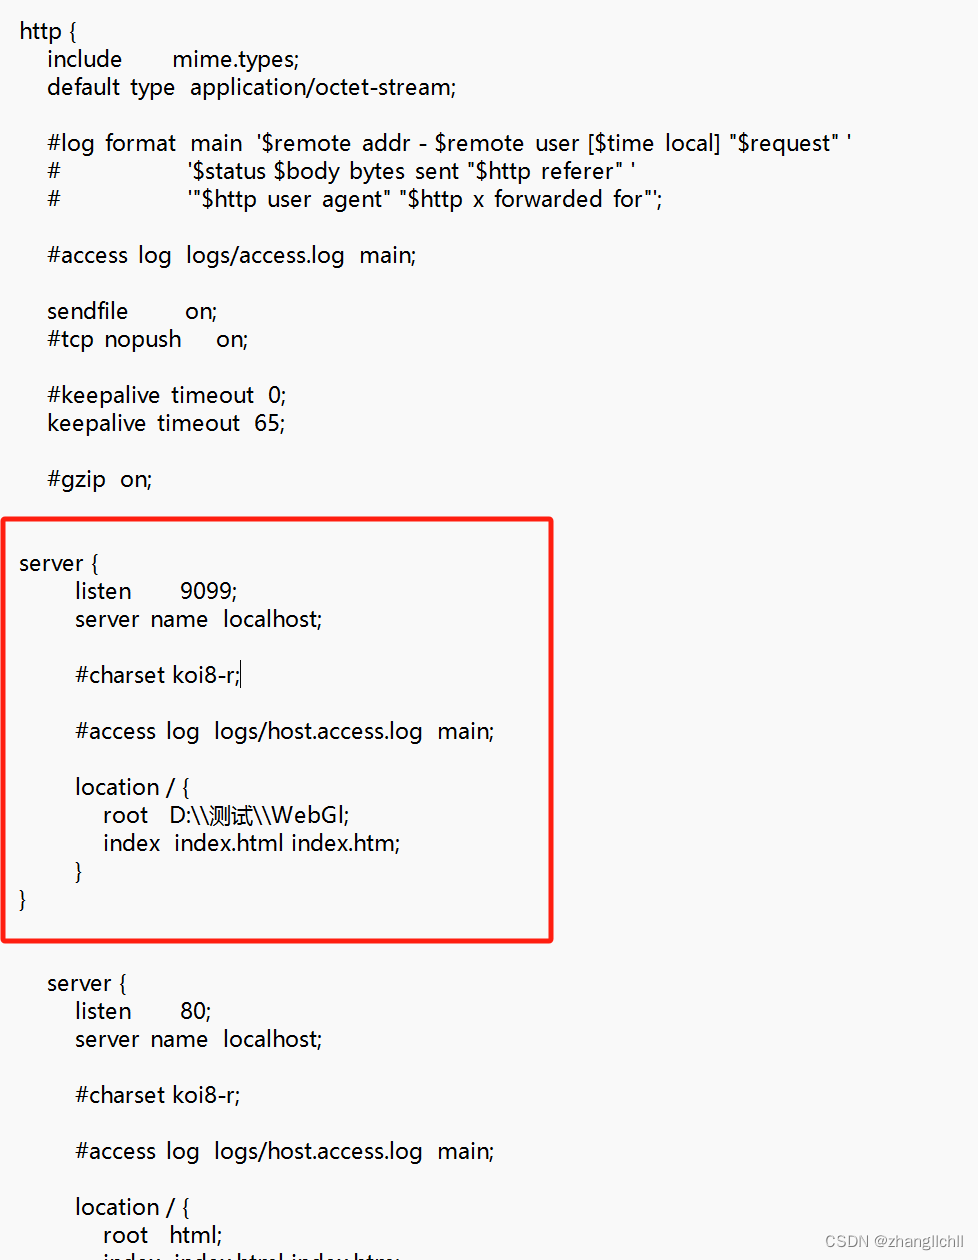
server {
listen 9099;
server_name localhost;
#charset koi8-r;
#access_log logs/host.access.log main;
location / {
root D:\\测试\\WebGl;
index index.html index.htm;
}
}
修改完成后保存。随后打开启动.bat,在浏览器中输入:http://本机IP地址:9099/。即可浏览导出的内容。IP地址不能输入127.0.0.1。
十三、在浏览器查看时,如果没有显示或者报错。可按F12查看报错,并切换到控制台菜单栏,点击其中的报错,可查看报错的代码。

持续更新中。。。。。。