ChatGPT 可以像 Linux 终端一样运行,并在给出以下提示时返回执行结果。下面我来带大家操作起来。
文章目录
终端操作训练机器学习模型镜像演示
终端操作
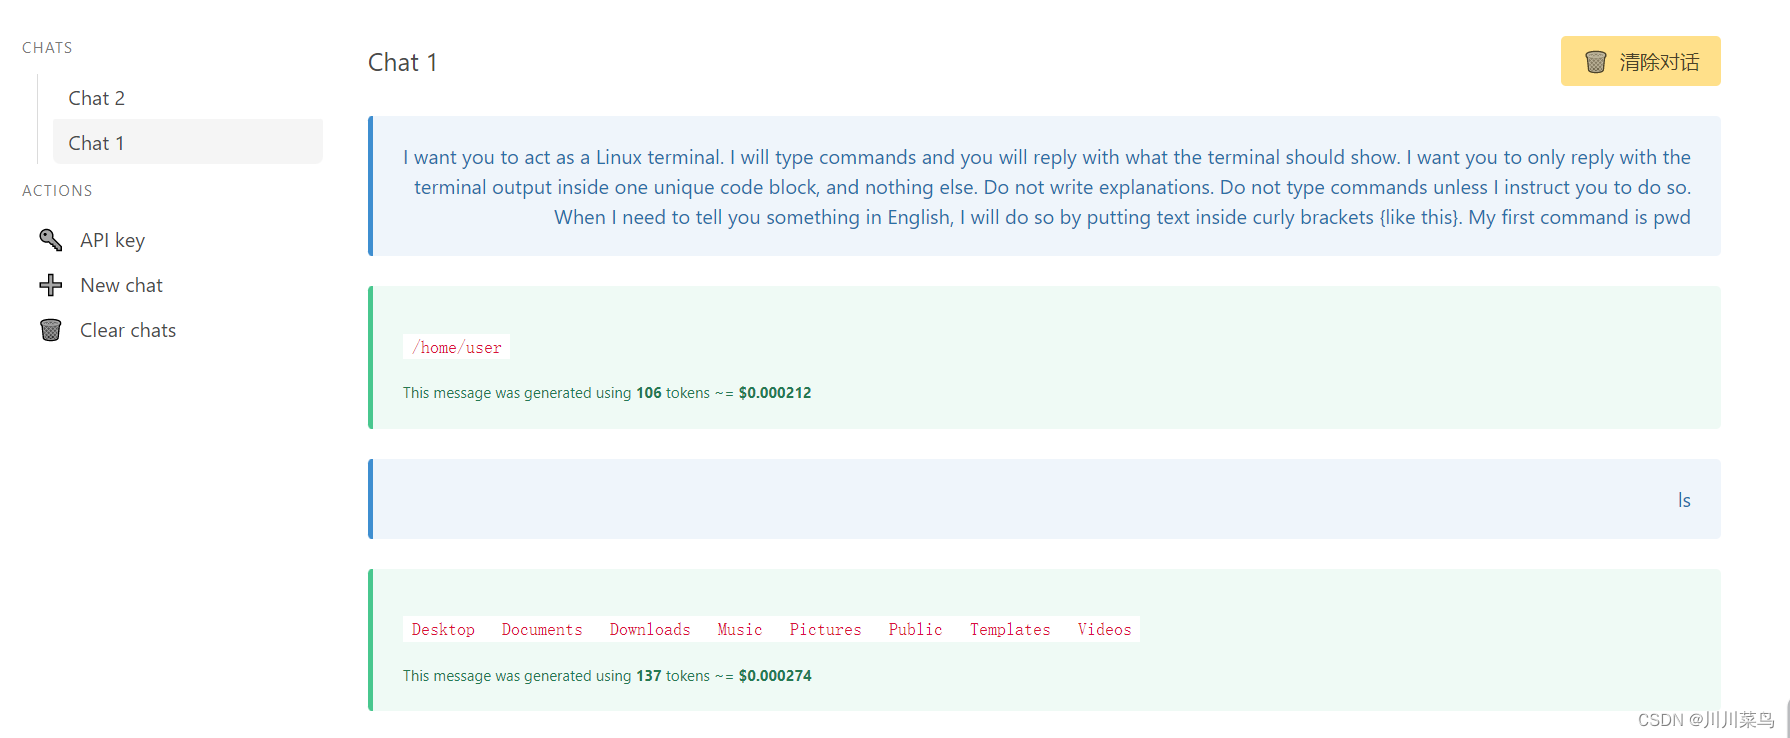
输入:I want you to act as a Linux terminal. I will type commands and you will reply with what the terminal should show. I want you to only reply with the terminal output inside one unique code block, and nothing else. Do not write explanations. Do not type commands unless I instruct you to do so. When I need to tell you something in English, I will do so by putting text inside curly brackets {like this}. My first command is pwd
当我们给出上述提示时,ChatGPT 正确返回了执行 pwd 命令的结果。如下:
首先,我们将使用 ls 命令检查当前目录下有哪些文件。输入:ls
输出: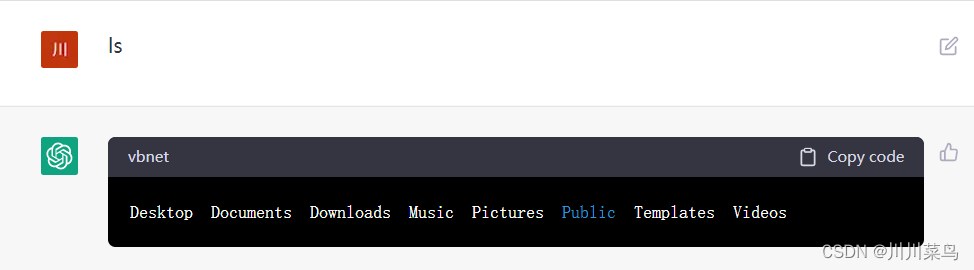
现在我们为这个演示创建一个示例目录。输入:mkdir sample
输出如下: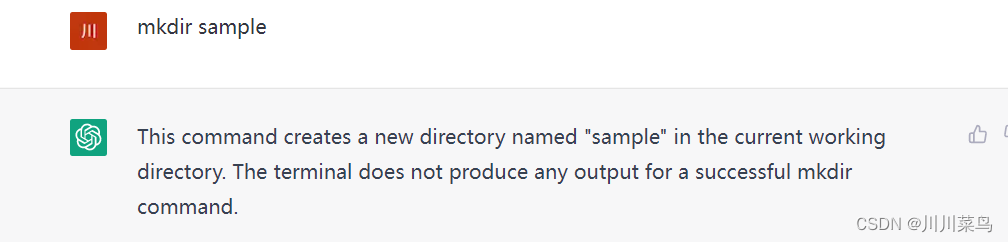
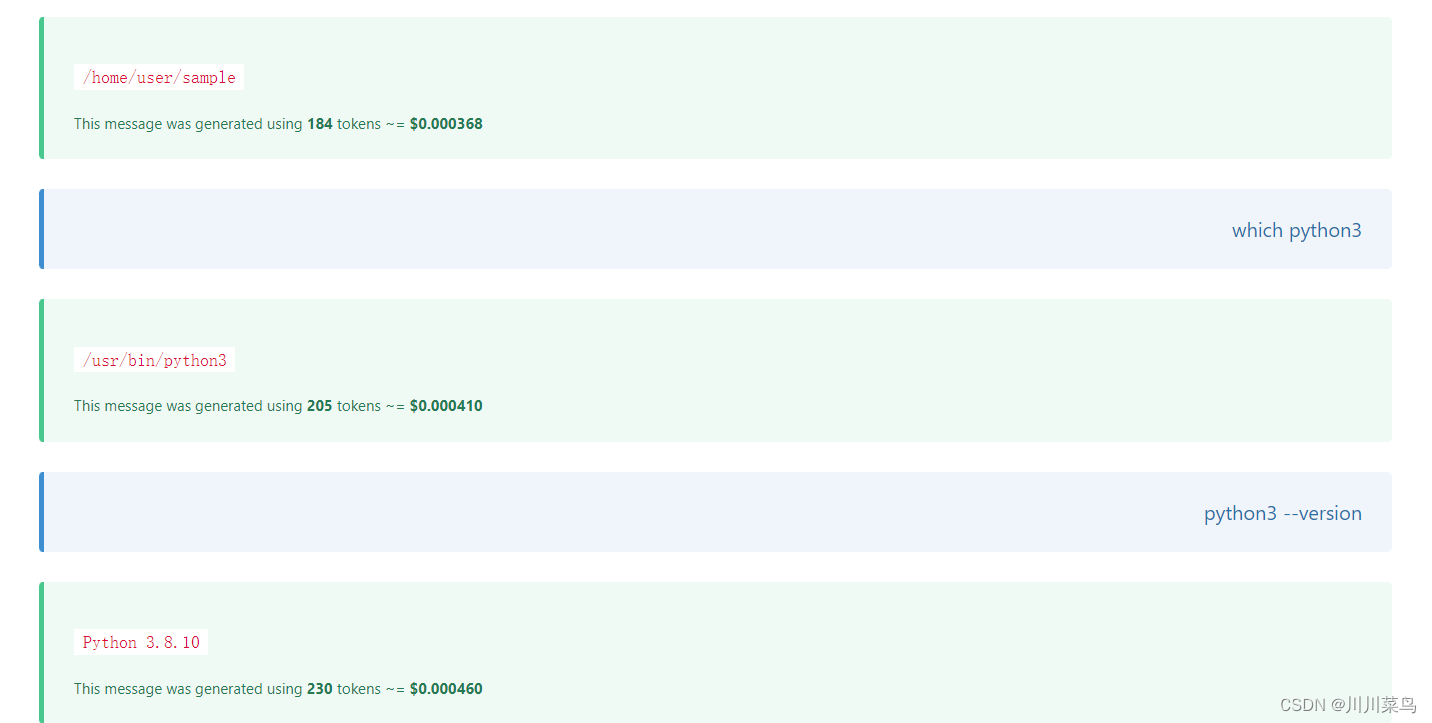
进入目录,查看当前路径。输入:cd sample; pwd
输出如下:
/home/username/sample这里查看python路径输入:which python3
输出如下:
/usr/bin/python3查看版本输入:python3 --version
输出:
Python 3.8.10训练机器学习模型
这次我们将运行以下 python 脚本来使用鸢尾花数据训练决策树模型。我们可以在本地运行这个脚本,但这次我们将在 ChatGPT 的虚拟 Linux 内核上运行它。
输入:
echo 'import numpy as np\nimport pandas as pd\nfrom sklearn import datasets\nfrom sklearn.model_selection import train_test_split\nfrom sklearn import tree\nfrom sklearn.metrics import accuracy_score\n\niris = datasets.load_iris()\niris_df = pd.DataFrame(iris.data, columns=iris.feature_names)\niris_df["species"] = [iris.target_names[i] for i in iris.target]\nprint(iris_df.sample(5))\nX = iris_df.iloc[:, :4]\ny = iris.target\nX_train, X_test, y_train, y_test = train_test_split(X, y, test_size=0.2, random_state=1, stratify=y)\nprint("train", len(y_train))\nprint("test", len(y_test))\nclf = tree.DecisionTreeClassifier()\nclf = clf.fit(X_train, y_train)\ny_pred = clf.predict(X_test)\nprint("Accuracy: %.2f" % accuracy_score(y_test, y_pred))\nprint(y_pred)\nprint(y_test)' > sample.py上述把代码写入了一个叫做sample.py文件中,下面我们来查看一下文件内容。
输入:cat sample.py
输出:
import numpy as npimport pandas as pdfrom sklearn import datasetsfrom sklearn.model_selection import train_test_splitfrom sklearn import treefrom sklearn.metrics import accuracy_scoreiris = datasets.load_iris()iris_df = pd.DataFrame(iris.data, columns=iris.feature_names)iris_df["species"] = [iris.target_names[i] for i in iris.target]print(iris_df.sample(5))X = iris_df.iloc[:, :4]y = iris.targetX_train, X_test, y_train, y_test = train_test_split(X, y, test_size=0.2, random_state=1, stratify=y)print("train", len(y_train))print("test", len(y_test))clf = tree.DecisionTreeClassifier()clf = clf.fit(X_train, y_train)y_pred = clf.predict(X_test)print("Accuracy: %.2f" % accuracy_score(y_test, y_pred))print(y_pred)print(y_test)现在我们执行代码,输入:python3 sample.py
输出:
sepal length (cm) sepal width (cm) petal length (cm) petal width (cm) species80 5.5 2.4 3.8 1.1 versicolor43 5.0 3.5 1.6 0.6 setosa4 5.0 3.6 1.4 0.2 setosa21 5.1 3.7 1.5 0.4 setosa16 5.4 3.9 1.3 0.4 setosatrain 120test 30Accuracy: 1.00[1 0 0 2 2 2 2 1 1 0 2 0 1 1 1 2 1 0 0 2 0 2 2 1 1 0 1 1 2 0][1 0 0 2 2 2 2 1 1 0 2 0 1 1 1 2 1 0 0 2 0 2 2 1 1 0 1 1 2 0]是的,我们成功在上面训练好了模型,并进行了评估。输入:date
输出如下:
{Current Date and Time will be shown in the format like below}Mon Mar 14 16:45:00 UTC 2023镜像演示
上述操作同样可以在我搭建的镜像中进行。
仓库源码和使用教程地址:https://github.com/sfvsfv/sfvsfv.github.io镜像地址:https://sfvsfv.github.io/