一、add_image函数
1.1 通过源码学习函数
def add_image(self, tag, img_tensor, global_step=None, walltime=None, dataformats=‘CHW’):
Add image data to summary. Note that this requires the ``pillow`` package. Args: tag (string): Data identifier img_tensor (torch.Tensor, numpy.array, or string/blobname): Image data global_step (int): Global step value to record walltime (float): Optional override default walltime (time.time()) seconds after epoch of event Shape: img_tensor: Default is :math:`(3, H, W)`. You can use ``torchvision.utils.make_grid()`` to convert a batch of tensor into 3xHxW format or call ``add_images`` and let us do the job. Tensor with :math:`(1, H, W)`, :math:`(H, W)`, :math:`(H, W, 3)` is also suitible as long as corresponding ``dataformats`` argument is passed. e.g. CHW, HWC, HW. Examples:: from torch.utils.tensorboard import SummaryWriter import numpy as np img = np.zeros((3, 100, 100)) img[0] = np.arange(0, 10000).reshape(100, 100) / 10000 img[1] = 1 - np.arange(0, 10000).reshape(100, 100) / 10000 img_HWC = np.zeros((100, 100, 3)) img_HWC[:, :, 0] = np.arange(0, 10000).reshape(100, 100) / 10000 img_HWC[:, :, 1] = 1 - np.arange(0, 10000).reshape(100, 100) / 10000 writer = SummaryWriter() writer.add_image('my_image', img, 0) # If you have non-default dimension setting, set the dataformats argument. writer.add_image('my_image_HWC', img_HWC, 0, dataformats='HWC') writer.close() Expected result: .. image:: _static/img/tensorboard/add_image.png :scale: 50 %1.2 代码存在的问题
函数参数需要的是tensor类型的数据,如何把pil,jpegimage类型的数据要转换成为能用的数据类型
我们这里采用numpy型的数据类型进行使用,完成操作 二、numpy型数据(进行输入图片数据类型的转换)
2.1 读取方式
使用opencv进行读取图片将PIL这种数据类型转换成为numpy数据类型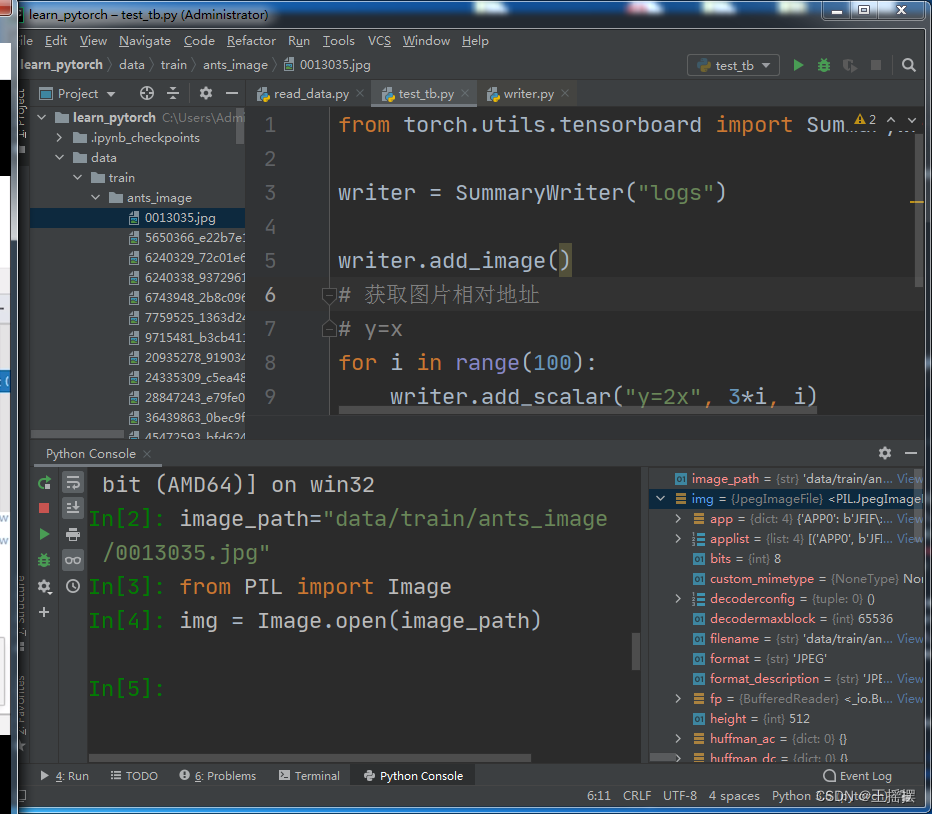
数据类型转换成功
print(type(img_array))<class 'numpy.ndarray'>通过这样的方式获得函数所需要的数据类型
2.2 安装opencv
pip install opencv-python
(pytorch) C:\Users\Administrator\Desktop\Code\learn_pytorch>pip ins
tall opencv-python
Requirement already satisfied: opencv-python in d:\anaconda\envs\py
torch\lib\site-packages (4.6.0.66)
Requirement already satisfied: numpy>=1.13.3 in d:\anaconda\envs\py
torch\lib\site-packages (from opencv-python) (1.19.2)
出现上面内容证明已经安装好了
三、出现错误
3.1 查看一下变量的数据类型
确实是3通道的
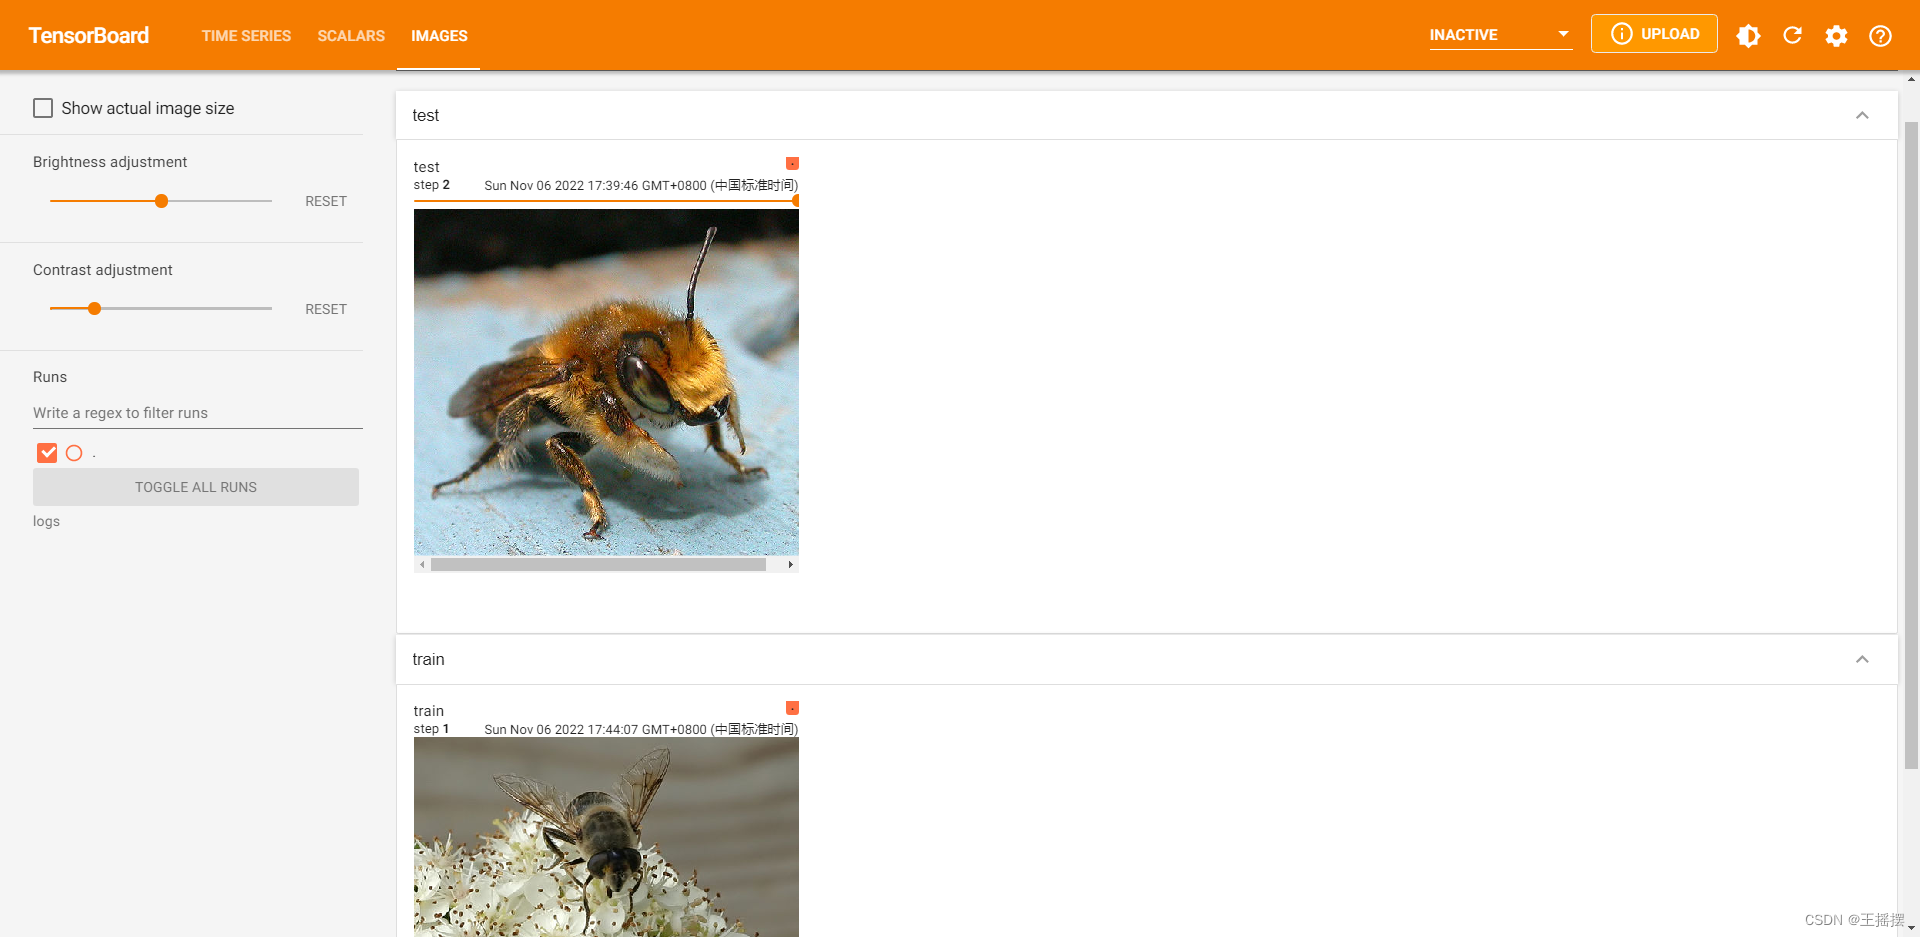
writer.add_image('test', img_array, 2, dataformats='HWC')排除错误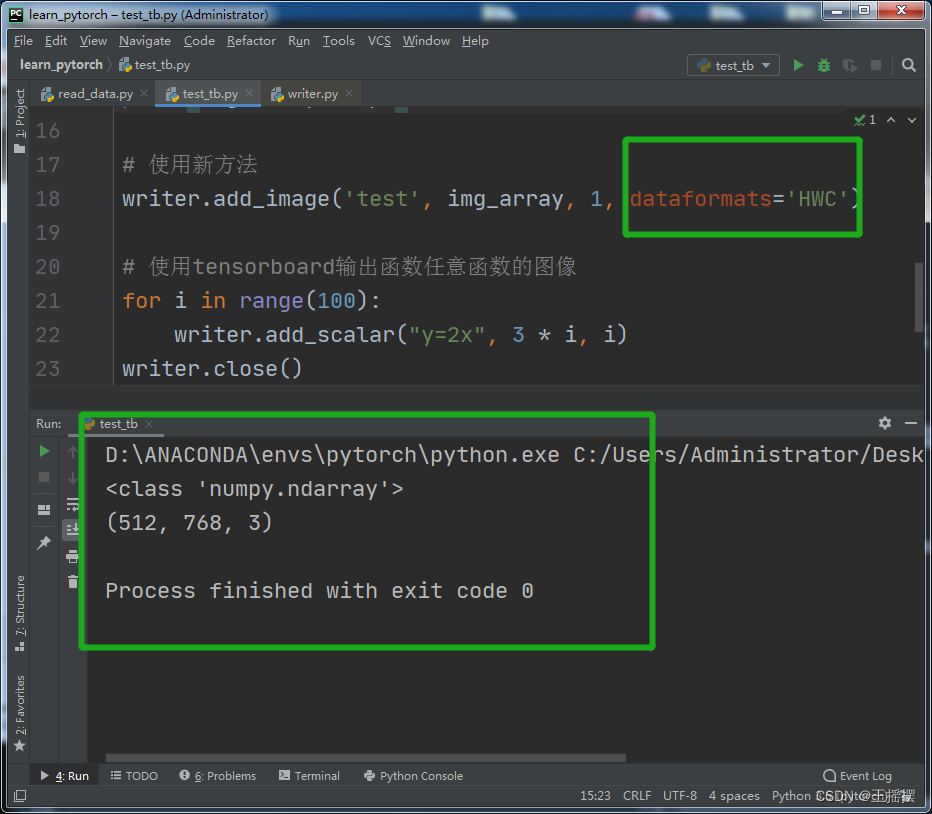
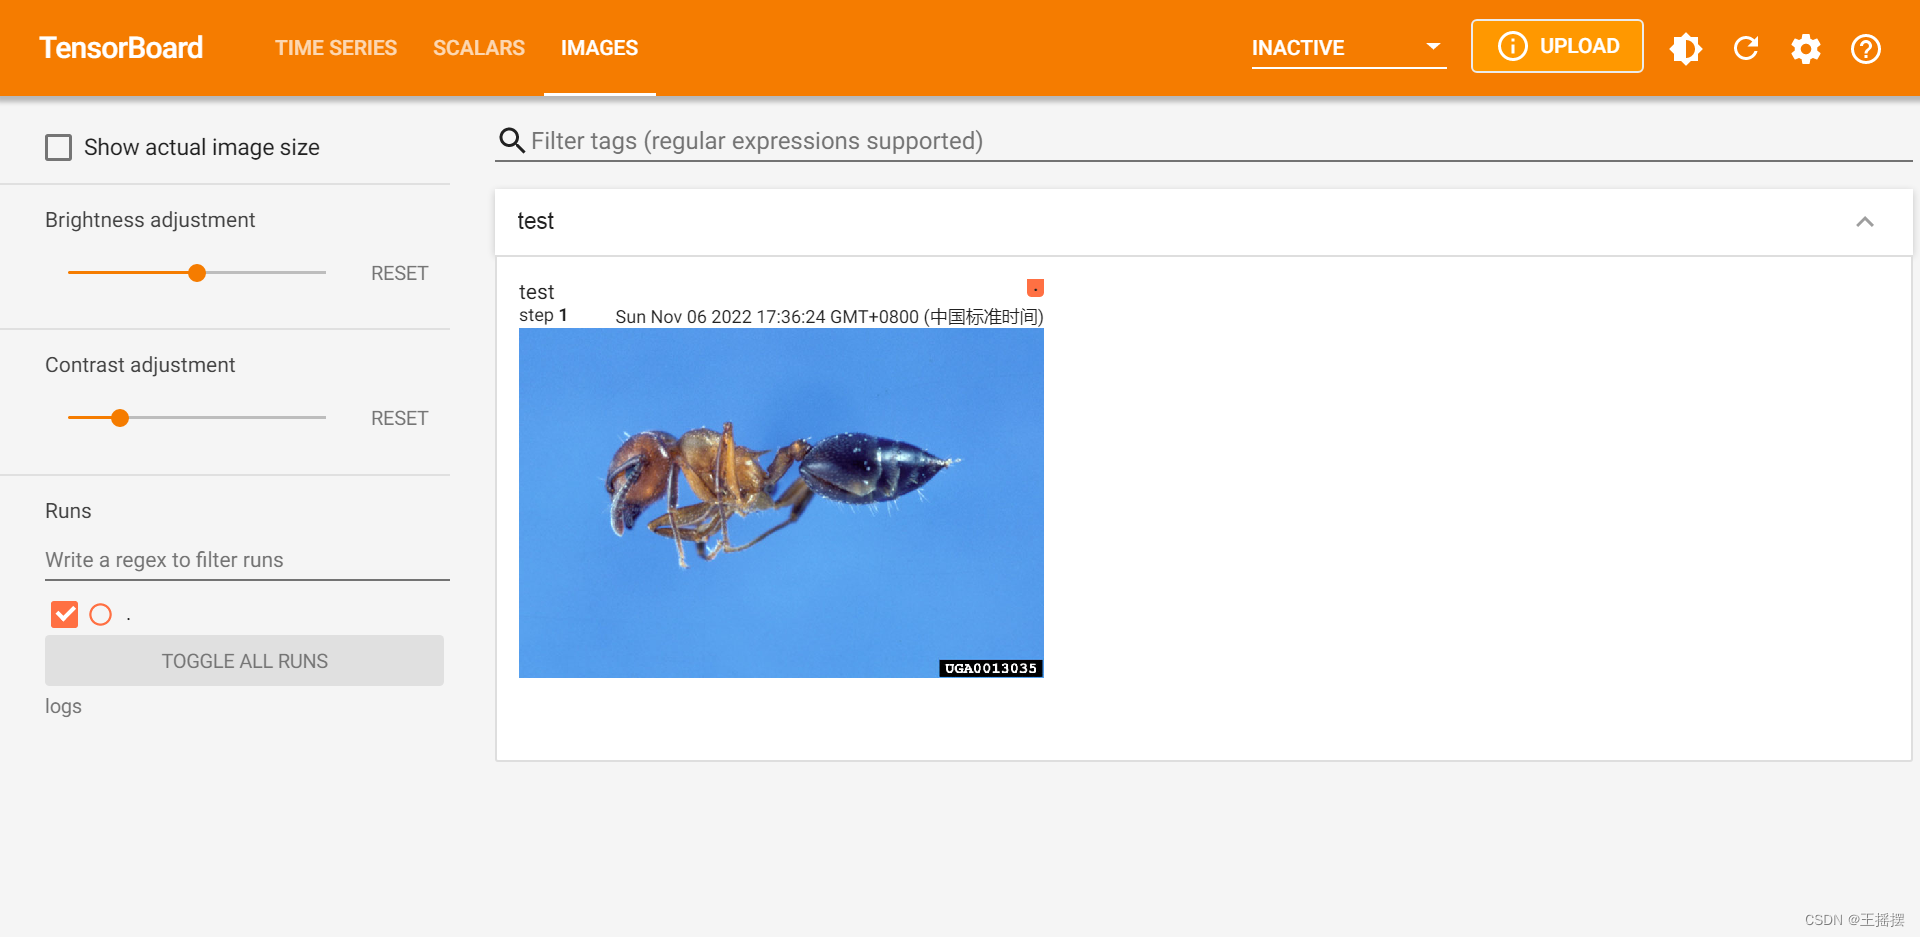
在该页面中可以拖动step来查看不同的step对应的图片
可以用来观察不同阶段训练的结果进行不同类型的数据显示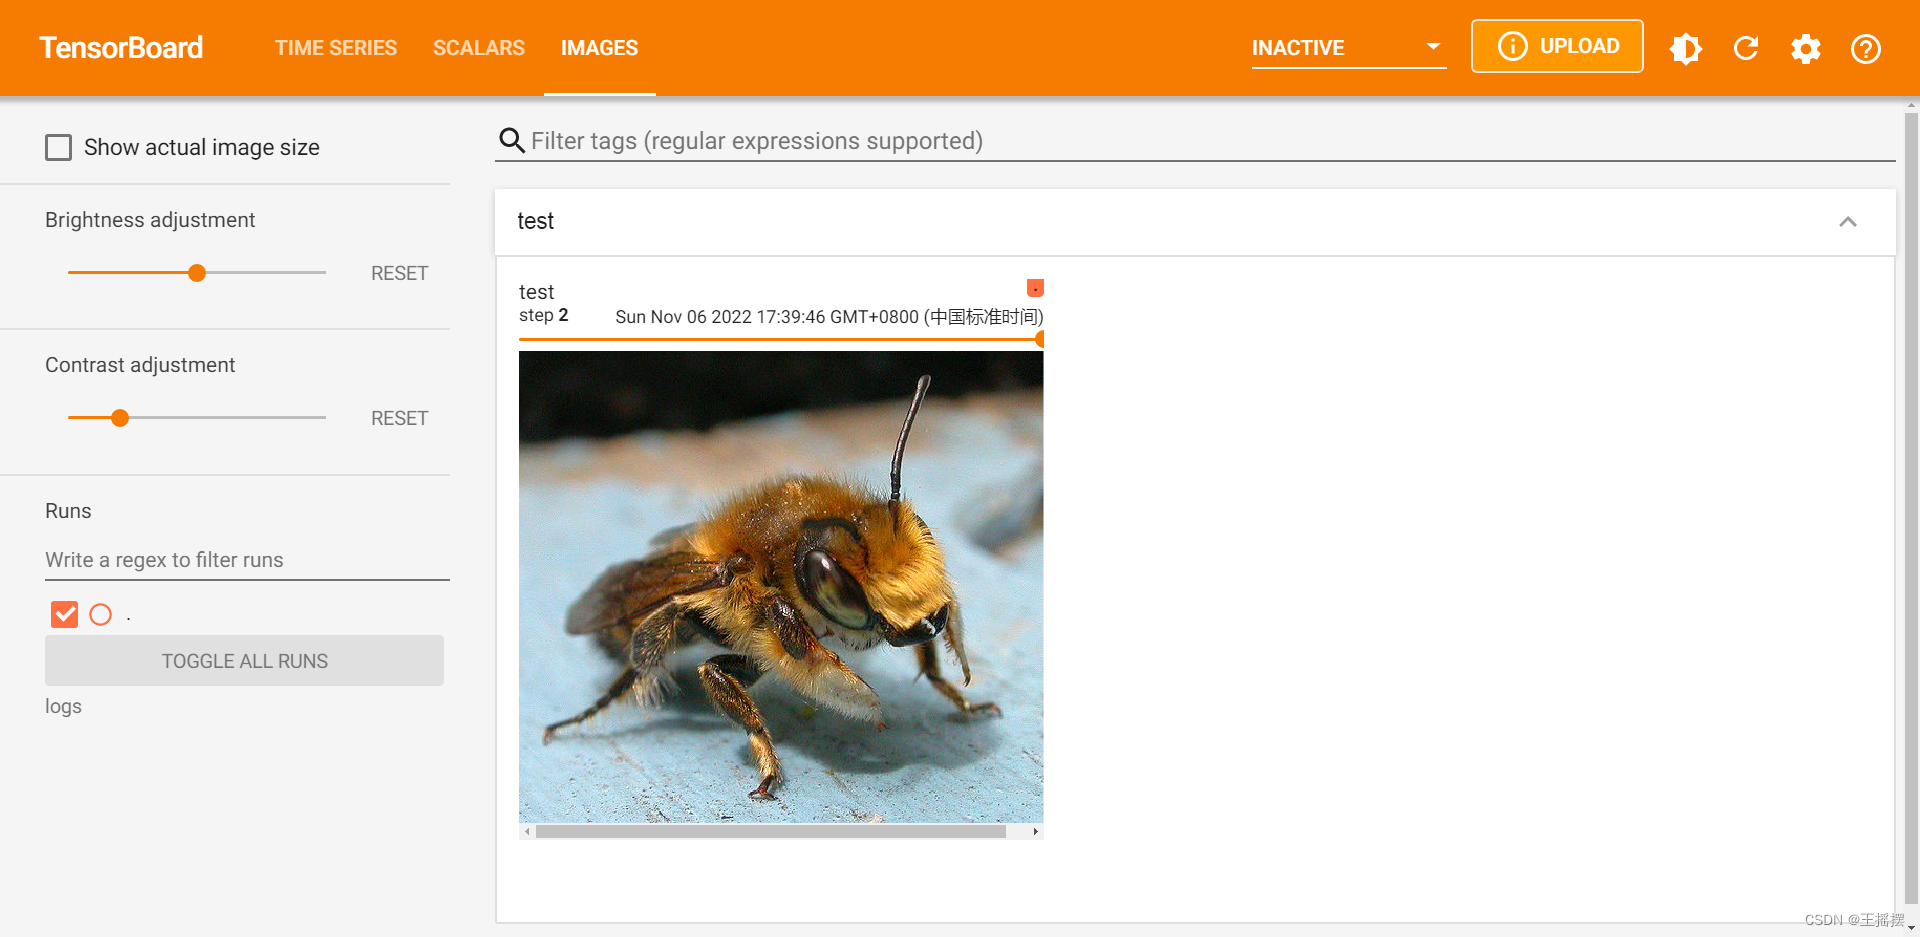
四、其他
4.1 导包的时候起一个别名
import numpy as np
4.2 写程序过程中的一种思路
传递参数的过程中参数不要写死。
变量来活的接收参数再将这个变量的值赋值到另一个参数中 一定要通过变量还传递参数
通过变量来接收参数
4.3 什么是HWC?
宽度高度通道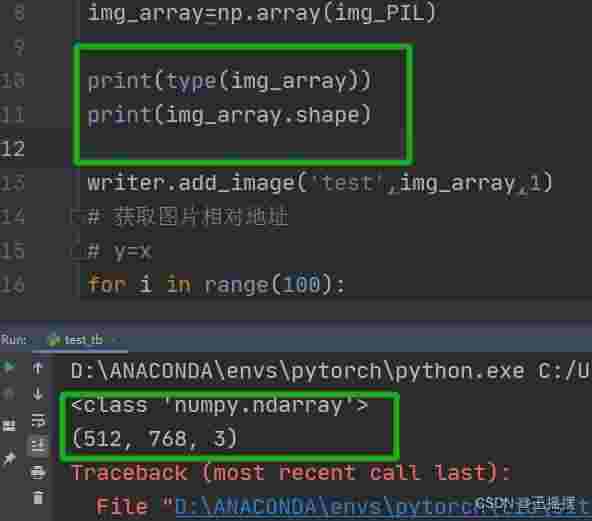
4.4 本练习源码
from torch.utils.tensorboard import SummaryWriterimport numpy as npfrom PIL import Imagewriter = SummaryWriter("logs")# 拿到图片的相对地址img_path = 'data/train/bees_image/17209602_fe5a5a746f.jpg'# 使用Image打开图片img_PIL = Image.open(img_path)# 将打开图片的数据类型完成转换成numpyt型img_array = np.array(img_PIL)# 对程序运行过程中出现的问题进行debug调试print(type(img_array))print(img_array.shape)# 使用新方法writer.add_image('train', img_array, 1, dataformats='HWC')# 使用tensorboard输出函数任意函数的图像for i in range(100): writer.add_scalar("y=2x", 3 * i, i)writer.close()