1.clipChildren和clipPadding说明
- clipChildren用来定义他的子控件是否要在他应有的边界内进行绘制。 默认情况下,clipChild被设置为true。 也就是不允许进行扩展绘制。
- clipToPadding用来定义ViewGroup是否允许在padding中绘制。默认情况下,cliptopadding被设置为ture, 也就是把padding中的值都进行裁切了。
还有该功能是android第一个版本就已经提供的方法, 所有可以跨任意android版本使用;
这两个属性联合起来能干什么呢?用来做一些类似于心形放大等点击特效非常合适, 不用去更改布局, 只需加入这两个属相,并引入动画效果就完成了;
注意事项:
- 只需在根节点设置android:clipChildren为false即可,默认为true,注意:一定是在布局文件的根节点设置,否则不起作用;
- 可以通过android:layout_gravity控制超出的部分如何显示;
- android:clipChildren的意思:是否限制子View在其范围内,我们将其值设置为false后那么当子控件的高度高于父控件时也会完全显示,而不会被压缩;
父视图设置android:clipChildren、android:clipPadding和不设置的效果如下:


2.实例讲解
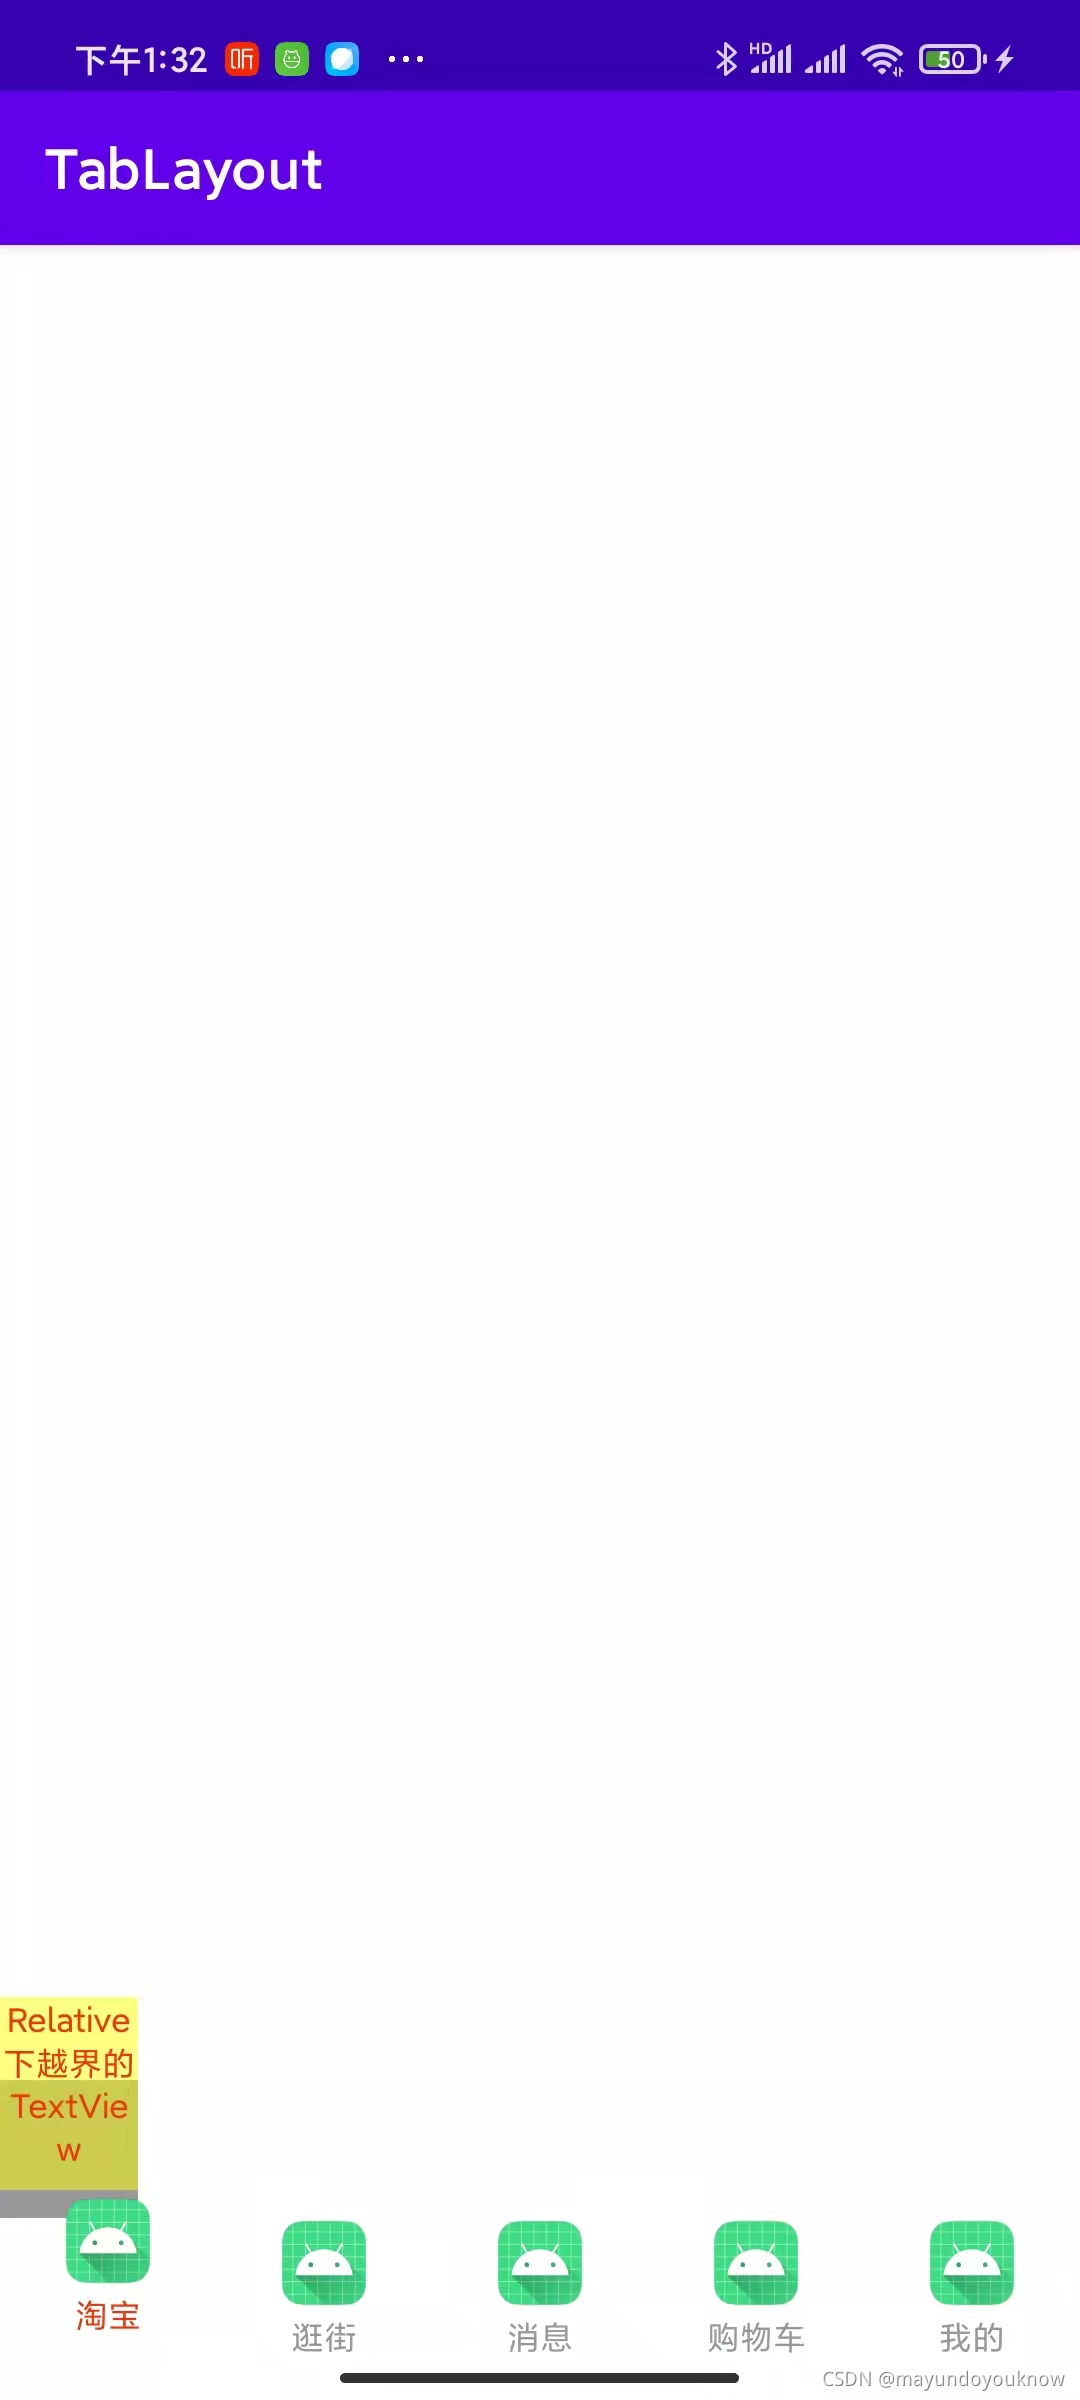
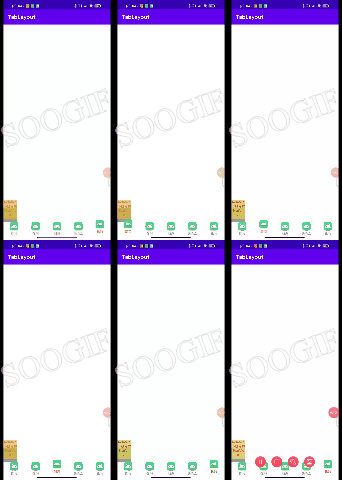
最近在写一个需求,要求点击底部栏的按钮,要能让图标放大,且要超出底部栏,实现一种越界的效果,效果如下:

2.1引入TabLayout库
在 android.surport.v4/v7项目中TabLayout在app_module对应的build.gradle中的引用如下:
    //TabLayout
    compile 'com.android.support:design:27.1.1'
    compile 'com.android.support:support-v4:27.1.1'
在androidx项目中TabLayout在app_module对应的build.gradle中的引用如下:
    //TabLayout
    implementation 'com.google.android.material:material:1.2.0'
2.2定义布局
注意事项:根布局需要设置android:clipChildren和TabLayout布局android:clipChildren属性都需要设置为false,否则不生效;
根布局activity_main.xml
<?xml version="1.0" encoding="utf-8"?>
<androidx.constraintlayout.widget.ConstraintLayout xmlns:android="http://schemas.android.com/apk/res/android"
    xmlns:tablayout="http://schemas.android.com/apk/res-auto"
    xmlns:app="http://schemas.android.com/apk/res-auto"
    xmlns:tools="http://schemas.android.com/tools"
    android:layout_width="match_parent"
    android:layout_height="match_parent"
    android:orientation="vertical"
    android:clipChildren="false"
    android:clipToPadding="false"
    tools:context=".MainActivity">

    <RelativeLayout
        android:layout_width="@dimen/app_50dp"
        android:layout_height="@dimen/app_50dp"
        android:background="@color/app_color_999999"
        android:clipToPadding="false"
        android:clipChildren="false"
        tablayout:layout_constraintLeft_toLeftOf="parent"
        tablayout:layout_constraintBottom_toTopOf="@id/tab_layout">
        <TextView
            android:id="@+id/app_tv_name"
            android:layout_width="70dp"
            android:layout_height="70dp"
            android:textAlignment="center"
            android:background="#80FFFF00"
            android:textSize="@dimen/app_12sp"
            android:textColor="@color/app_color_E8380D"
            android:layout_marginTop="-30dp"
            android:text="Relative下越界的TextView" />
    </RelativeLayout>

    <!-- tabRippleColor  去掉点击阴影,否则点击阴影会显示在横线上方-->
    <com.google.android.material.tabs.TabLayout
        android:id="@+id/tab_layout"
        android:layout_width="match_parent"
        android:layout_height="@dimen/app_50dp"
        android:background="@color/white"
        android:clipChildren="false"
        android:clipToPadding="false"
        tablayout:tabGravity="fill"
        tablayout:tabIndicatorColor="@android:color/transparent"
        tablayout:tabMode="fixed"
        tablayout:tabRippleColor="@android:color/transparent"
        app:layout_constraintBottom_toBottomOf="parent"
        />

</androidx.constraintlayout.widget.ConstraintLayout>TabLayout的Tab布局tab_item.xml
<?xml version="1.0" encoding="utf-8"?>
<androidx.constraintlayout.widget.ConstraintLayout
    xmlns:android="http://schemas.android.com/apk/res/android"
    xmlns:app="http://schemas.android.com/apk/res-auto"
    android:orientation="vertical"
    android:layout_width="match_parent"
    android:layout_height="match_parent">
    <ImageView
        android:layout_width="wrap_content"
        android:layout_height="0dp"
        app:layout_constraintBottom_toTopOf="@id/app_tv_name"
        app:layout_constraintLeft_toLeftOf="parent"
        app:layout_constraintRight_toRightOf="parent"
        app:layout_constraintTop_toTopOf="parent"
        app:layout_constraintVertical_weight="2"
        android:src="@mipmap/ic_launcher"
        android:id="@+id/iv_app_icon"/>
    <TextView
        android:id="@+id/app_tv_name"
        android:layout_width="wrap_content"
        android:layout_height="0dp"
        android:layout_centerInParent="true"
        app:layout_constraintTop_toBottomOf="@id/iv_app_icon"
        app:layout_constraintRight_toRightOf="parent"
        app:layout_constraintLeft_toLeftOf="parent"
        app:layout_constraintVertical_weight="1"
        android:textSize="@dimen/app_12sp"
        android:layout_centerHorizontal="true"
        android:layout_marginTop="@dimen/app_2dp"
        android:textColor="@color/app_color_999999"
        android:text="sssss" />
</androidx.constraintlayout.widget.ConstraintLayout>
2.3关键代码实现
TabLayout动态添加Tab:
private void initViews() {
    mTabLayout = (TabLayout) findViewById(R.id.tab_layout);
    initTabLayout();
}

private void initTabLayout(){
    //图文组合
    if(tabImageResource != null && tabImageResource.length > 0){
        createImageAndChina();
    }else if(tabTitles != null && tabTitles.length > 0){
        createChinaItem();
    }
}

/**
 * 创建图文混排Item
 */
private void createImageAndChina() {
    isImageAndChina = true;
    for (int i = 0; i < tabImageResource.length; i++) {
        TabLayout.Tab tab = mTabLayout.newTab();
        if(tab != null){
            tab.setCustomView(getTabView(i));
            mTabLayout.addTab(tab);
        }
    }
}

/**
 * 图文混排Item
 * @param position
 * @return
 */
private View getTabView(int position) {
    View tabView = LayoutInflater.from(this).inflate(R.layout.tab_item, null);
    setContentItem(tabView, position);
    return tabView;
}
选中Tab动态修改Tab的Margin使Tab超出TabLayout:
/**
 * 修改Tab视图Margin
 * @param customView
 * @param dimenId
 */
public void changeTabMargin(View customView,int dimenId){
    ViewGroup targetViewToApplyMargin = (ViewGroup) customView.getParent();
    ViewGroup.MarginLayoutParams layoutParams = (ViewGroup.MarginLayoutParams) targetViewToApplyMargin.getLayoutParams();
    layoutParams.topMargin = (int)getResources().getDimension(dimenId);
    targetViewToApplyMargin.setLayoutParams(layoutParams);
}
选中Tab时实现Tab视图的放大缩小效果:
/**
 * 使用属性动画改变Tab中View的状态
 * @param customView
 */
private void changeTabSelect(View customView){
    View iV =  customView.findViewById(R.id.iv_app_icon);
    ObjectAnimator objectAnimator = ObjectAnimator.ofFloat(iV, "",1.0f,1.4f,1.0f)
            .setDuration(200);
    objectAnimator.start();
    objectAnimator.addUpdateListener(animation -> {
        float cVal = (Float) animation.getAnimatedValue();
        customView.setScaleY(cVal);
        customView.setScaleX(cVal);
    });
}
若有clipChilren属性不生效,可以动态设置Tab子视图的ViewGroup的clipChildren属性为false(暂未使用)
/**
 * 设置TabLayout下Tab父视图不裁剪子视图
 * @param customView
 */
public void changeClipFalse(View customView){
    if (customView != null) {
        ViewGroup targetViewToApplyMargin = (ViewGroup) customView.getParent();
        //循环设置Tab下父视图不裁剪超出部分子视图
        while (targetViewToApplyMargin != mTabLayout){
            targetViewToApplyMargin.setClipChildren(false);
            targetViewToApplyMargin.setClipToPadding(false);
            targetViewToApplyMargin = (ViewGroup)targetViewToApplyMargin.getParent();
        }
    }
}
github源码地址:mayundoyouknow / Tablayout · CODE CHINA
参考:
仿淘宝/漫画岛底部栏实现--解决TabLayout clipchildren属性无效问题--底部导航栏图标溢出实现 - 简书
ConstraintLayout 实现LinearLayout weight效果_wqbs369的专栏-CSDN博客