文章目录
- 一、安装 node
- 二、搭建简单ts环境
- 三、Webapck + TypeScript
- 3.1 初始化准备
- 3.2 安装相关依赖
- 3.3 配置 webpack.config.js
- 3.4 一切准备就绪,测试你的 TS 文件
- 3.6 npm run serve
- 3.5 npm run build
- 3.6 目录结构
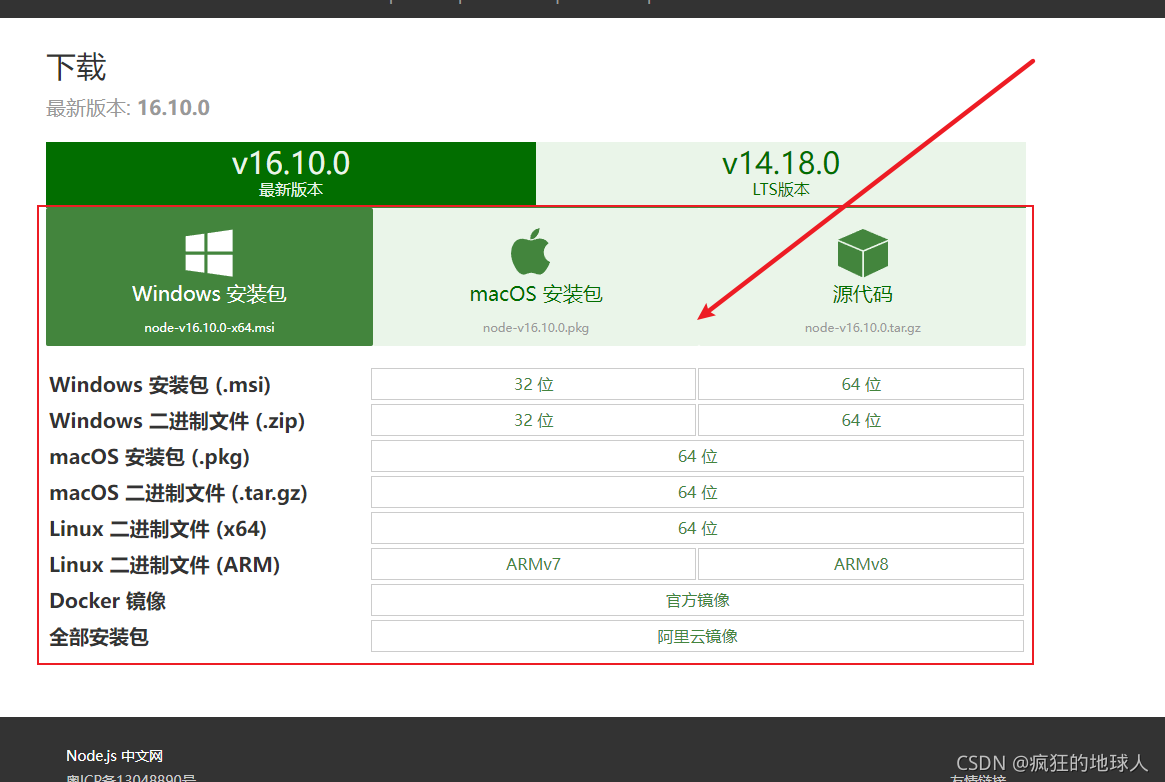
一、安装 node
直接去官网下载安装就行了,双击安装 (不会这都还需要教吧-.-)

国内官网链接:http://nodejs.cn/download/

二、搭建简单ts环境
注:搭建的该环境适用于在终端调试单个js文件等简单操作
// 安装typescript环境
npm install typescript -g

npm install ts-node -g
//另外ts-node需要依赖 tslib 和 @types/node 两个包
npm install tslib @types/node -g
接下来你就可以在终端使用命令运行你的ts文件了:
ts-node 文件名称 即可运行指定ts文件
hellowrold.ts
console.log("Hello World!");


三、Webapck + TypeScript
3.1 初始化准备
新建一个文件夹,命名ts-demo
进入该文件夹
npm init -y 初始化一个 package.json文件
tsc --init 初始化一个TypeScrpt配置文件
如果报:tsc 不是xxx的话,你需要全局安装TypeScript
输入命令npm install typescript -g安装
接下来在 ts-demo中会有如下两个文件,如果没有的话,请检查上述步骤是否执行成功
- package.json
- tsconfig.json
新建一个index.html文件,后续在npm run serve的时候会以该文件为模板(通过 HtmlWebpackPlugin 的template属性指定模板),自动引入打包好的TS代码。
index.html
<!DOCTYPE html>
<html lang="en">
<head>
  <meta charset="UTF-8">
  <meta http-equiv="X-UA-Compatible" content="IE=edge">
  <meta name="viewport" content="width=device-width, initial-scale=1.0">
  <title>Document</title>
</head>
<body>

</body>
</html>
3.2 安装相关依赖
npm i webpack webpack-cli -D // webpack 相关
npm i typescript ts-loader -D // ts 相关
npm i webpack-dev-server -D //开发服务器
npm i html-webpack-plugin -D //用于指定模板文件
3.3 配置 webpack.config.js
在 ts-demo文件目录下新建一个文件webpack.config.js,并填入以下内容:
webpack.config.js
const path = require("path");
const HtmlWebpackPlugin = require("html-webpack-plugin");

module.exports = {
  // mode: "development", // 看自己情况选择
  mode: "production", // 看自己情况选择
  entry: "./src/main.ts", // 入口文件
  output: {
    path: path.resolve(__dirname, "./dist"), // 打包后的文件位置
    filename: "bundle.js", // 打包后的文件名称
  },
  module: {
    rules: [
      {
        test: /\.ts$/,
        loader: "ts-loader",
      },
    ],
  },
  resolve: {
    // 自动解析扩展名
    extensions: [".js", ".json", ".ts", ".vue"],
  },
  plugins: [
    new HtmlWebpackPlugin({
      template: "./index.html", // 指定 html 模板文件
    }),
  ],
};
3.4 一切准备就绪,测试你的 TS 文件
接下来我们测试一下是否能够成功编译TS文件,
首先配置一下脚本,在package.json文件的scripts中,进行如下配置:
"scripts": {
  "serve": "webpack serve --open",
  "build": "webpack"
},
接下来在 ts-demo文件夹下新建一个src文件夹,并在该文件夹下新建文件main.ts
在 main.ts中尝试输出一下信息:
main.ts
const message: string = "Hello World!";
console.log(message);
3.6 npm run serve
接下来在 根目录打开控制台,并输入 npm run serve,则会打开一个开发服务器,你在更改文件的时候,浏览器会同步更新,方便调试。
3.5 npm run build
执行:npm run build
不出意外的话,文件将会被正常打包到 dist/bundle.js文件中。
3.6 目录结构
├── dist
|  └── bundle.js
├── src
|  ├── main.ts
├── node_modules
   ├── ...
├── index.html
├── tsconfig.json
├── package.json
├── package-lock.json
└── webpack.config.js
大概配置就到这里,其他的后续补充。
