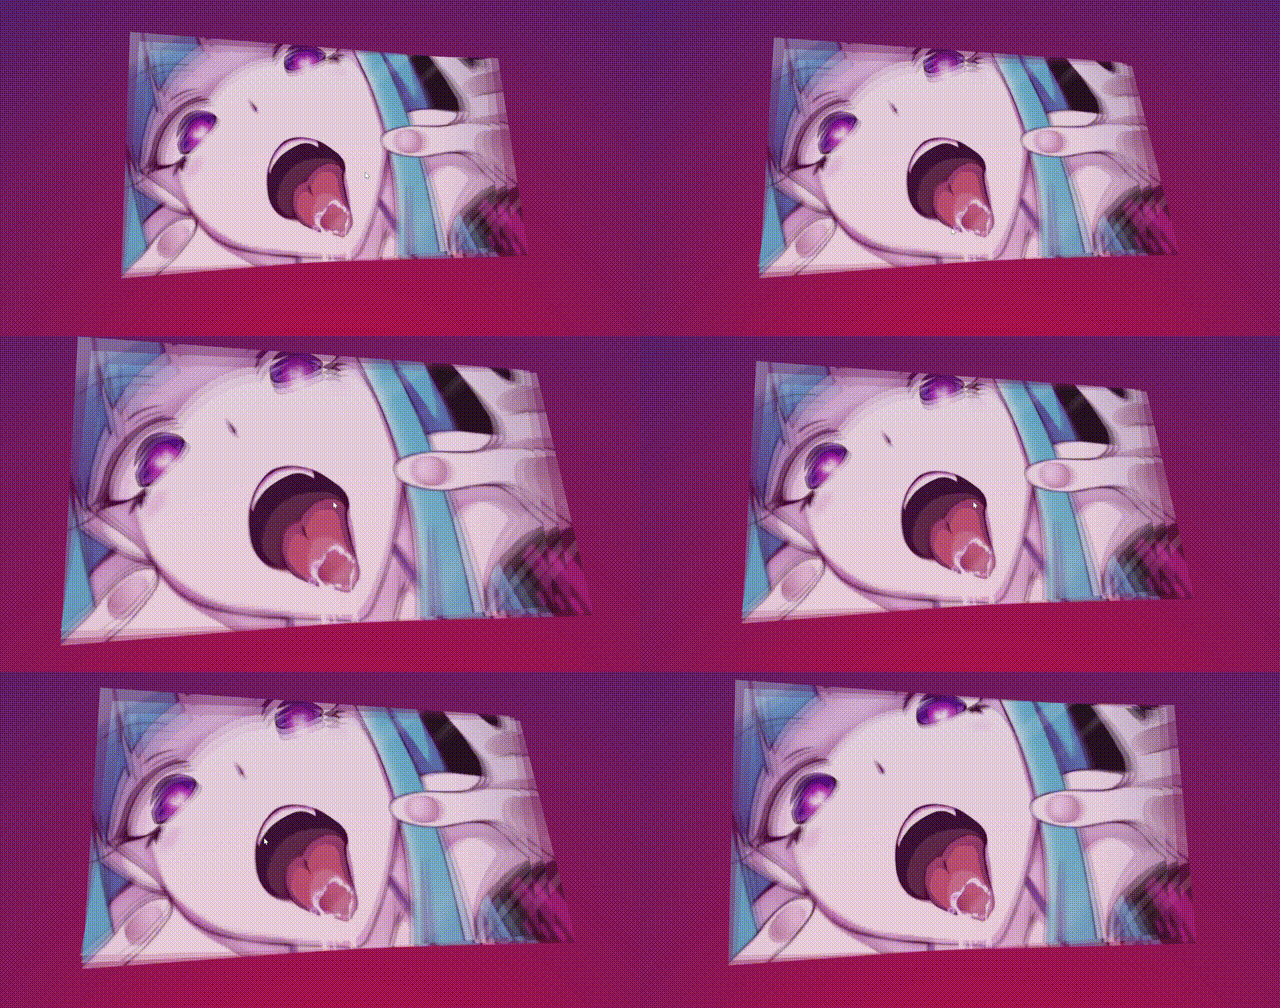
前言:相信读者在学习完了HTML、CSS和JavaScript之后已经想要迫不及待的想找一个小型的项目来练练手,那么这篇文章就正好能满足你的 “需求”。

✨✨✨这里是秋刀鱼不做梦的BLOG
✨✨✨想要了解更多内容可以访问我的主页秋刀鱼不做梦-CSDN博客
在开始学习之前,先让我们看一下最终的效果:
——看完了上述效果之后,现在让我们开始制作吧!
1.HTML代码
再开始进行效果制作之前,先让我们将HTML代码的骨架搭建好,以下为其HTML代码:
<body> <div class="shell"> <!-- 外部容器,用于包裹内部的盒子 --> <div class="box" id="box-a"> <!-- 第一个盒子,ID 为 box-a --> <img src="./1.jpg" alt=""> <!-- 图片,src 指向本地的 1.jpg --> </div> <div class="box" id="box-b"> <!-- 第二个盒子,ID 为 box-b --> <img src="./1.jpg" alt=""> <!-- 图片,src 指向本地的 1.jpg --> </div> <div class="box" id="box-c"> <!-- 第三个盒子,ID 为 box-c --> <img src="./1.jpg" alt=""> <!-- 图片,src 指向本地的 1.jpg --> </div> </div></body>在上述的代码中,我们可以看到:
外部容器:<div class="shell">,用于包裹内部的盒子。
盒子1:<div class="box" id="box-a">,包含一张图片。
盒子2:<div class="box" id="box-b">,同样包含一张图片。
盒子3:<div class="box" id="box-c">,也包含一张图片。
图片来源:每个盒子中的图片均指向本地文件1.jpg。
这样,通过上述的解释之后,我们对其的HTML代码也就进一步加深了。
2.css代码
当我们编写完了HTML代码之后,我们就可以对其进行一些效果上的修饰了!以下为CSS代码:
body { background: radial-gradient(circle farthest-side at center bottom, crimson, #003087 130%); /* 背景为径向渐变,从鲜红色到深蓝色 */ overflow: hidden; /* 隐藏超出边界的内容 */ display: flex; /* 使用弹性布局 */ justify-content: center; /* 水平居中对齐内容 */ align-items: center; /* 垂直居中对齐内容 */ height: 100vh; /* 高度为视口高度的 100% */}.shell { height: 260px; /* 容器高度 */ width: 500px; /* 容器宽度 */}.box { filter: grayscale(40%); /* 应用 40% 的灰度滤镜 */}.box img { position: absolute; /* 绝对定位 */ opacity: 0.4; /* 图片透明度为 40% */ margin: auto; /* 自动外边距 */ width: 100%; /* 图片宽度为 100% */}解释:
全屏背景:使用径向渐变,从鲜红色到深蓝色,营造视觉层次感。
居中布局:body 使用弹性布局,使内容在水平和垂直方向上居中。
固定容器:.shell 设置固定的高度(260px)和宽度(500px)。
灰度效果:.box 应用 40% 的灰度滤镜,使内容呈现灰色调。
透明图片:.box img 的透明度设置为 40%,增加柔和视觉效果
通过上述的总理之后,这样我们就对CSS代码有了一定的理解了!
3.JavaScript代码
再编写完了HTML和CSS代码之后,再让我们对其交互的效果进行完善,以下为JavaScript代码:
导入文件:
<!-- 导入jquery --><script src="https://cdnjs.cloudflare.com/ajax/libs/jquery/3.0.0/jquery.min.js"></script><!-- 导入动画库 --><script src="https://cdnjs.cloudflare.com/ajax/libs/gsap/1.18.5/TweenMax.min.js"></script>交互的编写:
<script> /* 获取元素 */ let $body = $("body"), // 获取 body 元素 $heroA = $("#box-a img"), // 获取盒子 A 中的图片 $heroB = $("#box-b img"), // 获取盒子 B 中的图片 $heroC = $("#box-c img"); // 获取盒子 C 中的图片 // 设置 transformStyle 属性为 'preserve-3d',使3D效果得以保留 TweenMax.set($heroA, { transformStyle: 'preserve-3d' }); TweenMax.set($heroB, { transformStyle: 'preserve-3d' }); TweenMax.set($heroC, { transformStyle: 'preserve-3d' }); /* 鼠标移动事件 */ $body.mousemove(function (e) { /* 计算鼠标在页面中的位置 */ let sxPos = e.pageX / $body.width() * 300 - 50; // 计算鼠标的 X 轴位置 let syPos = e.pageY / $body.height() * 300 - 50; // 计算鼠标的 Y 轴位置 console.log("x:" + sxPos + ", y:" + syPos); // 输出鼠标位置 /* 使用 TweenMax 库设置元素的动画效果 */ TweenMax.to($heroA, 1, { // 动画到盒子 A rotationY: 0.05 * sxPos, rotationX: 0.20 * syPos, rotationZ: '-0.1', transformPerspective: 500, }); TweenMax.to($heroB, 1, { // 动画到盒子 B rotationY: 0.10 * sxPos, rotationX: 0.15 * syPos, rotationZ: 0, transformPerspective: 500, }); TweenMax.to($heroC, 1, { // 动画到盒子 C rotationY: 0.15 * sxPos, rotationX: 0.10 * syPos, rotationZ: 0.10, transformPerspective: 500, }); });</script>这里我们再对上述代码进行解释一下,便于读者的理解:
获取 DOM 元素:
使用 jQuery 获取 body 和每个盒子内的图片元素。
设置 3D 效果:
使用 TweenMax 设置每个图片的 transformStyle 属性为 'preserve-3d',以保留 3D 效果。
鼠标移动事件:
为 body 添加鼠标移动事件,捕捉鼠标位置。
计算鼠标位置:
根据鼠标在页面中的 X 和 Y 坐标计算出相应的偏移量。
动画效果:
使用 TweenMax.to 方法对每个盒子的图片应用旋转动画,旋转量根据鼠标位置动态变化。
动画持续时间:
每个动画持续 1 秒,添加了透视效果。
希望读者可以根据上述的代码注释和下面的解释对JavaScript样式进行理解!
——至此,我们就完成了这个案例的编写了,最后我们附上全部代码以及最终的效果图:
代码:
<!DOCTYPE html><html lang="en"><head> <meta charset="UTF-8"> <meta name="viewport" content="width=device-width, initial-scale=1.0"> <title>秋刀鱼不做梦</title> <link rel="stylesheet" href="./index.css"> <style> body { background: radial-gradient(circle farthest-side at center bottom, crimson, #003087 130%); overflow: hidden; display: flex; justify-content: center; align-items: center; height: 100vh; } .shell { height: 260px; width: 500px; } .box { filter: grayscale(40%); } .box img { position: absolute; opacity: 0.4; margin: auto; width: 100%; } </style></head><body> <div class="shell"> <div class="box" id="box-a"> <img src="./1.jpg" alt=""> </div> <div class="box" id="box-b"> <img src="./1.jpg" alt=""> </div> <div class="box" id="box-c"> <img src="./1.jpg" alt=""> </div> </div></body><!-- 导入jquery --><script src="https://cdnjs.cloudflare.com/ajax/libs/jquery/3.0.0/jquery.min.js"></script><!-- 导入动画库 --><script src="https://cdnjs.cloudflare.com/ajax/libs/gsap/1.18.5/TweenMax.min.js"></script><script> /* 获取元素*/ let $body = $("body"), $heroA = $("#box-a img"), $heroB = $("#box-b img"), $heroC = $("#box-c img"); // 设置 transformStyle 属性为 'preserve-3d' TweenMax.set($heroA, { transformStyle: 'preserve-3d' }); TweenMax.set($heroB, { transformStyle: 'preserve-3d' }); TweenMax.set($heroC, { transformStyle: 'preserve-3d' }); /* 鼠标移动事件 */ $body.mousemove(function (e) { /* 计算鼠标在页面中的位置 */ let sxPos = e.pageX / $body.width() * 300 - 50; let syPos = e.pageY / $body.height() * 300 - 50; console.log("x:" + sxPos + ", y:" + syPos); /* 使用TweenMax库设置元素的动画效果 */ TweenMax.to($heroA, 1, { rotationY: 0.05 * sxPos, rotationX: 0.20 * syPos, rotationZ: '-0.1', transformPerspective: 500, }); TweenMax.to($heroB, 1, { rotationY: 0.10 * sxPos, rotationX: 0.15 * syPos, rotationZ: 0, transformPerspective: 500, }); TweenMax.to($heroC, 1, { rotationY: 0.15 * sxPos, rotationX: 0.10 * syPos, rotationZ: 0.10, transformPerspective: 500, }); });</script></html>效果图:

以上就是本篇文章的全部内容了!!!