目录
基本介绍环境配置官方代码示例基础代码详解我的代码效果视频进阶代码及去水印
基本介绍

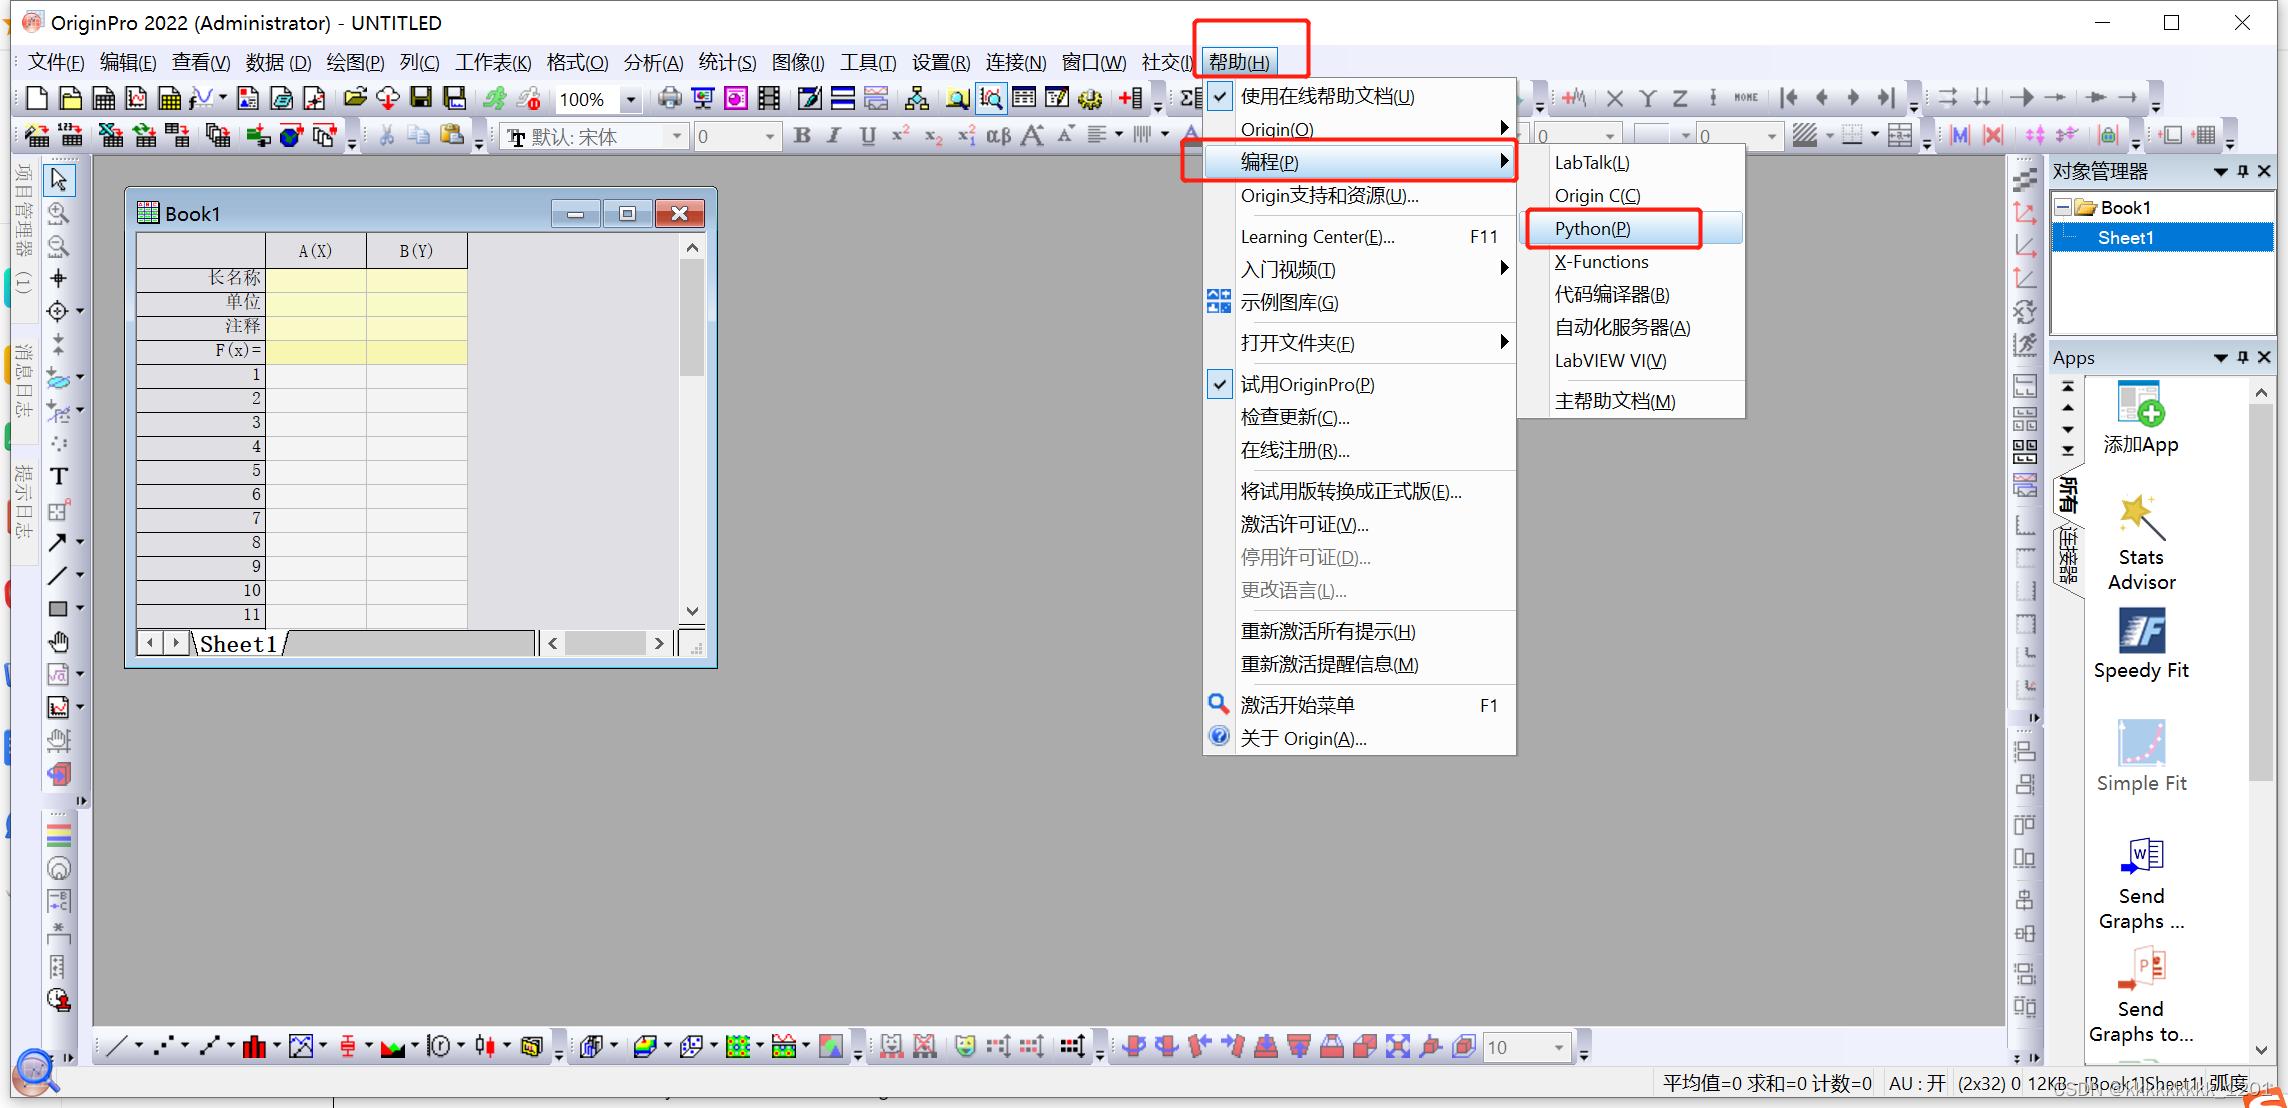
origin2021后可以使用python实现批量绘图,一共有两种方式:一种是嵌入式Python,一种是外部Python访问Origin。详细介绍可以自己去查看,打开origin->帮助->编程->python,就可以打开网页 link查看。
这里主要介绍比较少人提及的外部Python访问Origin方式,内部太麻烦了,对于习惯使用pycharm的我来说。
环境配置
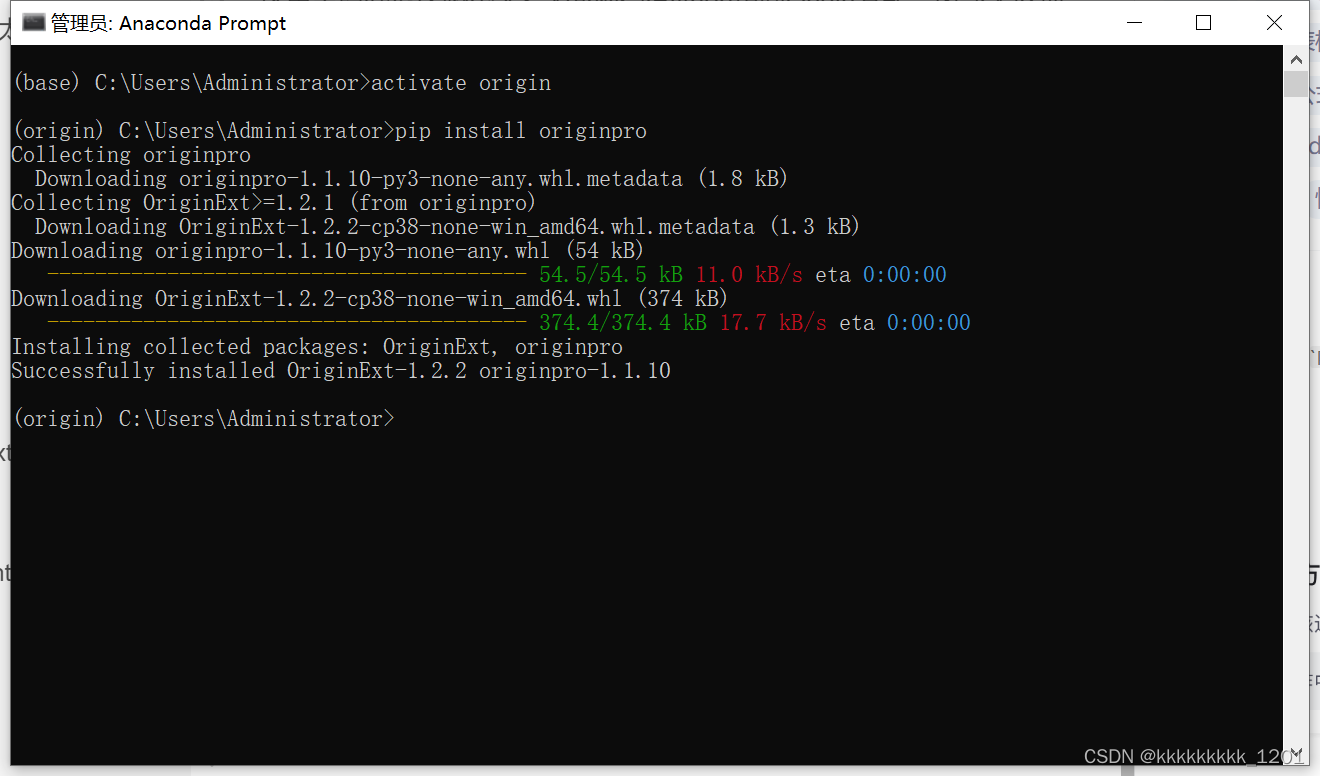
还是熟悉的Anaconda Prompt,然后配置需要使用到的环境。首先先创建一个origin环境,然后激活环境后进行pip安装。这里conda install会报错的
创建环境见我其他配置教程: 【框架安装】win7 配置安装tensorflow和keras教程

pip install originpro然后就打开pycharm创建新项目,设置环境。见我其他配置教程: 【框架安装】win7 配置安装tensorflow和keras教程
官方代码示例
代码示例:https://www.originlab.com/doc/en/ExternalPython/External-Python-Code-Samples
更多代码示例:https://github.com/originlab/Python-Samples
官方函数指南:https://docs.originlab.com/originpro/annotated.html
基础代码详解
这里部分代码有删减,不可以直接运行!!!可以参考下面步骤流程写自己的代码!!!
part1 初始化
import osimport originpro as opimport numpy as npimport pandas as pd# Very useful, especially during development, when you are liable to have a few uncaught exceptions.# Ensures that the Origin instance gets shut down properly.# Note: only applicable to external Python.# 官网推荐加的,不加白不加import sysdef origin_shutdown_exception_hook(exctype, value, traceback): '''Ensures Origin gets shut down if an uncaught exception''' op.exit() sys.__excepthook__(exctype, value, traceback)if op and op.oext: sys.excepthook = origin_shutdown_exception_hookpart2 打开origin界面(也可以不打开的,但是打开可控一点)
# Set Origin instance visibility.# Important for only external Python.# Should not be used with embedded Python.# 这个命令可以打开一个origin界面if op.oext: op.set_show(True)part3 读取数据并进行数据处理
# 可以实现设置一个origin模板,这样可以减轻工作量# 这里先设置好模板读取路径template_path,以及图片保存路径save_img_path# 可以看这个教程:https://blog.originlab.com/origin-graph-templates-for-python-developersworking_folder = os.path.dirname(os.path.realpath(__file__))template_path = os.path.join(working_folder,'test111.otpu')save_img_path = working_folder# 可以使用pandas 和numpy 处理数据data = pd.read_csv(csv_path, header=None)data = np.array(data).flatten()part4 新建表格,并将数据输入到表格
# Simple syntax to create a new workbook with one sheetwks = op.new_sheet('w','test')# Insert list data into columns 1# 这里0指的是第一列,1指的是第二列,data就是要输入进去的列向量np格式数据,列名设置为???。这里输入两列相同的数据# 注意这个列名会显示到图上面的wks.from_list(0, data, lname='???')wks.from_list(1, data, lname='???')part5 绘图
# Create a new graph object based on a graph template.# Provide path to the template. We'll use a built-ingr = op.new_graph(template=template_path)# Add plots with data from worksheet to layer 1 and layer 2# and then rescale.# p1 就是绘制的第一条曲线,p1 = gr[0].add_plot(wks, coly='B', colx='A')# X is col A, Y is col B.p1.color = '#335eff' # 设置曲线颜色# 可以到这个网站找合适的配色:https://eng.m.fontke.com/tool/rgb/# p2 就是绘制的第二条曲线p2 = gr[0].add_plot(wks, 'C', 'A')# X is col A, Y is col C.p2.color = '#ff5833'part6 保存图片
# 保存图片f=gr.save_fig(os.path.join(save_img_path,'my_py_test.png'))# 打开刚刚保存的图片if len(f): os.startfile(f)part7 退出origin
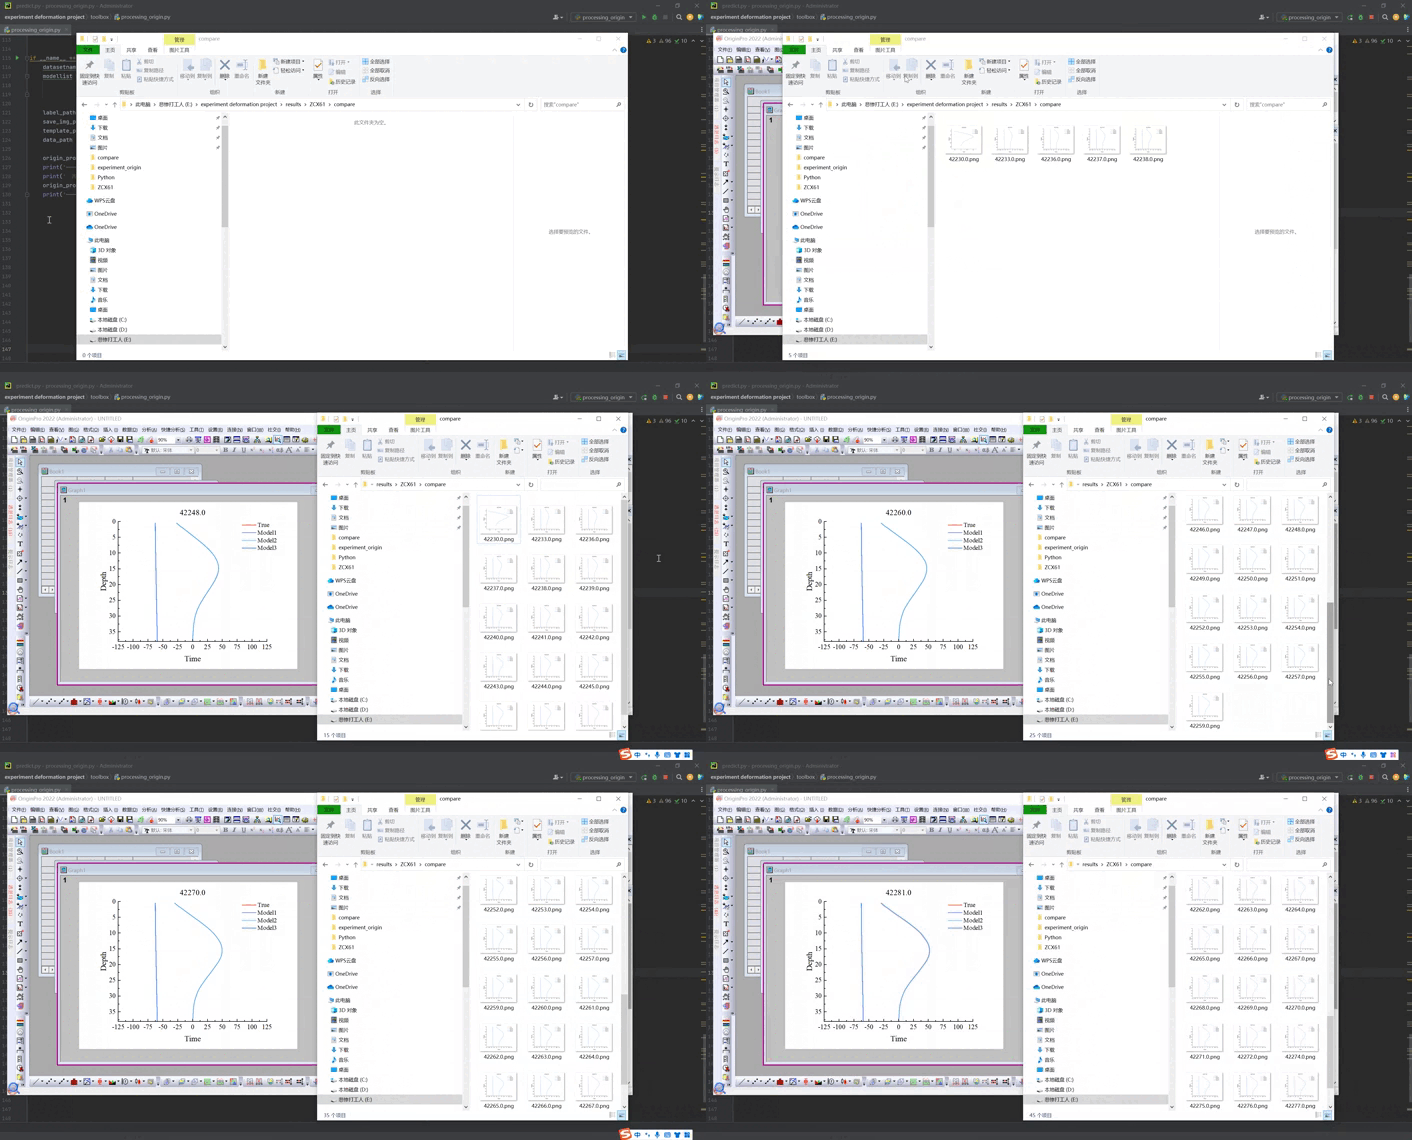
# Exit running instance of Origin.if op.oext: op.exit()我的代码效果视频

进阶代码及去水印
【Origin+Python】使用External Python批量出图代码参考2目录:
进阶代码
1 批量绘制曲线图
2 曲线图设置
3 批量绘制相同设置的曲线图
去除水印