目录
一、环境配置
二、数据集准备
三、数据转化
四、数据预处理
五、训练
六、测试
七、寻找最优配置
八、后处理
九、screen的用法
最近在使用nnUNet做医学影像分割,为大家提供参考。
官方使用说明地址:
https://github.com/MIC-DKFZ/nnUNet/blob/master/documentation/how_to_use_nnunet.md
一、环境配置
1. 创建虚拟环境(anaconda 3)
conda create -n nnUnet python=3.9conda activate nnUnet2. 配置nnUNet_v2
(1)安装nnUNet
git clone https://github.com/MIC-DKFZ/nnUNet.gitcd nnUNetpip install -e .(2)安装hiddenlayer(可选,为了输出网络结构示意图)
pip install --upgrade git+https://github.com/FabianIsensee/hiddenlayer.git如果在实际使用中发现graphviz库报错:"failed to execute PosixPath('dot'), make sure the Graphviz executables are on your systems' PATH"
请使用以下命令安装dot:
conda install -c conda-forge graphviz3. 配置环境变量
修改位于/home/user路径下的.barshrc文件,在文件末端输入:
export nnUNet_raw="/home/suian/nnUNet/nnUNetFrame/DATASET/nnUNet_raw/nnUNet_raw_data"export nnUNet_preprocessed="/home/suian/nnUNet/nnUNetFrame/DATASET/nnUNet_preprocessed"export nnUNet_results="/home/suian/nnUNet/nnUNetFrame/DATASET/nnUNet_results"4. 更新配置(位于/home/user路径下)
source .bashrc二、数据集准备
nnUnet有严格的数据集结构要求,按照以下步骤制作自定义数据集:
1. 安装好nnUNet后,在home/user/nnUNet/目录下创建文件夹,命名为nnUNetFrame
2. 在nnUNetFrame下创建DATASET文件夹
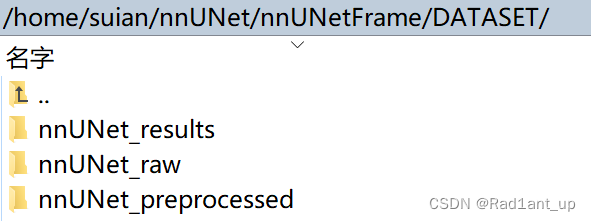
3. 在DATASET文件夹下创建三个文件夹,分别为nnUNet_results、nnUNet_raw、nnUNet_preprocessed
如图:
4. 在nnUNet_raw下创建nnUNet_raw_data与nnUNet_cropped_data(后者为可选项)文件夹
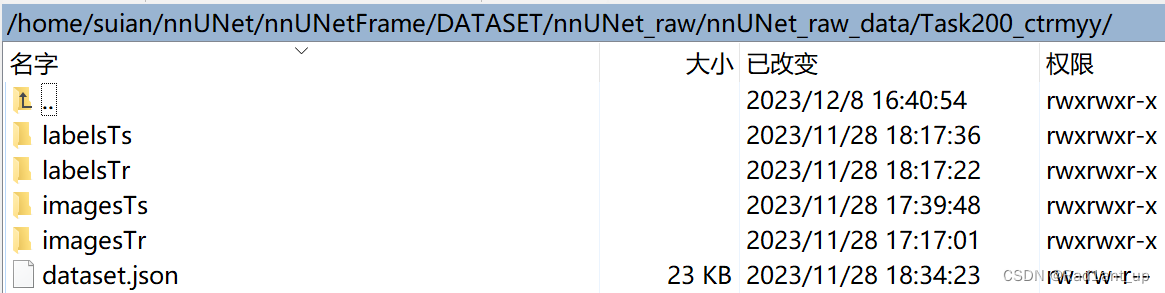
5. 在nnUNet_raw_data下创建Task对应的文件夹,以rmyy数据为例,Task200_ctrmyy
注:每一个Task都有唯一的ID,最好从200开始,以免与原有数据集发生冲突。

6. 在Task200_ctrmyy下存放训练、测试数据及标签,并且创建一个dataset.json文件
可以运行脚本自动生成dataset.json文件。
"""位置:/home/suian/nnUNet/nnUNetFrame/create_data_json.py创建数据集的json"""import osimport jsonfrom collections import OrderedDictpath_originalData = r"/home/suian/nnUNet/nnUNetFrame/DATASET/nnUNet_raw/nnUNet_raw_data/"Task_name = 'Task200_ctrmyy'train_real_image = os.listdir((path_originalData + Task_name + "/imagesTr"))train_real_label = os.listdir((path_originalData + Task_name + "/labelsTr"))test_real_image = os.listdir((path_originalData + Task_name + "/imagesTs"))print(train_real_image)for idx in range(len(train_real_image)): print({'image': "./imagesTr/%s" % train_real_image[idx], "label": "./labelsTr/%s" % train_real_label[idx]})# # -------下面是创建json文件的内容--------------------------# # 可以根据你的数据集,修改里面的描述json_dict = OrderedDict()json_dict['name'] = "ct_rmyy" # 任务名json_dict['description'] = " Segmentation"json_dict['tensorImageSize'] = "3D"json_dict['reference'] = "see challenge website"json_dict['licence'] = "see challenge website"json_dict['release'] = "0.0"# 这里填入模态信息,0表示只有一个模态,还可以加入“1”:“MRI”之类的描述,详情请参考官方源码给出的示例json_dict['modality'] = {"0": "CT"}# 这里为label文件中的标签,名字可以按需要命名########下面一行在参考的基础上做了修改######json_dict['labels'] = {'0': 'background', '1': "LV", '2': "RV", '3': "LA", '4': "RA", '5': "Aorta", '6': "PA", '7': "myo", '8': "SVC", '9': "IVC", '10': "PV"}# 下面部分不需要修改json_dict['numTraining'] = len(train_real_image)json_dict['numTest'] = len(test_real_image)json_dict['file_ending'] = '.nii.gz'json_dict['training'] = []for idx in range(len(train_real_image)): json_dict['training'].append({'image': "./imagesTr/%s" % train_real_image[idx], "label": "./labelsTr/%s" % train_real_label[idx]})json_dict['test'] = ["./imagesTs/%s" % i for i in test_real_image]with open(os.path.join(path_originalData + Task_name, "dataset.json"), 'w') as f: json.dump(json_dict, f, indent=4, sort_keys=True)# 输出文件夹:path_originalData三、数据转化
准备好数据和dataset.json文件后,进行数据转化:
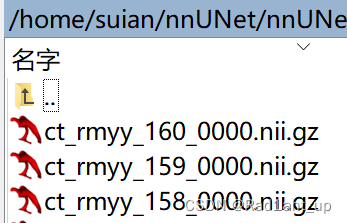
nnUNetv2_convert_MSD_dataset -i /home/suian/nnUNet/nnUNetFrame/DATASET/nnUNet_raw/nnUNet_raw_data/Task300_FullWholeHeart -overwrite_id 300命令完成后会在同级文件夹下生成新的Dataset200_ctrmyy文件夹,内部包含转化后的数据(实际上就是把文件重命名以说明当前模态)
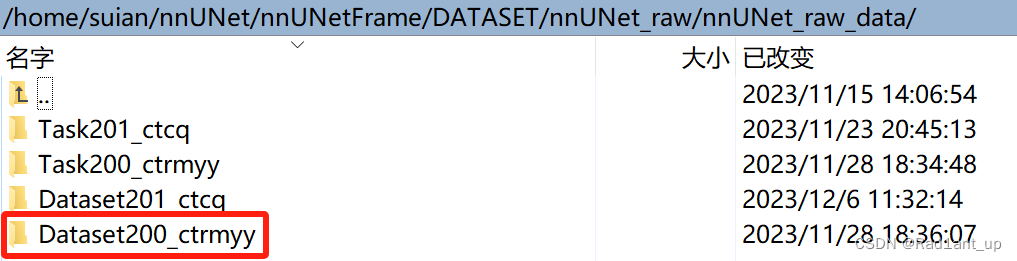
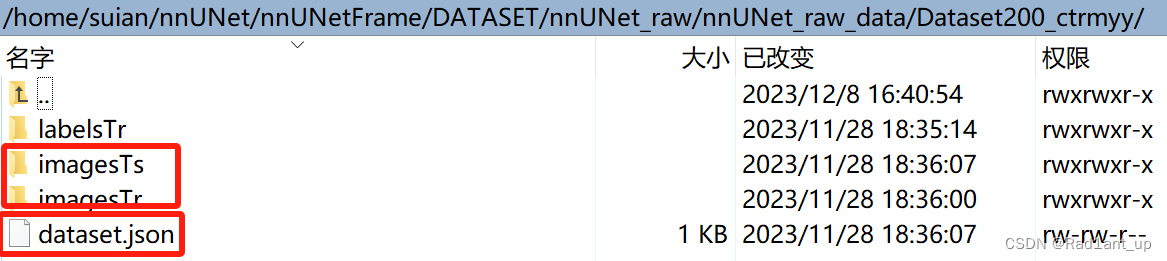
会生成新的dataset.json(内容和刚刚自己创建的没什么不同,只是v2相对于v1有些区别,不用管)以及重命名后的数据:
注:Task_x下的dataset.json中label键值对为"0": "background"(b区分大小写);Dataset_x下为”background”: 0。(数据转化命令会自动实现)
四、数据预处理
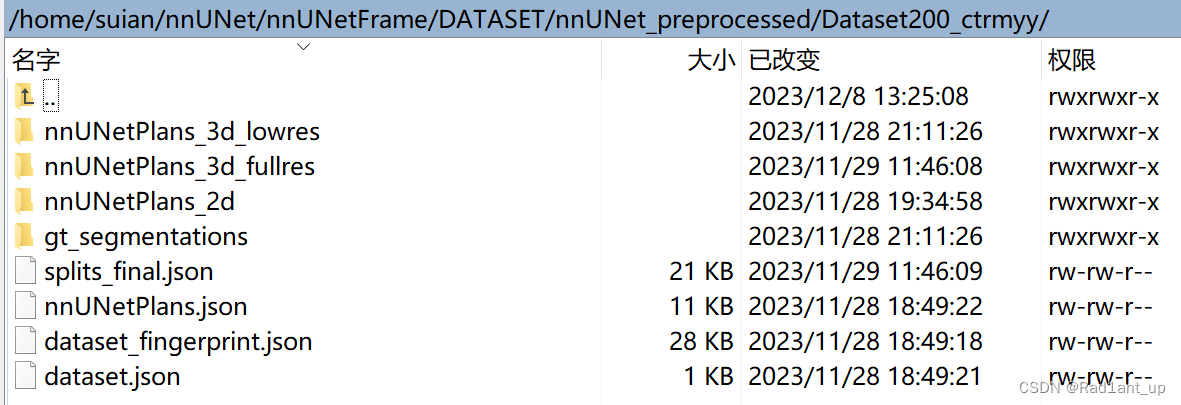
nnUNetv2_plan_and_preprocess -d 300 --verify_dataset_integrity结果存放在../DATASET/nnUNet_preprocessed目录下,会生成2d/3d_lowres/3d_fullres三种配置的预处理结果。(Default: 2d 3d_fullres 3d_lowres)

可以通过 -c CONFIGURATIONS设定需要生成的预处理文件,比如:
nnUNetv2_plan_and_preprocess -d 300 -c 3d_fullres --verify_dataset_integrity五、训练
首先设定GPU编号:
export CUDA_VISIBLE_DEVICES=0echo $CUDA_VISIBLE_DEVICES修改训练文件中的num_epochs(原先代码中是1000,训练起来太久了)
(位于/home/user/nnUNet/nnunetv2/training/nnUNetTrainer下nnUNetTrainer.py文件内)
使用脚本训练:
source /home/suian/nnUNet/scripts/train.shtrain.sh脚本内容:
export CUDA_VISIBLE_DEVICES=0echo $CUDA_VISIBLE_DEVICESfor fold in {0..4}do nnUNetv2_train 300 3d_fullres $folddone如果训练意外中断,使用--c恢复训练(需要指定第几折,如第1折):
nnUNetv2_train 300 3d_fullres 0 --c六、测试
(如果想要确定最佳配置后再测试,可以使用nnUNetv2_find_best_configuration,详见七。)
首先设定GPU编号:
export CUDA_VISIBLE_DEVICES=1echo $CUDA_VISIBLE_DEVICES模板:
nnUNetv2_predict -i INPUT_FOLDER -o OUTPUT_FOLDER -d DATASET_NAME_OR_ID -c CONFIGURATION -npp 1例子:
export CUDA_VISIBLE_DEVICES=1echo $CUDA_VISIBLE_DEVICES# 1. rmyynnUNetv2_predict -i /home/suian/nnUNet/nnUNetFrame/DATASET/nnUNet_raw/nnUNet_raw_data/Dataset200_ctrmyy/imagesTs -o /home/suian/nnUNet/nnUNetFrame/DATASET/nnUNet_results/test_results/Dataset200_ctrmyy -d 200 -c 3d_fullres -npp 1# 2. rmyy_on_cq:nnUNetv2_predict -i /home/suian/nnUNet/nnUNetFrame/DATASET/nnUNet_raw/nnUNet_raw_data/Dataset201_ctcq/imagesTs -o /home/suian/nnUNet/nnUNetFrame/DATASET/nnUNet_results/test_results/rmyy_on_cq -d 200 -c 3d_fullres -npp 1# 3. cqnnUNetv2_predict -i /home/suian/nnUNet/nnUNetFrame/DATASET/nnUNet_raw/nnUNet_raw_data/Dataset201_ctcq/imagesTs -o /home/suian/nnUNet/nnUNetFrame/DATASET/nnUNet_results/test_results/Dataset201_ctcq -d 201 -c 3d_fullres -npp 1# 4. FullWholeHeartnnUNetv2_predict -i /home/suian/nnUNet/nnUNetFrame/DATASET/nnUNet_raw/nnUNet_raw_data/Dataset300_FullWholeHeart/imagesTs -o /home/suian/nnUNet/nnUNetFrame/DATASET/nnUNet_results/test_results/Dataset300_FullWholeHeart -d 300 -c 3d_fullres -npp 1七、寻找最优配置
前提是训练了2d、3d_lowres、3d_fullres中的多个配置。
模板:
nnUNetv2_find_best_configuration DATASET_NAME_OR_ID -c CONFIGURATIONS例子:
nnUNetv2_find_best_configuration 300 -c 2d 3d_fullres --disable_ensembling八、后处理
寻找最优配置后,会在命令行输出后处理所使用的代码,复制粘贴即可。

例子:
nnUNetv2_apply_postprocessing -i /home/suian/nnUNet/nnUNetFrame/DATASET/nnUNet_results/prediction_results/Dataset201_ctcq -o /home/suian/nnUNet/nnUNetFrame/DATASET/nnUNet_results/prediction_results/ Dataset201_ctcq/ Dataset201_ctcq_pp -pp_pkl_file /home/suian/nnUNet/nnUNetFrame/DATASET/nnUNet_results/Dataset201_ctcq/nnUNetTrainer__nnUNetPlans__2d/crossval_results_folds_5/postprocessing.pkl -np 1 -plans_json /home/suian/nnUNet/nnUNetFrame/DATASET/nnUNet_results/Dataset201_ctctcq/nnUNetTrainer__nnUNetPlans__2d/plans.json
也可以在相应文件夹找到:

九、screen的用法
1. 命令:
screen -S <session_name> # 启动一个screen会话
screen -ls # 列出所有的screen会话
screen -r <session_name or id> # 恢复一个Detached会话
screen -d <session_name or id> # 分离一个Attached会话
screen -S <session_name or id> -X quit # 关闭整个screen会话
2. 在一个screen会话中,使用以下命令:
Ctrl+a+d # 分离当前会话
Ctrl+a+c # 在当前screen会话中创建一个新的窗口
Ctrl+a+n # 切换到下一个窗口
Ctrl+a+p # 切换到上一个窗口
exit:退出并关闭screen
参考博客:
[1] 服务器中的screen 命令_screen关闭会话-CSDN博客
[2] nnUNet保姆级使用教程!从环境配置到训练与推理(新手必看)-CSDN博客
[3] nnUNet详细笔记教程(Linux下,只有实验没有原理)-CSDN博客
[4] 医学图像分割 3D nnUNet全流程快速实现-CSDN博客