零、教程简介
本教程主要实现在ubuntu系统部署chatglm3-6b大模型+本地知识库问答,同时也支持百川,千问,羊驼等主流大模型。
文中会涉及Anaconda3(python多版本环境) , langchain chatchat webui(大模型webui),chagtlm3-6b(智谱大模型),bge-large-zh(向量库) 等内容
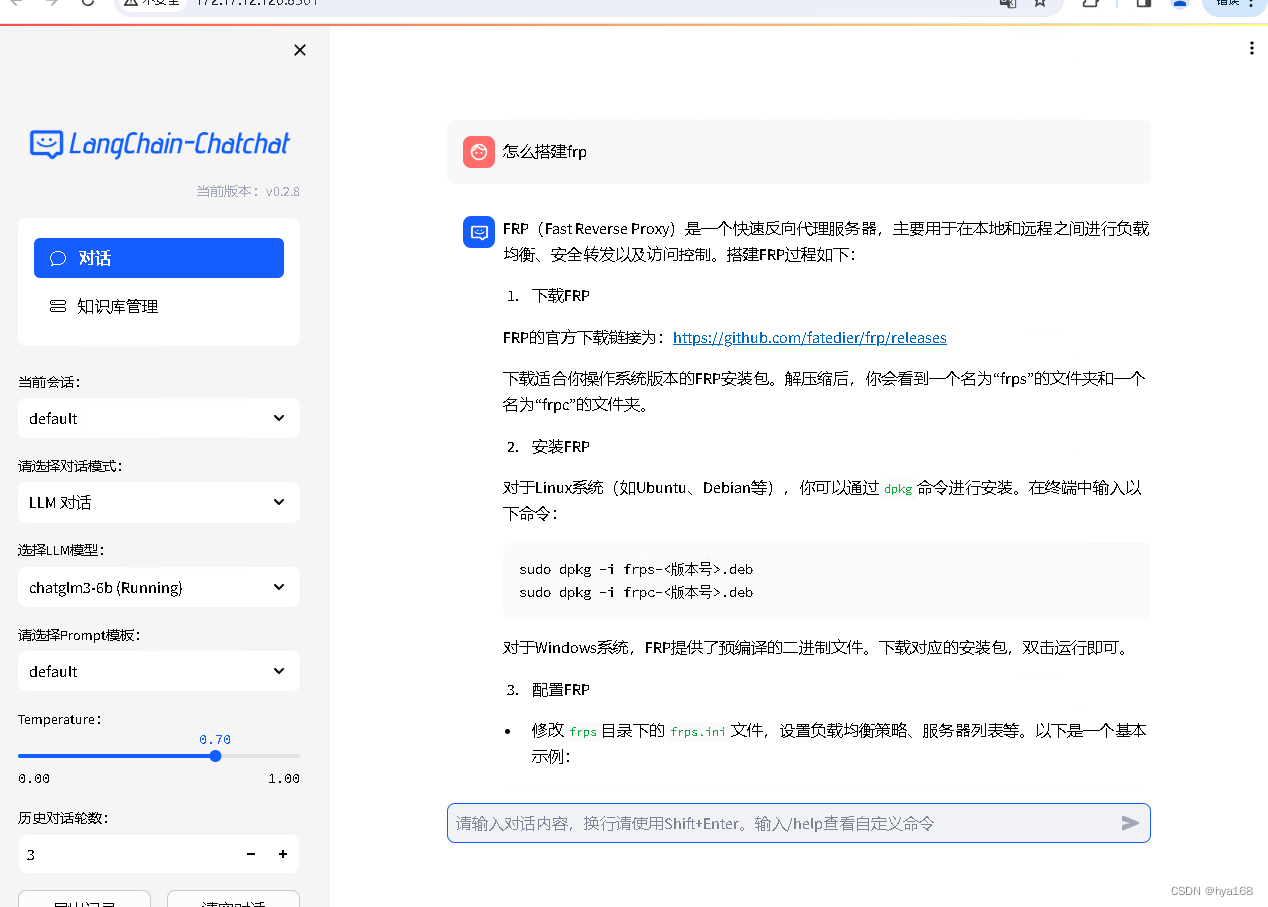
大语言模型对话效果:
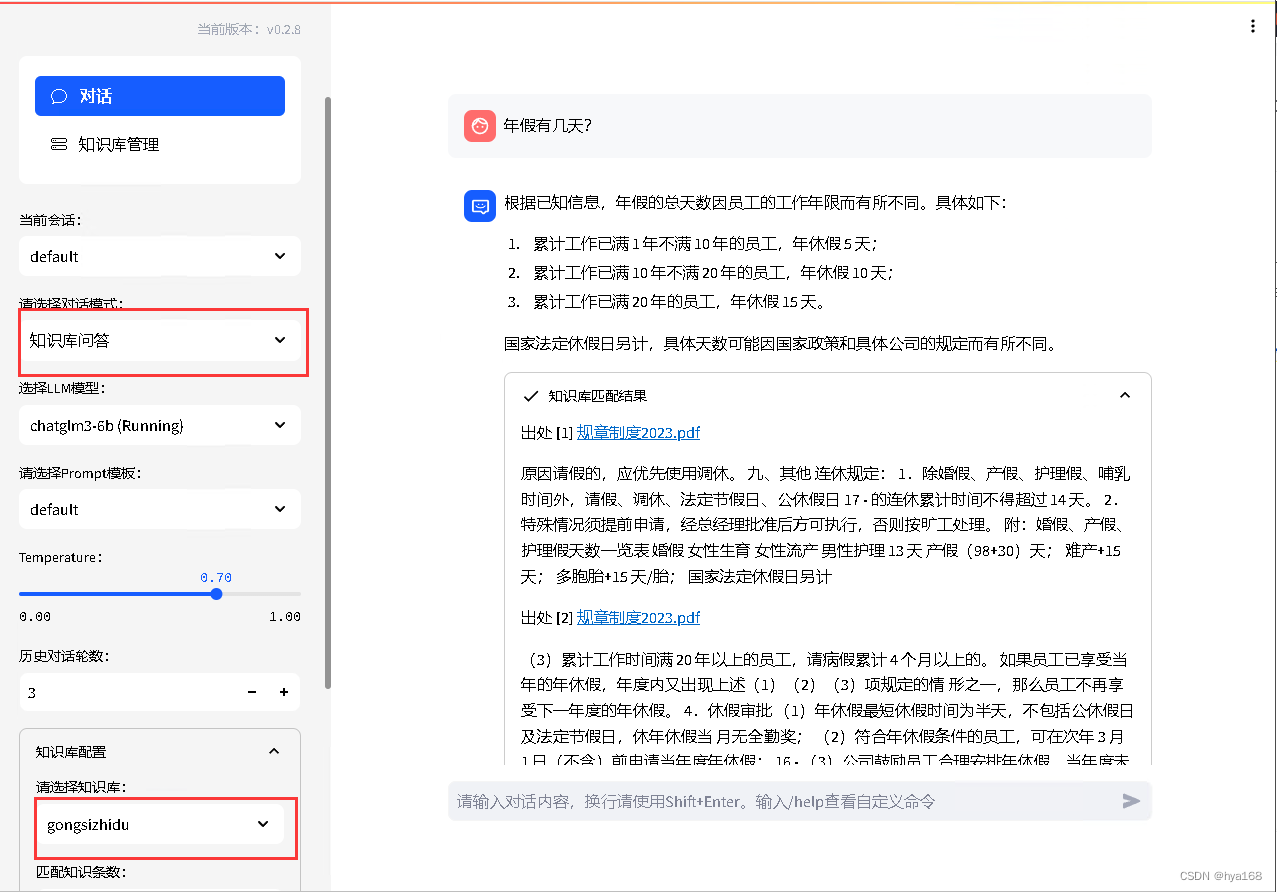
本地知识库问答效果:
一、操作系统安装
操作系统:
ubuntu 23.10 live server
分区:
| / | 根分区 | 40G |
| /data | 数据盘挂载点 | 150G |
下载地址:
https://releases.ubuntu.com/22.04.3/ubuntu-22.04.3-live-server-amd64.iso
下载光盘镜像后,引导启动,进入安装界面:
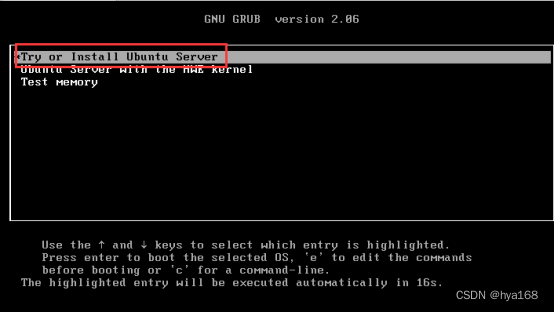
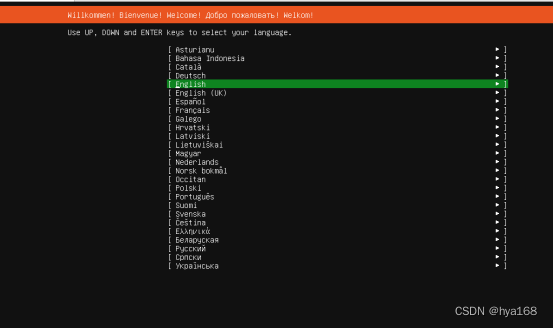
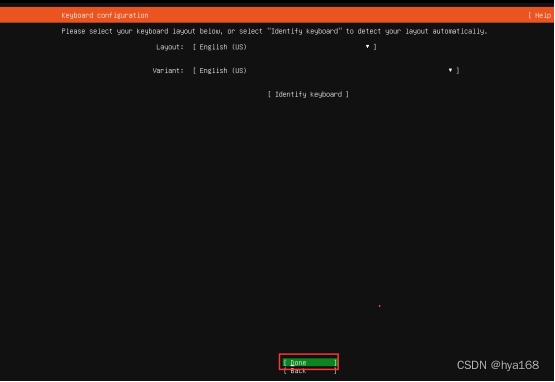
选择语言:
跳过更新,直接安装:

默认继续:
选择安装 ubuntu server安装(不要最小化安装,省去后面依赖问题)

配置网络,可以指定ip

配置代理服务器(跳过即可)

配置更新源(直接下一步)
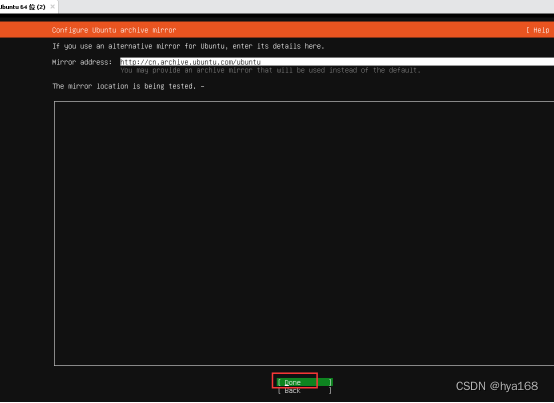
会询问你是否跳过,选择continue

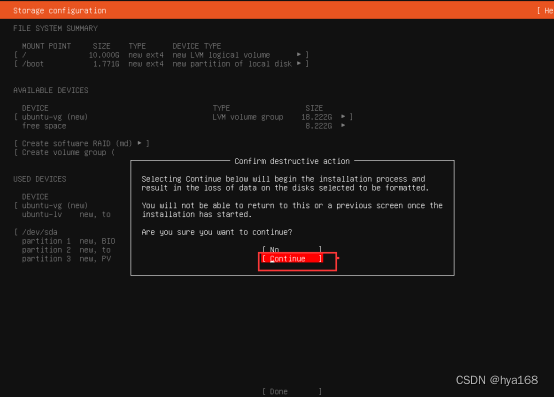
磁盘分区(根据实际情况分区,系统40G足够,数据盘建议分个150G,可以放多个模型)

确认分区
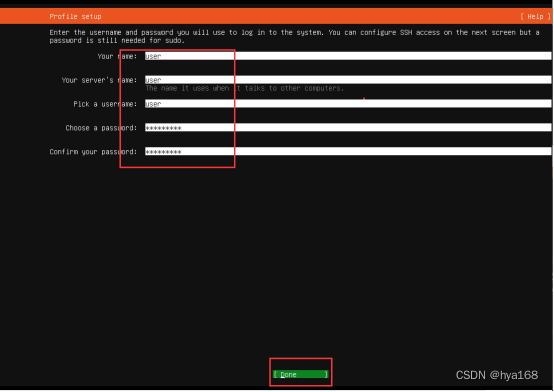
创建普通用户
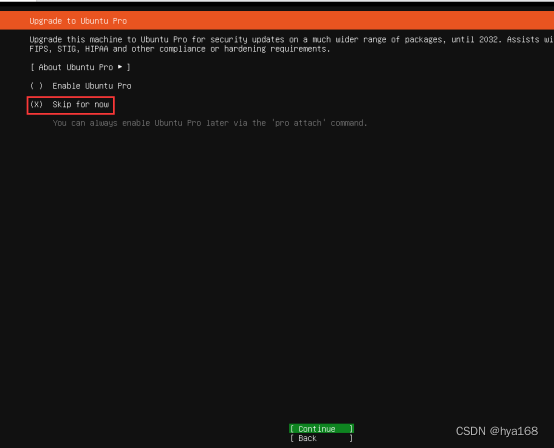
系统询问是否升级到pro,选择跳过
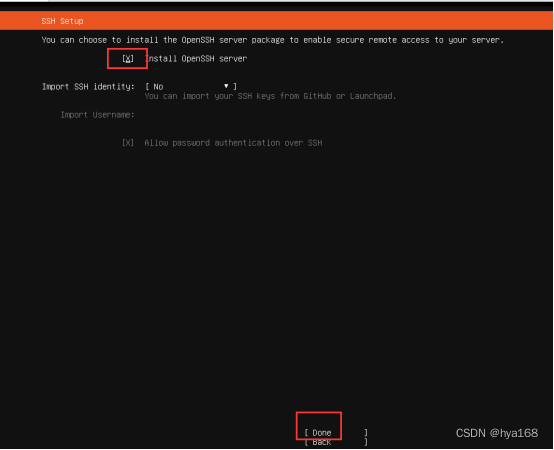
启用ssh服务,方便后面登录ssh操作
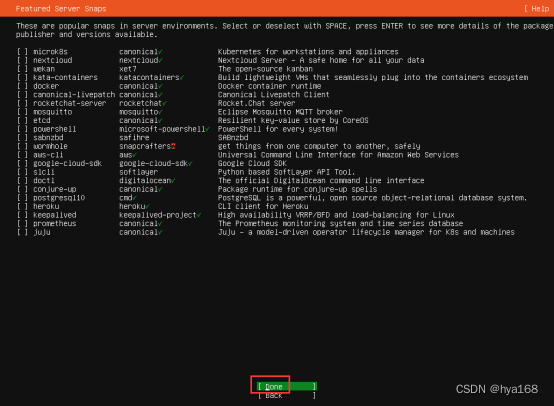
这里不用选任何包
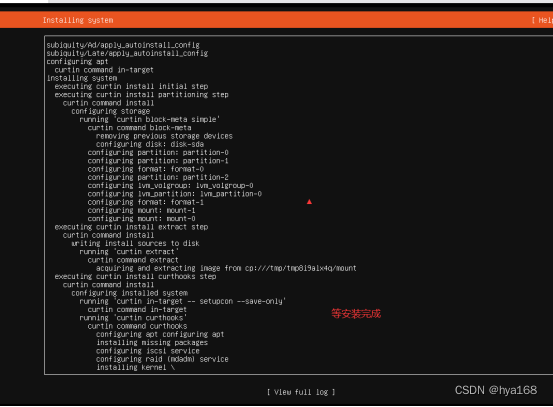
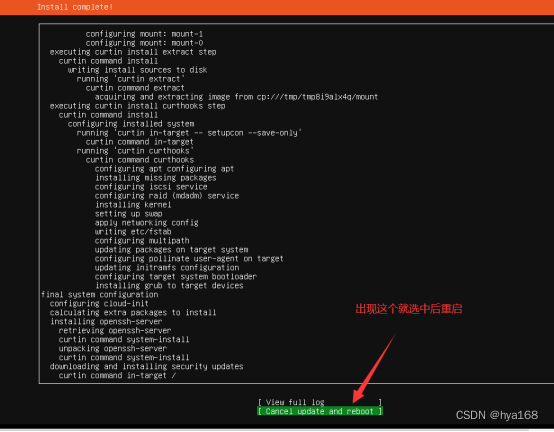
等待安装完成
安装完成后,会自动更新,当出现 Cancel update and reboot时,选择确认,重启系统。
系统进入重启阶段
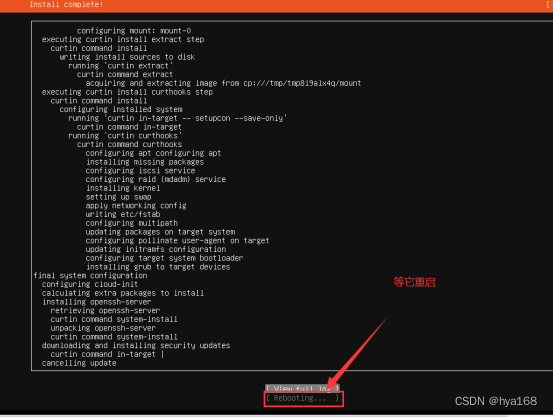
重启后操作系统部分就完成了。
进入系统ssh后挂载数据盘到/data目录,并建立以下三个目录
| 路径 | 用途 |
| /data/softwares | 存放下载的安装程序 |
| /data/webui | 存放调用大模型的webui |
| /data/models | 存放大模型文件 |
二、安装Anaconda3
2.1 安装Anaconda3
因为不同大模型的webui会对python版本和pip模块不同需求,所以需要安装Anaconda来管理不同的python版本和pip模块。
下载页面:Free Download | Anacondaw
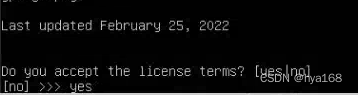
cd /data/softwareswget https://repo.anaconda.com/archive/Anaconda3-2023.09-0-Linux-x86_64.shsudo chmod 755 Anaconda3-2023.07-2-Linux-x86_64.shsudo sh Anaconda3-2023.07-2-Linux-x86_64.sh阅读协议,输入 yes
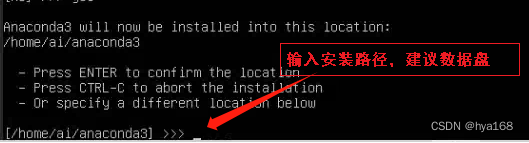
输入安装路径,建议放在数据盘,比如/data/anaconda3
安装完成后初始化conda环境
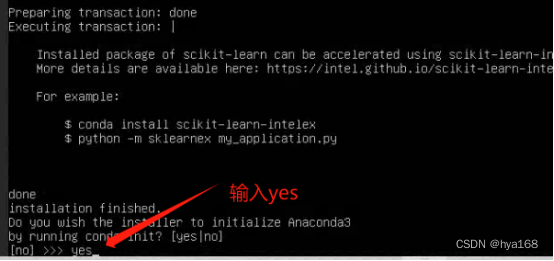
Acconda3安装完毕。
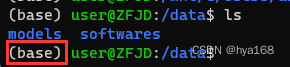
重新登录shell,终端前面会有一个(base)标记,如下图。默认登录是base这个虚拟python环境,后面可以根据需要新建,切换环境。
2.2配置Anaconda国内源
默认anconda会使用国外源,下载速度慢,需要手动改成国内源。
conda config --set show_channel_urls yesvi ~/.condarc如下图:

贴入以下内容:
channels: - defaultsshow_channel_urls: truedefault_channels: - https://mirrors.tuna.tsinghua.edu.cn/anaconda/pkgs/main - https://mirrors.tuna.tsinghua.edu.cn/anaconda/pkgs/r - https://mirrors.tuna.tsinghua.edu.cn/anaconda/pkgs/msys2custom_channels: conda-forge: https://mirrors.tuna.tsinghua.edu.cn/anaconda/cloud msys2: https://mirrors.tuna.tsinghua.edu.cn/anaconda/cloud bioconda: https://mirrors.tuna.tsinghua.edu.cn/anaconda/cloud menpo: https://mirrors.tuna.tsinghua.edu.cn/anaconda/cloud pytorch: https://mirrors.tuna.tsinghua.edu.cn/anaconda/cloud pytorch-lts: https://mirrors.tuna.tsinghua.edu.cn/anaconda/cloud simpleitk: https://mirrors.tuna.tsinghua.edu.cn/anaconda/cloud如下图: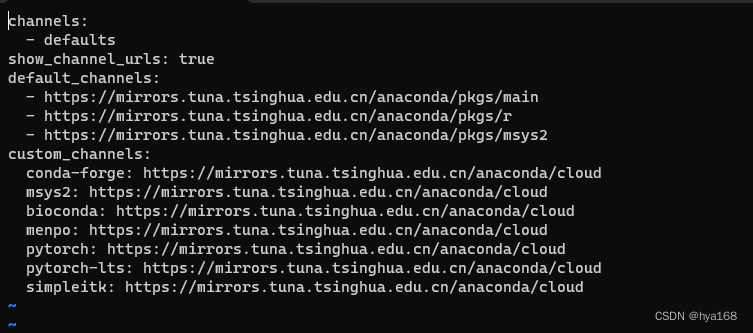
保存退出。
三、下载Langchain-chatchat,大模型,向量库
3.1 下载langchain chatchat WebUI
项目地址:https://github.com/chatchat-space/Langchain-Chatchat
拉取命令:
cd /data/webuigit clone https://github.com/chatchat-space/Langchain-Chatchat.gitmv Langchain-Chatchat langchainchatchat #去掉文件名中的横杠,防止程序报错如果无法访问,可从我的百度网盘下载
百度网盘下载地址:https://pan.baidu.com/s/1sob-S57K2bdUC5TA5ZIIrw 提取码: 3mye
3.2 下载chatglm3-6b大模型
项目地址:chatglm3-6b https://modelscope.cn/models/ZhipuAI/chatglm3-6b/files
拉取命令:
cd /data/modelsgit install lfsgit clone https://www.modelscope.cn/ZhipuAI/chatglm3-6b.gitmv chatglm3-6b chatglm36b #去掉文件名中的横杠,防止程序报错ps:需要安装git lfs,安装教程见:
3.3 下载bge-large-zh向量模型
项目地址:
bge-large-zh https://modelscope.cn/models/AI-ModelScope/bge-large-zh/files拉取命令:
cd /data/modelsgit install lfsgit clone https://www.modelscope.cn/AI-ModelScope/bge-large-zh.gitmv bge-large-zh bgelargezh #去掉文件名中的横杠,防止程序报错四、通过Anaconda安装langchain-chatchat需要的python环境
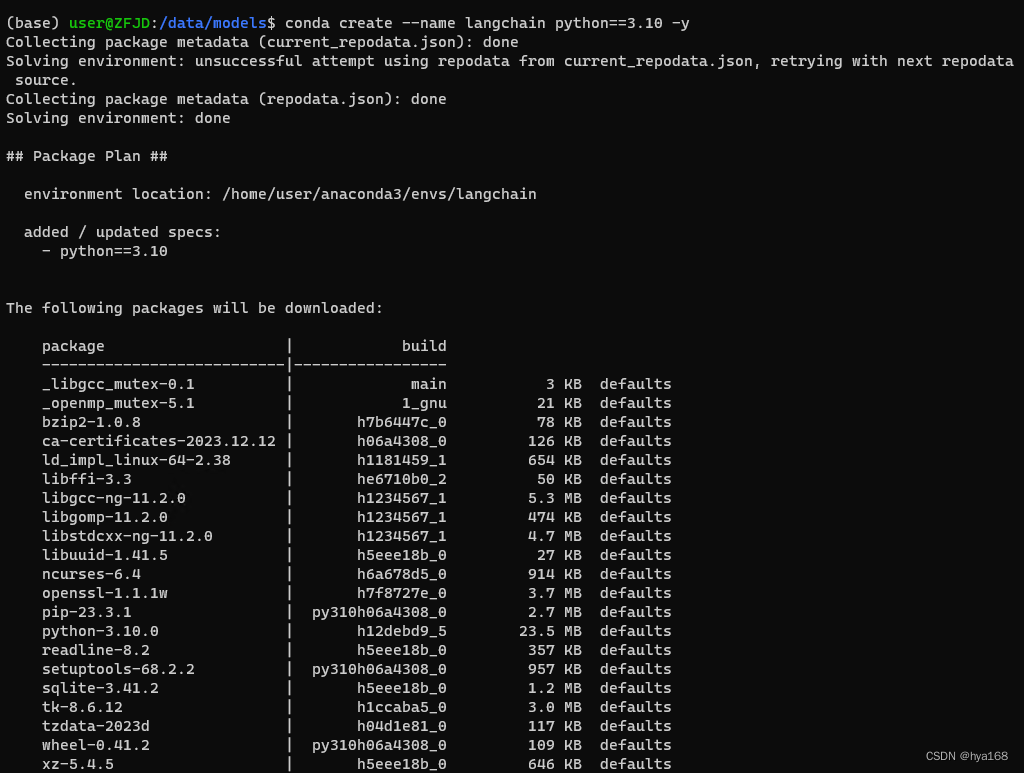
Langchain-chatchat需要python3.10以及一些pip组件,通过以下命令进行安装。
conda create --name langchain python==3.10 -y #创建一个名字为langchain的python3.10虚拟环境如下图
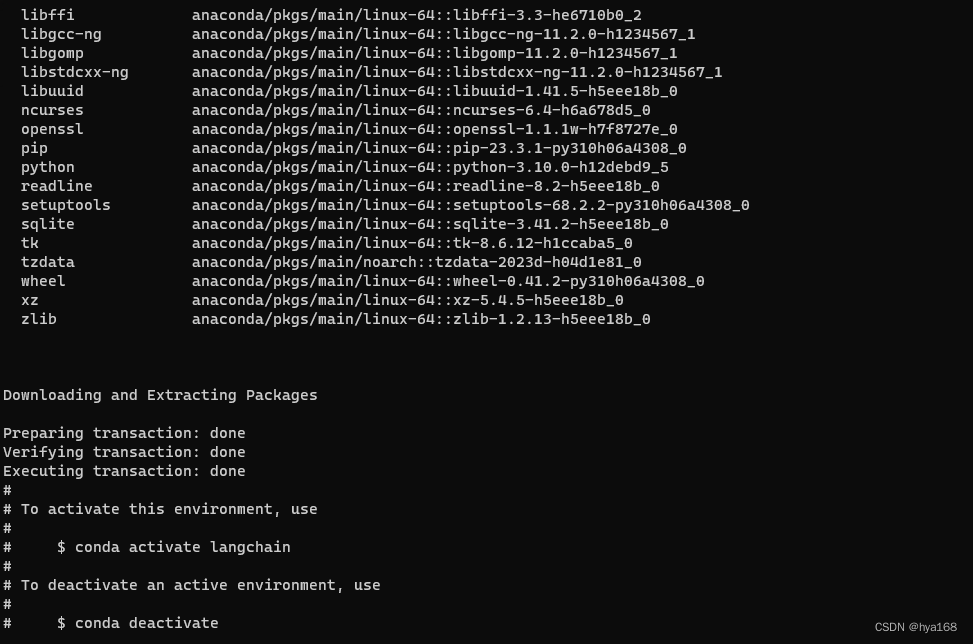
安装完毕后,通过以下命令激活python虚拟环境
conda activate langchain如下图

使用conda创建python虚拟环境:
从零开始部署ubuntu+Anaconda3+langchain-chatchat+chatglm3-6b大模型,本地知识库(二)
https://blog.csdn.net/hya168/article/details/135870440