Vue3——Axios(网络请求库)
文章标签:
《随便一记》
文章目录
求一键三连前言认识axios使用Axios常见请求演示配置选项baseURL+all 创建axios实例请求拦截(掌握) 对axios的类的封装(掌握)老师封装好的一个更完全的axios库
求一键三连
希望大家看完觉得有用的话点赞、关注和收藏,感谢!!!
前言

axios可以在浏览器和node里面用
原生的问题:无法在node里使用,fetch是在浏览器里使用的。(但是原生可以帮助我们理解。)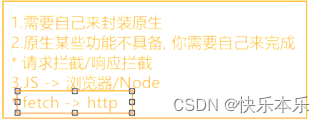
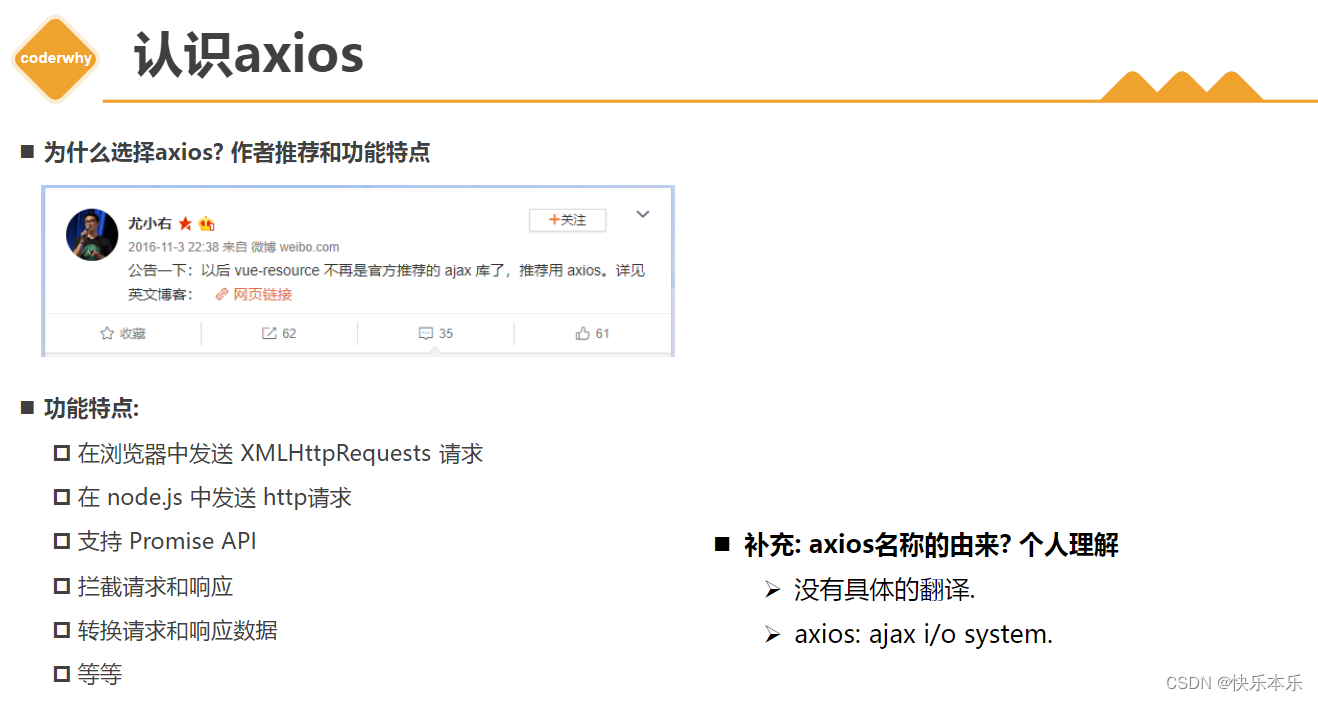
认识axios
使用Axios
1.安装axios
2.创建service文件夹并在里面创建index.js,import axios,然后创建封装axios的类并导出创建的axios实例对象
3.在main.js在导入封装好的对象即可使用
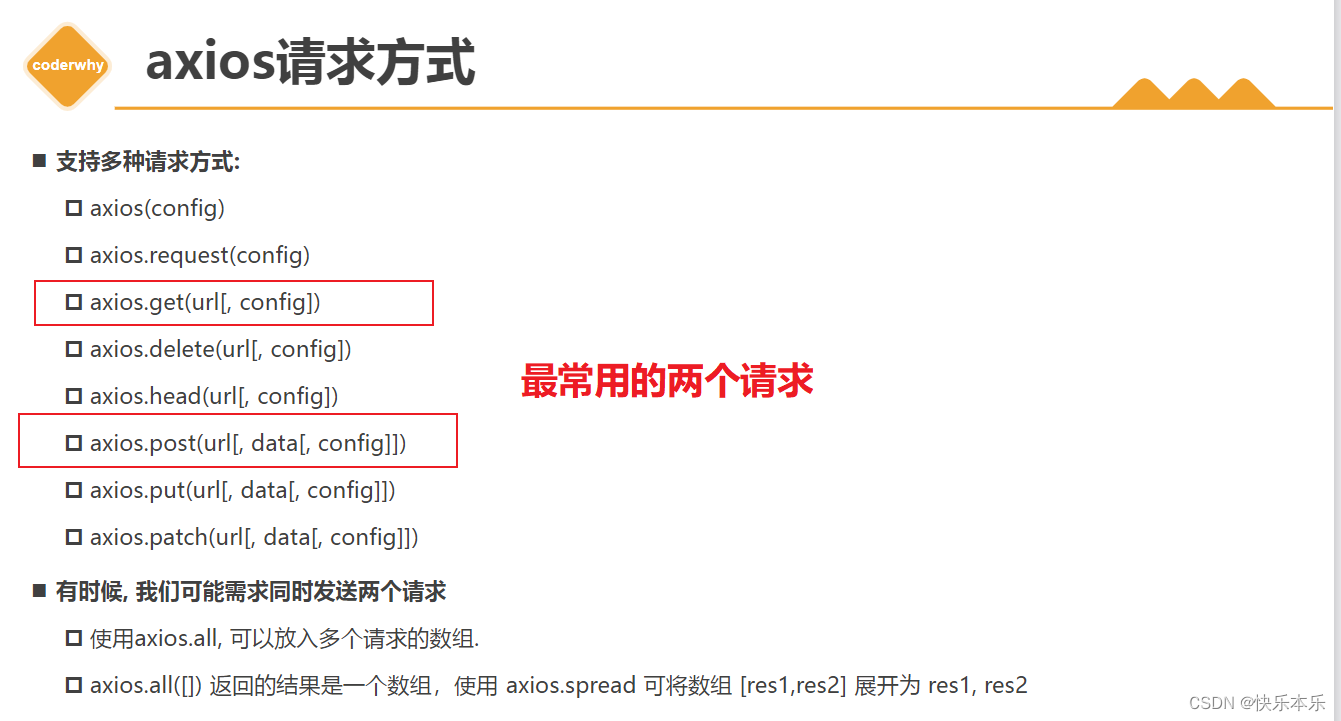
常见请求演示
get请求有两种写法,一个是直接拼接一个是写参数
pst请求是不可以拼接到url里的,
还有跨域的问题,这个可以好好了解一下
httpbin.org 走get请求测试
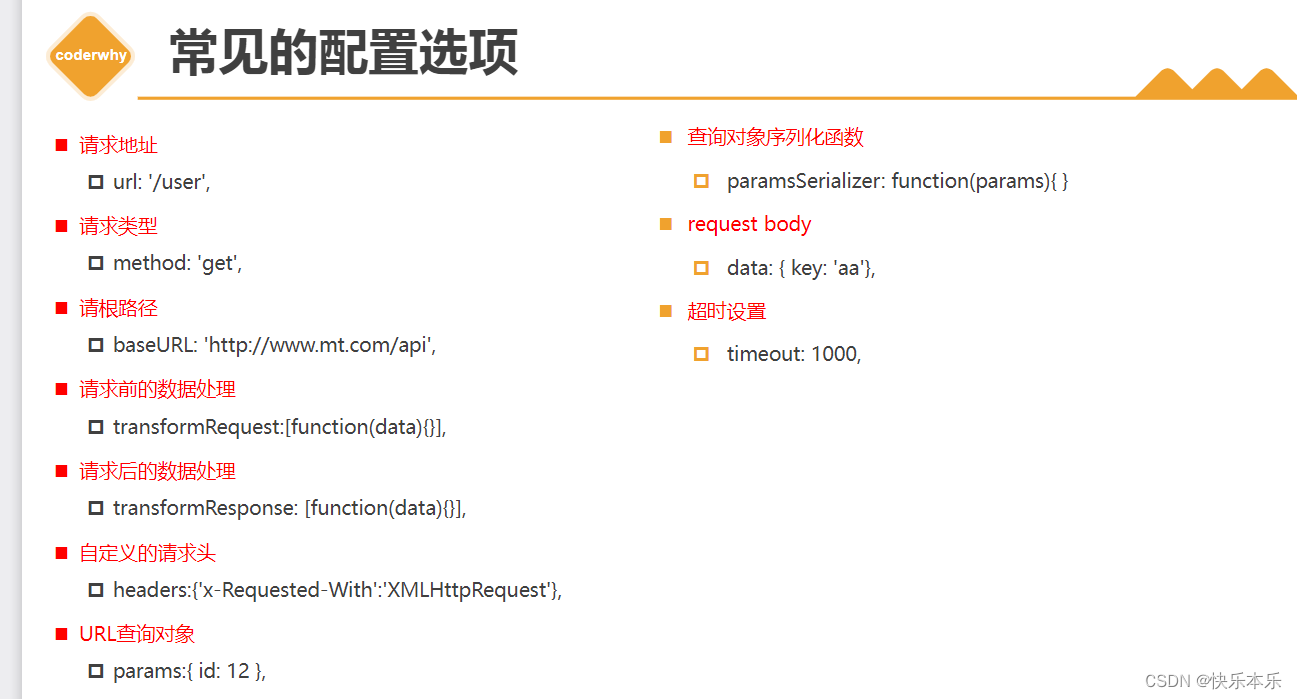
// 1.发送request请求axios.request({ url: "http://123.207.32.32:8000/home/multidata", method: "get"}).then(res => { console.log("res:", res.data) //注意一般拿到数据是返回res.data,而不是返回一整个promise对象})// 2.发送get请求 直接拼接axios.get('your_url') .then(response => { const data = response.data; console.log(data); //这样就可以拿到promise里的数据,都要做这样的一个处理,否则是一个promise对象。 }) axios.get(`http://123.207.32.32:9001/lyric?id=500665346`).then(res => { console.log("res:", res.data.lrc)})// get请求 写参数axios.get("http://123.207.32.32:9001/lyric", { params: { id: 500665346 }}).then(res => { console.log("res:", res.data.lrc)})// 3.发送post请求axios.post("http://123.207.32.32:1888/02_param/postjson", { name: "coderwhy", password: 123456}).then(res => { console.log("res", res.data)})// data格式axios.post("http://123.207.32.32:1888/02_param/postjson", { data: { name: "coderwhy", password: 123456 }}).then(res => { console.log("res", res.data)})配置选项
baseURL+all
// 1.baseURL,很有用,因为大部分前面都是一样的const baseURL = "http://123.207.32.32:8000"// 给axios实例配置公共的基础配置 要在这里配置后才可以使用axios.defaults.baseURL = baseURLaxios.defaults.timeout = 10000axios.defaults.headers = {}// 1.1.get: /home/multidataaxios.get("/home/multidata").then(res => { console.log("res:", res.data)})// 1.2.get: /home/data// 2.axios发送多个请求// axios.all:发送多个请求 内部是封装了一下 Promise.all而已 axios.all([ axios.get("/home/multidata"), axios.get("http://123.207.32.32:9001/lyric?id=500665346")]).then(res => { console.log("res:", res) //这里返回的也是多个请求的结果})创建axios实例
创建自己的axios实例
不会用默认的,为每一个url创建一个实例,不同的url对应不同的实例
取决于项目,可能会从多个服务器拿数据,这样有多个实例就更方便
// axios默认库提供给我们的实例对象axios.get("http://123.207.32.32:9001/lyric?id=500665346")// 创建其他的实例发送网络请求const instance1 = axios.create({ baseURL: "http://123.207.32.32:9001", timeout: 6000, headers: {}})//创建实例之后就用实例来进行操作instance1.get("/lyric", { params: { id: 500665346 }}).then(res => { console.log("res:", res.data)})const instance2 = axios.create({ baseURL: "http://123.207.32.32:8000", timeout: 10000, headers: {}})后面可以在封装的Axios类方法里创建多个实例传出去。
请求拦截(掌握)
基本上都会进行拦截,可以对请求做一些处理,比如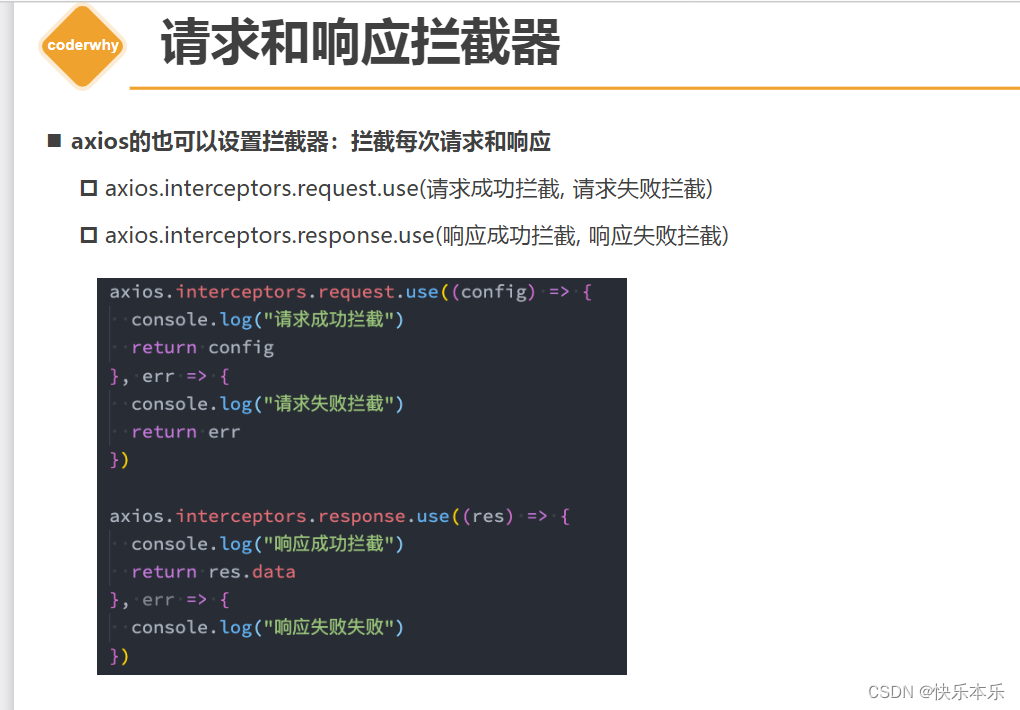
可以在拦截之后做一些配置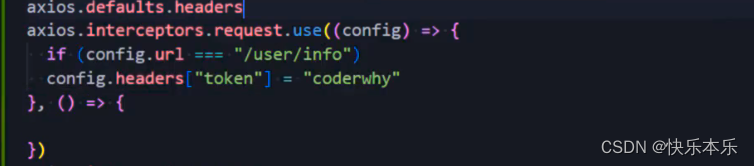
拦截后操作:
// 对实例配置拦截器axios.interceptors.request.use((config) => { console.log("请求成功的拦截") // 1.开始loading的动画 // 2.对原来的配置进行一些修改 // 2.1. header // 2.2. 认证登录: token/cookie // 2.3. 请求参数进行某些转化 return config}, (err) => { console.log("请求失败的拦截") return err})axios.interceptors.response.use((res) => { console.log("响应成功的拦截") // 1.结束loading的动画 // 2.对数据进行转化, 再返回数据 return res.data}, (err) => { console.log("响应失败的拦截:", err) return err})axios.get("http://123.207.32.32:9001/lyric?id=500665346").then(res => { console.log("res:", res)}).catch(err => { console.log("err:", err)})对axios的类的封装(掌握)
用别人的库是有风险的,万一这个库不能用了,项目就会出问题,而且耦合度就太高了,修改很麻烦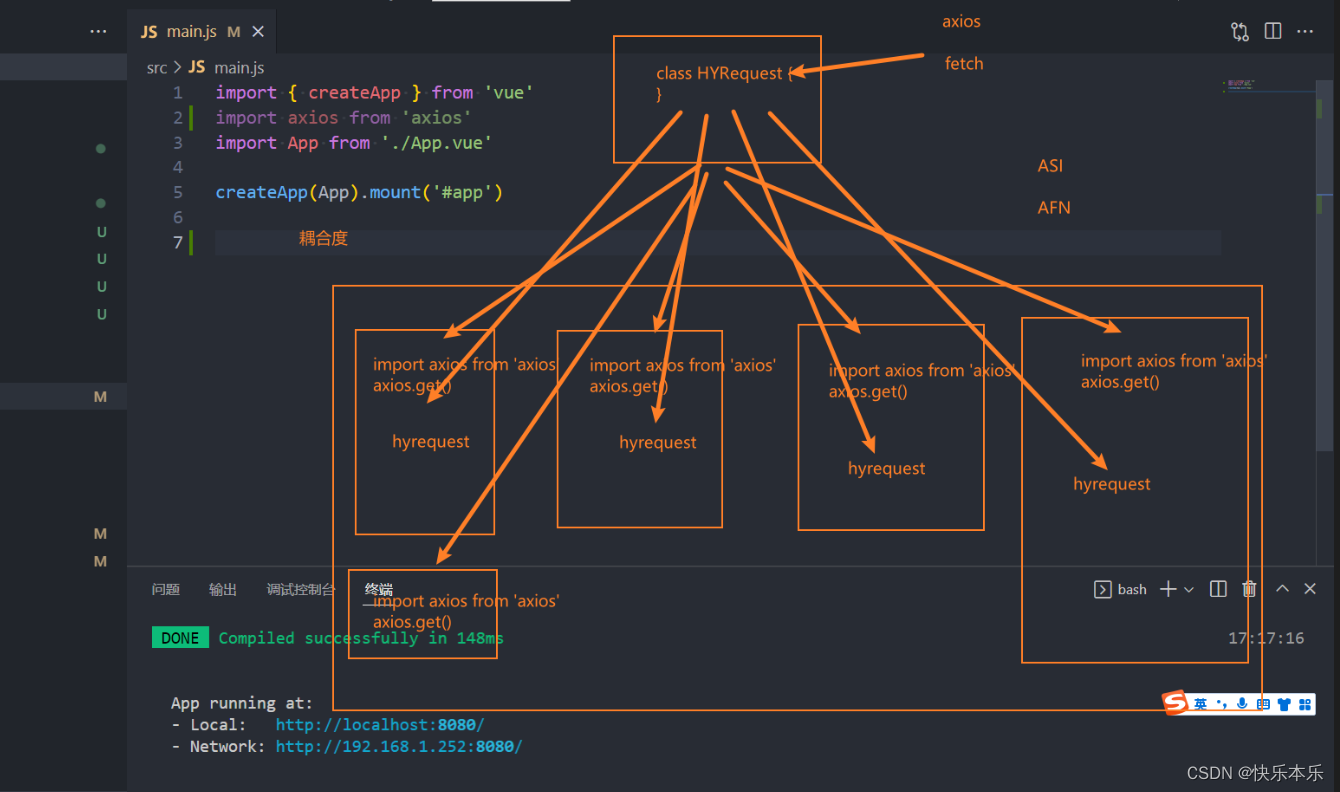
解决办法,对库多封装一层,这样替换这个库的时候就直接在这个封装这里修改就好了,这样就不用全都一个个的修改,这个概念也很简单,这就是封装的好处。
这个思想真的很重要,但是这一步在项目里面就很重要,是很重要的一个思想
这个东西就很好,只有吃过亏才知道,所以这也是听课的好处,不然自己摸索不知道摸索多久
在src里面创建service的文件,用来放封装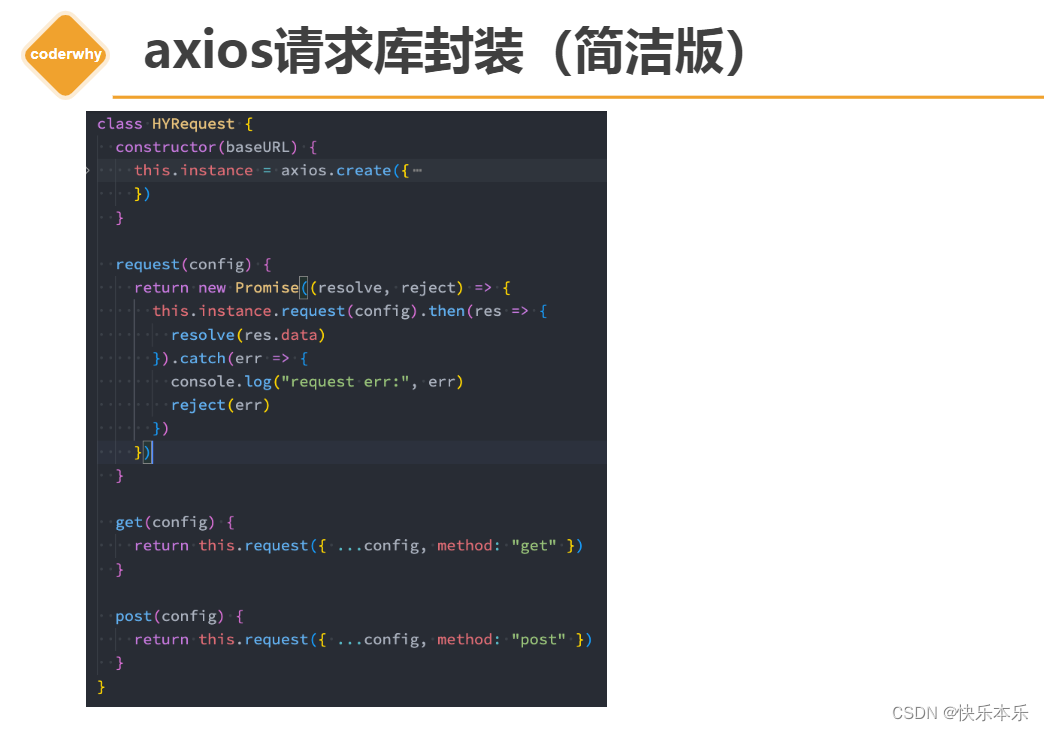
axios请求库封装
封装源码:
import axios from 'axios'class HYRequest { constructor(baseURL, timeout=10000) { this.instance = axios.create({ baseURL, timeout }) }//使用this来指向当前创建的实例对象 request(config) { return new Promise((resolve, reject) => { this.instance.request(config).then(res => { resolve(res.data) }).catch(err => { reject(err) }) }) } get(config) { return this.request({ ...config, method: "get" }) } post(config) { return this.request({ ...config, method: "post" }) }//后面也可以在这里创建更多的方法,方式是差不多的}export default new HYRequest("http://123.207.32.32:9001")//这里导出的是一个实例对象,然后你也可以创建多个实例对象导出去,这个就是比较简单了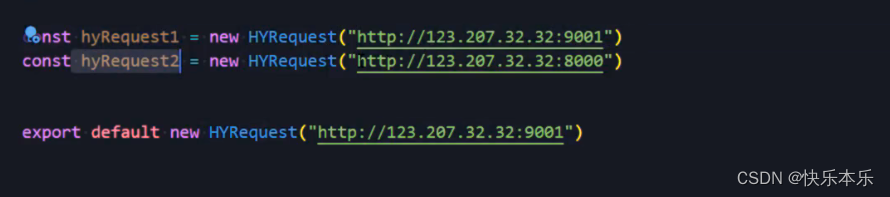
老师封装好的一个更完全的axios库
使用于TS
在项目中用ts封装axios,一次封装整个团队受益?
import axios, { AxiosResponse } from 'axios'import type { AxiosInstance, AxiosRequestConfig } from 'axios'import type { RequestConfig, RequestInterceptors, CancelRequestSource,} from './types'class Request { // axios 实例 instance: AxiosInstance // 拦截器对象 interceptorsObj?: RequestInterceptors<AxiosResponse> /* 存放取消方法的集合 * 在创建请求后将取消请求方法 push 到该集合中 * 封装一个方法,可以取消请求,传入 url: string|string[] * 在请求之前判断同一URL是否存在,如果存在就取消请求 */ cancelRequestSourceList?: CancelRequestSource[] /* 存放所有请求URL的集合 * 请求之前需要将url push到该集合中 * 请求完毕后将url从集合中删除 * 添加在发送请求之前完成,删除在响应之后删除 */ requestUrlList?: string[] constructor(config: RequestConfig) { this.requestUrlList = [] this.cancelRequestSourceList = [] this.instance = axios.create(config) this.interceptorsObj = config.interceptors // 拦截器执行顺序 接口请求 -> 实例请求 -> 全局请求 -> 实例响应 -> 全局响应 -> 接口响应 this.instance.interceptors.request.use( (res: AxiosRequestConfig) => res, (err: any) => err, ) // 使用实例拦截器 this.instance.interceptors.request.use( this.interceptorsObj?.requestInterceptors, this.interceptorsObj?.requestInterceptorsCatch, ) this.instance.interceptors.response.use( this.interceptorsObj?.responseInterceptors, this.interceptorsObj?.responseInterceptorsCatch, ) // 全局响应拦截器保证最后执行 this.instance.interceptors.response.use( // 因为我们接口的数据都在res.data下,所以我们直接返回res.data (res: AxiosResponse) => { return res.data }, (err: any) => err, ) } /** * @description: 获取指定 url 在 cancelRequestSourceList 中的索引 * @param {string} url * @returns {number} 索引位置 */ private getSourceIndex(url: string): number { return this.cancelRequestSourceList?.findIndex( (item: CancelRequestSource) => { return Object.keys(item)[0] === url }, ) as number } /** * @description: 删除 requestUrlList 和 cancelRequestSourceList * @param {string} url * @returns {*} */ private delUrl(url: string) { const urlIndex = this.requestUrlList?.findIndex(u => u === url) const sourceIndex = this.getSourceIndex(url) // 删除url和cancel方法 urlIndex !== -1 && this.requestUrlList?.splice(urlIndex as number, 1) sourceIndex !== -1 && this.cancelRequestSourceList?.splice(sourceIndex as number, 1) } request<T>(config: RequestConfig<T>): Promise<T> { return new Promise((resolve, reject) => { // 如果我们为单个请求设置拦截器,这里使用单个请求的拦截器 if (config.interceptors?.requestInterceptors) { config = config.interceptors.requestInterceptors(config) } const url = config.url // url存在保存取消请求方法和当前请求url if (url) { this.requestUrlList?.push(url) // TODO 在axios0.22起,对CancelToken已经弃用,需要改成 AbortController 文档:https://axios-http.com/docs/cancellation config.cancelToken = new axios.CancelToken(c => { this.cancelRequestSourceList?.push({ [url]: c, }) }) } this.instance .request<any, T>(config) .then(res => { // 如果我们为单个响应设置拦截器,这里使用单个响应的拦截器 if (config.interceptors?.responseInterceptors) { res = config.interceptors.responseInterceptors(res) } resolve(res) }) .catch((err: any) => { reject(err) }) .finally(() => { url && this.delUrl(url) }) }) } // 取消请求 cancelRequest(url: string | string[]) { if (typeof url === 'string') { // 取消单个请求 const sourceIndex = this.getSourceIndex(url) sourceIndex >= 0 && this.cancelRequestSourceList?.[sourceIndex][url]() } else { // 存在多个需要取消请求的地址 url.forEach(u => { const sourceIndex = this.getSourceIndex(u) sourceIndex >= 0 && this.cancelRequestSourceList?.[sourceIndex][u]() }) } } // 取消全部请求 cancelAllRequest() { this.cancelRequestSourceList?.forEach(source => { const key = Object.keys(source)[0] source[key]() }) }}export default Requestexport { RequestConfig, RequestInterceptors }
登录后可发表评论
点击登录