anaconda+tensorflow安装完整步骤
anaconda安装tensorflow1.安装anaconda2.下载windows版本进行下载并安装3.打开Anaconda Prompt4. 安装tensorflow PyCharm下载与安装1.官网下载pycharm社区版2.PyCharm环境配置3.测试
anaconda安装tensorflow
1.安装anaconda
官网下载anaconda(https://www.anaconda.com/products/distribution)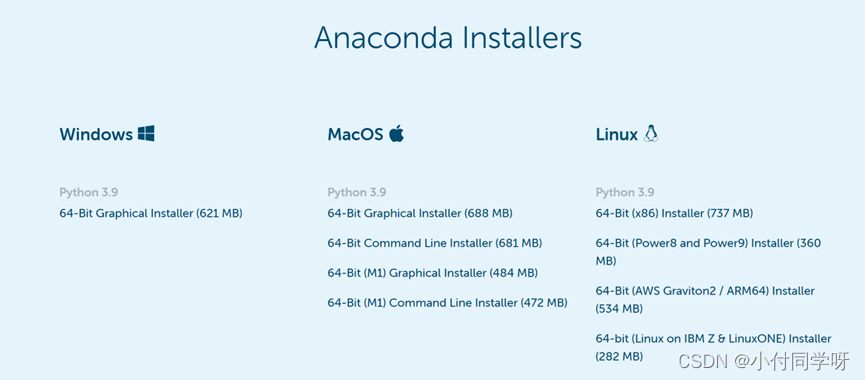
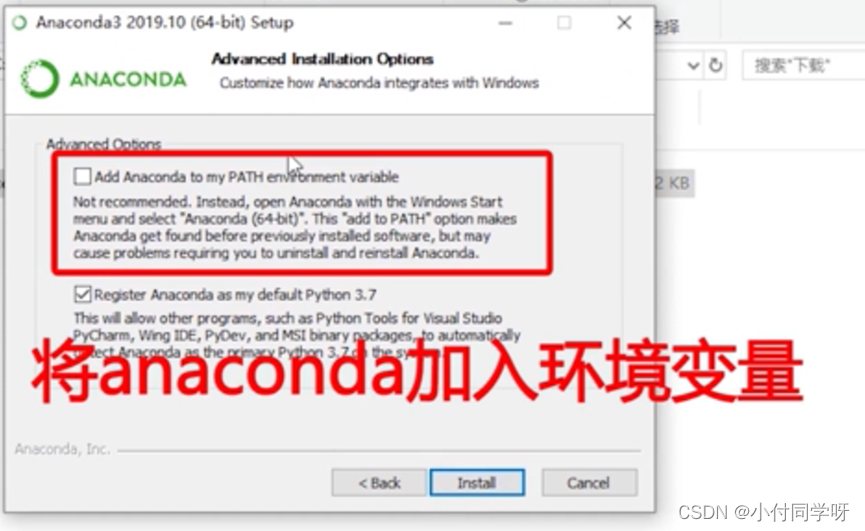
2.下载windows版本进行下载并安装
3.打开Anaconda Prompt
(1)检测anaconda环境是否安装成功
conda --version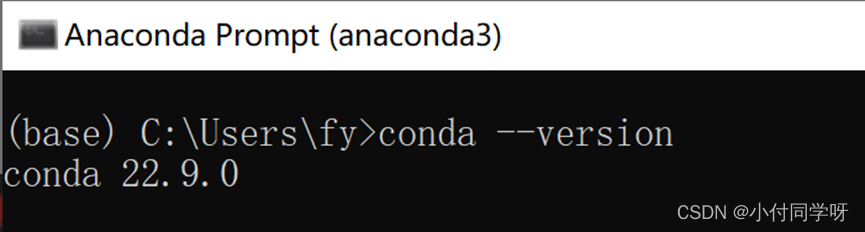
(2)检测目前安装了哪些环境变量:
conda info –-envs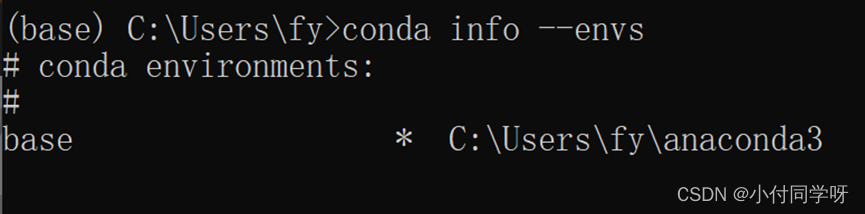
(3) 在anaconda内安装一个配套的python并新建一个tensorflow的环境
conda create -n TF2 python==3.9(TF2是自己命名的)
然后输入y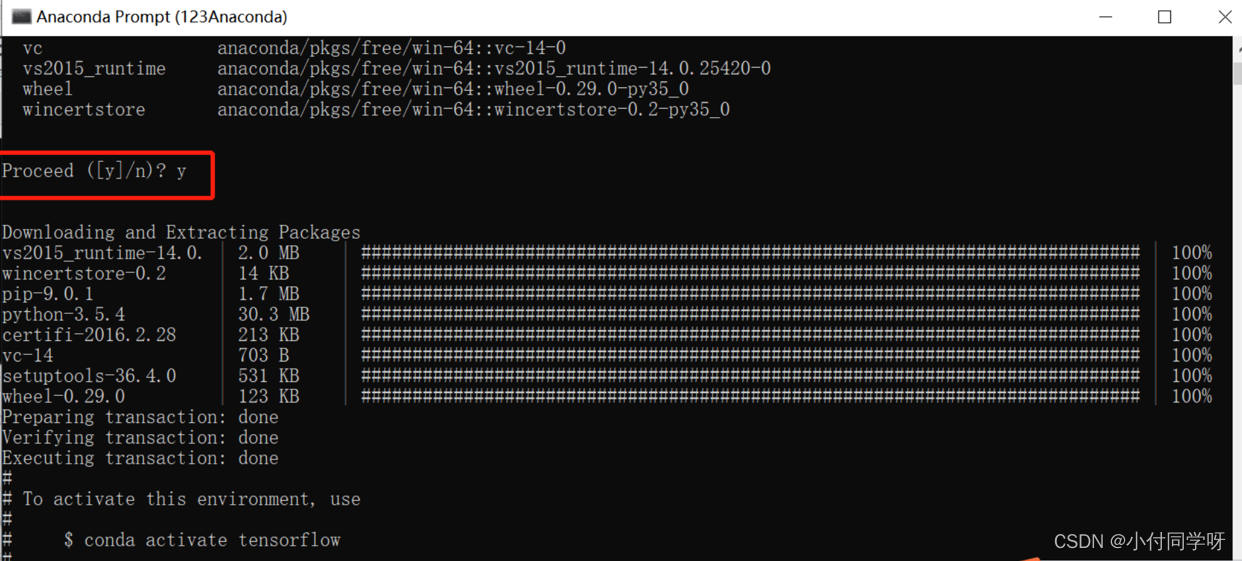
4. 安装tensorflow
(1)使用activate TF2(与你刚刚新建的环境名称相同)命令打开刚刚新建的tensorflow环境
activate TF2若退出tensorflow的环境:
deactivate(2)输入命令
pip install -i https://pypi.tuna.tsinghua.edu.cn/simple tensorflow

5.测试
pythonimport tensorflow as tftf.__version__
PyCharm下载与安装
1.官网下载pycharm社区版
pycharm windows版本下载地址:https://www.jetbrains.com/pycharm/download/#section=windows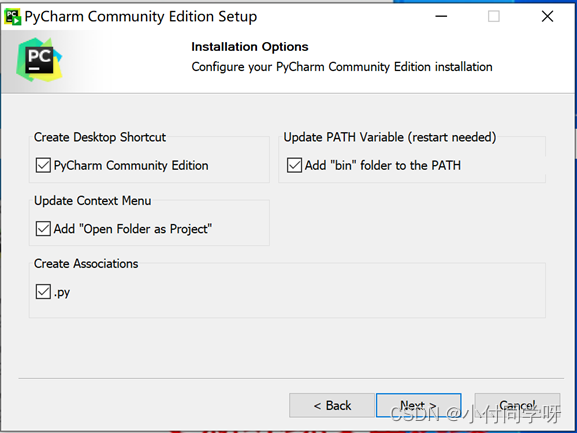
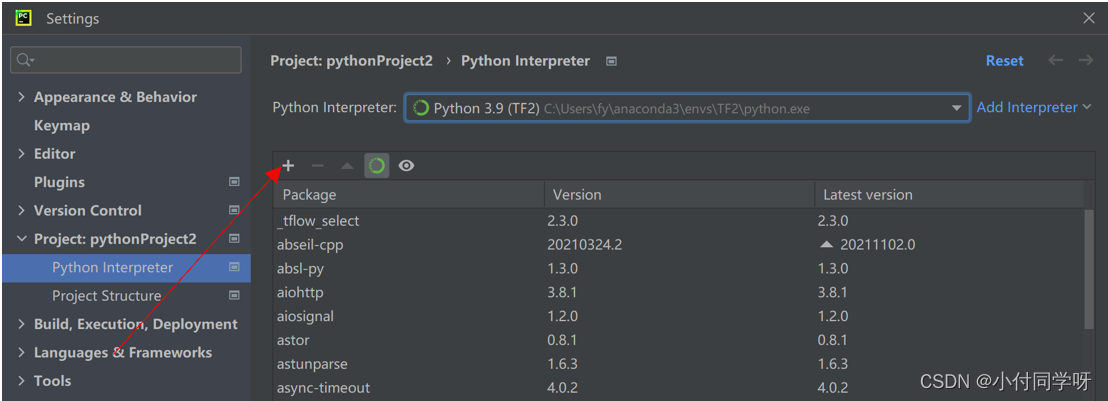
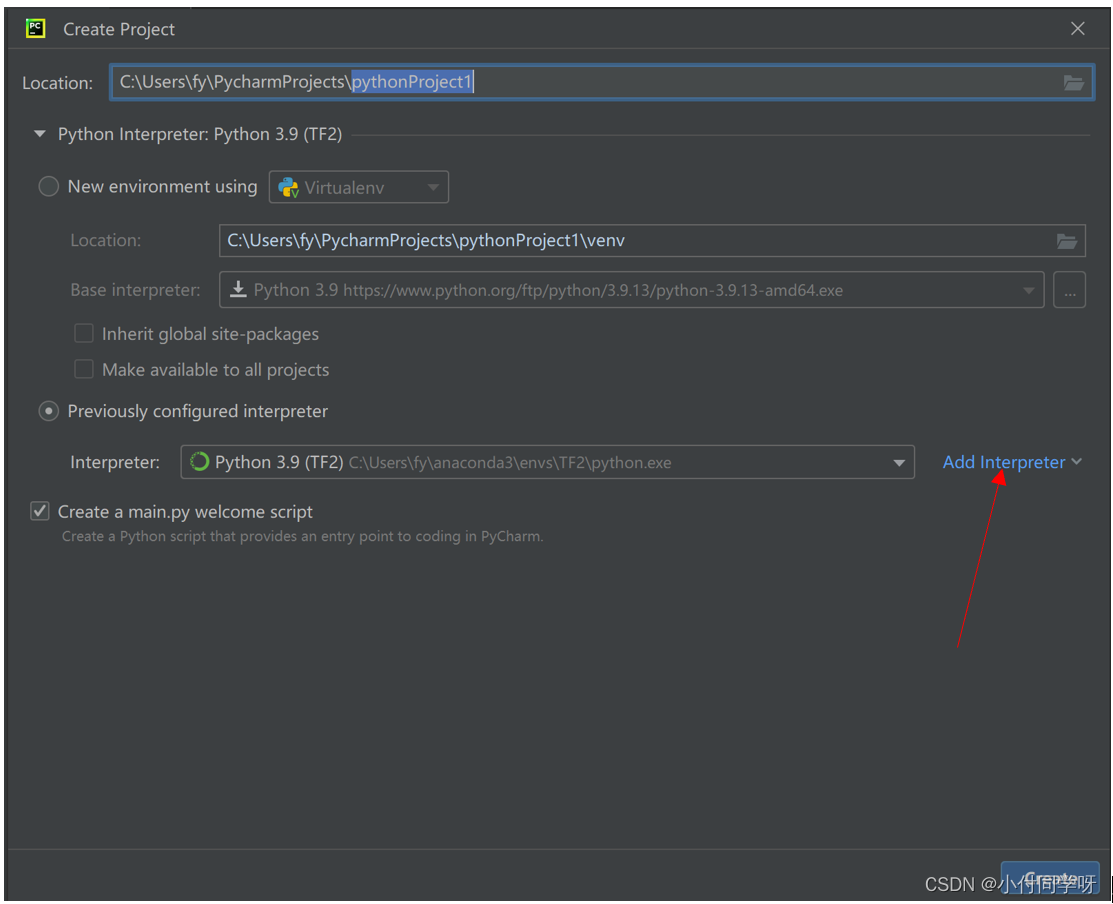
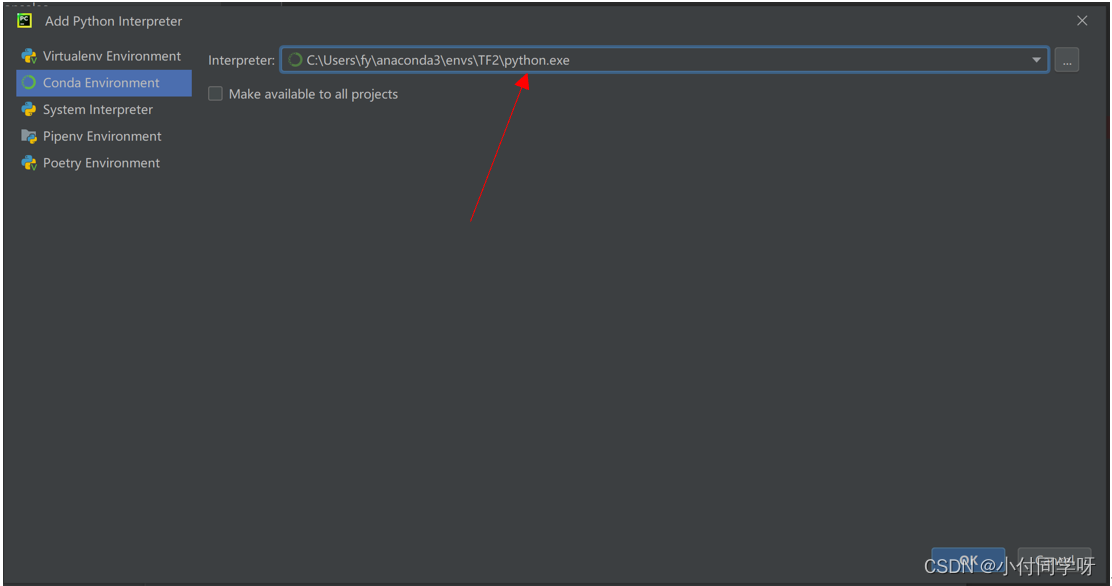
2.PyCharm环境配置
3.测试
import tensorflow as tftensorflow_version = tf.__version__gpu_avilable = tf.test.is_gpu_available()print("tensorflow version: ", tensorflow_version,"\tGPU aviable:", gpu_avilable)a = tf.constant([1.0,2.0], name = 'a')b = tf.constant([1.0,2.0], name = 'b')result = tf.add(a,b,name='add')print(result)结果: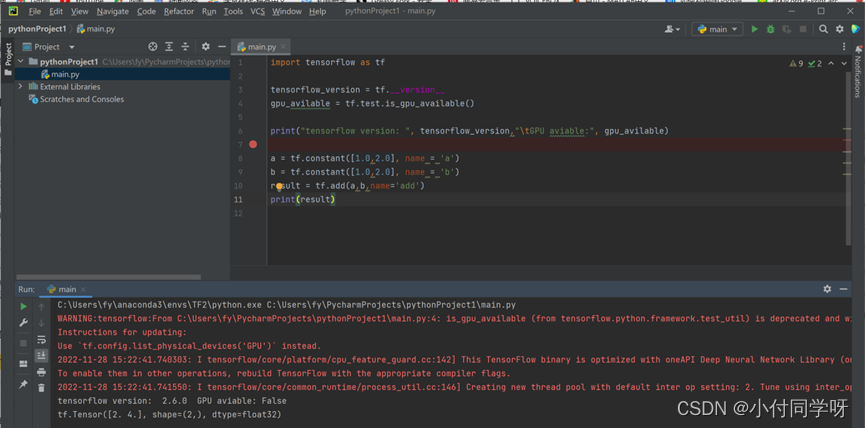

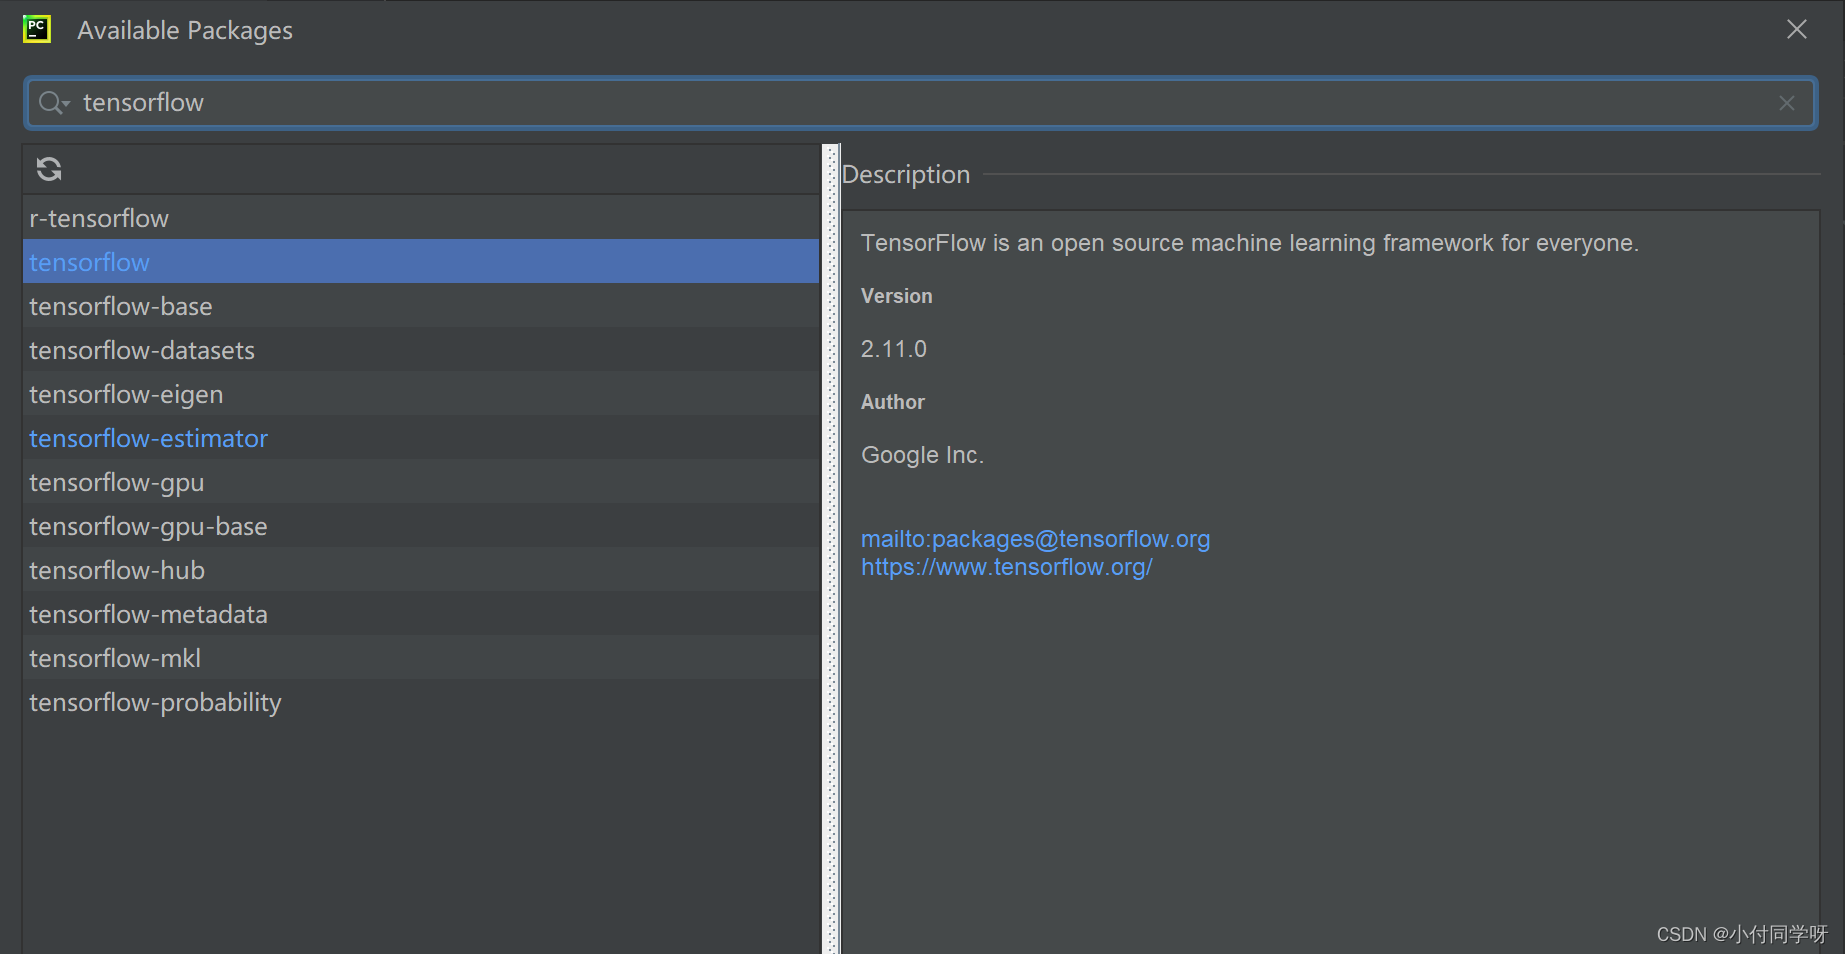
若在acanoda里没安装成功tensorflow,则在pycharm里进行安装。
点击File-settings