三个案例掌握this.$nextTick()方法的使用/Vue中的$nextTick()
this.$nextTick() 解释为在下次DOM更新循环结束之后执行延迟回调。在修改数据之后立即使用这个方法,获取更新后的DOM. 也就是说,当dom元素发生改变,重新渲染dom树后,再执行vue.$nextTick()里面的内容。
其实用方法一般为 this.$nextTick( ()=>{} ), 为了不影响this指向,一般为箭头函数。
案例一
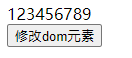 点击修改dom元素按钮,使字体变红,背景变蓝(设置为两次修改dom元素)
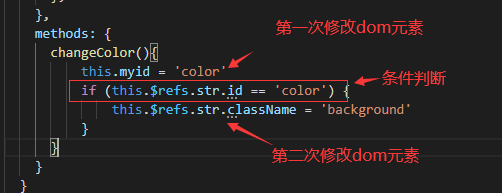
<template> <div> <div :id="myid" class="" ref="str">123456789</div> <button @click="changeColor()">修改dom元素</button> </div></template><script> export default { data() { return { myid:'' }; }, methods: { changeColor(){ this.myid = 'color' if (this.$refs.str.id == 'color') { this.$refs.str.className = 'background' } } } }</script><style scoped> #color{color:red;} .background{background: green;}</style>点击事件发生时,id属性值发生改变,改为color, 字符串变红,这个时候dom元素进行更新,但是条件判断并不是等到更新结束后才执行,判断结果为false,不会执行第二次修改dom元素。
(只有第一次修改dom元素,dom更新结束之后,条件判断结果才为true)
案例一未使用 this.$nextTick() 结果演示:
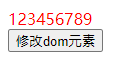 第一次点击事件后只有字体颜色改变。(第二次点击背景颜色才改变)
将第二次修改dom元素放入 this.$nextTick() 中:
methods: { changeColor(){ this.myid = 'color' this.$nextTick( () =>{ if (this.$refs.str.id == 'color') { this.$refs.str.className = 'background' } }) } }案例一使用 this.$nextTick()后 结果演示:
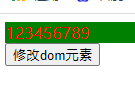 点击事件后,两个修改dom元素都得到更新 (第一次字体变红,第二次背景为绿)
案例二
 点击编辑,按照理来讲,应该自动获取焦点出现光标。
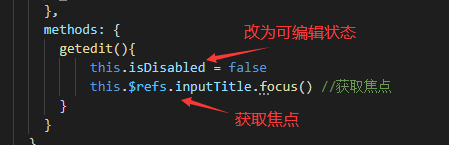
<template> <div> <!-- :disabled='isDisabled'最初设置禁止输入属性 --> <input ref="inputTitle" type="text" value='' :disabled='isDisabled' placeholder="请输入内容"> <button @click="getedit()">编辑</button> </div></template><script> export default { data() { return { isDisabled:true, }; }, methods: { getedit(){ this.isDisabled = false this.$refs.inputTitle.focus() //获取焦点 } } }</script><style scoped> div{ height: 40px; width:260px; background: gray; } input{ margin:10px 10px 10px 10px ; }</style>input输入框 必须得先设置为可编辑状态,才可以获取焦点, 但是我执行 this.isDisabled=false后,并不会等到dom元素更新结束,就会执行 ...focus()来获取焦点,因为设置为可编辑状态还未结束,所以一定获取不到焦点
案例二未使用 this.$nextTick() 结果演示:
点击编辑 ,并不会获取到焦点出现光标。
将获取焦点放入 this.$nextTick() 中:
methods: { getedit(){ this.isDisabled = false this.$nextTick(function(){ this.$refs.inputTitle.focus() //获取焦点}) } }案例二使用 this.$nextTick()后 结果演示:

点击编辑,获取焦点。
案例三
首先要明白,vue声明周期函数中,在created阶段vue实例已经创建,但是还不能获取DOM元素。所以在这个阶段要修改dom元素,一般都是要放在this.$nextTick()中。
案例:
在created阶段将vue实例中input标签的value属性更改为苹果 ,因为要等到dom树更新渲染完成之后,所以要用this.$nextTick() 否则控制台会报错(啥啥啥 is not definded in 啥啥啥 ...)
<template> <div><input ref="str" type="text" :value="string"></div></template><script> export default { data() { return { string:'苹果', }; }, created() { this.$nextTick(()=>{ this.$refs.str.value = '西瓜' } ) }, mounted(){ console.log(this.$refs.str.value); } }</script>演示结果:
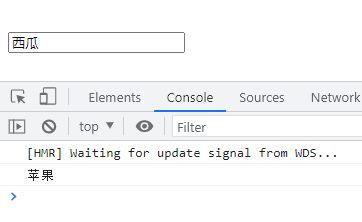
当dom元素更新后 控制台已经打印了苹果,之后执行this.$nextTick()里面的内容。
...其实,用定时器也可以实现:
created() { setTimeout(()=>{ this.$refs.str.value = '西瓜' },10) },定时器时间哪怕设置为0,也是异步加载,也没关系。
登录后可发表评论
点击登录