目录
一、安装VSCode
1、VSCode下载
2、安装VSCode
二、配置C/C++环境
1、配置g++环境
1.1 安装vim
1.2 安装g++
2、 安装汉化、C/C++插件
3、 建立工程
4、 更改lanuch.json文件
5、 更改task.json文件
6、完美运行
我的Ubuntu已经换源了,但是在浏览器中下载比较慢,可以在window中下载好直接拖到虚拟机中。如何在windows和虚拟机Ubuntu中拖拽文件参阅:
两行代码实现Windows和Ubuntu20.04虚拟机文件复制(超精简)_fangshuo_light的博客-CSDN博客
一、安装VSCode
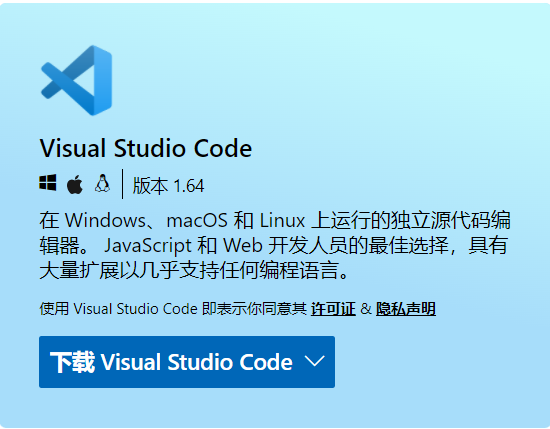
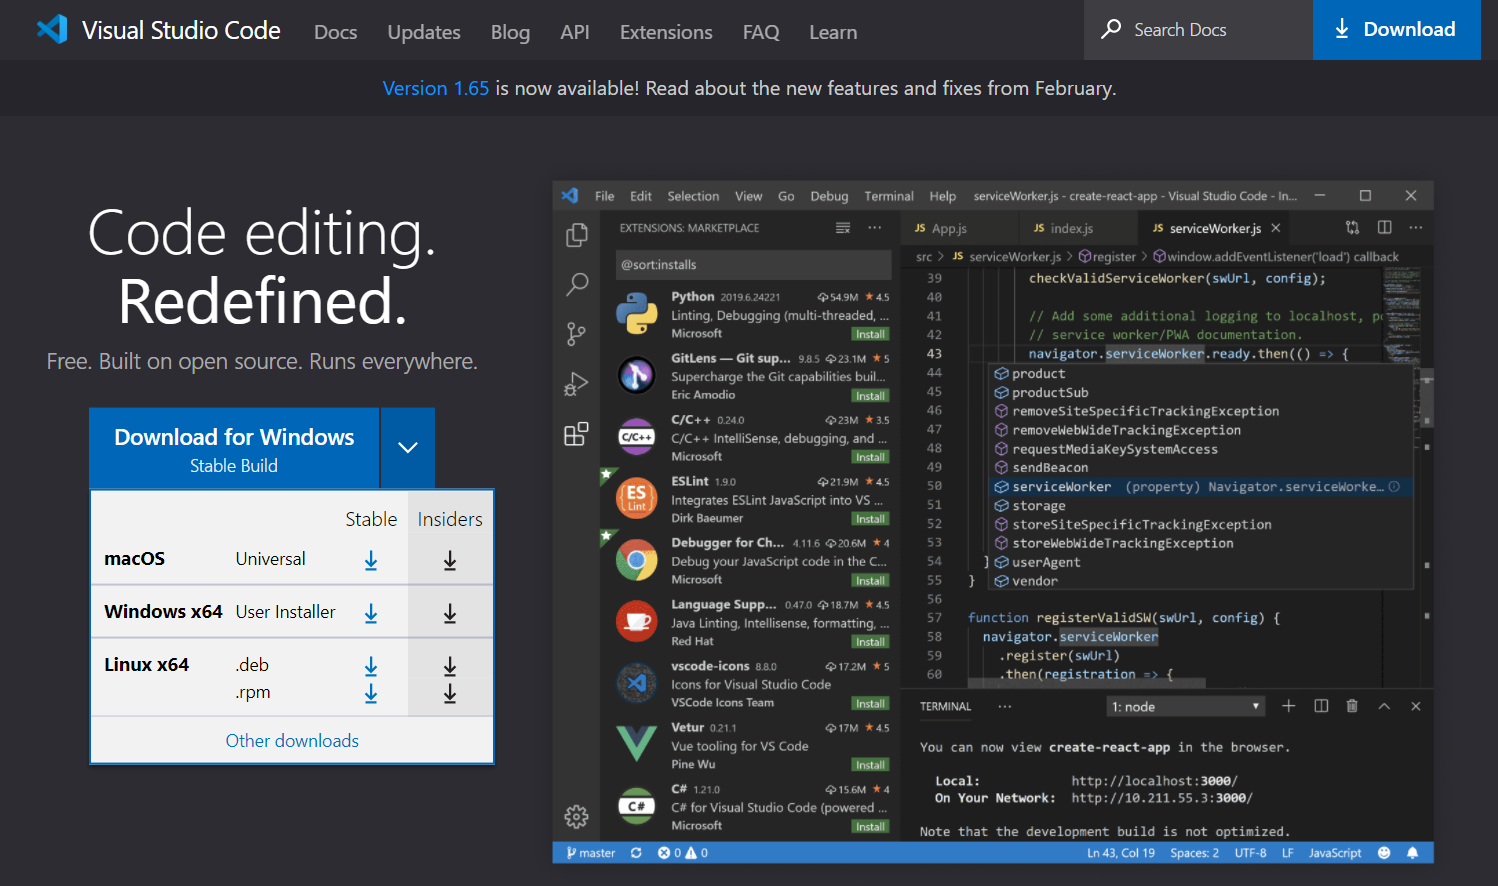
1、VSCode下载
进入VSCode官网Visual Studio Code - Code Editing. Redefined,下载Linux x64.deb版本。并将其托到Ubuntu的Downloads文件夹中。
2、安装VSCode
直接双击安装包进行安装。
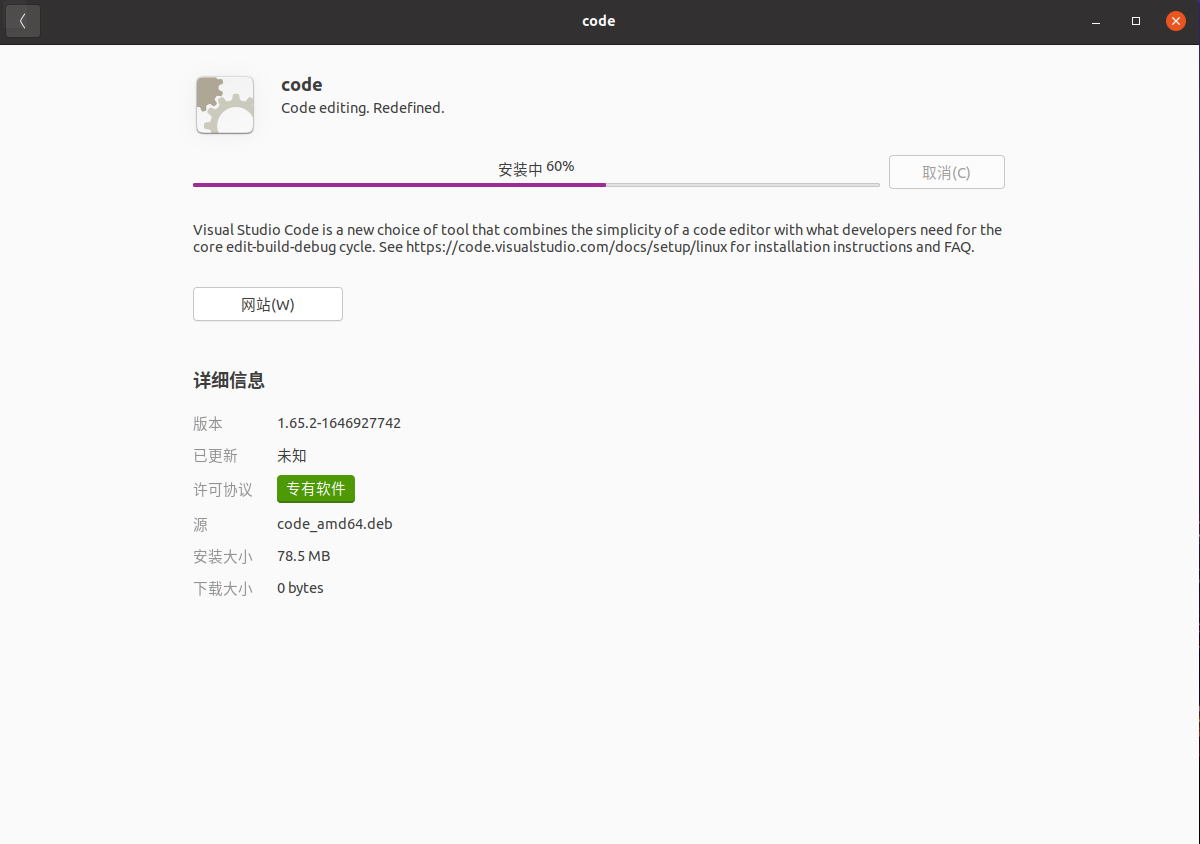
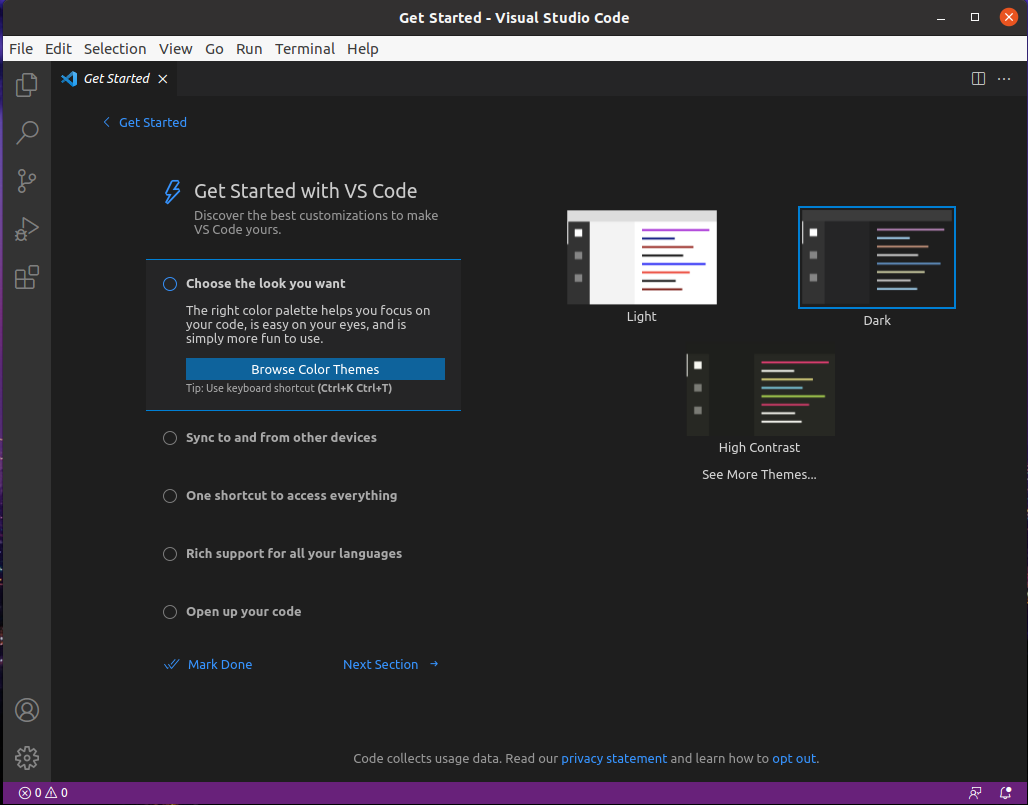
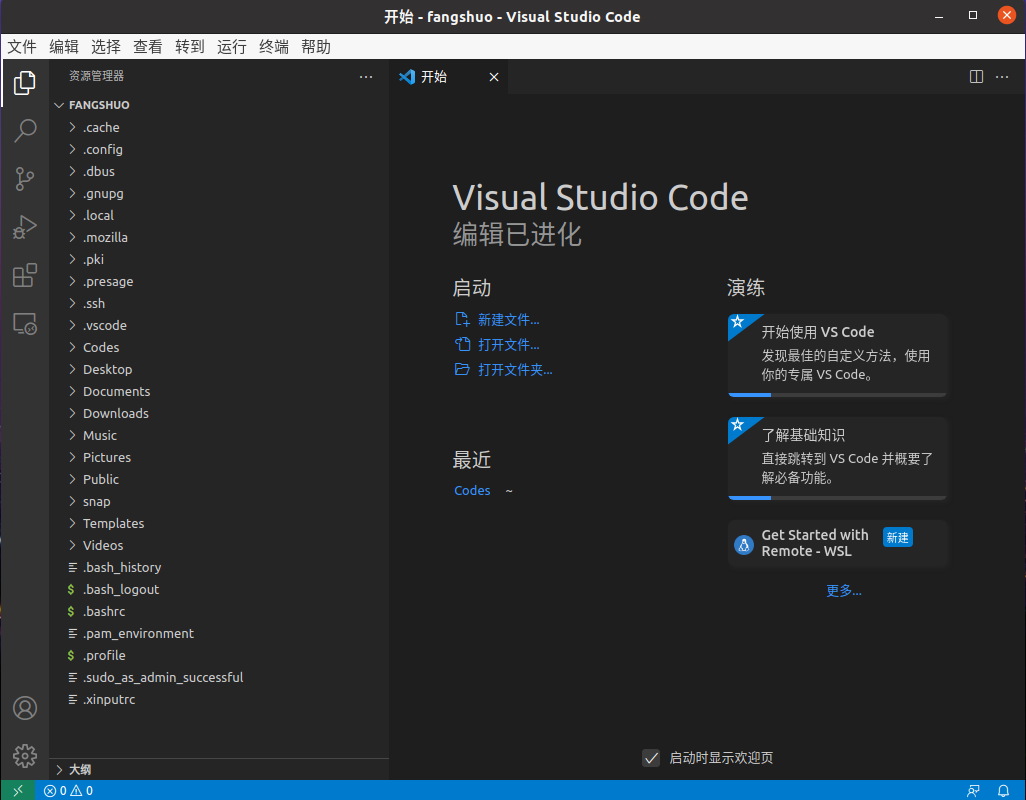
安装完成后打开VSCode,界面如下:
二、配置C/C++环境
1、配置g++环境
1.1 安装vim
打开终端,输入:
sudo apt-get install vim1.2 安装g++
打开终端,输入:
sudo apt install g++2、 安装汉化、C/C++插件
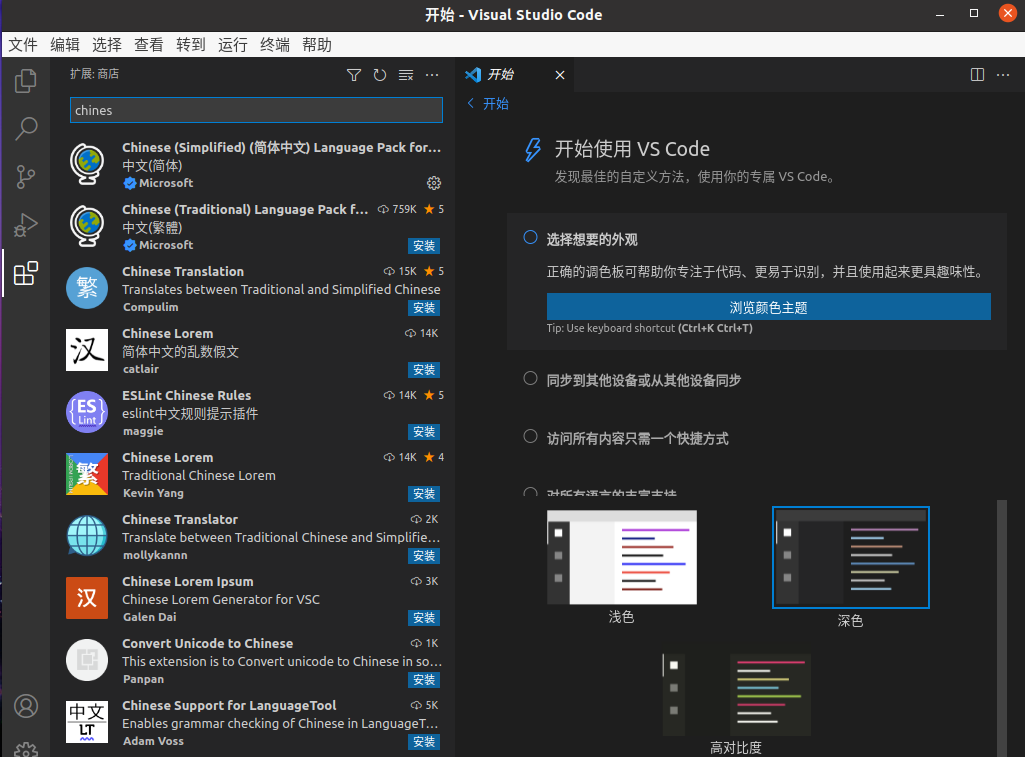
在左侧扩展商店中查找 ”chinese“选第一个安装,安装好后重启软件。
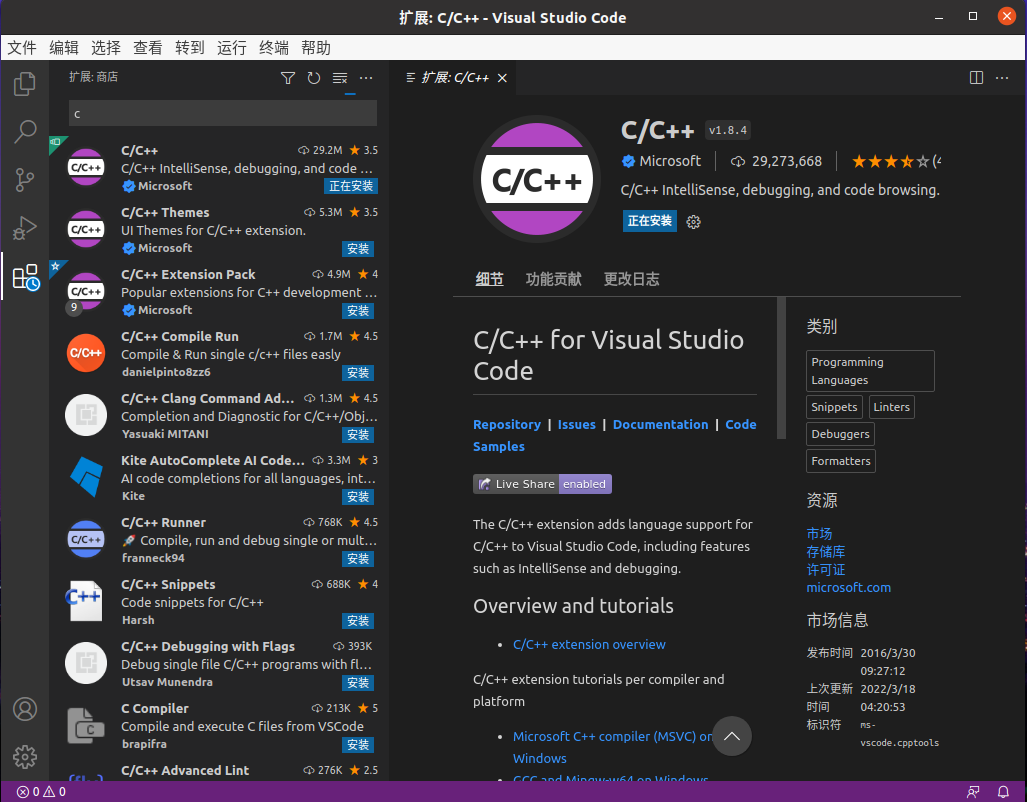
在左侧扩展商店中查找 ”C/C++“选第一个安装。
3、 建立工程
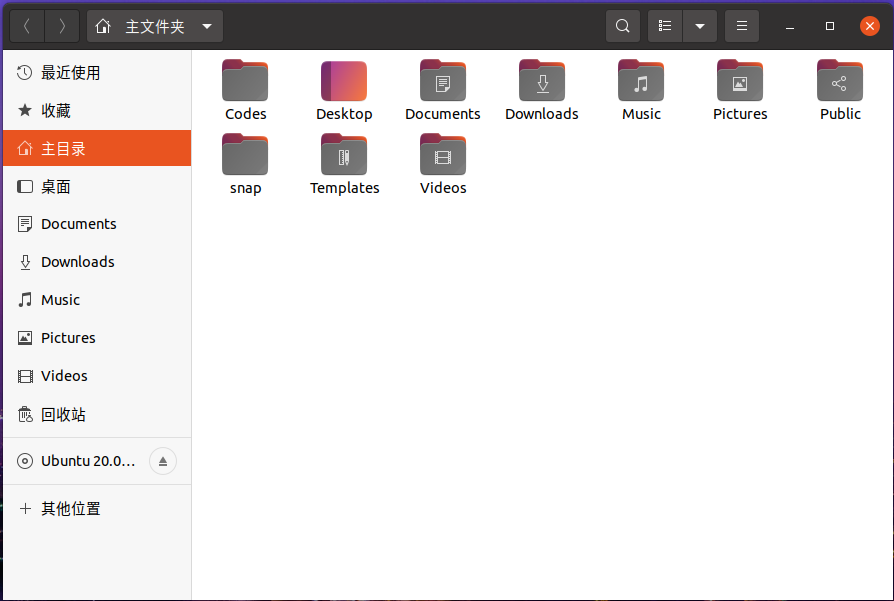
由于VScode是以文件夹的形式管理工程的,因此我们首先新建一个文件夹,我这里取名叫Codes。
通过VScode ”打开文件夹“->"Codes":
新建main.cpp文件并输入程序:
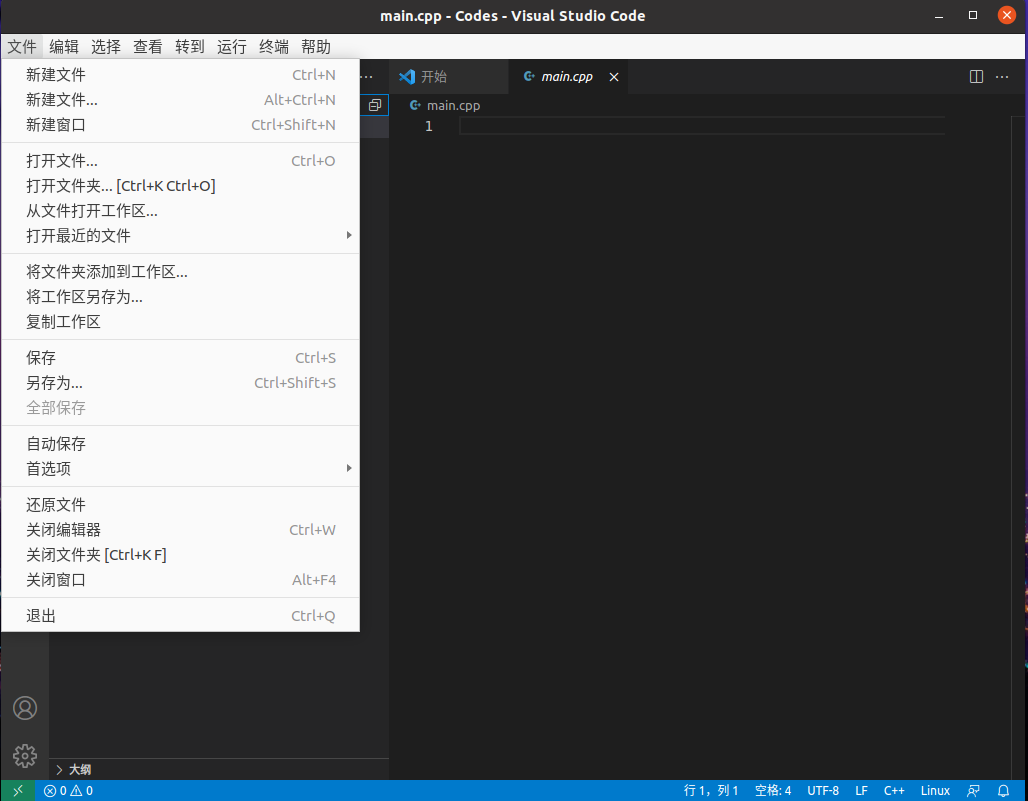
输入 ”hello world“
#include<iostream>using namespace std;int main(){ cout << "hello world!" <<endl; return 0;}4、 更改lanuch.json文件
在工作区下创建cpp文件,按F5执行文件,后点击调试,自动跳转到lanuch.json文件夹下,并将lanuch.json文件进行覆盖
// An highlighted block{ // Use IntelliSense to learn about possible attributes. // Hover to view descriptions of existing attributes. // For more information, visit: https://go.microsoft.com/fwlink/?linkid=830387 "version": "0.2.0", "configurations": [ { "name": "(gdb) Launch", "type": "cppdbg", "request": "launch", "program": "${workspaceFolder}/${fileBasenameNoExtension}.out", "args": [], "stopAtEntry": false, "cwd": "${workspaceFolder}", "environment": [], "externalConsole": true, "MIMode": "gdb", "preLaunchTask": "build", "setupCommands": [ { "description": "Enable pretty-printing for gdb", "text": "-enable-pretty-printing", "ignoreFailures": true } ] } ]}5、 更改task.json文件
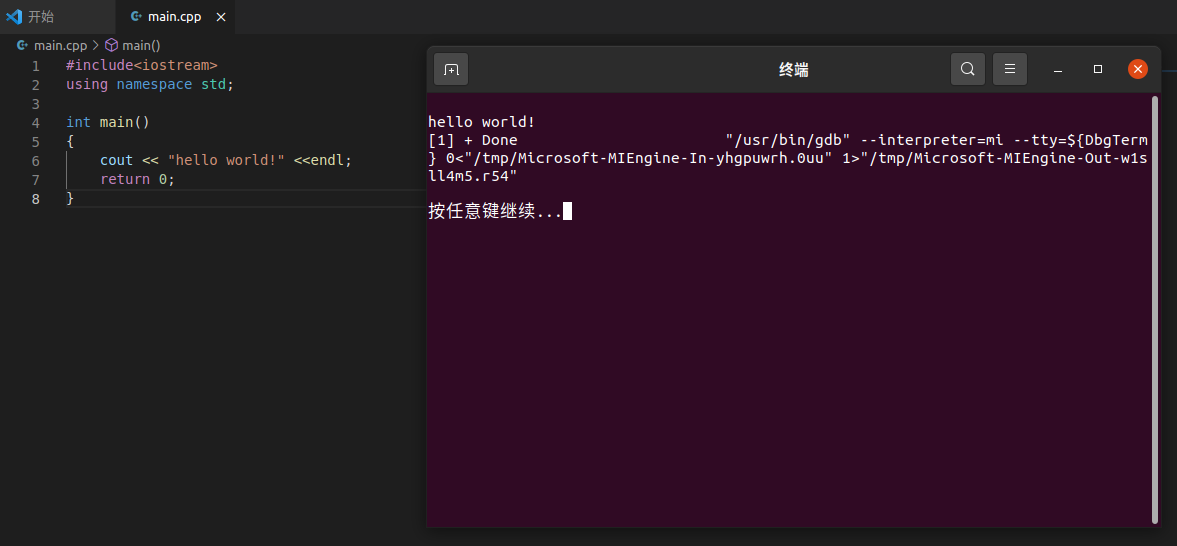
{ // See https://go.microsoft.com/fwlink/?LinkId=733558 // for the documentation about the tasks.json format "version": "2.0.0", "tasks": [ { "label": "build", "type": "shell", "command": "g++", "args": ["-g", "${file}", "-std=c++11", "-o", "${fileBasenameNoExtension}.out"] } ] }6、完美运行
在main.cpp中按ctrl+F5,运行hello world: