conda常用操作和配置镜像源
pip临时使用国内镜像源永久使用国内镜像源1、豆瓣源2、清华源3、中科大源4、配置成功会出现:5、删除镜像源 conda1.查看默认源2.删除一个默认源3.增加一个默认源4.设置搜索时显示通道地址5.文件所在位置(进行增删) conda常用命令1、创建虚拟环境2、激活虚拟环境3、退出当前环境4、删除环境5、复制虚拟环境6、查看当前所有环境7、查看当前虚拟环境下的所有安装包8、导出/创建虚拟环境9、批量导出虚拟环境中的所有组件10、升级11、卸载
pip
临时使用国内镜像源
下载某一个包的时候,加上如下后缀就行
pip install xxx #中科大源、清华源、豆瓣源-i https://pypi.mirrors.ustc.edu.cn/simple/-i https://pypi.tuna.tsinghua.edu.cn/simple-i https//pypi.doubanio.com/simple/ ![[外链图片转存失败,源站可能有防盗链机制,建议将图片保存下来直接上传(img-uD8SZCjw-1664240931261)(C:\Users\Administrator\AppData\Roaming\Typora\typora-user-images\image-20220926103728097.png)]](http://zhangshiyu.com/zb_users/upload/2023/03/20230329173711168008263181539.png)
永久使用国内镜像源
1、豆瓣源
pip config set global.index-url https//pypi.doubanio.com/simple/ 2、清华源
pip config set global.index-url https://pypi.tuna.tsinghua.edu.cn/simple3、中科大源
pip config set global.index-url https://pypi.mirrors.ustc.edu.cn/simple4、配置成功会出现:

#保存路径C:\Users\Administrator\AppData\Roaming\pip\pip.ini打开保存路径的文件:

5、删除镜像源
直接将pip.ini文件删除即可
conda
1.查看默认源
conda config --show-sources
2.删除一个默认源
conda config --remove channels https://pypi.tuna.tsinghua.edu.cn/simple
3.增加一个默认源
# 清华源conda config --add channels https://pypi.tuna.tsinghua.edu.cn/simple# 阿里源conda config --add channels https://mirrors.aliyun.com/pypi/simple/#豆瓣源conda config --add channels https://pypi.doubanio.com/simple/ #中科大源conda config --add channels https://pypi.mirrors.ustc.edu.cn/simple/4.设置搜索时显示通道地址
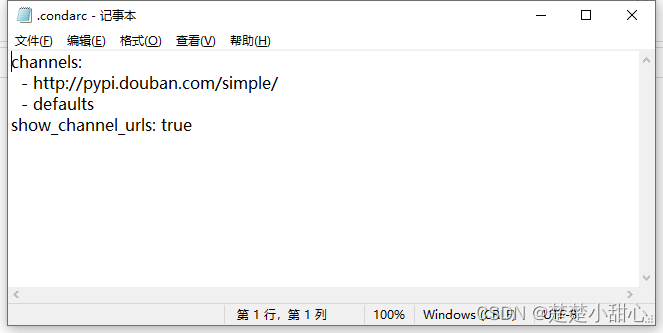
conda config --set show_channel_urls yes5.文件所在位置(进行增删)
也可以通过打开文件来增加删除镜像源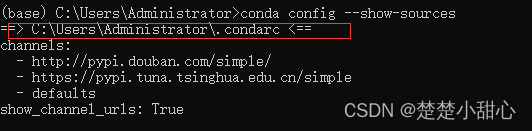
conda常用命令
1、创建虚拟环境
conda create --name env_name python=3.7 
遇到报错:
UnavailableInvalidChannel: HTTP 404 NOT FOUND for channel simple先删除镜像
conda config --remove-key channels添加镜像
conda config --add channels https://mirrors.tuna.tsinghua.edu.cn/anaconda/pkgs/free/conda config --add channels https://mirrors.tuna.tsinghua.edu.cn/anaconda/pkgs/main/conda config --add channels https://mirrors.tuna.tsinghua.edu.cn/anaconda/cloud/conda-forge conda config --add channels https://mirrors.tuna.tsinghua.edu.cn/anaconda/cloud/msys2/显示添加的镜像
conda config --show channels2、激活虚拟环境
conda activate env_name
3、退出当前环境
conda deactivate
4、删除环境
conda remove --name env_name --all
5、复制虚拟环境
conda create --name new_env_name --clone old_env_name
6、查看当前所有环境
conda info -e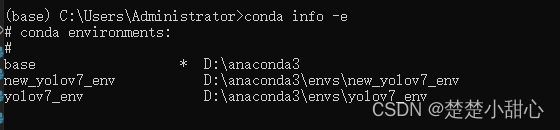
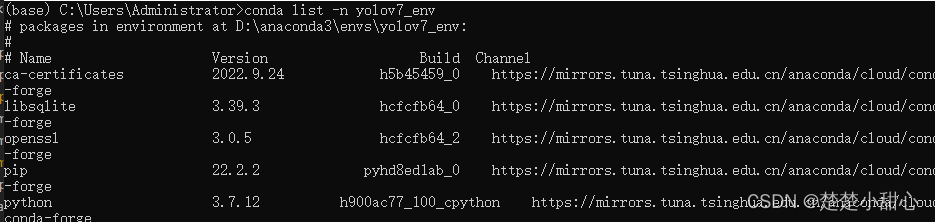
7、查看当前虚拟环境下的所有安装包
conda list conda list -n env_name
8、导出/创建虚拟环境
conda env export > environment.yml # 导出当前虚拟环境conda env create -f environment.yml # 创建保存的虚拟环境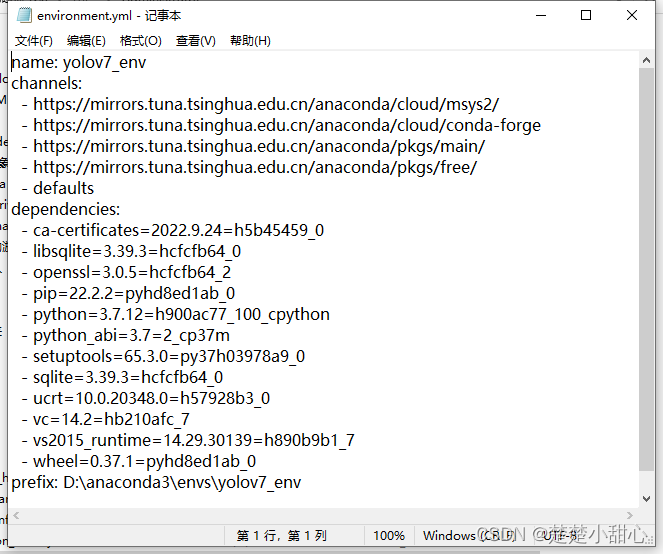

9、批量导出虚拟环境中的所有组件
conda list -e > requirements.txt # 导出conda install --yes --file requirements.txt # 安装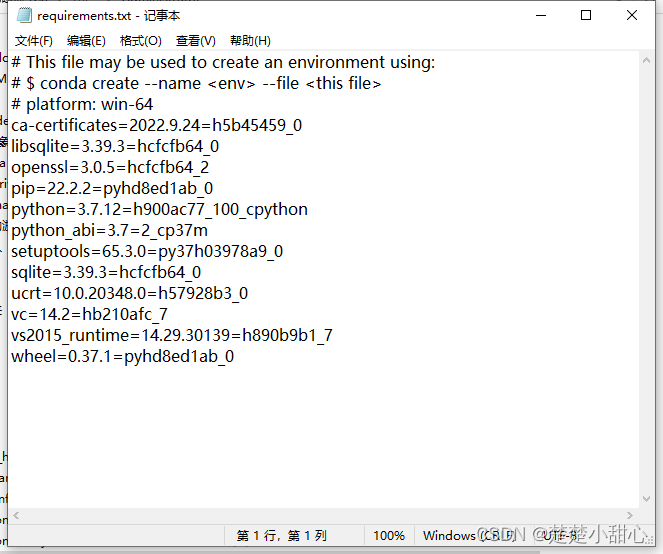
10、升级
conda update condaconda update anaconda11、卸载
rm -rf anaconda