
?作者简介: THUNDER王,一名热爱财税和SAP ABAP编程以及热爱分享的博主。目前于江西师范大学会计学专业大二本科在读,同时任汉硕云(广东)科技有限公司ABAP开发顾问。在学习工作中,我通常使用偏后端的开发语言ABAP,SQL进行任务的完成,对SAP企业管理系统,SAP ABAP开发和数据库具有较深入的研究。
?文章概要: 各位C站的小伙伴们,今天我发现了一款纯CSS效果实现的精美页面,通过hover控件便可以实现网页的动态效果,无需引入Javascript。让我们一起来看看吧!收藏我并且关注博主,让我们拿起电脑一起练,一路火光带闪电!
?每日一言: 你可以遗憾,但是你绝对不能后悔。遗憾证明你努力过了,只是力有不逮。而后悔,只能说明你当时没努力过。
目录
前言CSS:Hover选择器介绍纯CSS实现动态页面效果演示实现思路 背景的设置 HTML+CSS源码 抬头栏设计 HTML源码 CSS源码 左侧文本悬浮布局设计 HTML源码 CSS源码 右侧星球悬浮布局设计 HTML源码 CSS源码 右侧视频悬浮布局设计 HTML源码 CSS源码 右侧文本悬浮布局设计 HTML源码 CSS源码 完整源码写在最后的话
前言

各位C站的小伙伴们,今天我发现了一款纯CSS效果实现的精美页面,通过hover控件便可以实现网页的动态效果,无需引入Javascript。让我们一起来看看吧!收藏我并且关注博主,让我们拿起电脑一起练,一路火光带闪电!
CSS:Hover选择器介绍
首先我们要请出场的便是CSS:Hover选择器控件,它是实现本文页面效果最关键的控件
CSS:Hover选择器用于选择鼠标指针浮动在上面的元素,它适用于所有元素,可以用来实现类似于Javascript的一些功能。
CSS中Hover属性,鼠标移到上面的时候可以激活,它可以实现悬浮元素上改变样式,改变子元素的样式,改变同级的样式以及改变就近元素的样式等。
PS:关于CSS:Hover选择器语法的介绍网上已经有很多了,本文不再进行赘述啦
纯CSS实现动态页面效果演示

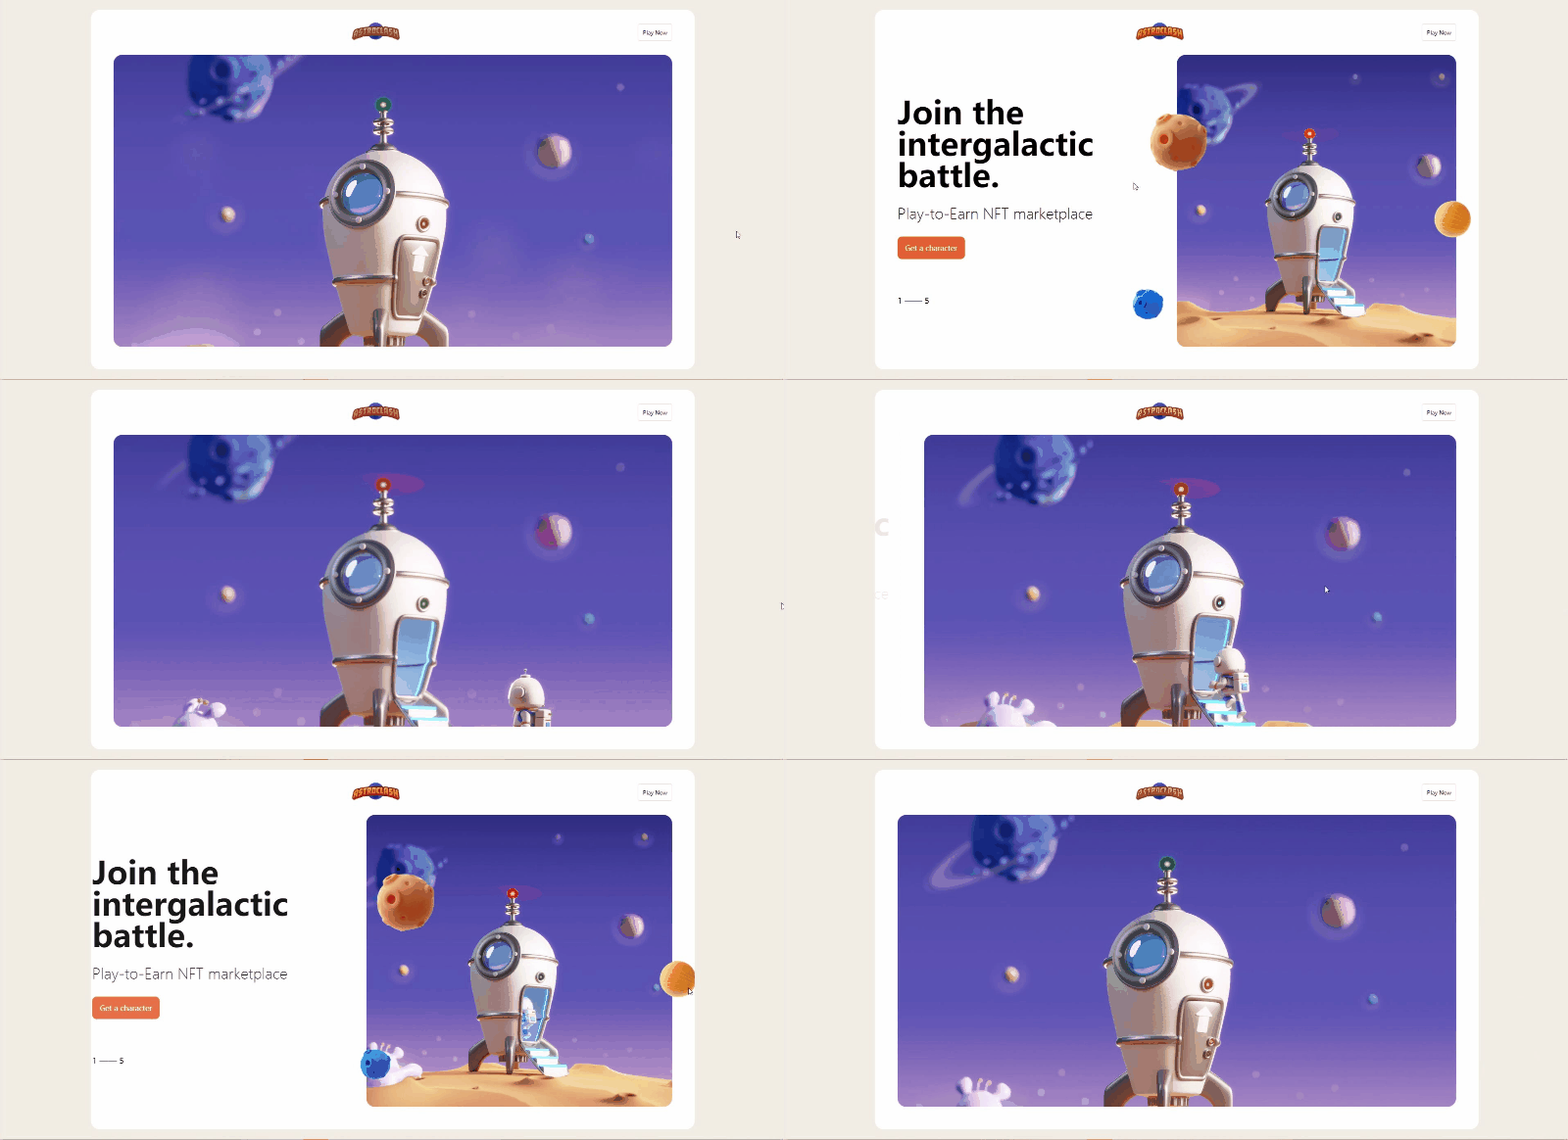
目前来说,该页面只支持PC端进行演示,暂时不支持移动端,还未进行响应式或者自适应适配,后续假如时间充裕,我会尝试做一版移动端的适配
实现思路
看完效果图后,各位小伙伴们肯定很想知道实现的思路,接下来我将分步骤逐一进行讲解,如果想要获取源码的小伙伴可以跳过该部分,直接前往最后的完整源码章节!,在分步讲解中我会将HTML,CSS两个部分全部放在同一个文件中,方便各位小伙伴们获取!
除此之外,为了方便各位小伙伴们免受图片和视频链接找不到的烦恼,我已经将所有图片和视频上载到我的个人网站里并且将【图片 | 视频】链接直接替换到了代码中,所以小伙伴们复制代码的时候不需要再考虑图片或者视频丢失问题!复制整个源码到一个HTML文件中即可完整显示注册表单效果图!
最后:代码中按钮部分的链接设置为空了,小伙伴们可以根据需要自行添加!
我将实现思路分成了如下五个部分,列举如下:
背景的设置
通过使用HTML和CSS可以完成整个页面背景的设计。背景颜色采取了底色为米白色,中间的盒子模型为白色的设计,米白色和白色相互交错叠加,具有一种高级感和错落感!
HTML+CSS源码
<!DOCTYPE html><html lang="en"><head> <meta charset="UTF-8"> <title>纯CSS实现动画交互</title> <style> * { margin: 0; padding: 0; box-sizing: border-box;}body { width: 100%; height: 100vh; display: flex; justify-content: center; align-items: center; background: #f1ede5;}.wrap { width: 1340px; height:800px; background: #fff; border-radius: 20px; box-shadow: 10px 10px 50px rbga(0, 0, 0, 0.1); display: grid; grid-template-rows: 100px 1fr; overflow: hidden;} </style></head><body> <div class="wrap"> </div></body></html>抬头栏设计
采取HTML+CSS样式可以设计出抬头栏的样式,抬头栏中间放置了一个图标,右侧放置了一个按钮,抬头栏不会因为Hover控件而移动。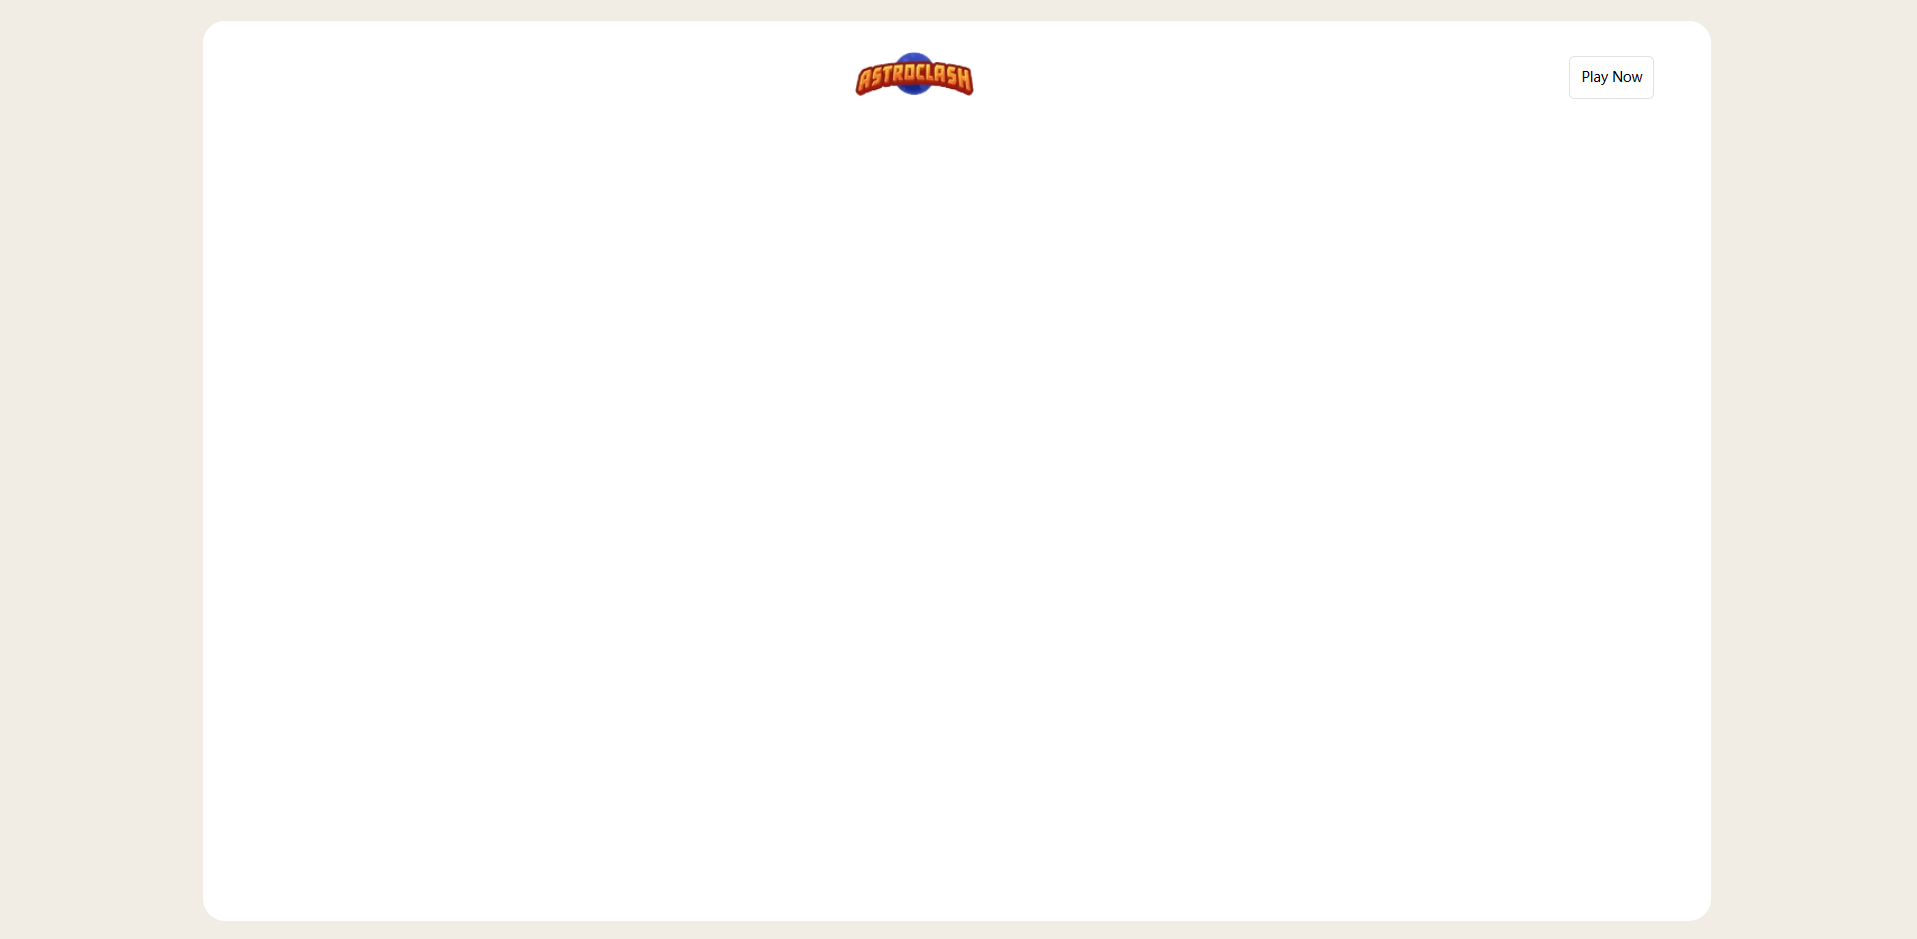
HTML源码
复制如下源码粘贴到<div class="wrap"></div>标签之间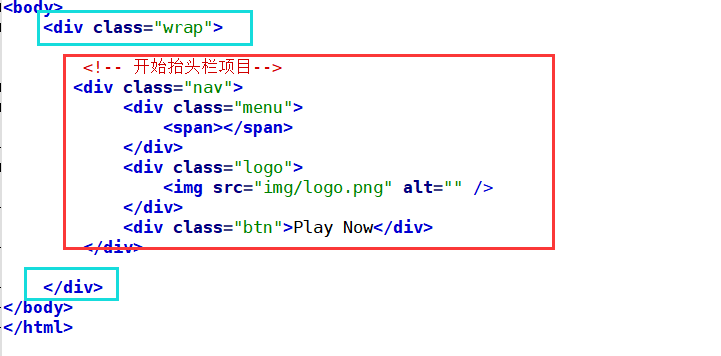
<!-- 开始抬头栏项目--> <div class="nav"><div class="menu"> <span></span> </div> <div class="logo"> <img src="http://wyz-math.cn/admin/wyz%E8%87%AA%E5%BB%BA/css_video/img/logo.png" alt="" /> </div> <div class="btn">Play Now</div> </div>CSS源码
复制如下源码粘贴到<style></style>标签之间
.nav { width: 100%; height: 100%; display: flex; justify-content: space-between; align-items: center; padding: 0px 50px; background: #fff;}.btn { border: 1px solid #e1e1e0; padding: 10px; border-radius: 5px; font-size: 12px;}左侧文本悬浮布局设计
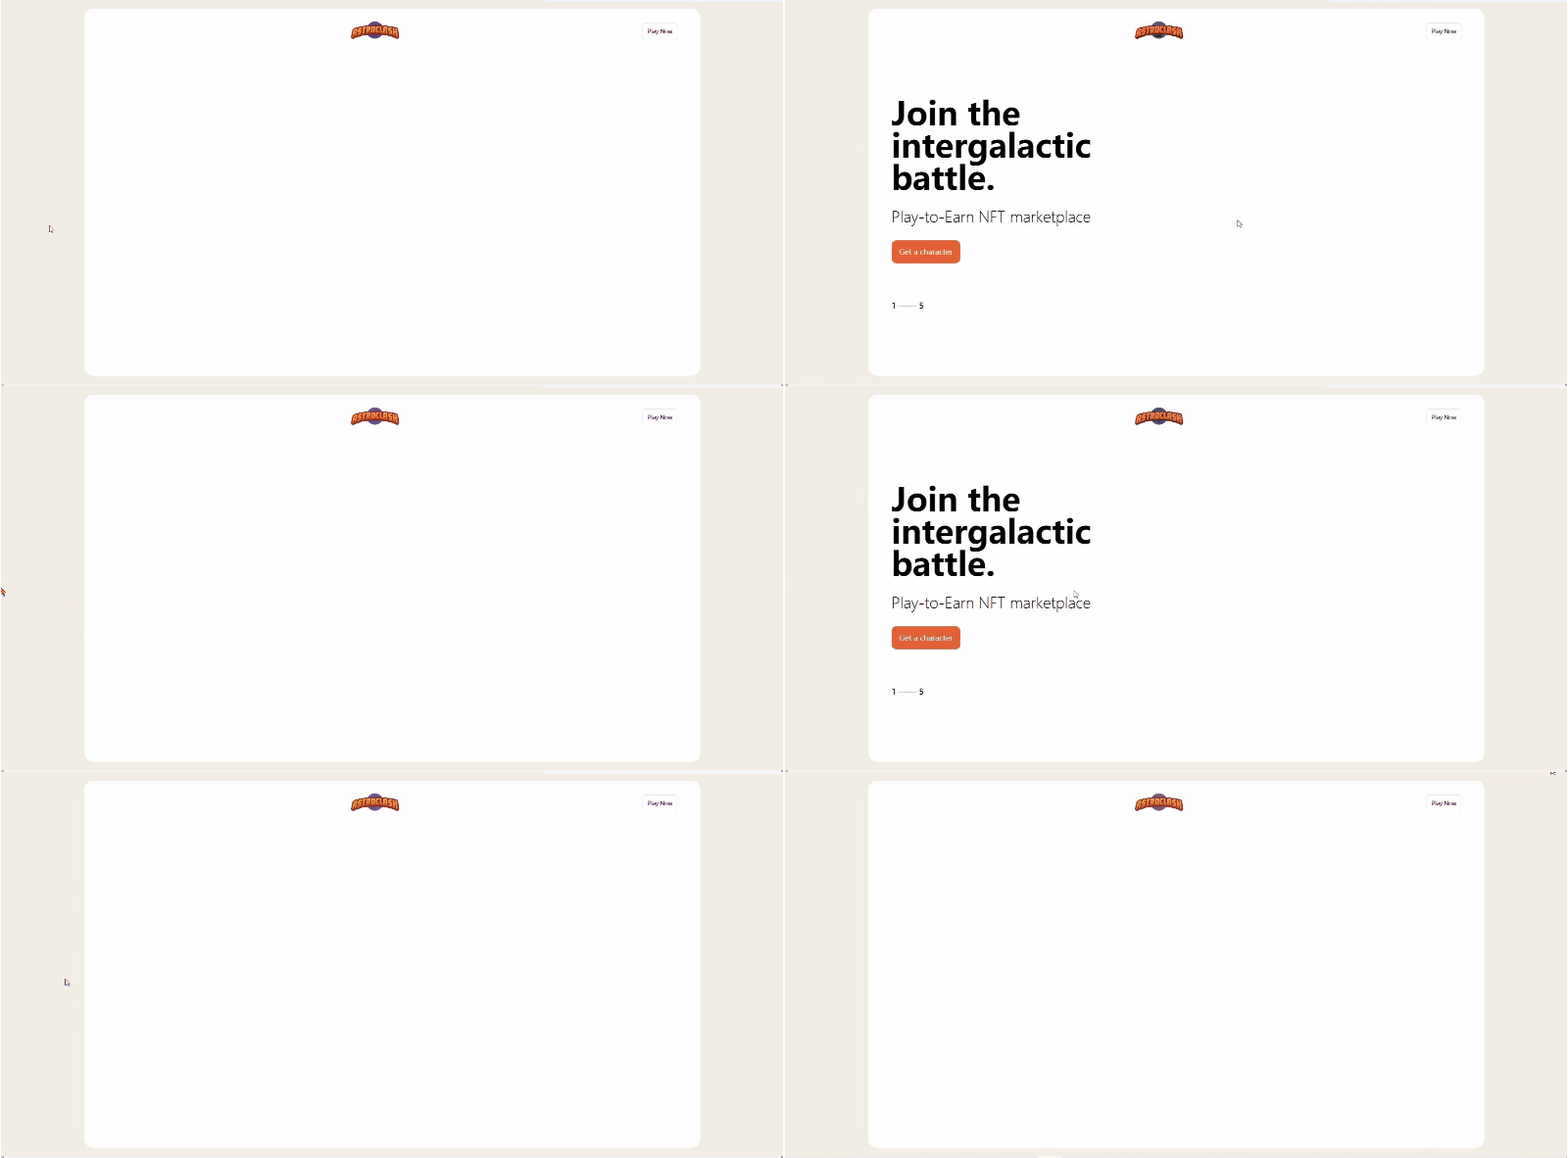
使用HTML和CSS设计出左侧文本段落的样式,没啥重点的,直接上代码
PS:这一段落设计的样式其实是动态的,因为用户需要将光标悬浮在内部盒子中,左侧文本段落才会从左侧向右侧进入,所以默认情况下左侧文本段落是被隐藏起来的
HTML源码
复制如下源码粘贴到<div class="wrap"></div>标签之间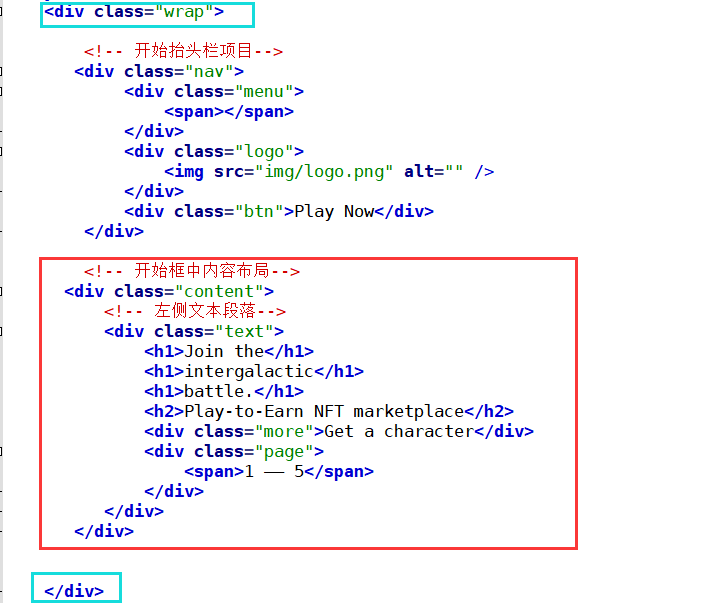
<!-- 开始框中内容布局--> <div class="content"> <!-- 左侧文本段落--> <div class="text"> <h1>Join the</h1> <h1>intergalactic</h1> <h1>battle.</h1> <h2>Play-to-Earn NFT marketplace</h2> <div class="more">Get a character</div> <div class="page"> <span>1 —— 5</span> </div> </div> </div>CSS源码
复制如下源码粘贴到<style></style>标签之间
.content { width: 1240px; height: 650px; margin: 0 auto; position: relative; display: flex; align-items: center;}.text { position: absolute; left: -500px; transition: 0.5s; opacity: 0;}.text h1 { font-size: 70px; line-height: 100%;}.text h2 { font-size: 32px; padding: 30px 0; font-weight: 200;}.more { width: 150px; height: 50px; display: flex; justify-content: center; align-items: center; background: #e46036; color: #fff; border-radius: 10px;}.page { margin-top: 80px;}.page span { font-size: 18px;}.content:hover .text { position: absolute; left: 0; opacity: 1; z-index: 888;}右侧星球悬浮布局设计
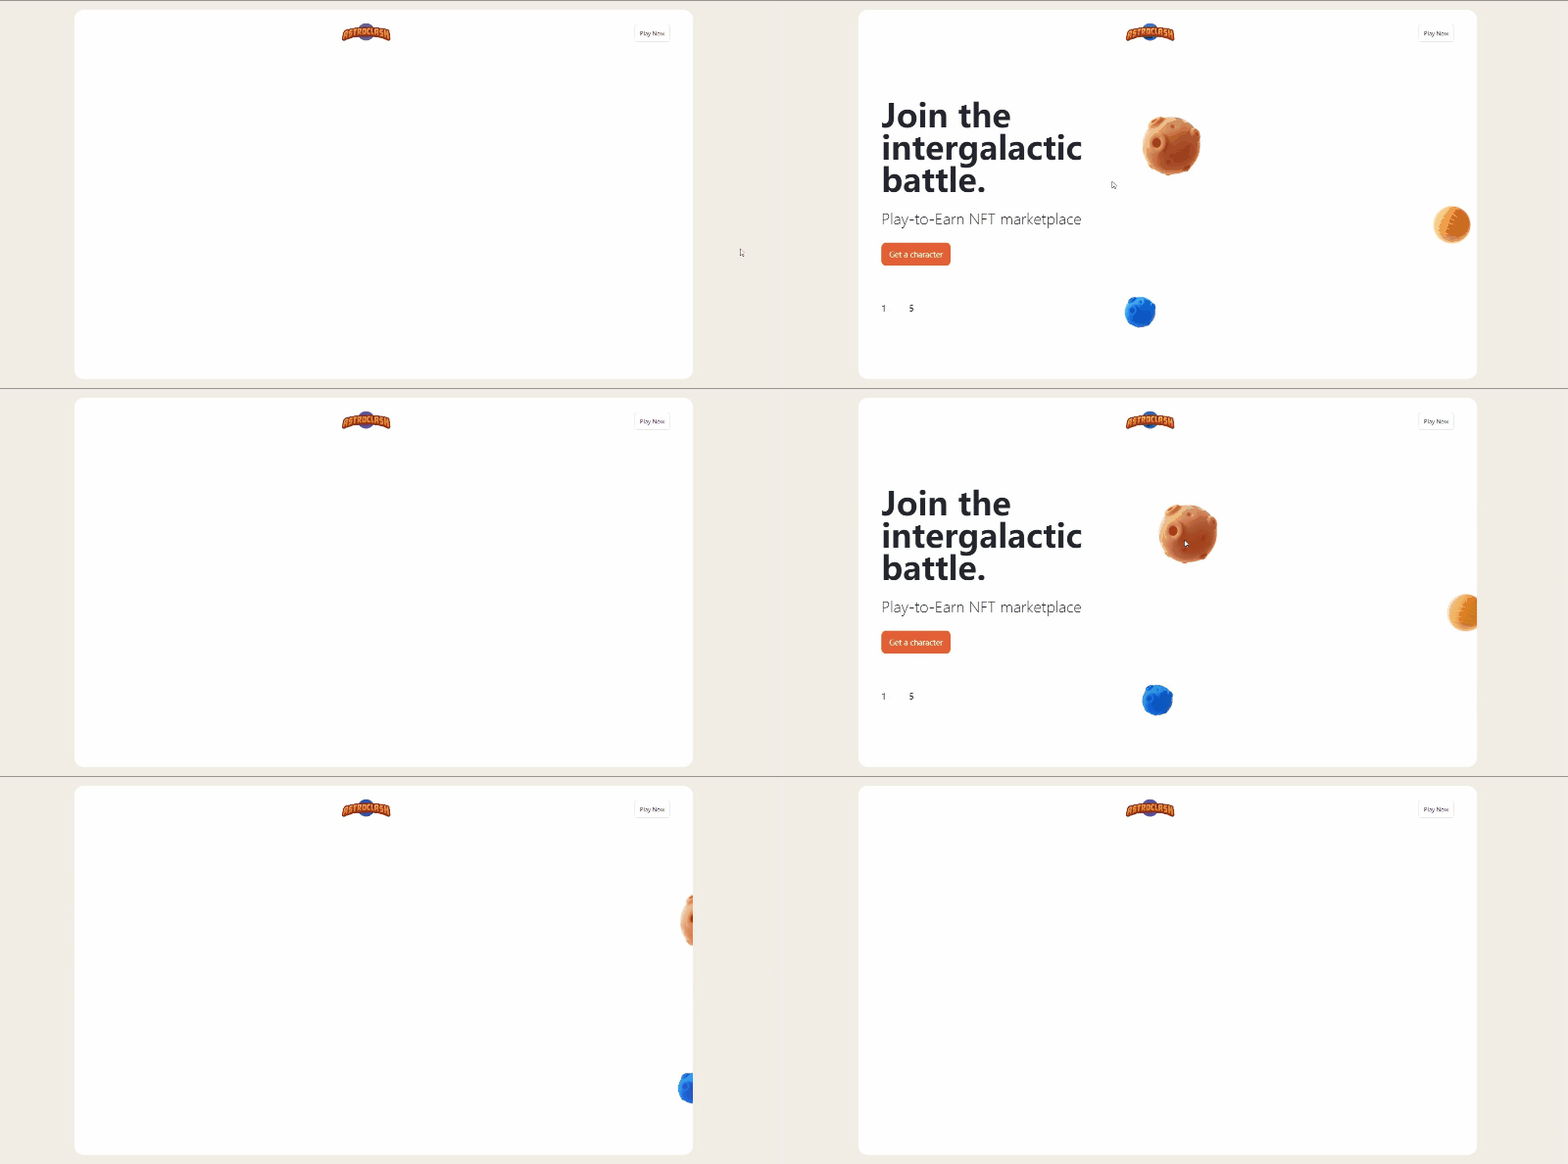
使用HTML和CSS设计出右侧星球布局的样式,直接上代码
PS:这一段落设计的样式其实是动态的,因为用户需要将光标悬浮在内部盒子中,右侧三个星球才会从右侧向左侧进入,所以默认情况下右侧三个星球是被隐藏起来的
HTML源码
复制如下源码粘贴到<div class="content"></div>标签之间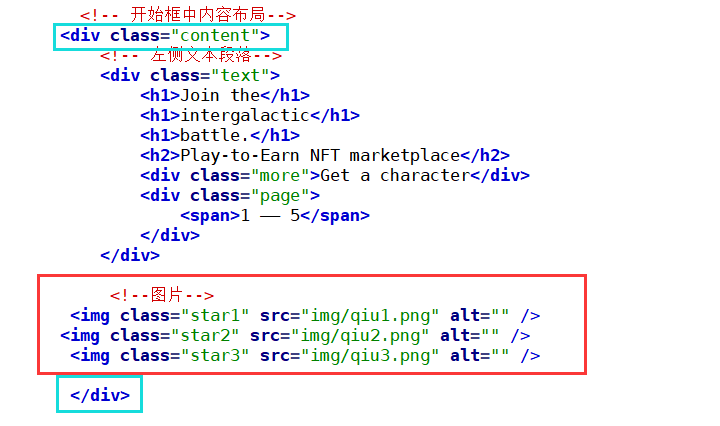
<!--图片--> <img class="star1" src="http://wyz-math.cn/admin/wyz%E8%87%AA%E5%BB%BA/css_video/img/qiu1.png" alt="" /> <img class="star2" src="http://wyz-math.cn/admin/wyz%E8%87%AA%E5%BB%BA/css_video/img/qiu2.png" alt="" /> <img class="star3" src="http://wyz-math.cn/admin/wyz%E8%87%AA%E5%BB%BA/css_video/img/qiu3.png" alt="" />CSS源码
复制如下源码粘贴到<style></style>标签之间
.star1 { position: absolute; top: 20%; left: 110%; z-index: 999; transition: 1s; animation: bounce 3s infinite;}.star2 { position: absolute; top: 80%; left: 110%; z-index: 999; transition: 1s; animation: bounce 3s infinite;}.star3 { position: absolute; top: 50%; left: 150%; z-index: 999; transition: 1s; animation: bounce 3s infinite;}.content:hover .star1 { position: absolute; top: 20%; left: 45%; z-index: 999;}.content:hover .star2 { position: absolute; top: 80%; left: 42%; z-index: 999;}.content:hover .star3 { position: absolute; top: 50%; left: 96%; z-index: 999;}右侧视频悬浮布局设计
使用HTML和CSS设计出右侧星球布局的样式。<img>标签可以引入视频,muted loop autoplay属性可以使视频一直循环自动播放。
PS:这一段落设计的样式其实是动态的,因为用户需要将光标悬浮在内部盒子中,右侧视频才会收缩成百分之50的样式,所以默认情况下右侧视频是充满整个内部盒子的
HTML源码
复制如下源码粘贴到<div class="content"></div>标签之间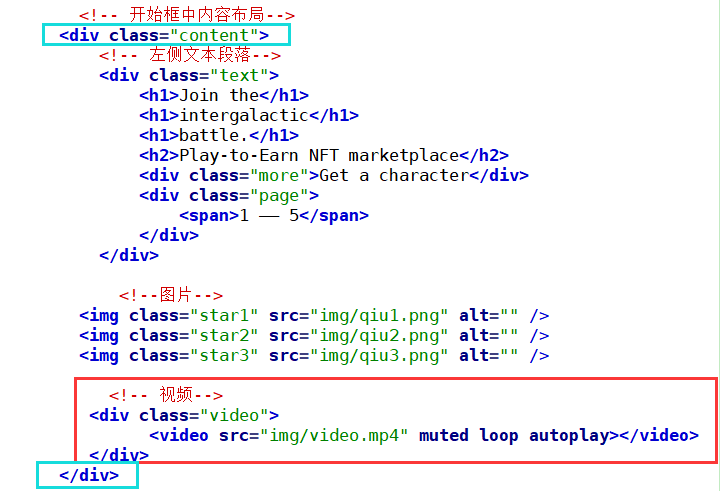
<!-- 视频--> <div class="video"> <video src="http://wyz-math.cn/admin/wyz%E8%87%AA%E5%BB%BA/css_video/img/video.mp4" muted loop autoplay></video> </div>CSS源码
复制如下源码粘贴到<style></style>标签之间
.video video { width: 100%; height: 100%; object-fit: cover;}.video { width: 100%; height: 100%; border-radius: 20px; overflow: hidden; position: absolute; top: 0; right: 0; transition: 0.5s;}.content:hover .video { width: 50%; position: absolute; right: 0px; top: 0px;}右侧文本悬浮布局设计
使用HTML和CSS设计出右侧文本布局的样式。
PS:这一段落设计的样式其实是动态的,因为用户需要将光标悬浮在内部盒子中,右侧文本才会向左侧进行隐藏,所以默认情况下右侧文本是充满整个内部盒子并且居中置于视频之上的

HTML源码
复制如下源码粘贴到<div class="video"></div>标签之间
<div class="slogan"> <h1>Protect your planet.</h1> <h1>Earn 2x money.</h1> <div class="more">Get a character</div> </div> CSS源码
复制如下源码粘贴到<style></style>标签之间
.slogan { width: 100%; text-align: center; position: absolute; top: 15%; left: 0; transition: 0.5s;}.slogan .more { margin: 50px auto;}.slogan h1 { font-size: 70px; line-height: 120%; color: #fff;}.content:hover .slogan { position: absolute; left: -600px;}完整源码
各位小伙伴只需要复制以下所有源码然后新建一个HTML文件将源码复制进去,然后就可以直接运行了!
<!DOCTYPE html><html lang="en"><head> <meta charset="UTF-8"> <title>纯CSS实现动画交互</title> <style> * { margin: 0; padding: 0; box-sizing: border-box;}body { width: 100%; height: 100vh; display: flex; justify-content: center; align-items: center; background: #f1ede5;}.wrap { width: 1340px; height:800px; background: #fff; border-radius: 20px; box-shadow: 10px 10px 50px rbga(0, 0, 0, 0.1); display: grid; grid-template-rows: 100px 1fr; overflow: hidden;}.nav { width: 100%; height: 100%; display: flex; justify-content: space-between; align-items: center; padding: 0px 50px; background: #fff;}.btn { border: 1px solid #e1e1e0; padding: 10px; border-radius: 5px; font-size: 12px;}.content { width: 1240px; height: 650px; margin: 0 auto; position: relative; display: flex; align-items: center;}.text { position: absolute; left: -500px; transition: 0.5s; opacity: 0;}.text h1 { font-size: 70px; line-height: 100%;}.text h2 { font-size: 32px; padding: 30px 0; font-weight: 200;}.more { width: 150px; height: 50px; display: flex; justify-content: center; align-items: center; background: #e46036; color: #fff; border-radius: 10px;}.page { margin-top: 80px;}.page span { font-size: 18px;}.content:hover .text { position: absolute; left: 0; opacity: 1; z-index: 888;}.star1 { position: absolute; top: 20%; left: 110%; z-index: 999; transition: 1s; animation: bounce 3s infinite;}.star2 { position: absolute; top: 80%; left: 110%; z-index: 999; transition: 1s; animation: bounce 3s infinite;}.star3 { position: absolute; top: 50%; left: 150%; z-index: 999; transition: 1s; animation: bounce 3s infinite;}.content:hover .star1 { position: absolute; top: 20%; left: 45%; z-index: 999;}.content:hover .star2 { position: absolute; top: 80%; left: 42%; z-index: 999;}.content:hover .star3 { position: absolute; top: 50%; left: 96%; z-index: 999;}.video video { width: 100%; height: 100%; object-fit: cover;}.video { width: 100%; height: 100%; border-radius: 20px; overflow: hidden; position: absolute; top: 0; right: 0; transition: 0.5s;}.content:hover .video { width: 50%; position: absolute; right: 0px; top: 0px;}.slogan { width: 100%; text-align: center; position: absolute; top: 15%; left: 0; transition: 0.5s;}.slogan .more { margin: 50px auto;}.slogan h1 { font-size: 70px; line-height: 120%; color: #fff;}.content:hover .slogan { position: absolute; left: -600px;}</style></head><body> <div class="wrap"><!-- 开始抬头栏项目--> <div class="nav"><div class="menu"> <span></span> </div> <div class="logo"> <img src="http://wyz-math.cn/admin/wyz%E8%87%AA%E5%BB%BA/css_video/img/logo.png" alt="" /> </div> <div class="btn">Play Now</div> </div> <!-- 开始框中内容布局--> <div class="content"> <!-- 左侧文本段落--> <div class="text"> <h1>Join the</h1> <h1>intergalactic</h1> <h1>battle.</h1> <h2>Play-to-Earn NFT marketplace</h2> <div class="more">Get a character</div> <div class="page"> <span>1 —— 5</span> </div> </div> <!--图片--> <img class="star1" src="http://wyz-math.cn/admin/wyz%E8%87%AA%E5%BB%BA/css_video/img/qiu1.png" alt="" /> <img class="star2" src="http://wyz-math.cn/admin/wyz%E8%87%AA%E5%BB%BA/css_video/img/qiu2.png" alt="" /> <img class="star3" src="http://wyz-math.cn/admin/wyz%E8%87%AA%E5%BB%BA/css_video/img/qiu3.png" alt="" /> <!-- 视频--> <div class="video"> <video src="http://wyz-math.cn/admin/wyz%E8%87%AA%E5%BB%BA/css_video/img/video.mp4" muted loop autoplay></video> <div class="slogan"> <h1>Protect your planet.</h1> <h1>Earn 2x money.</h1> <div class="more">Get a character</div> </div> </div> </div> </div></body></html>写在最后的话
本文花费大量时间介绍了如何使用纯CSS实现类似Javascript效果的一个精美页面,希望能帮助到各位小伙伴,码文不易,还望各位大佬们多多支持哦,你们的支持是我最大的动力!
✨ 原创不易,还希望各位大佬支持一下 \textcolor{blue}{原创不易,还希望各位大佬支持一下} 原创不易,还希望各位大佬支持一下
? 点赞,你的认可是我创作的动力! \textcolor{9c81c1}{点赞,你的认可是我创作的动力!} 点赞,你的认可是我创作的动力!
⭐️ 收藏,你的青睐是我努力的方向! \textcolor{ed7976}{收藏,你的青睐是我努力的方向!} 收藏,你的青睐是我努力的方向!
✏️ 评论,你的意见是我进步的财富! \textcolor{98c091}{评论,你的意见是我进步的财富!} 评论,你的意见是我进步的财富!