1什么是VS Code ?
Visual Studio Code(简称 VS Code)是一款由微软开发的跨平台编辑器,支持语法高亮,代码自动补全,代码重构等功能。?
用户可以通过安装扩展程序,来扩展软件的功能。?
2019年,Stack Overflow组织了开发者调查,其中Visual Studio Code被认为是最受开发者欢迎的开发环境。?
据调查,87317名受访者中有50.7%的受访者声称正在使用Visual Studio Code。?
2下载并安装R
这里我们就不做具体介绍了,大家可以翻看之前的教程,传送门在这里。?
? R语言安装教程 | 图文介绍超详细
3下载并安装VS Code
1️⃣ 官方网址在这里:?
? https://code.visualstudio.com/
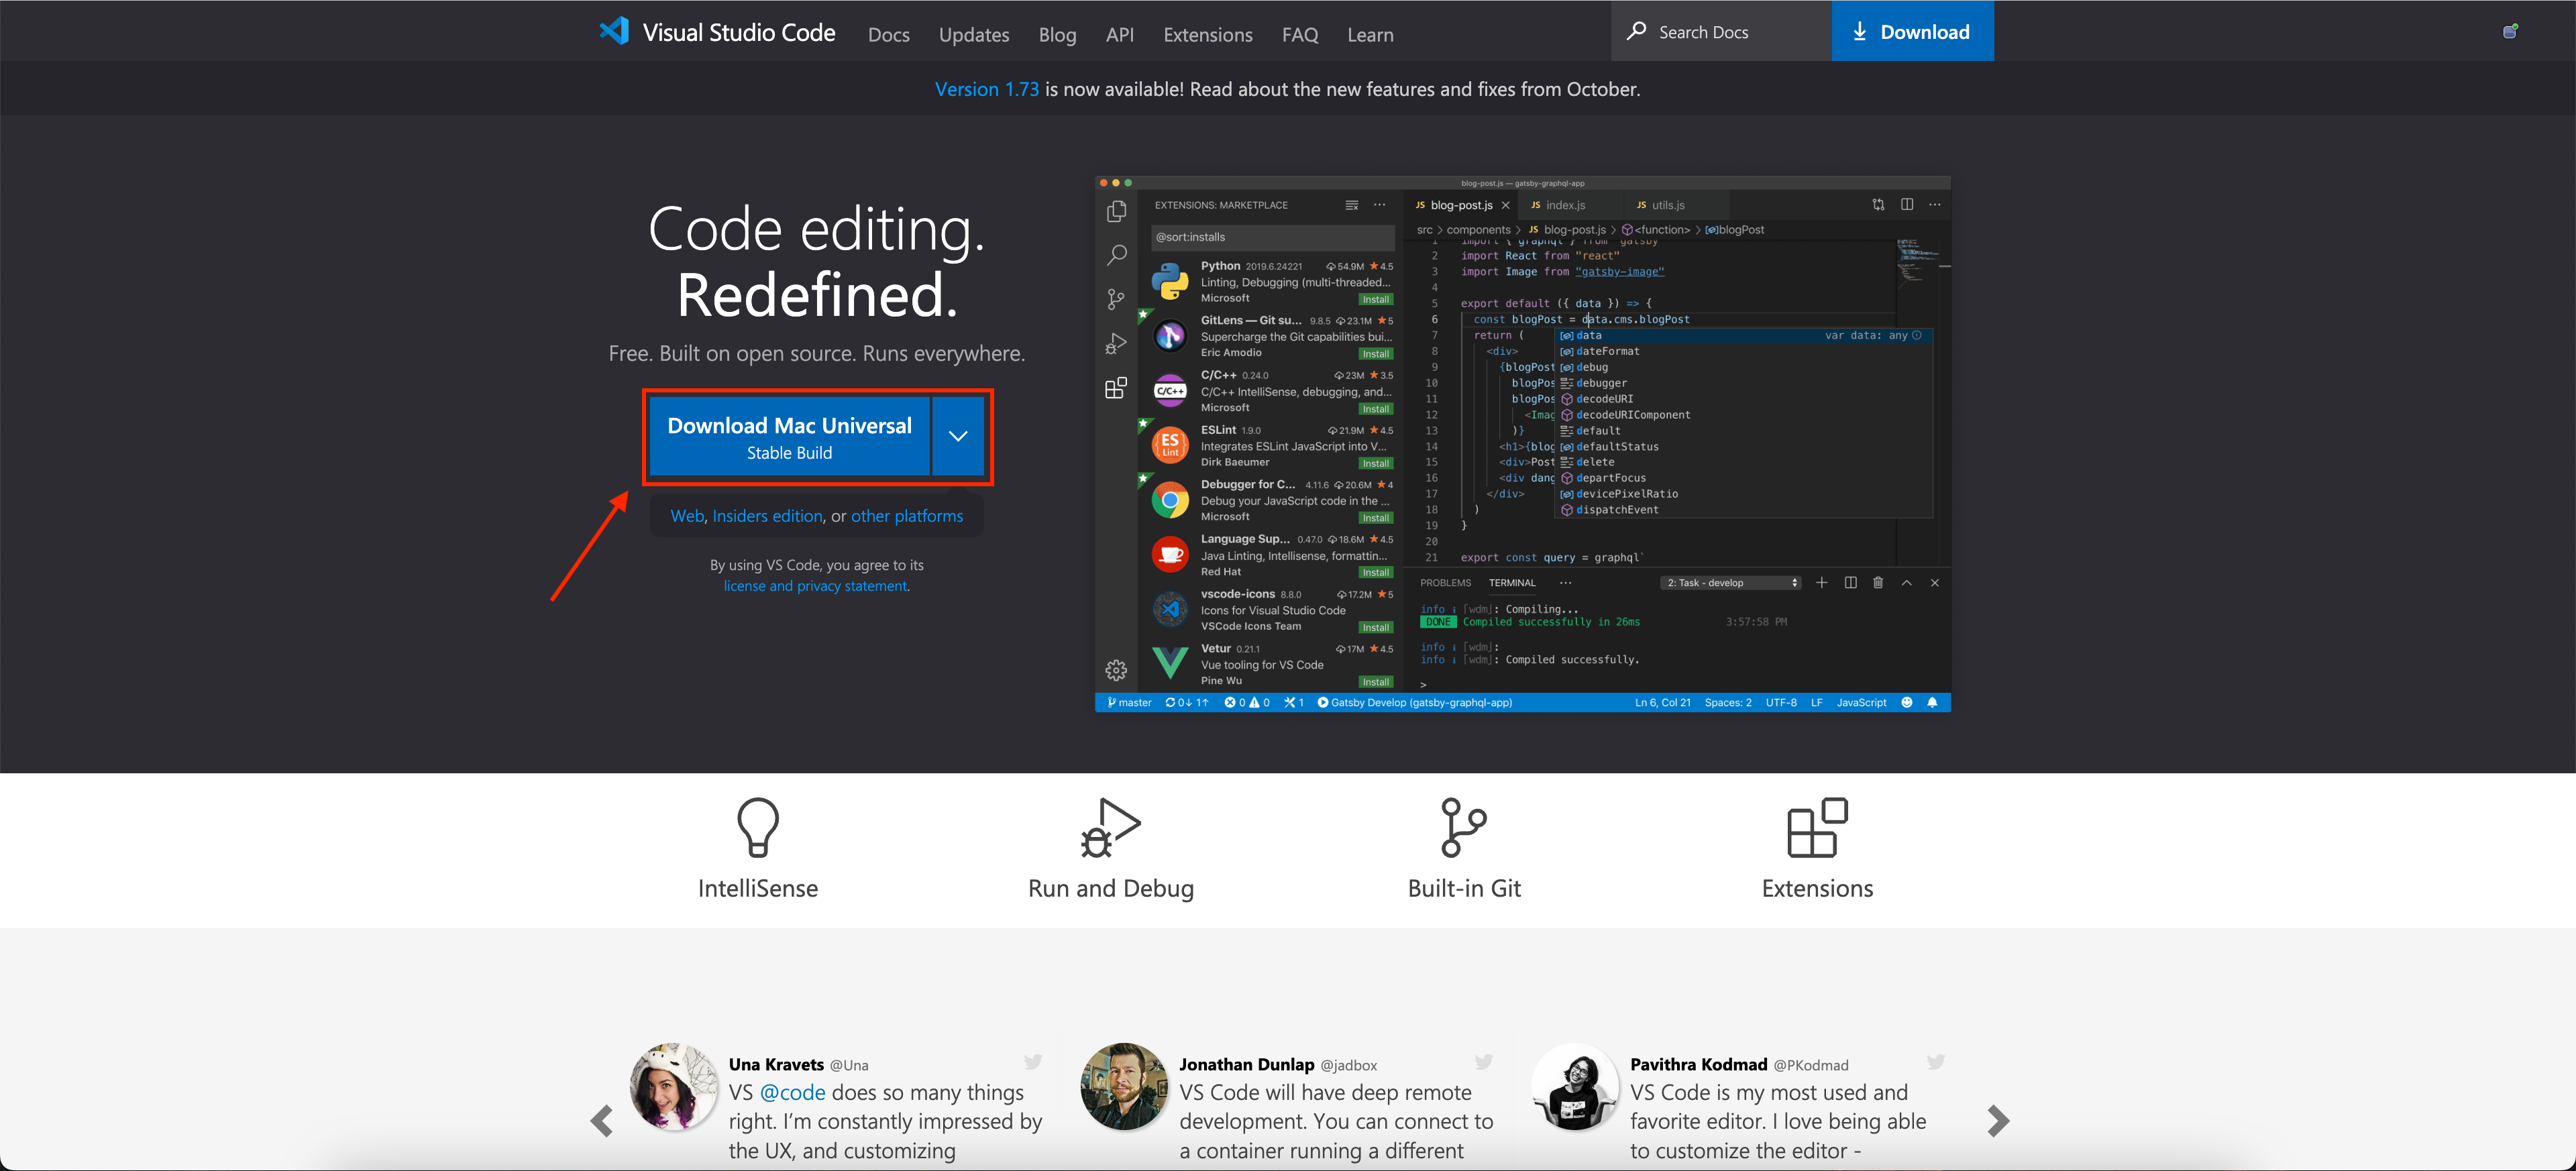
大家按照自己的操作系统来选择对应的版本就行啦,这里我就选择mac版了哈!~ ?
2️⃣ 下载完成后是一个.zip的文件,解压后就可以使用啦。?

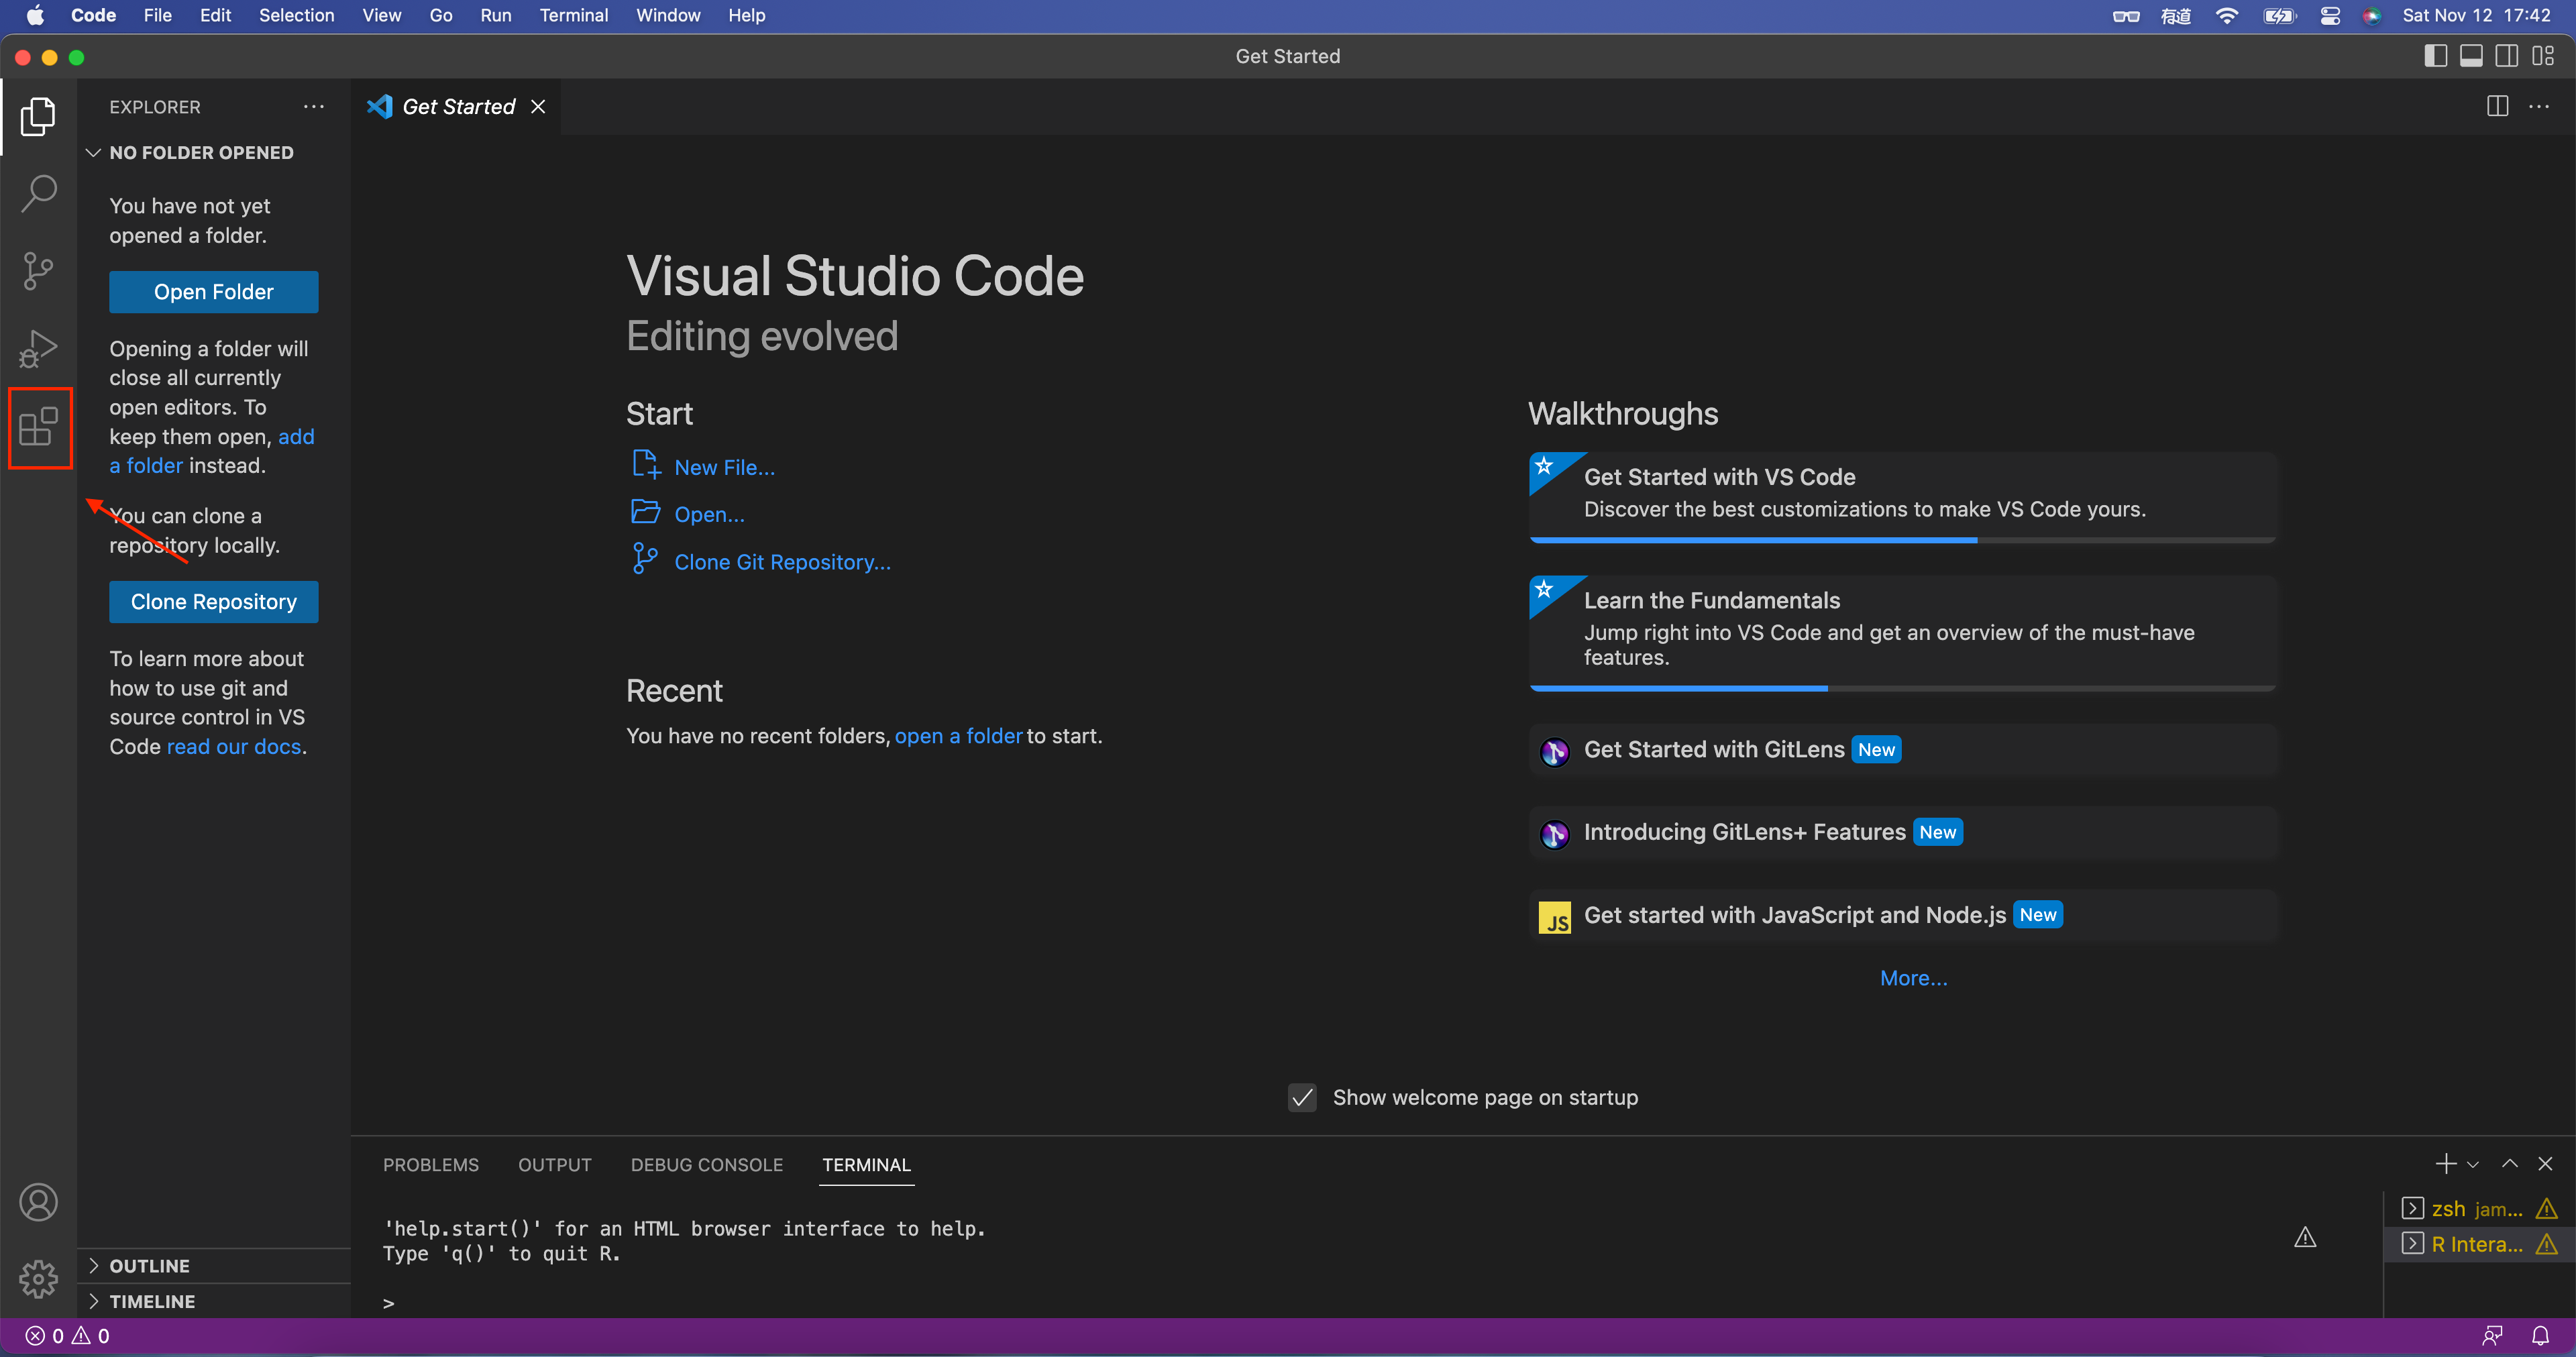
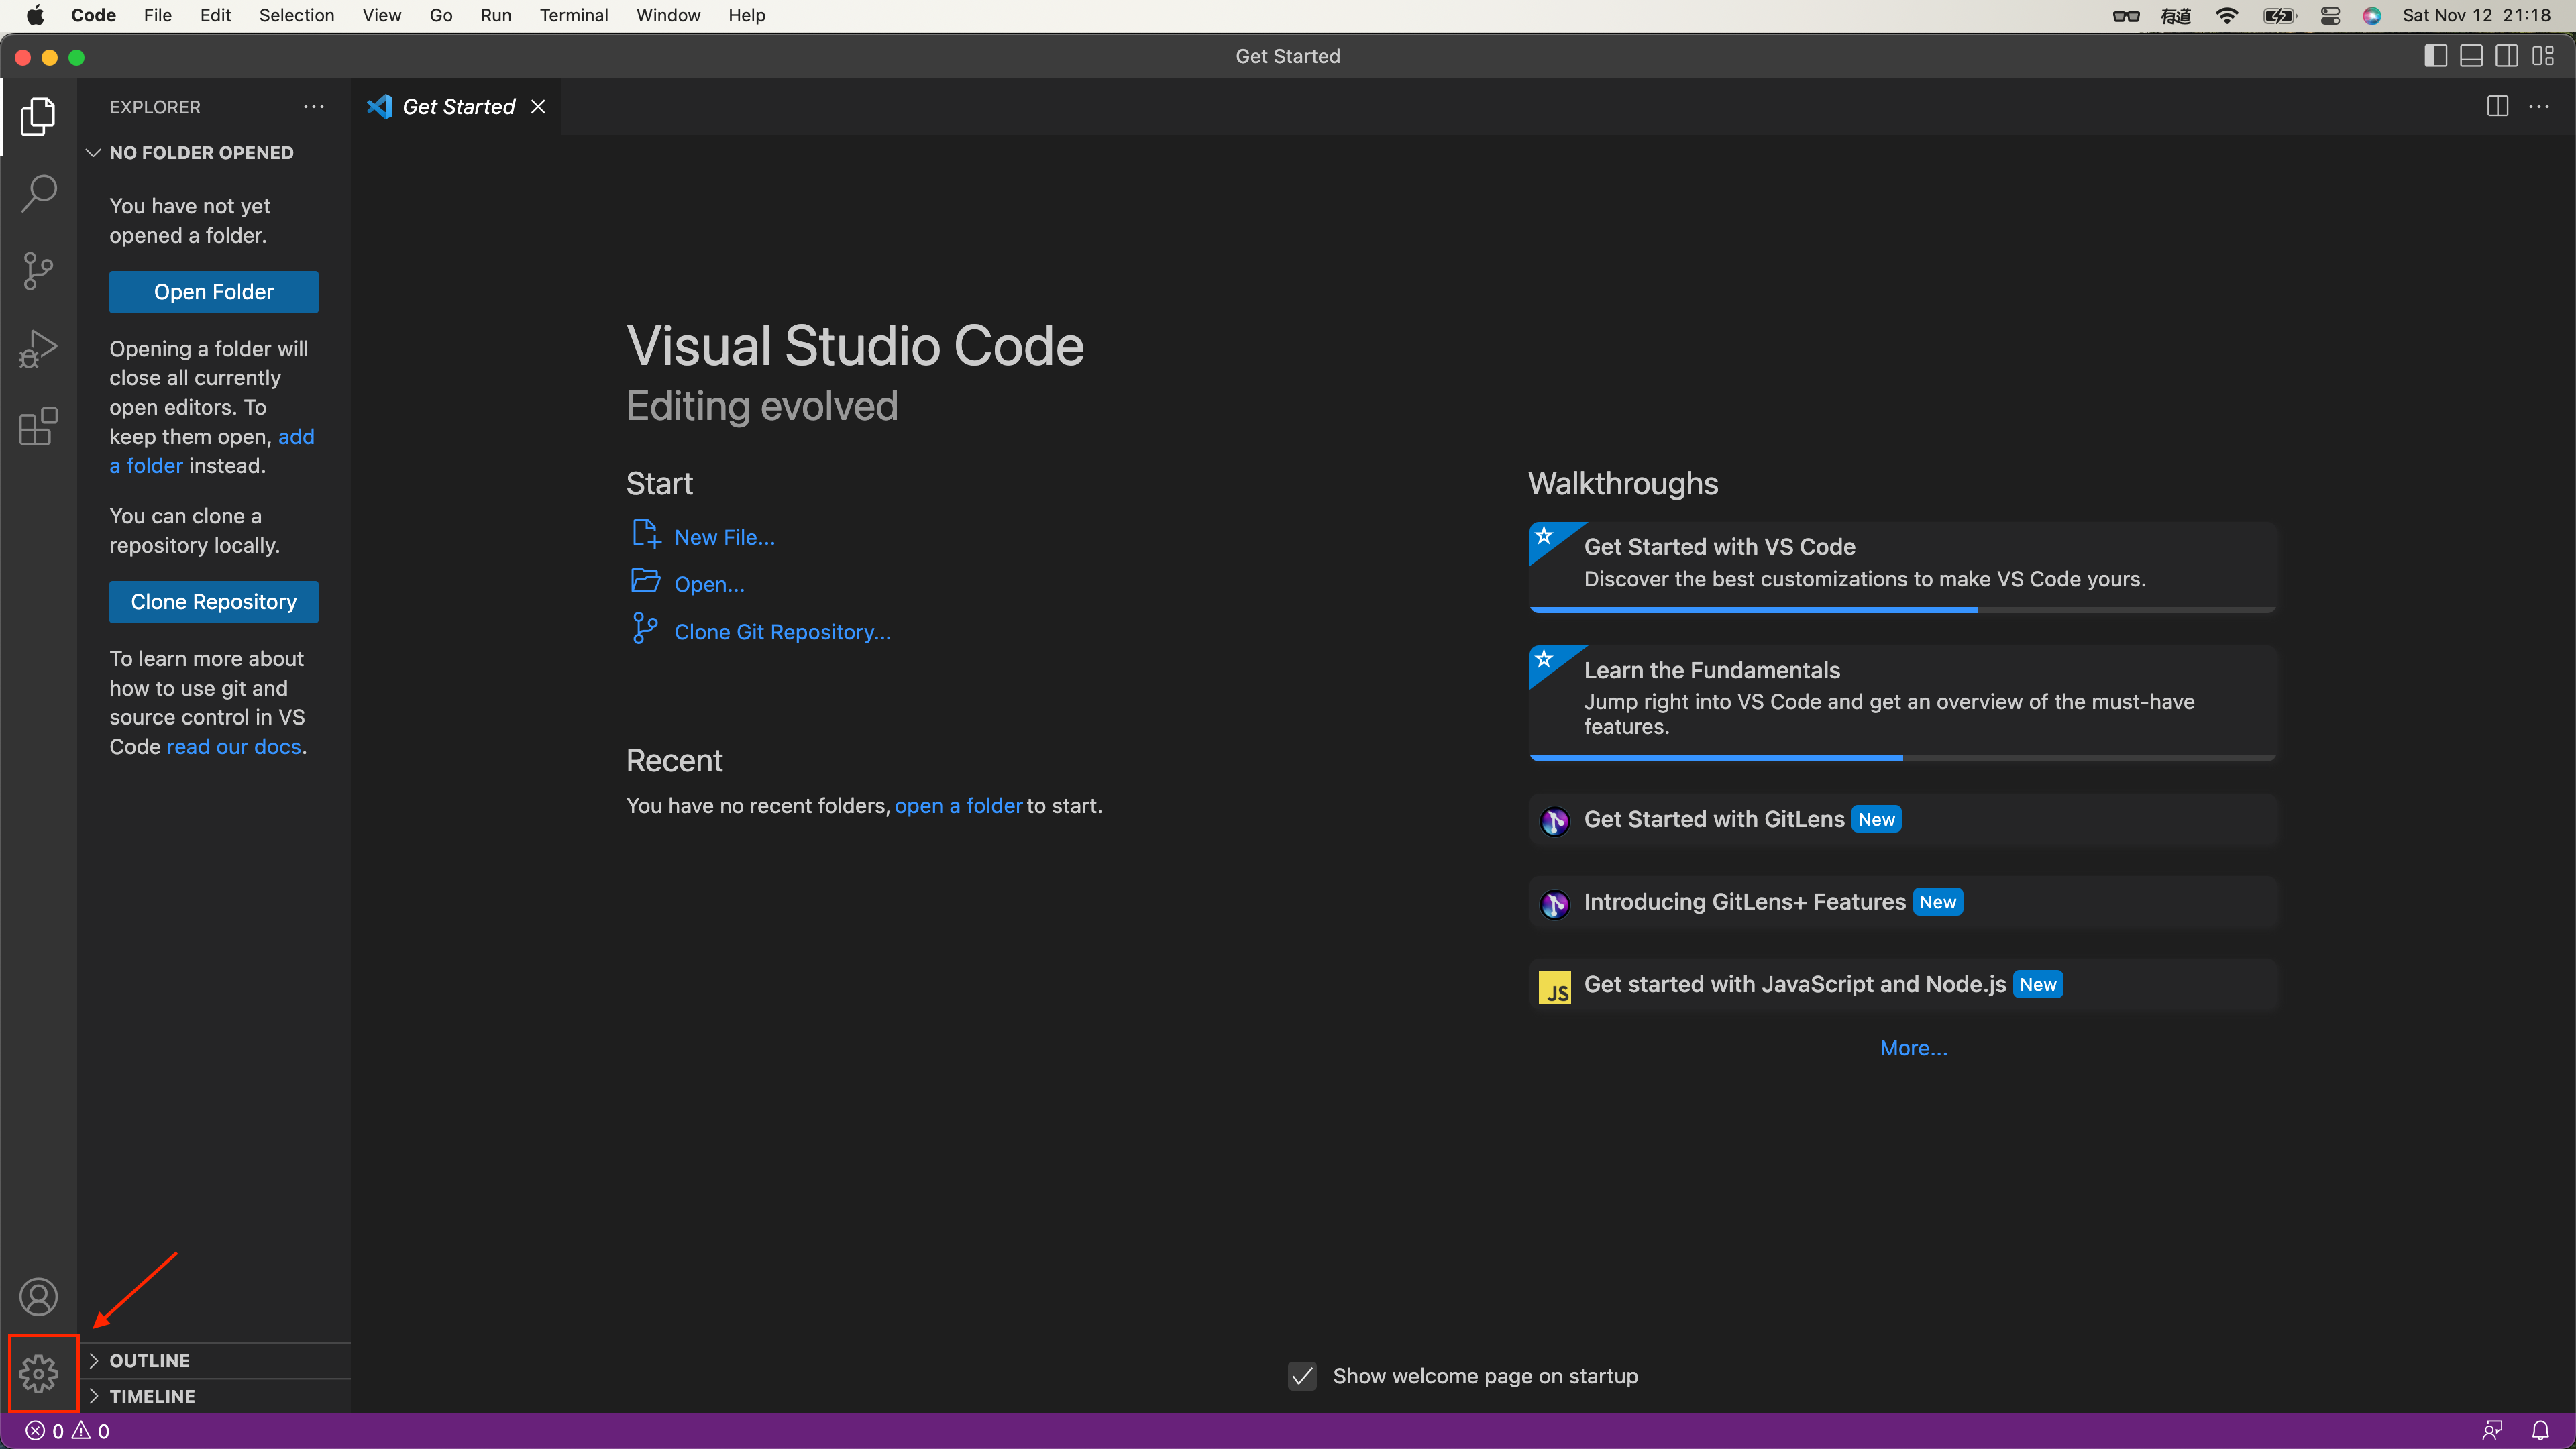
3️⃣ 打开后的界面是这样的:?

4安装扩展程序
4.1 进入扩展程序商店
我们点击一下这个图标,进入到扩展程序界面(cmd + shift + X)。?
4.2 更改中文界面
有些小伙伴可能会喜欢使用中文界面,可以在扩展程序界面中输入chinese,随后会提示你重启切换至中文界面。?
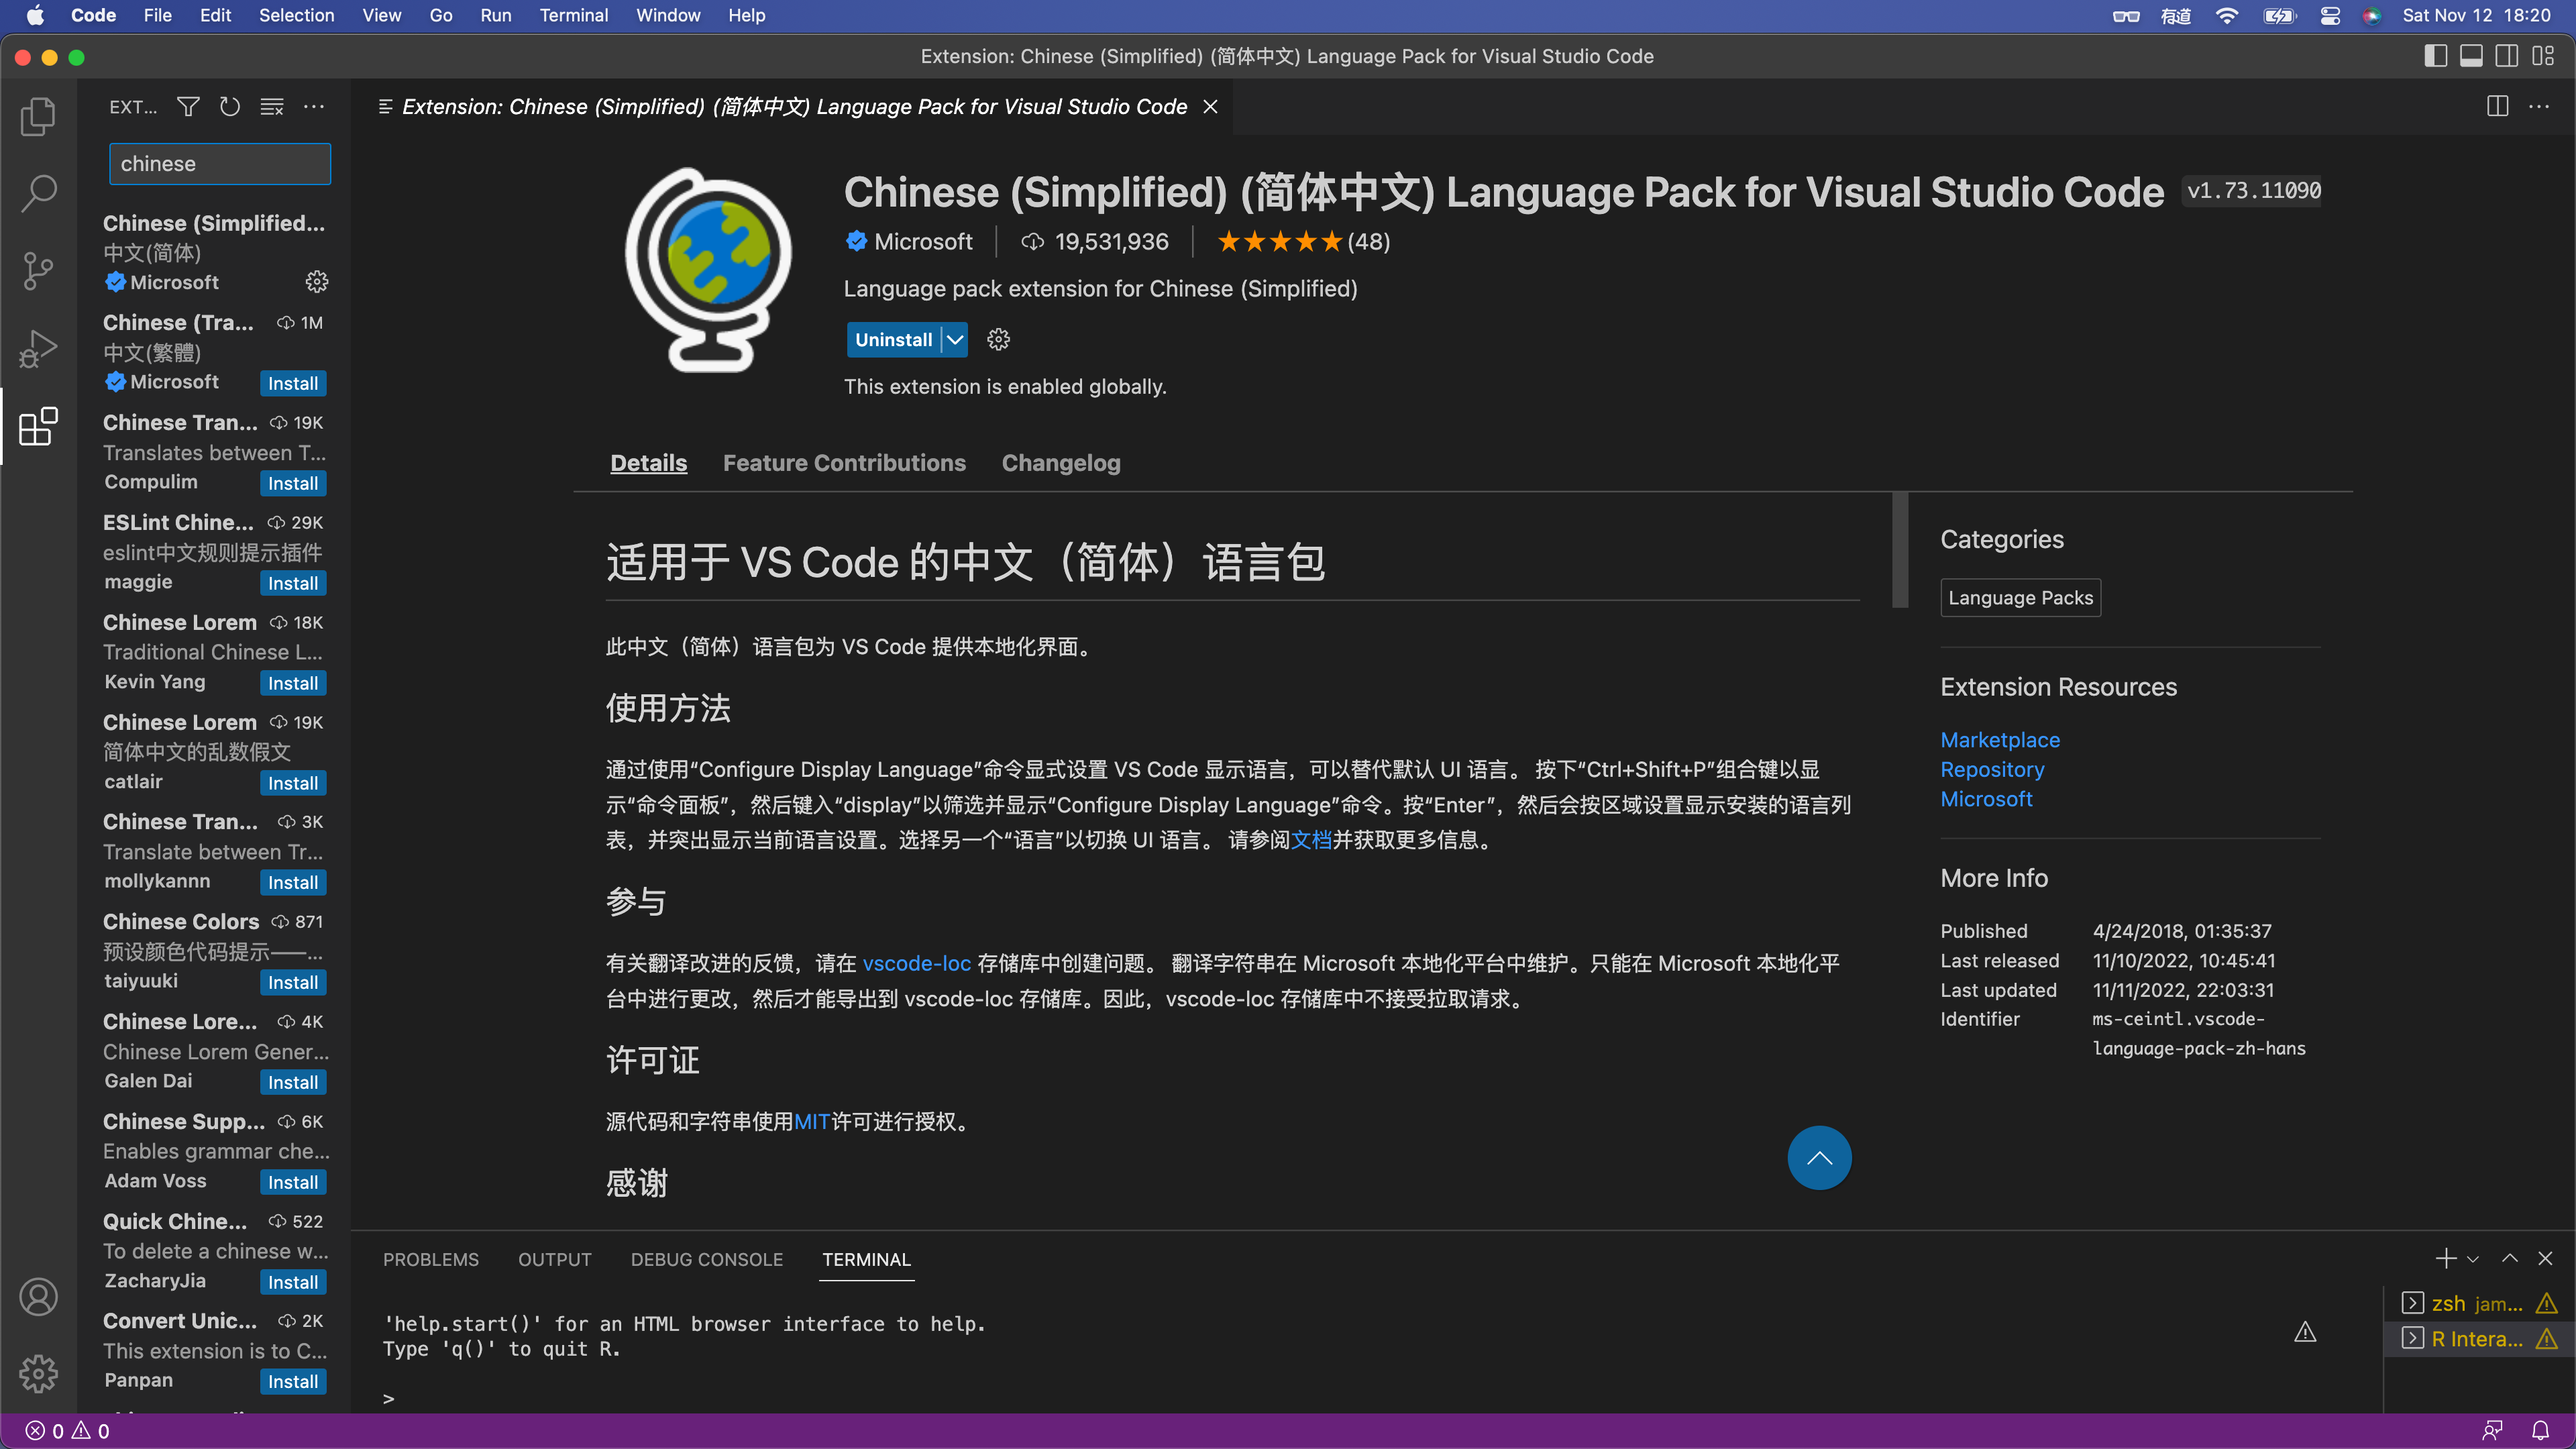
其实不太建议大家更改至中文,有时候一些报错信息翻译的会不太对,而且不利于我们在网上进行提问。?

4.3 安装 R Extension for Visual Studio Code
接着我们在扩展程序界面搜索R,安装R Extension for Visual Studio Code。?
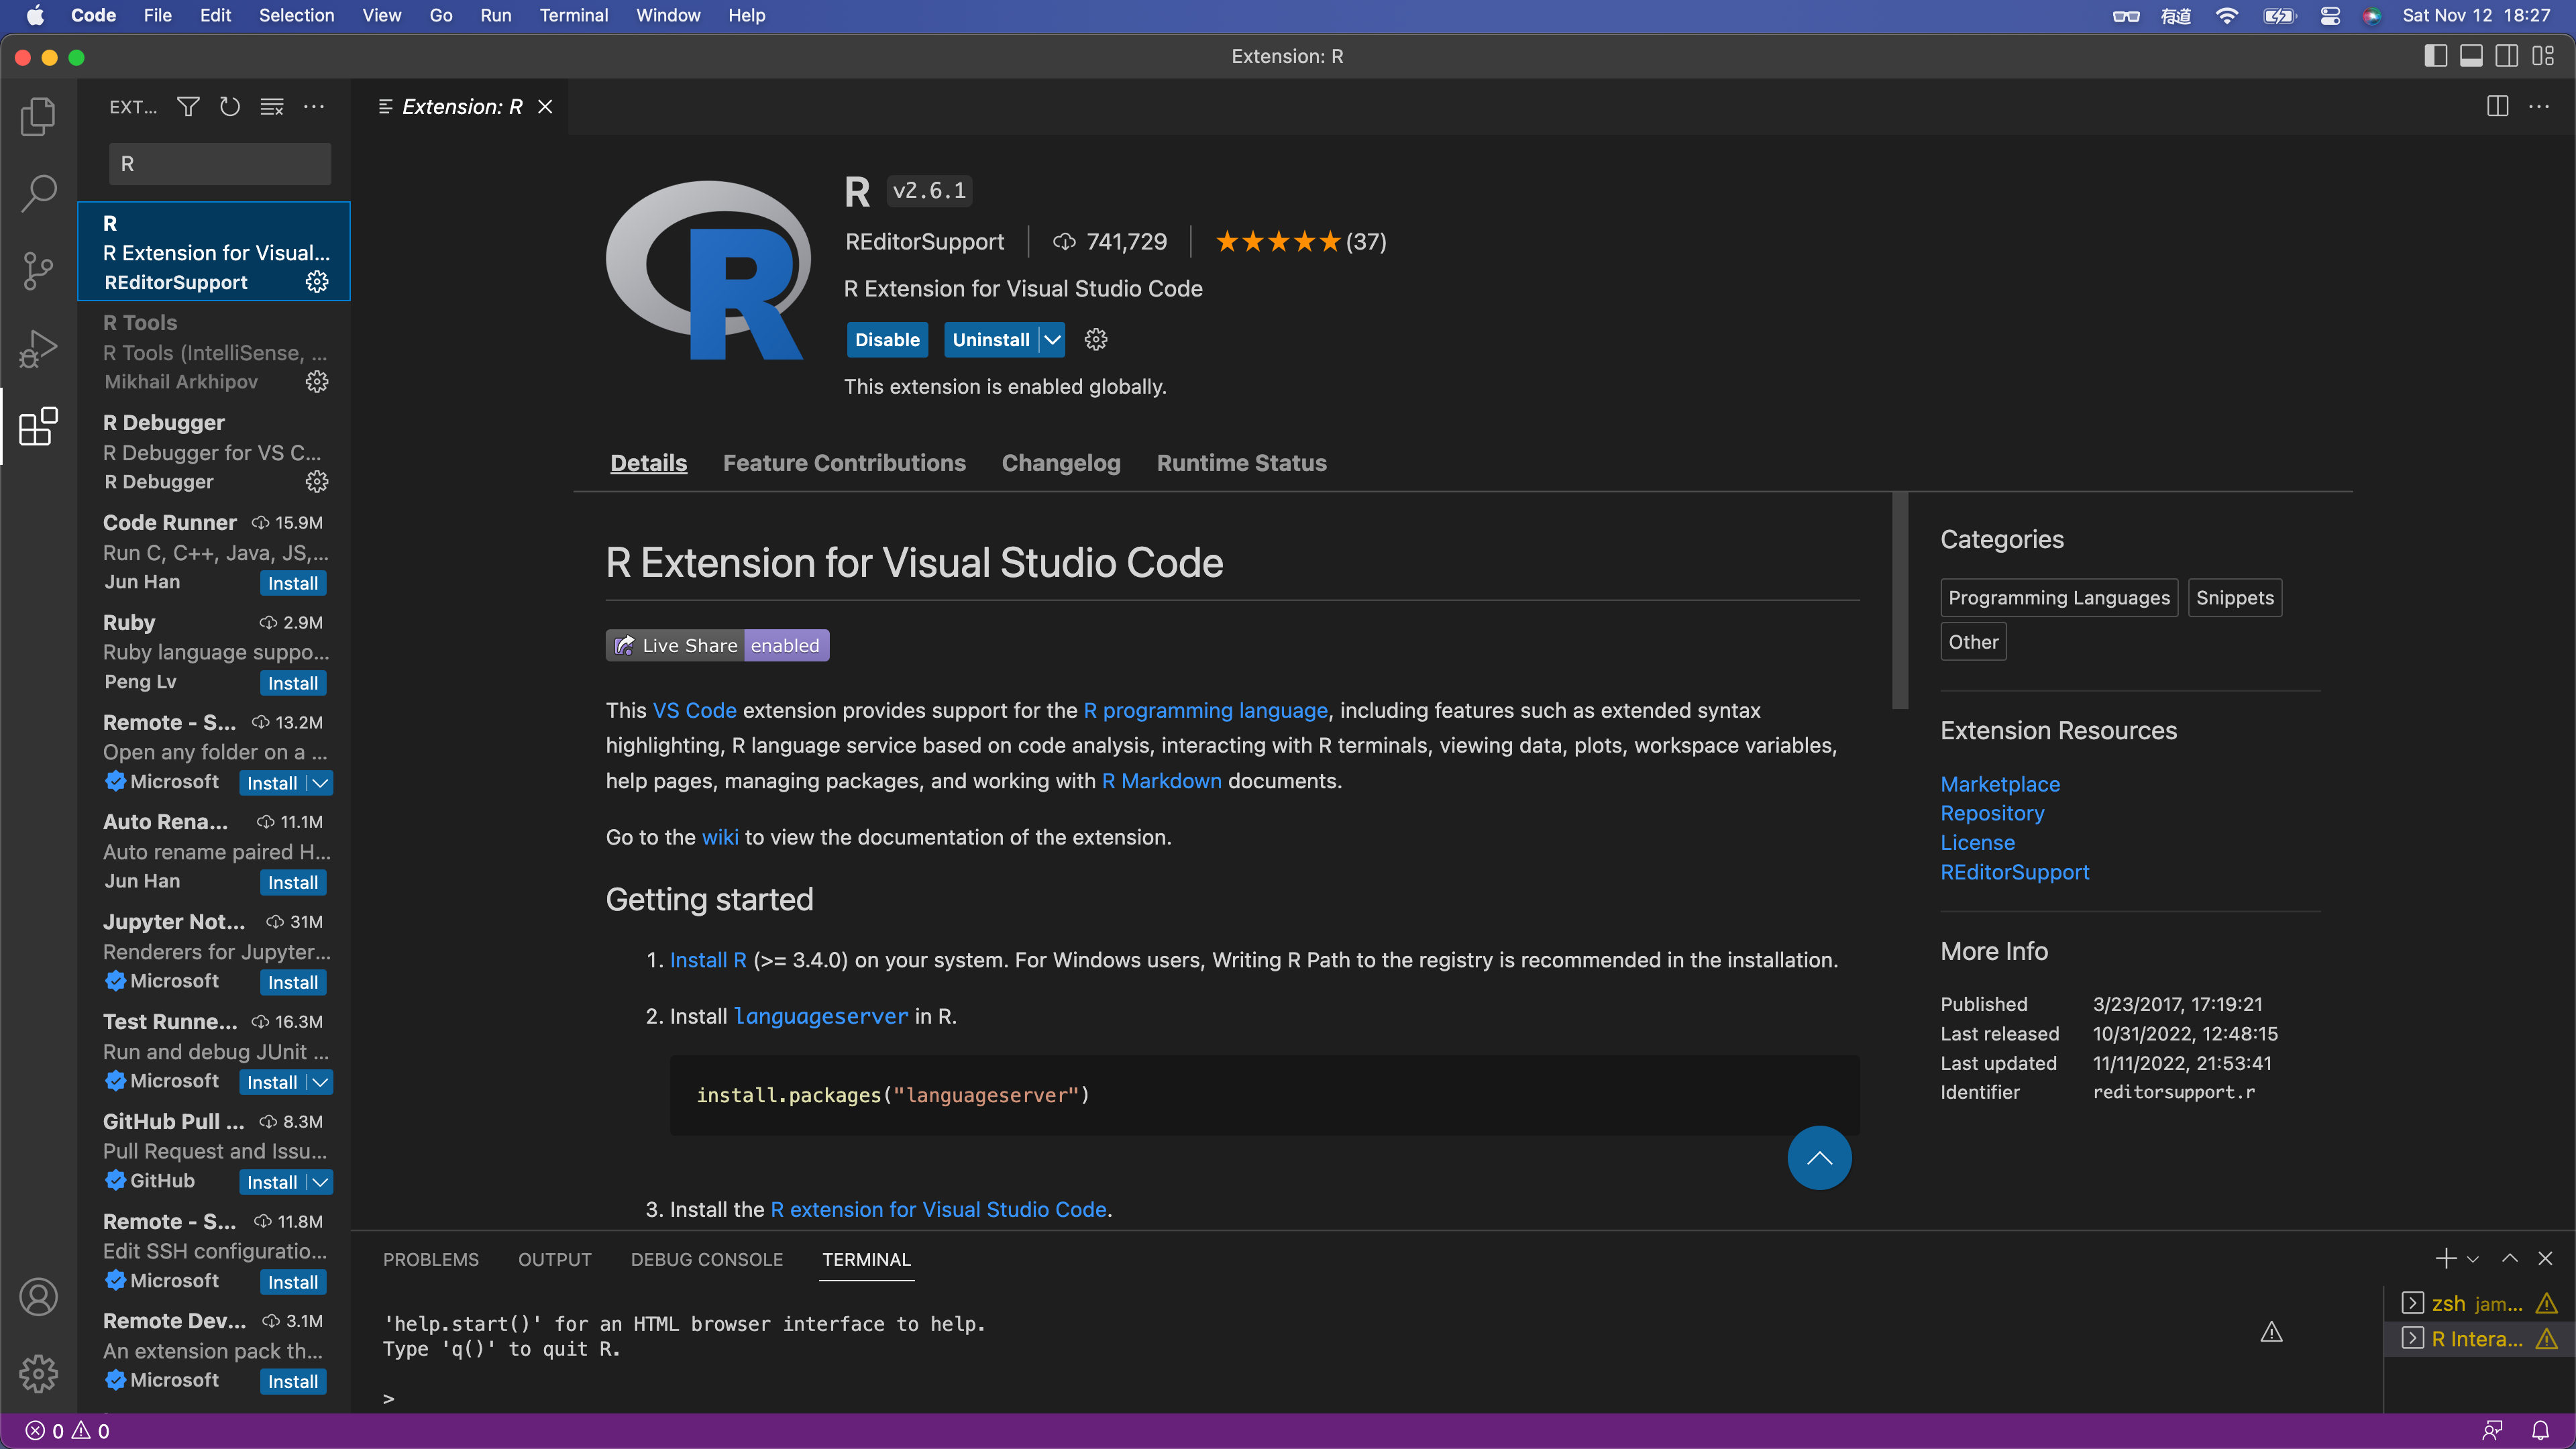
Note ! 大家如果是看过去的教程的话,会发现一般还会推荐安装一个叫R LSP Client的插件,现在已经整合到这个里面了,无需单独安装。?
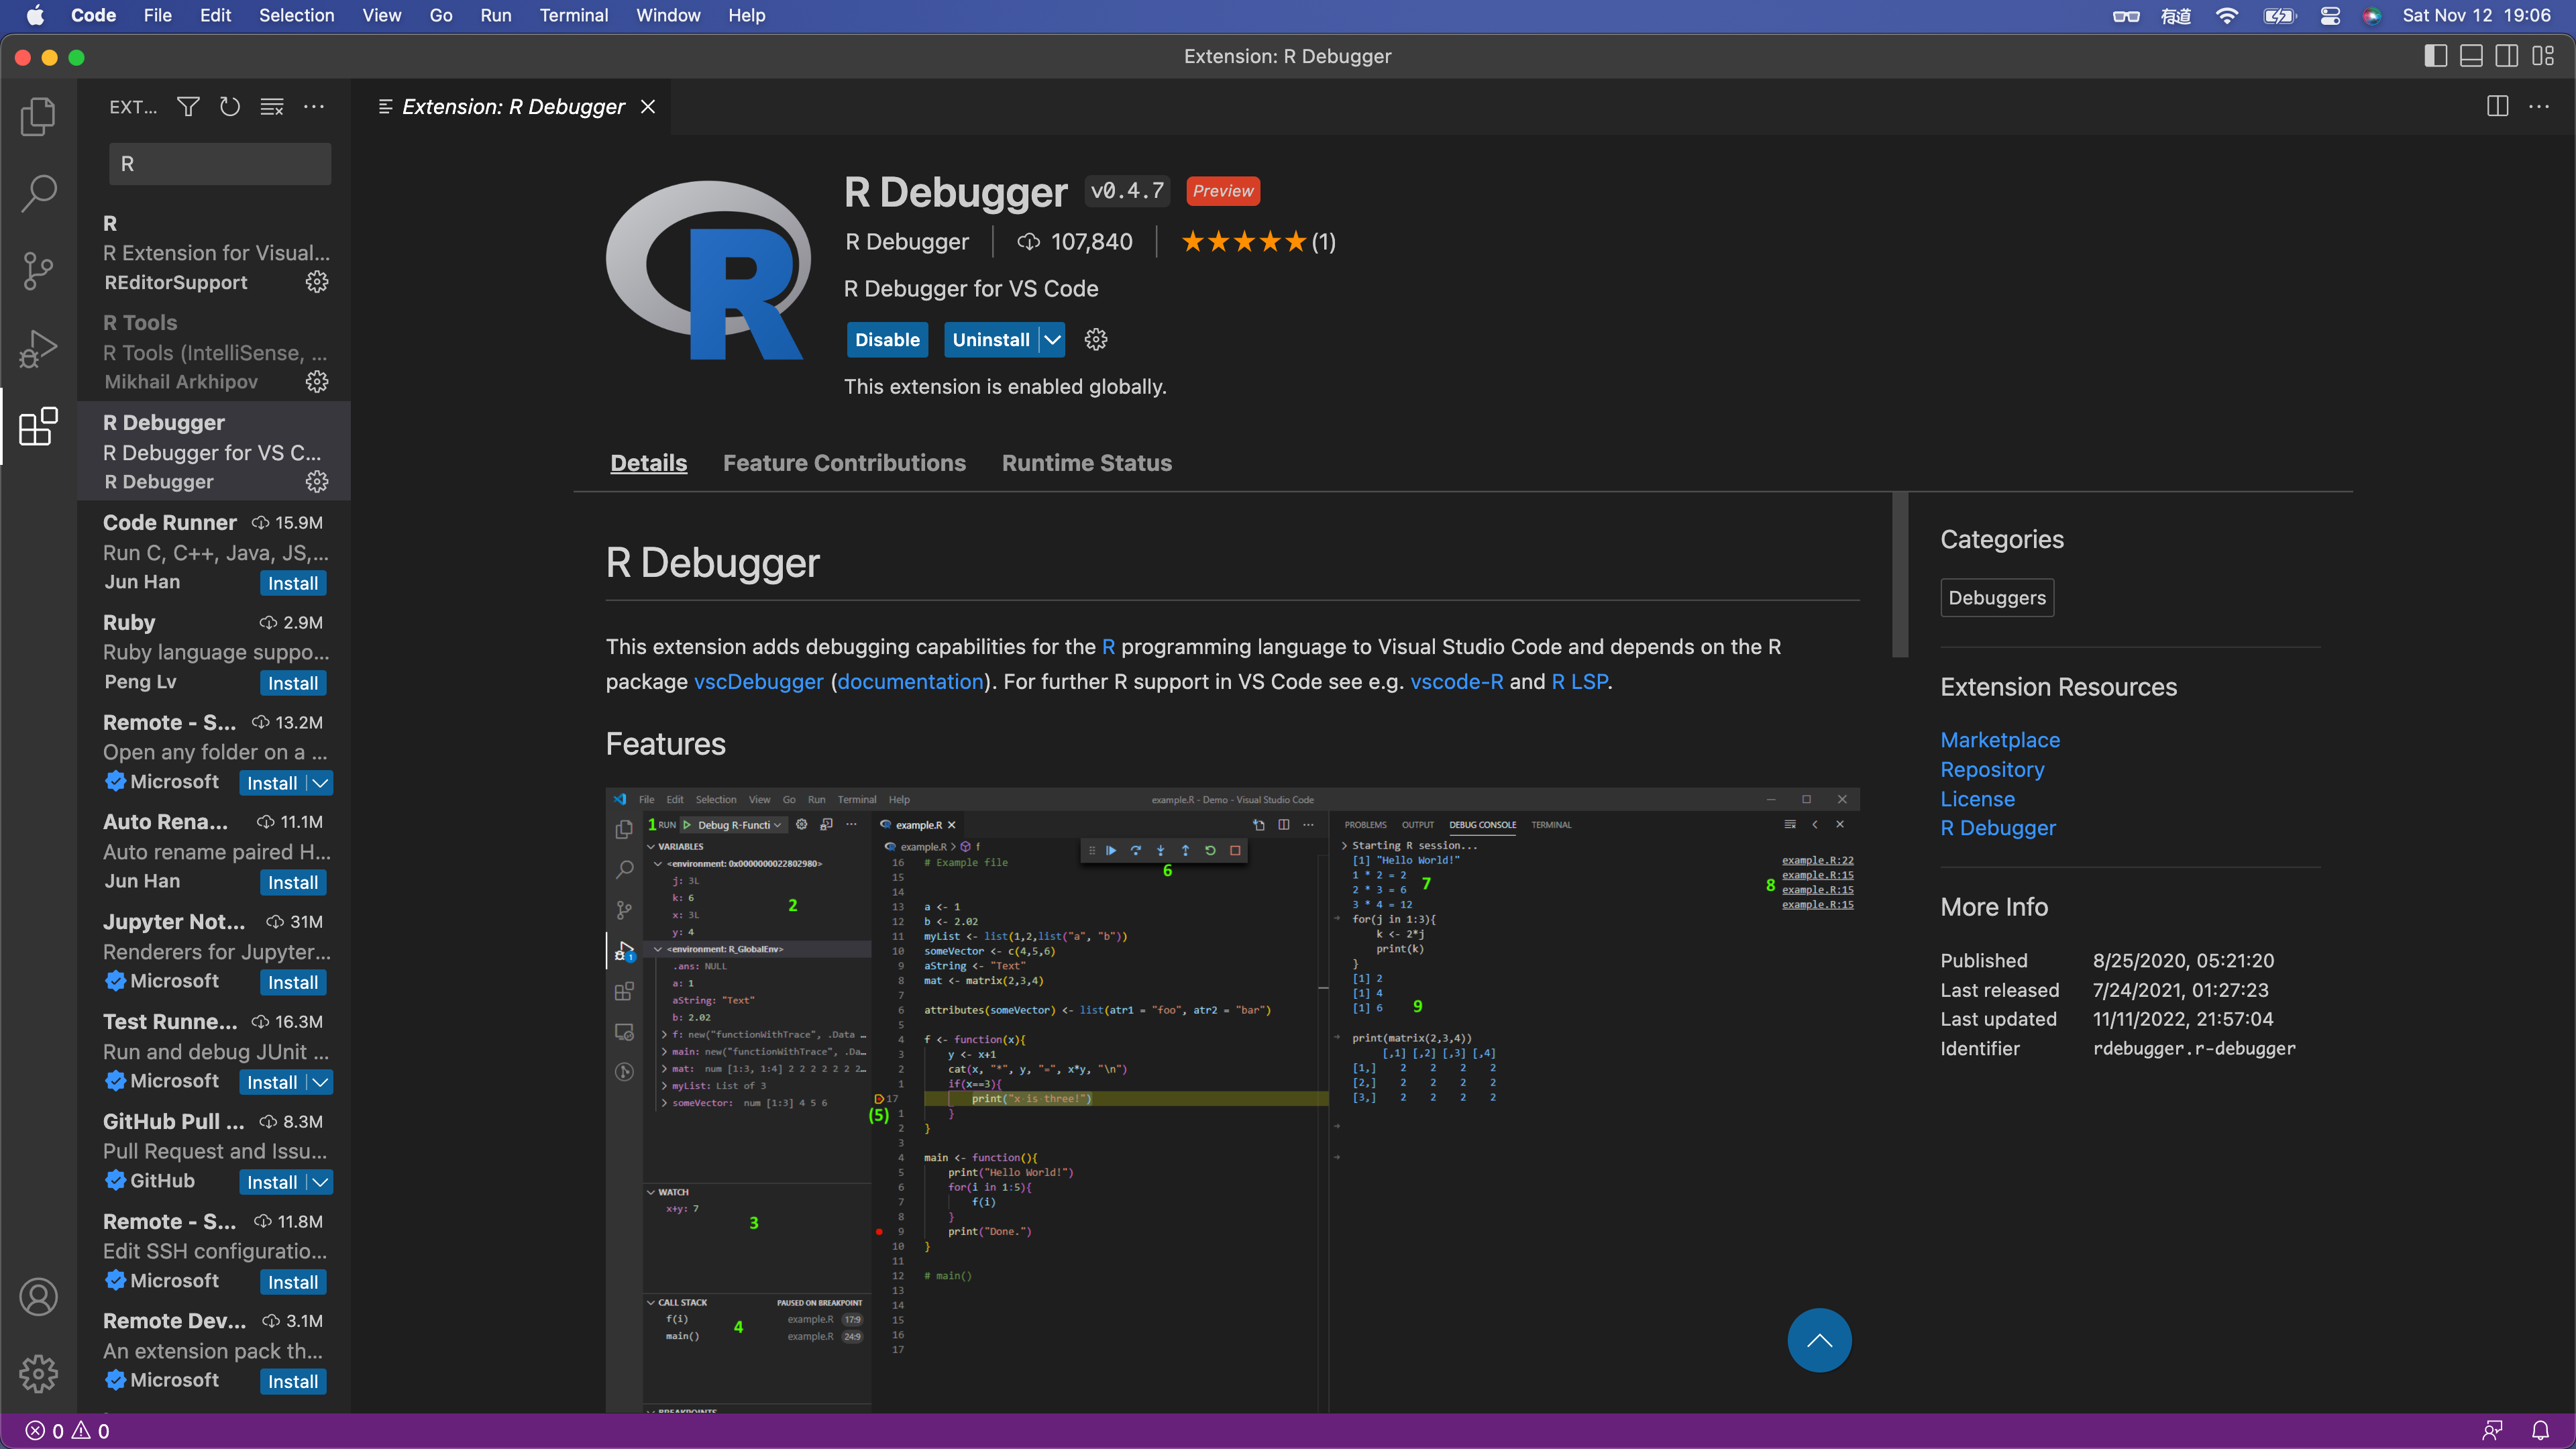
4.4 安装R Debugger
再接下来是R Debugger,用于调试,debug。?
5安装 languageserver
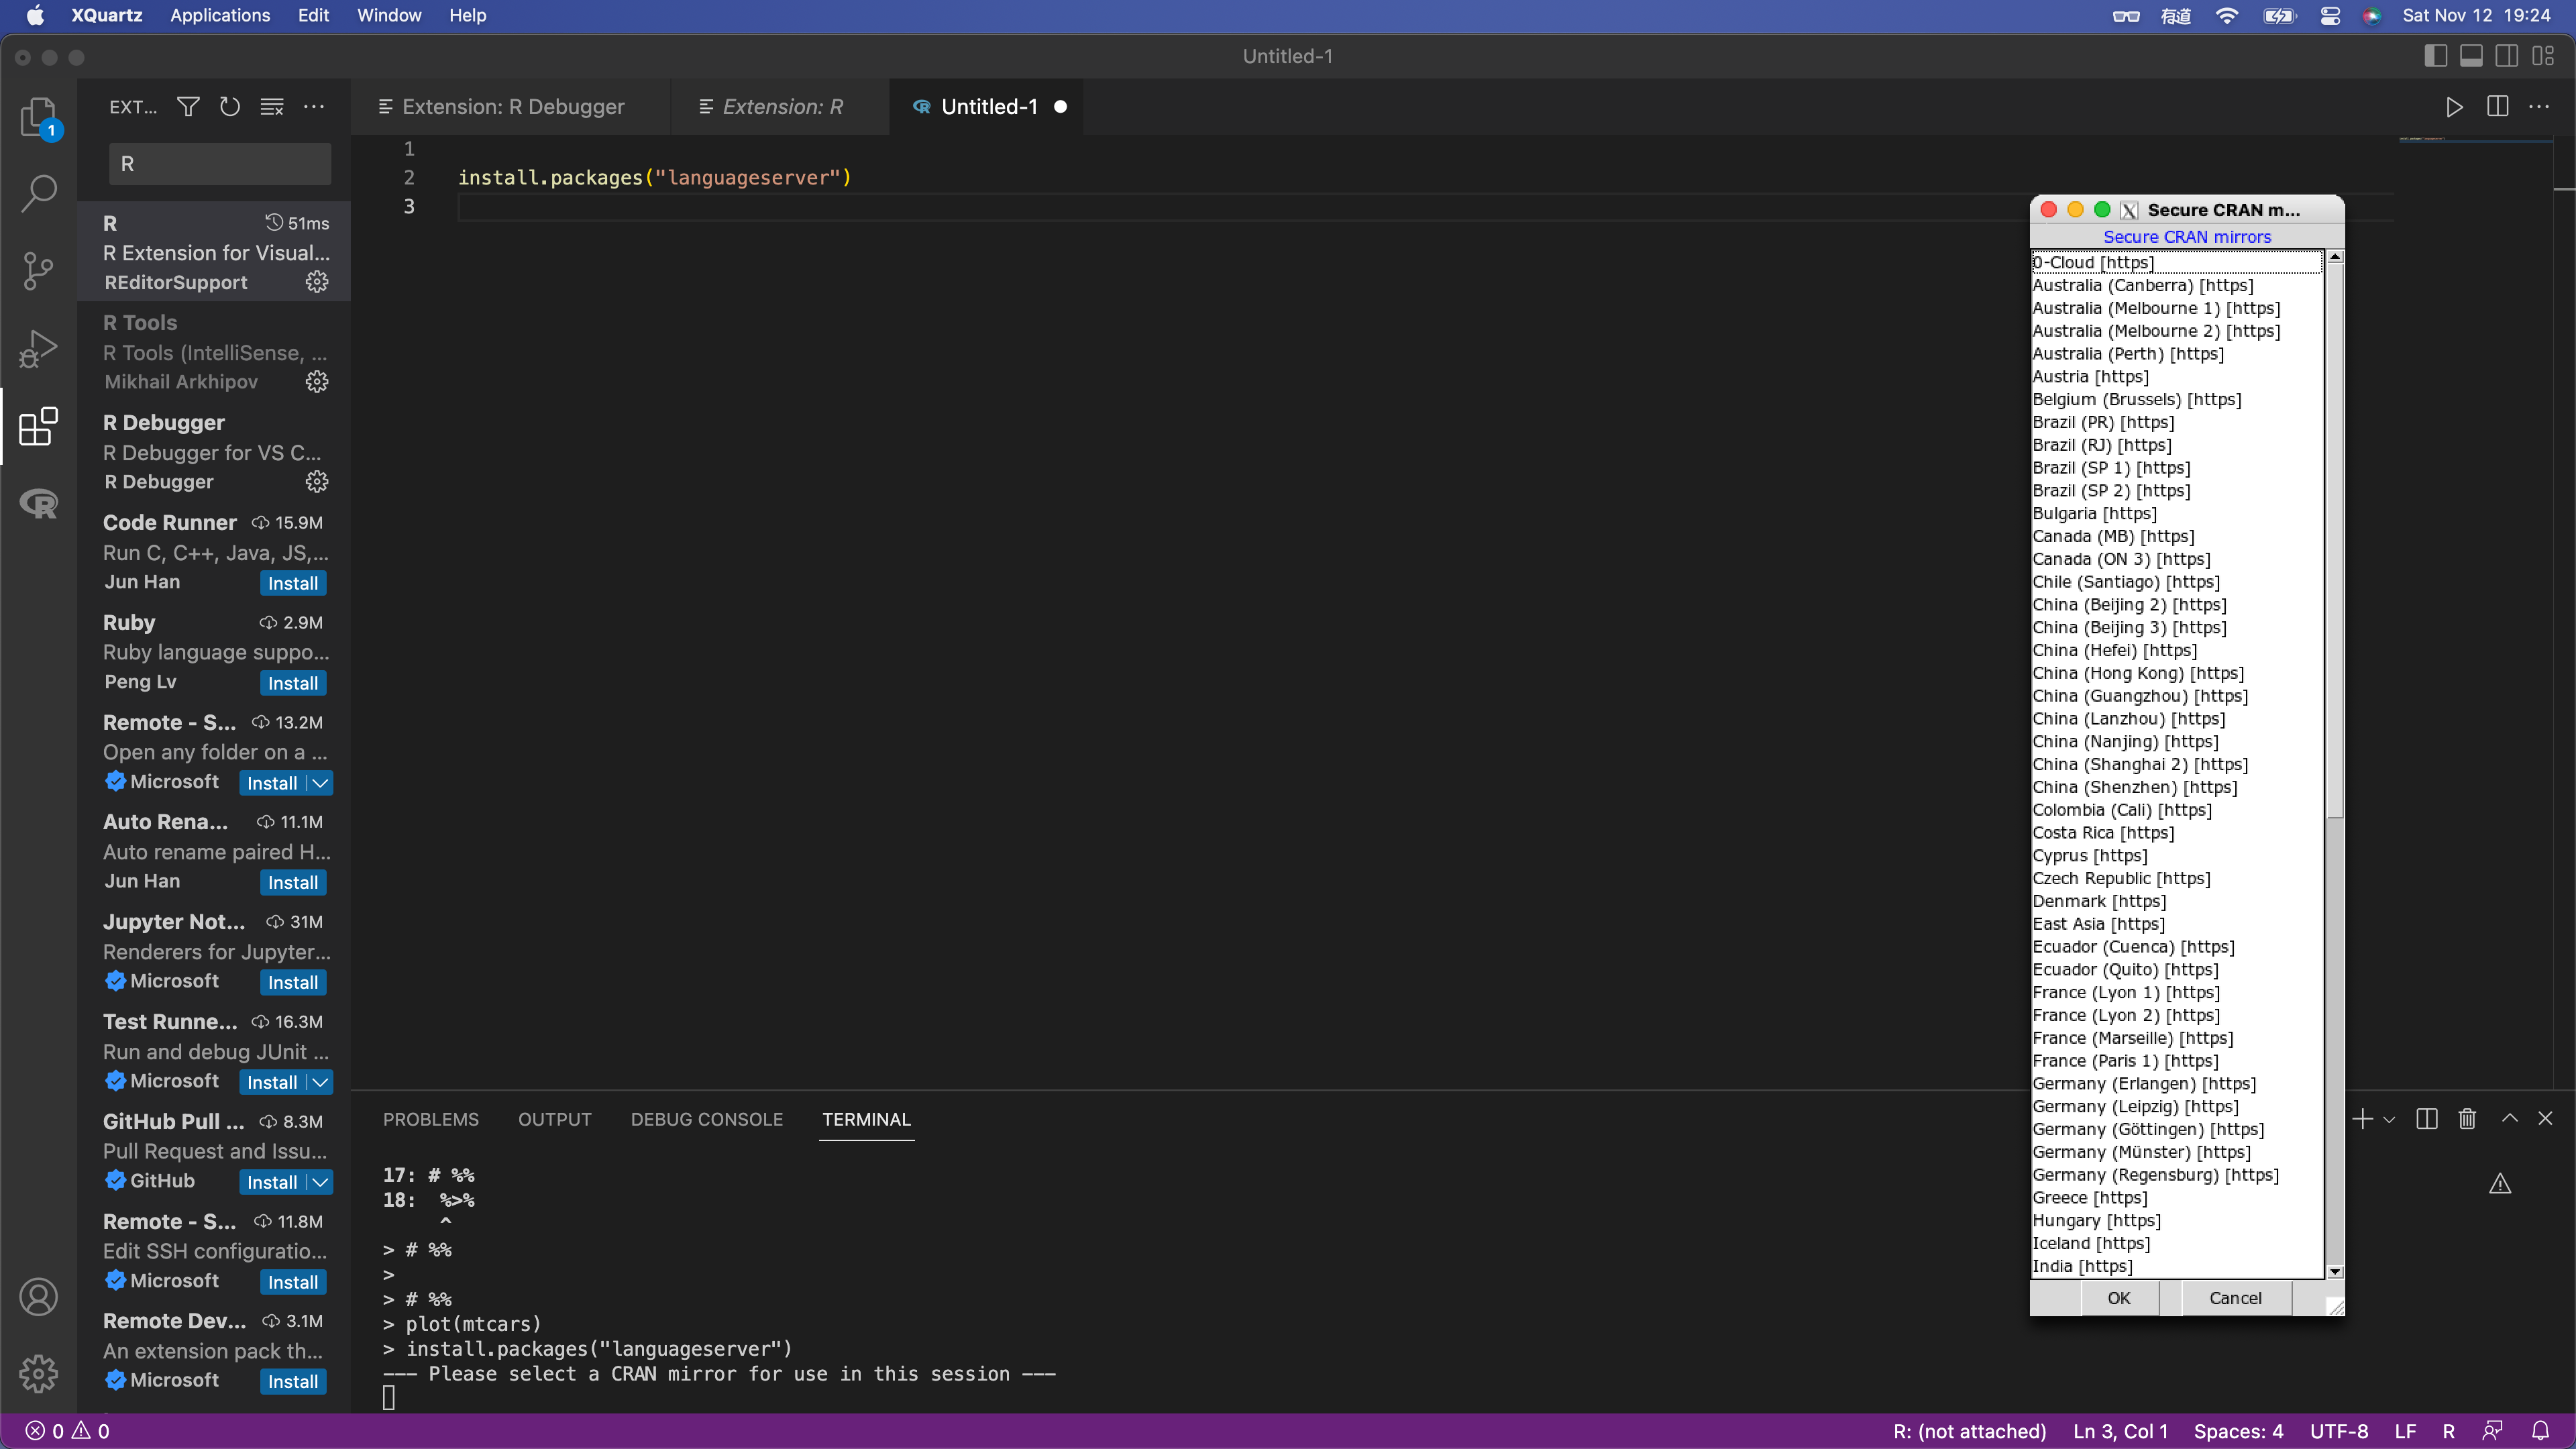
接着我们再R中输入下面这段代码,选择好离你比较近的镜像后,安装languageserver。?
install.packages("languageserver")
6安装并配置Radian
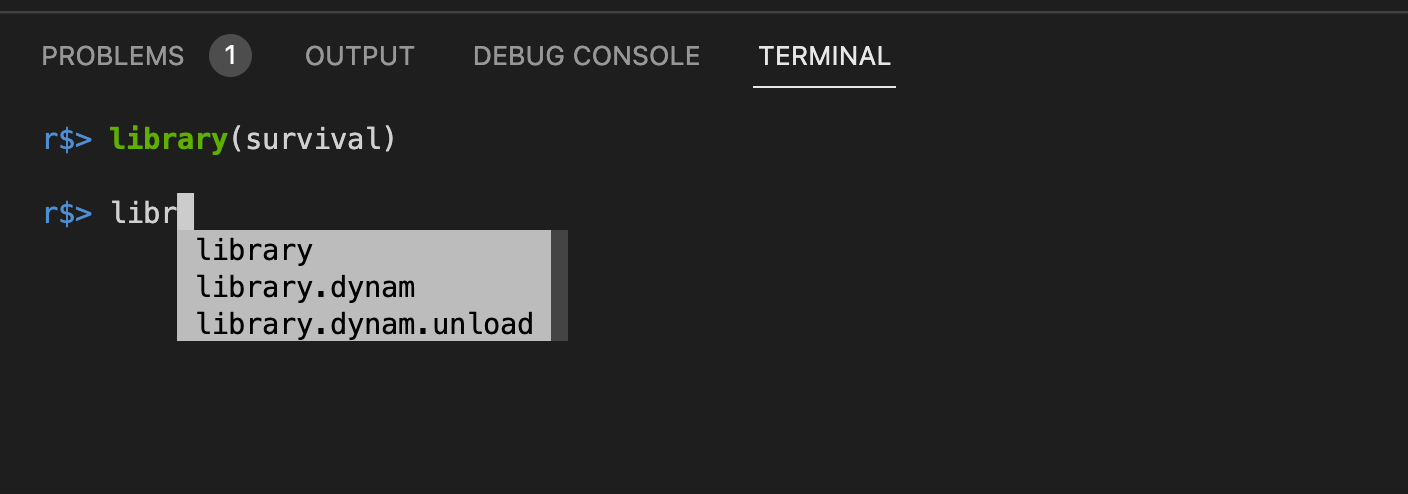
Radian是一个R的控制台,具有多行编辑和丰富的语法高亮功能。虽然Radian在设计上更像julia, 但人们一般都认为Radian是R程序的ipython克隆,不得不说,颜值不错。?
6.1 安装Radian
1️⃣ 安装Radian的话,需要你的电脑上有pyhon(3.6或以上),建议大家通过conda进行安装。?
pip3 install -U radian
2️⃣ 安装完后输入radian确认安装成功。?
radian
6.2 配置Radian
1️⃣ 接着就需要配置Radian来取代之前的R terminal,大家点开设置(cmd + ,)。
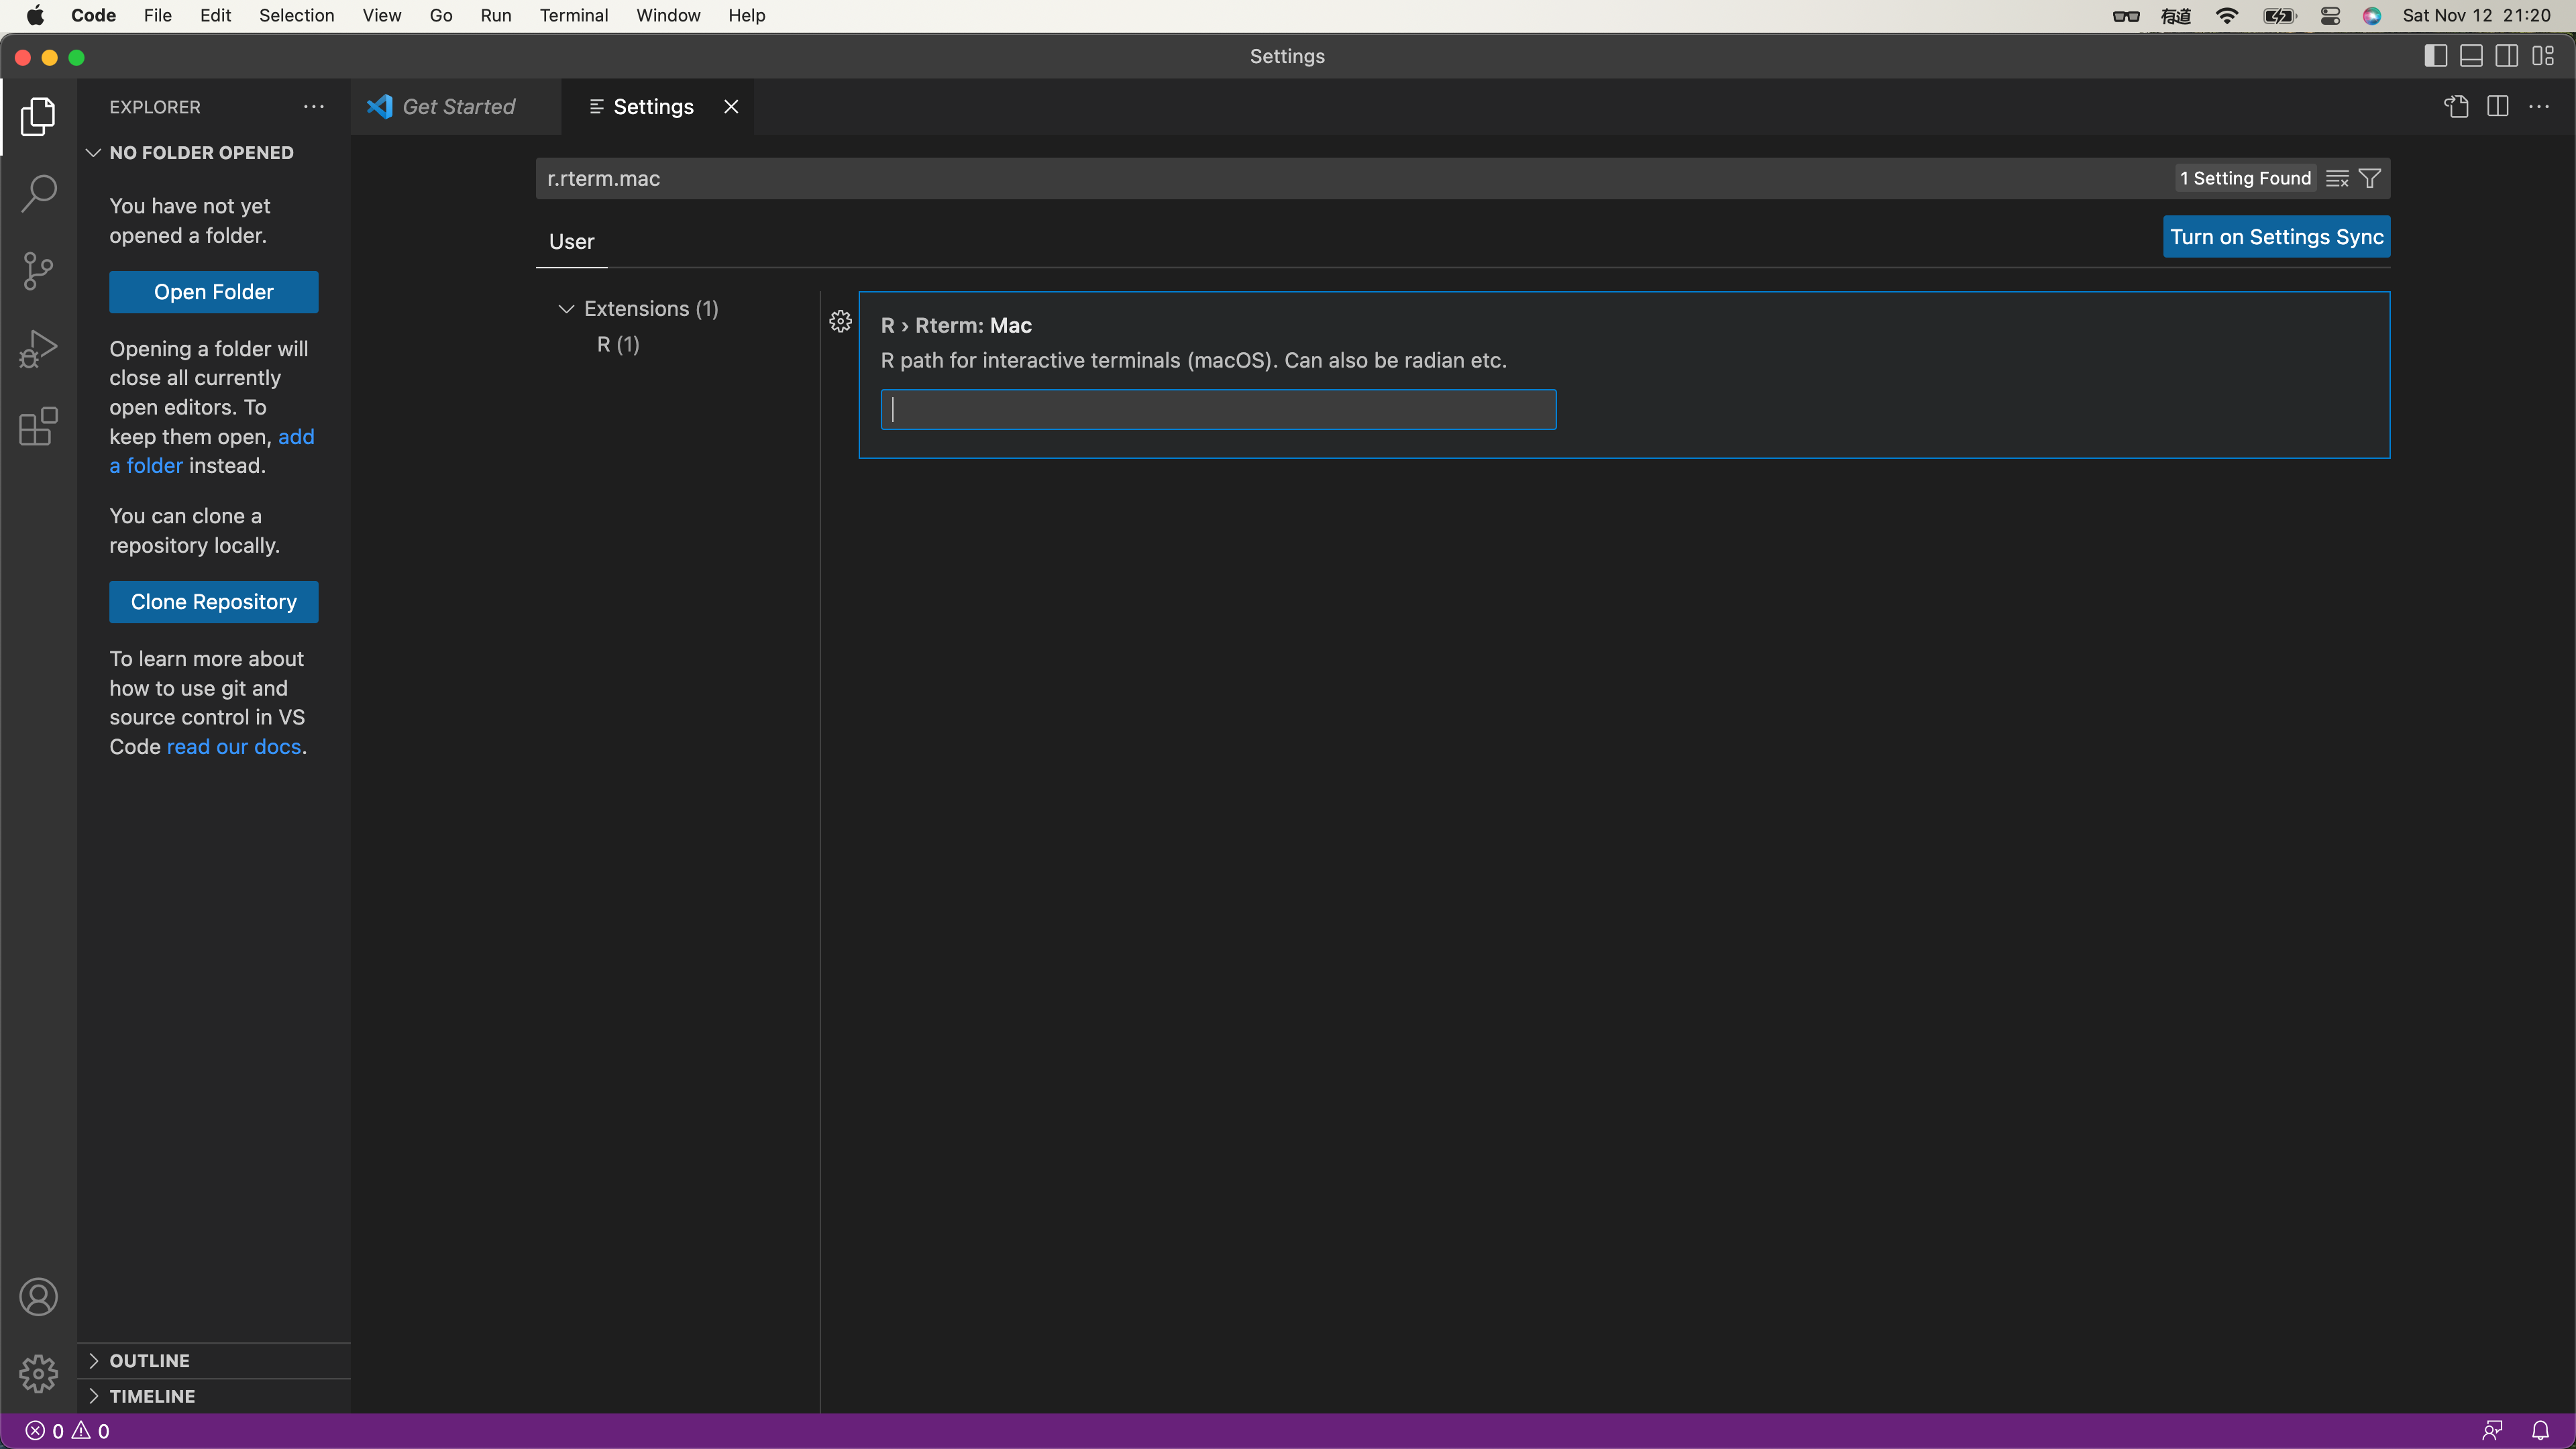
2️⃣ 输入r.rterm.mac,进行Radian配置,这里需要输入你的Radian路径。
r.rterm.mac
如果你不知道自己的Radian路径,可以在Terminal中输入下面这段获取:?
where radian
3️⃣ 设置Bracketed Paste,输入r.br后启用Bracketed Paste。?
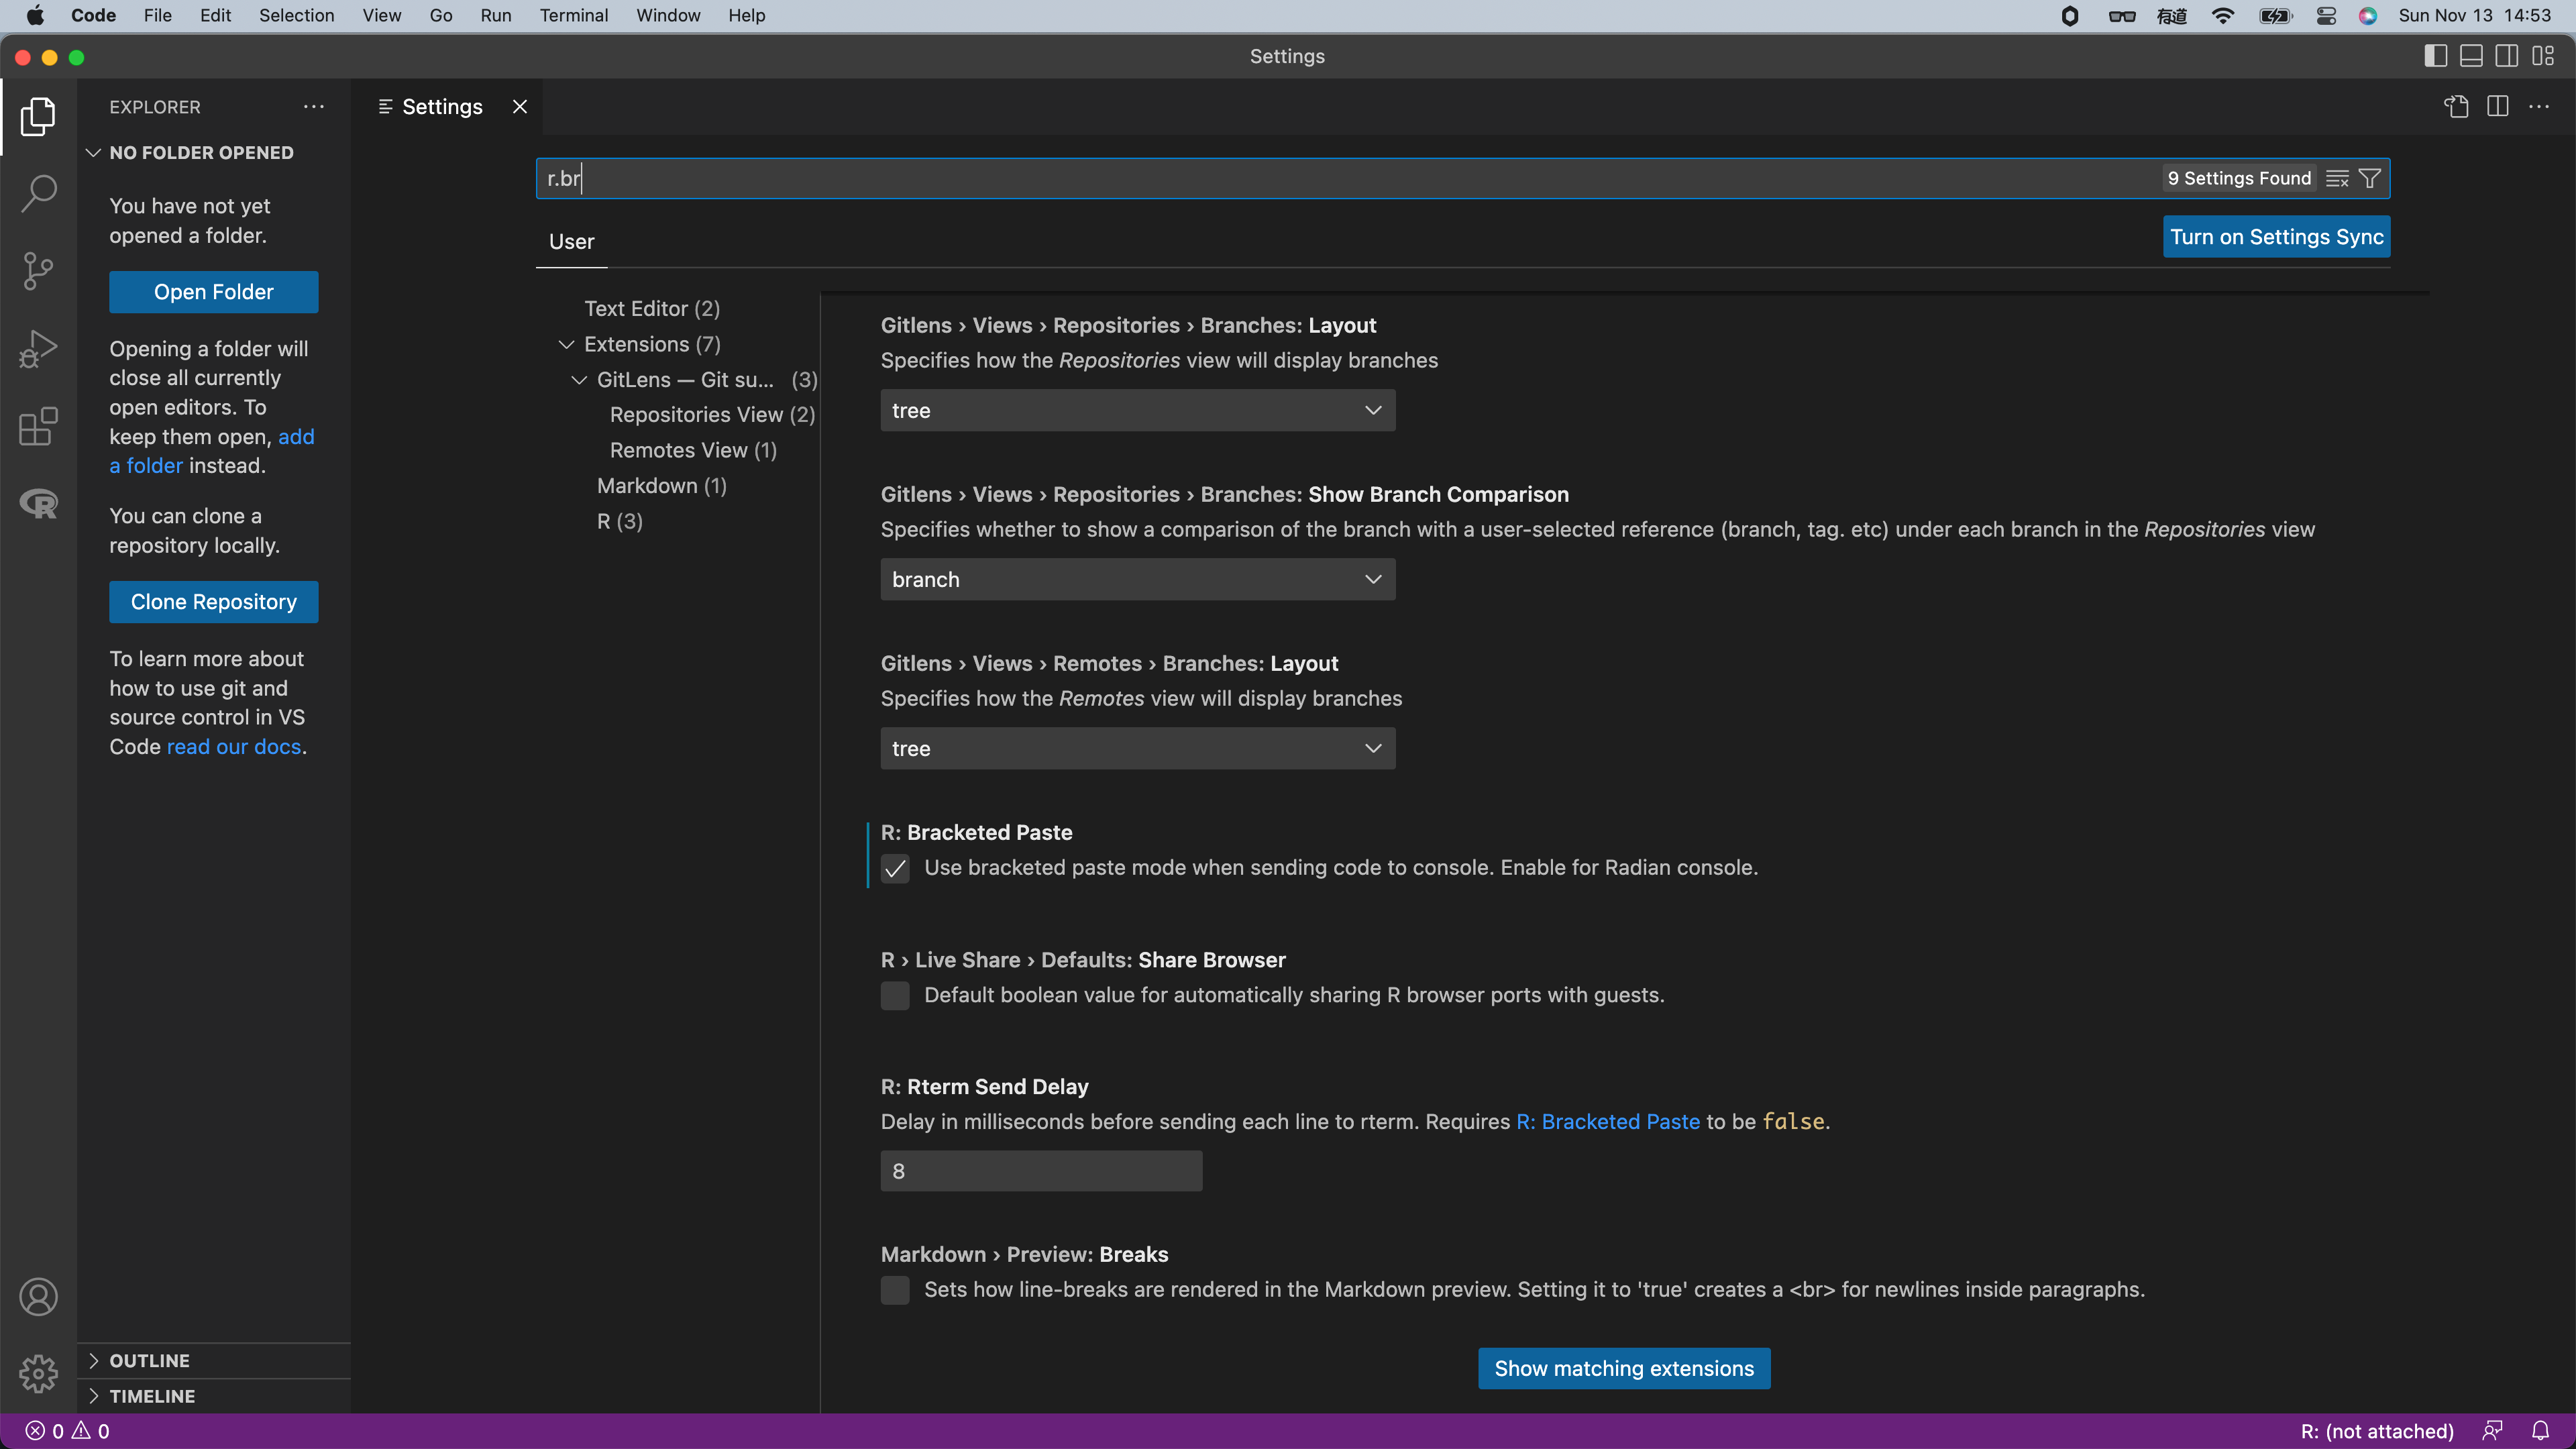
现在就配置好啦!~?
7安装并配置httpgd
7.1 安装httpgd
接着我们装一下图形输出包,httpgd,在R中运行下面这段代码吧。?
install.packages("httpgd")
7.2 配置httpgd
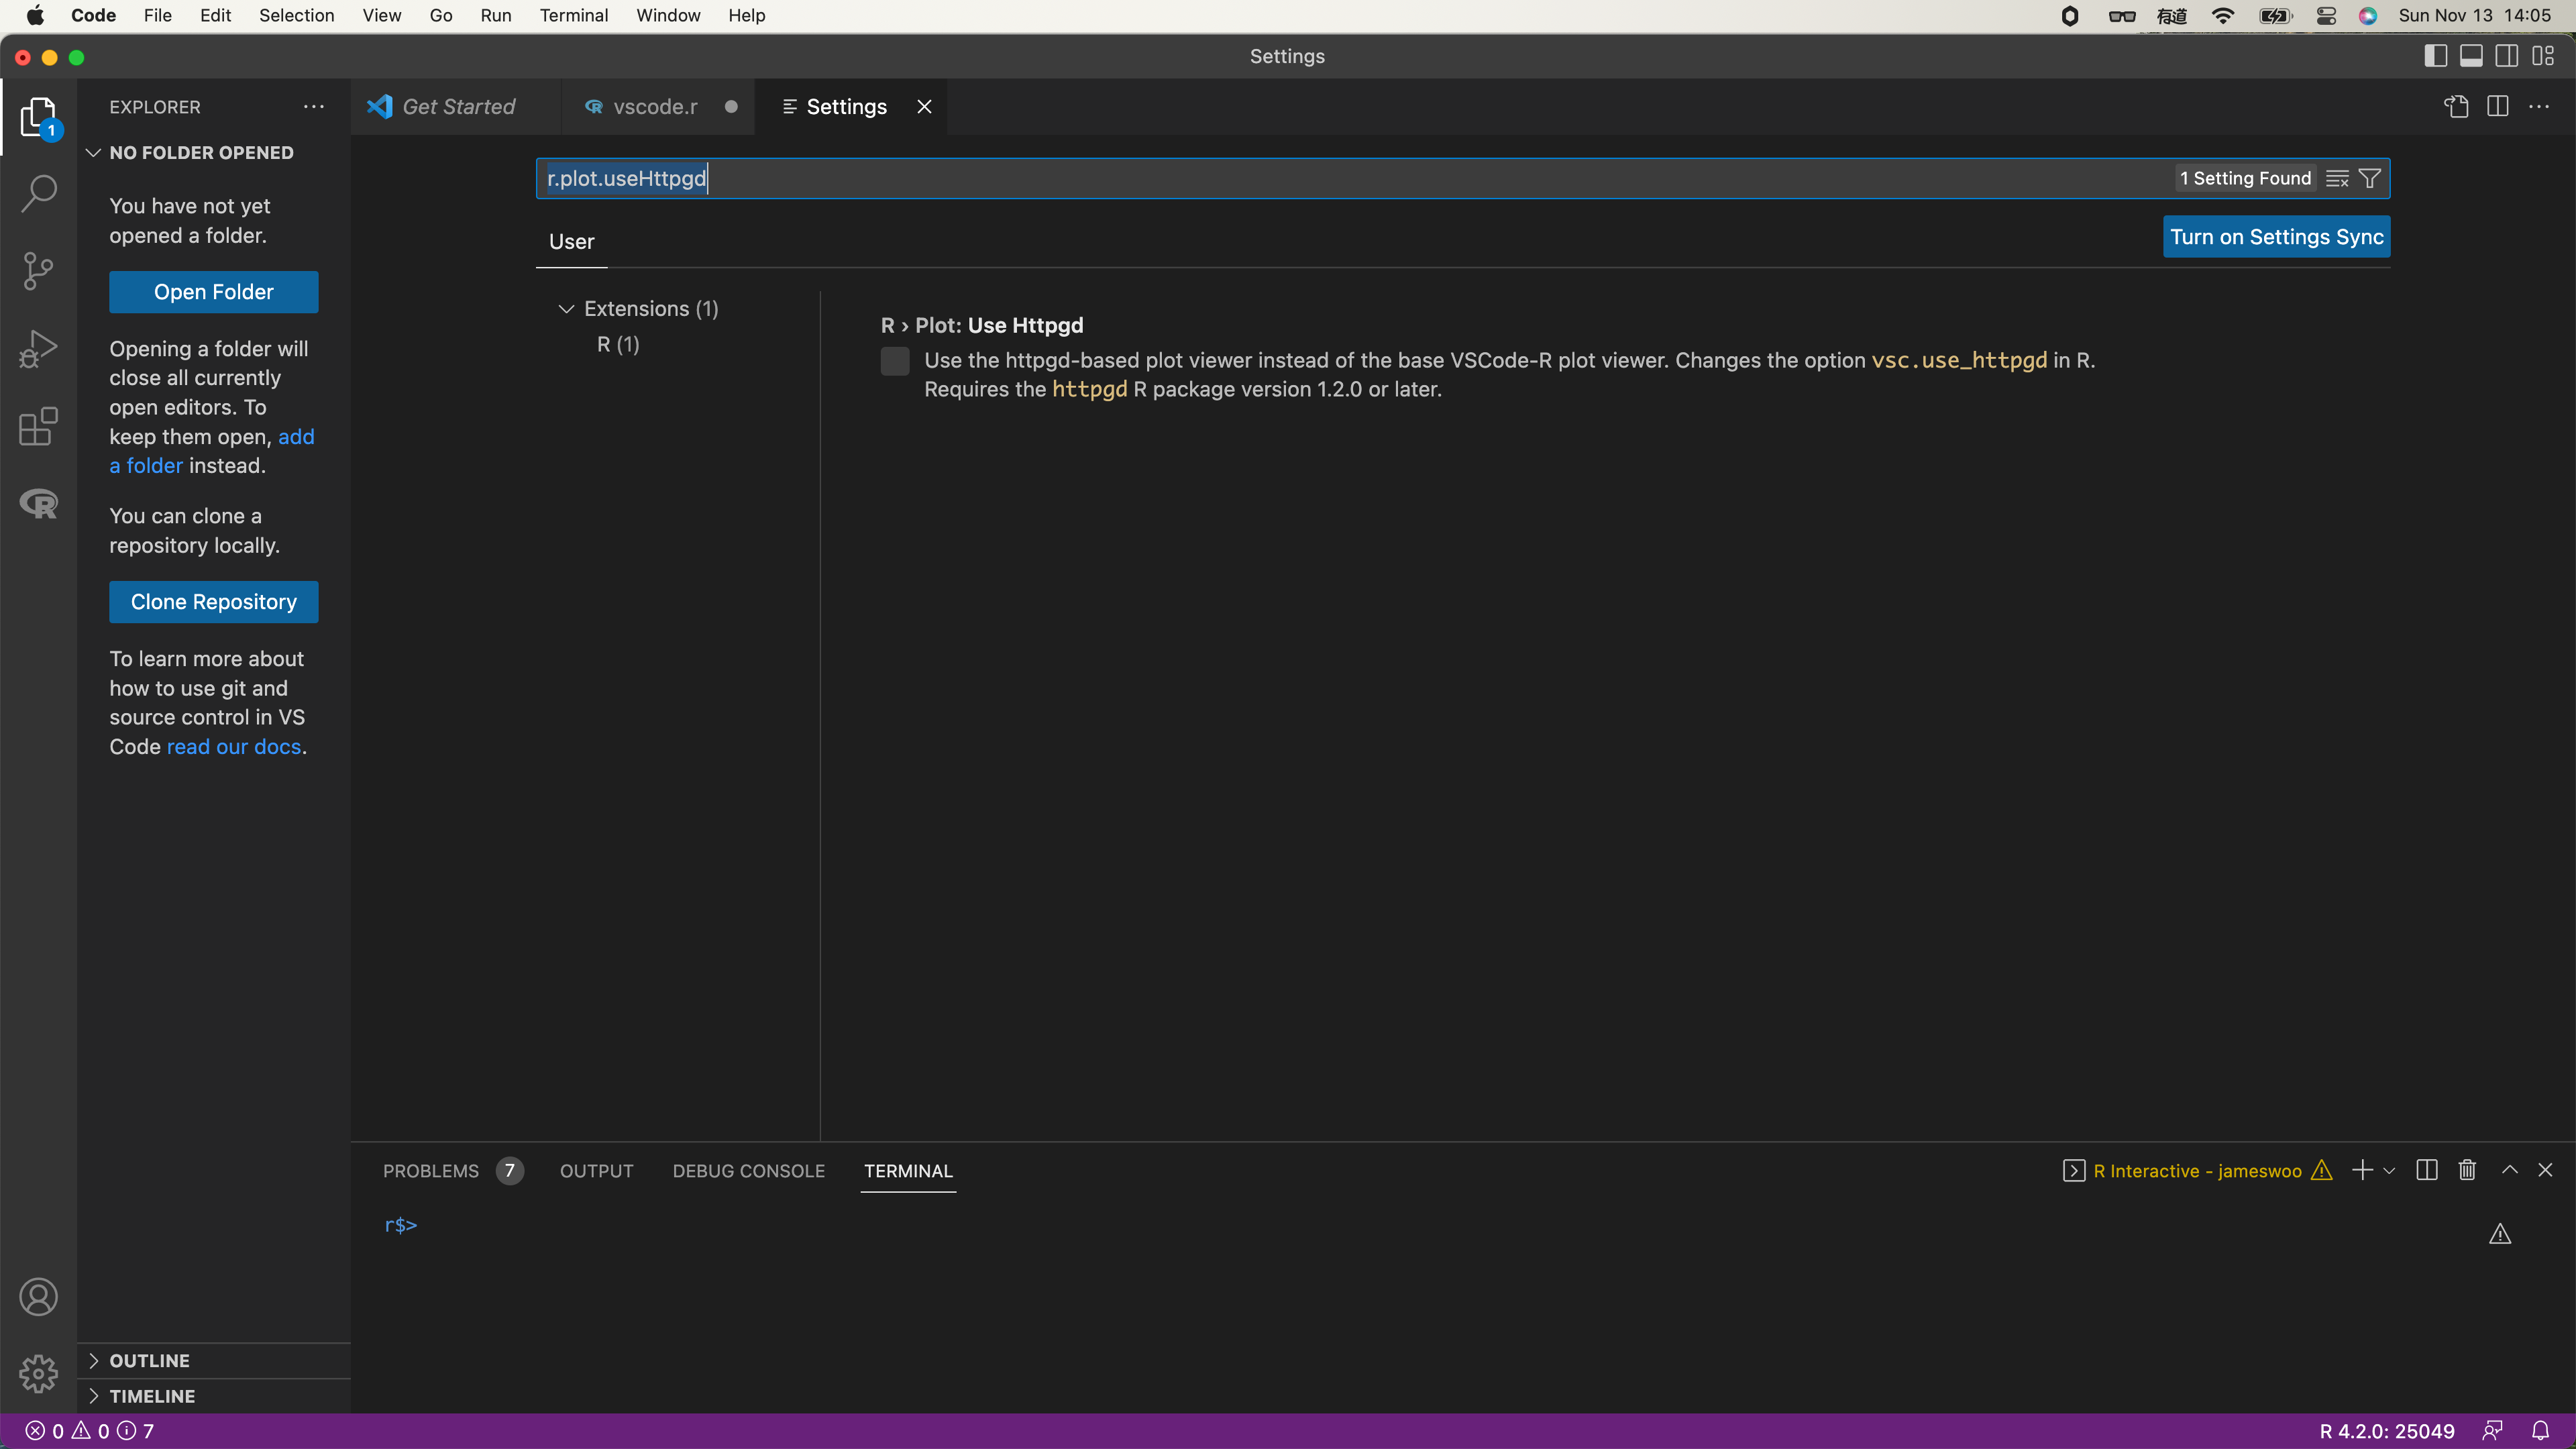
接着我们在VS Code的设置中输入r.plot.useHttpgd,启用httpgd。?
r.plot.useHttpgd
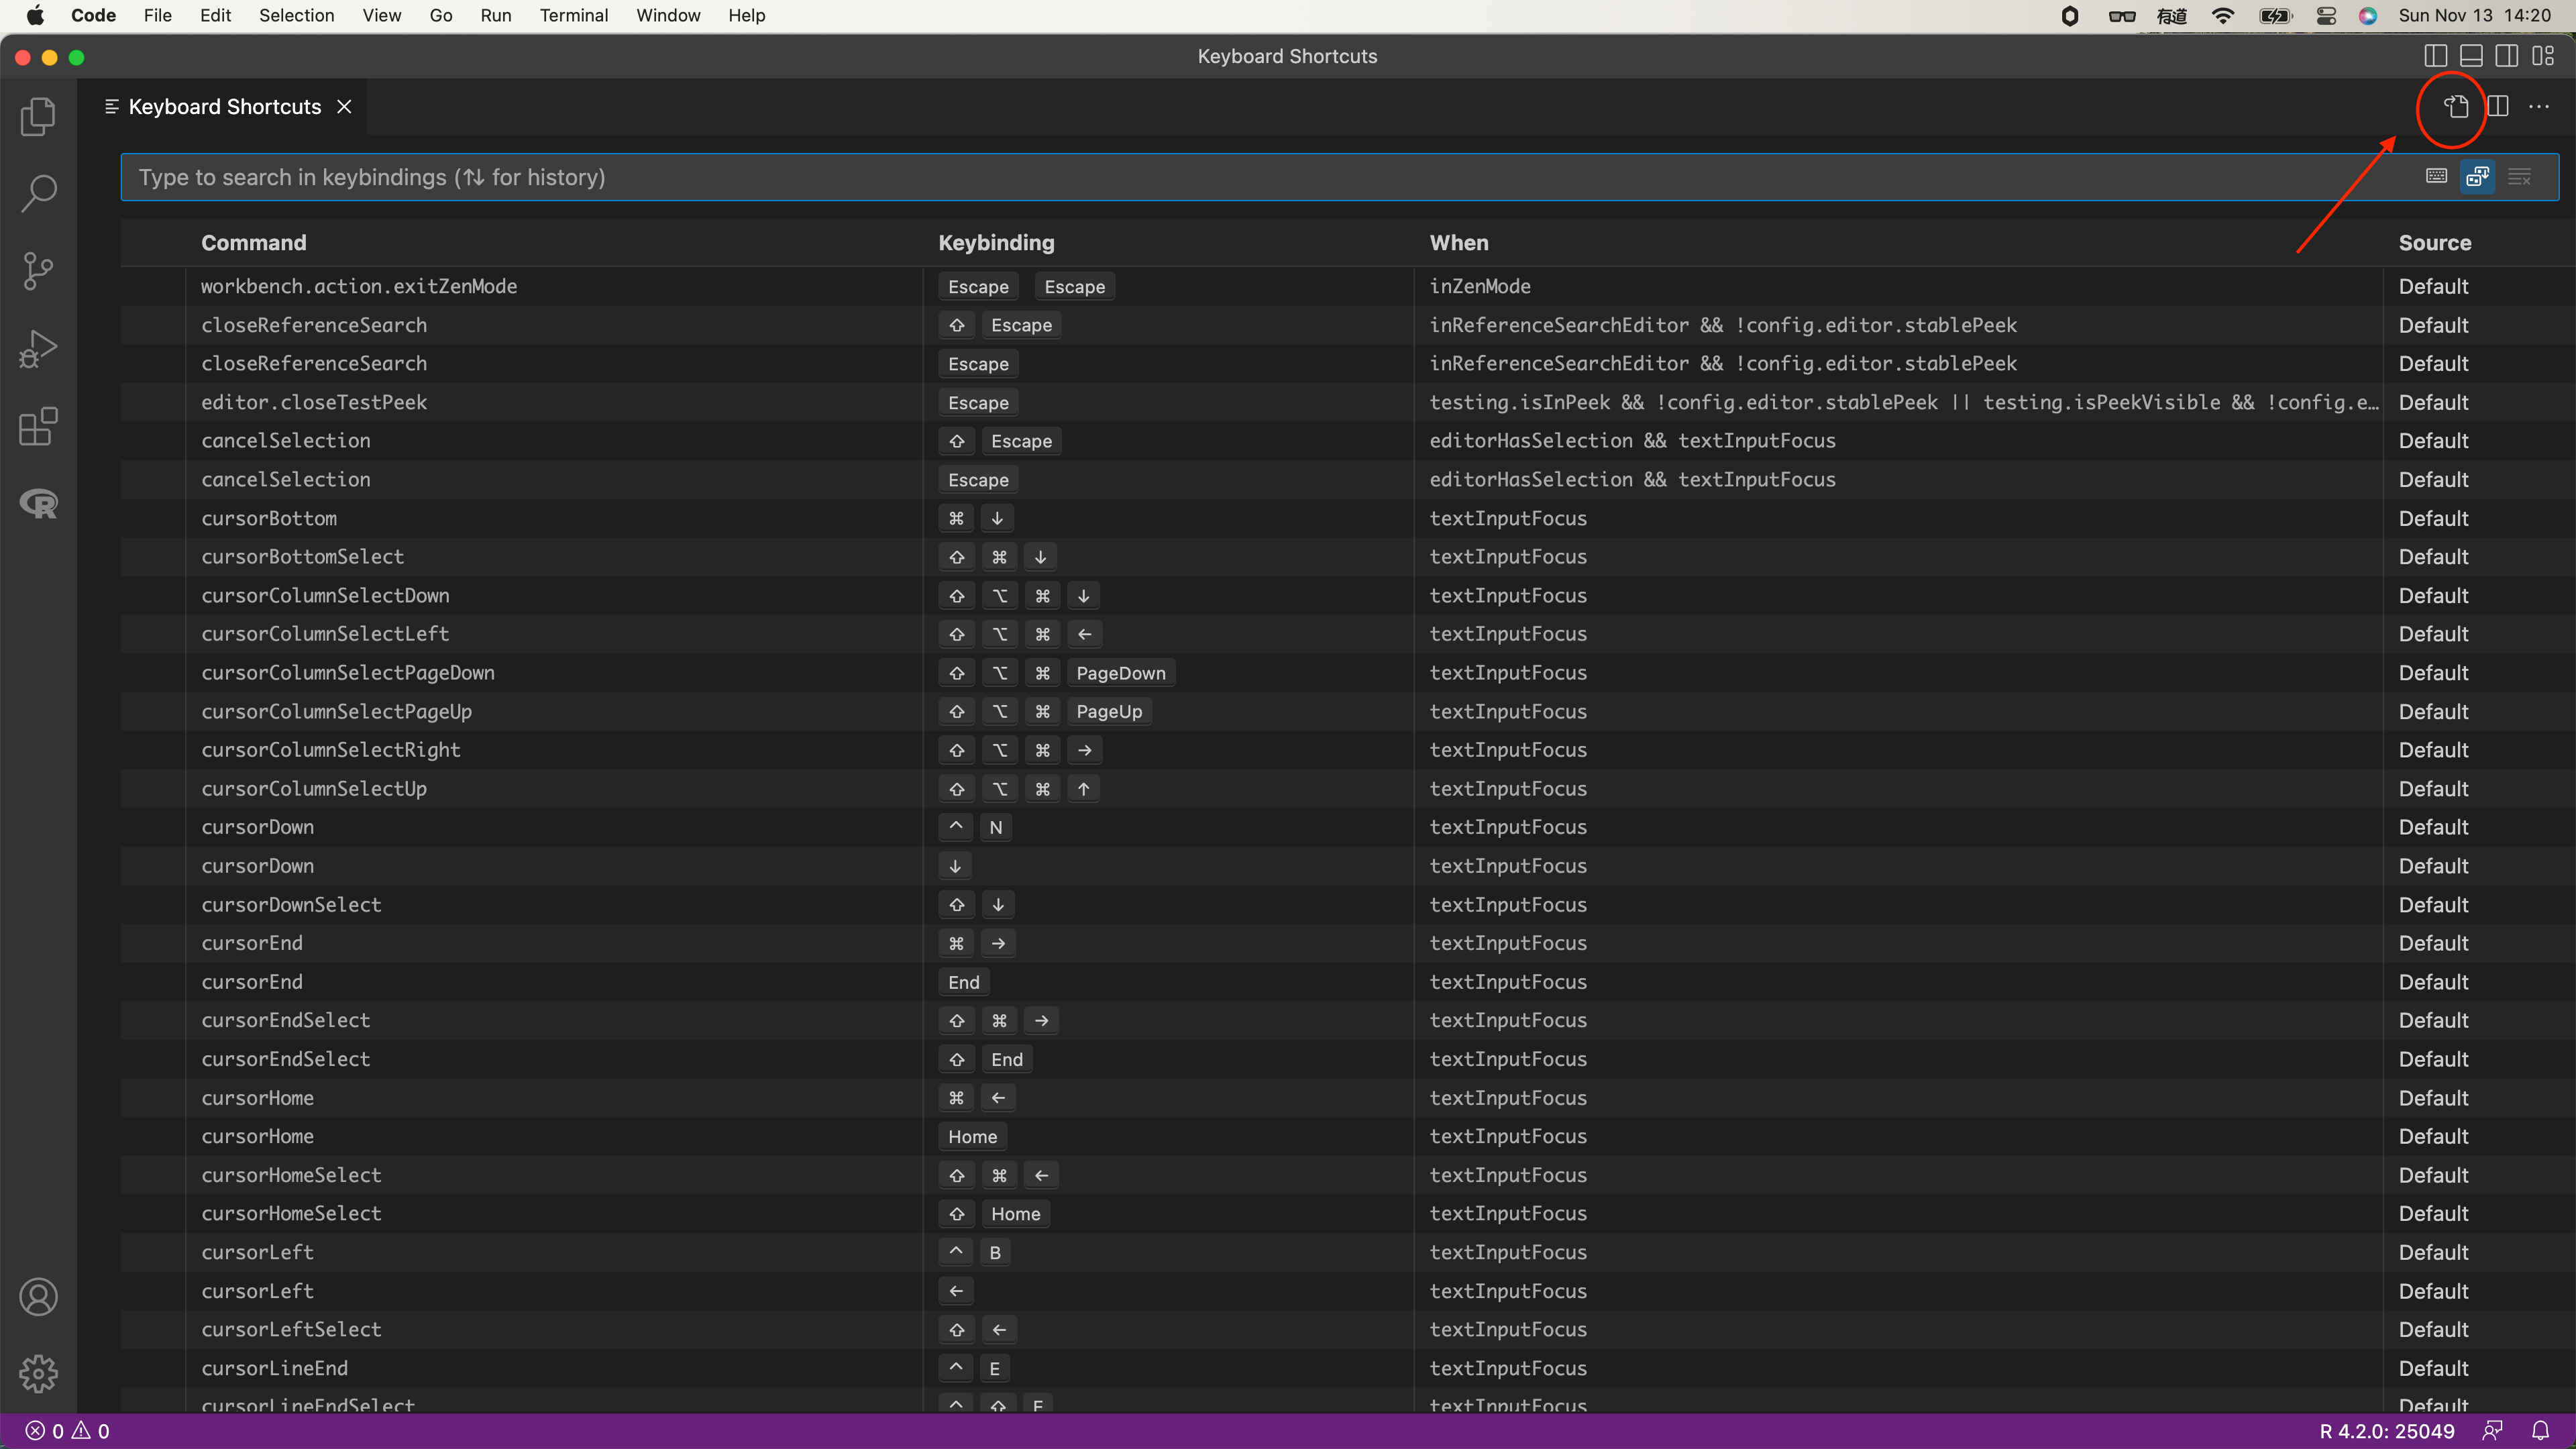
8修改快捷键
由于VS Code和我们在R studio中用的快捷键会不同,所以我们需要做一些修改,打开快捷键设置(cmd + K cmd+ S)我们会进入下面这个界面,点击这个?。
使用Windows的小伙伴可以复制下面这段代码,粘贴即可。?
[
  {
    "key": "alt+-",
    "command": "type",
    "when": "editorLangId == r && editorTextFocus || editorLangId == rmd && editorTextFocus",
    // if you want using quarto, try this
    // "when": "editorLangId =~ /r|rmd|qmd/ && editorTextFocus",
    "args": {"text": " <- "}
  },
  {
    "key": "ctrl+shift+m",
    "command": "type",
    "when": "editorLangId == r && editorTextFocus || editorLangId == rmd && editorTextFocus",
    "args": {"text": " %>% "}
  },
  {
    "key": "ctrl+shift+m",
    "command": "-workbench.actions.view.problems"
  },

  // input indicative of r markdown code chunk
  {
    "key": "ctrl+shift+i",
    "command": "editor.action.insertSnippet",
    "when": "editorTextFocus && editorLangId == 'rmd'",
    "args": {
        "snippet": "```{r}\n${TM_SELECTED_TEXT}$0\n```"
    },
    "label": "input indicative of r markdown code chunk"
  },

  // you can also input indicative of code chunk in `r` file by inserting "# %% ":
  // specifics in `https://github.com/REditorSupport/vscode-R/pull/662`
  {
    "key": "ctrl+shift+i",
    "command": "editor.action.insertSnippet",
    "when": "editorTextFocus && editorLangId == 'r'",
    "args": {
        "snippet": "$LINE_COMMENT %% "
    },
    "label": "input indicative of code chunk"
  },

  // open help panel for selection
  {
    "key": "f1",
    "command": "r.helpPanel.openForSelection",
    "when": "editorTextFocus && editorLangId == 'r' || editorTextFocus && editorLangId == 'rmd'"
  },

  // RStudio keybinding for R Package development
  {
    "key": "ctrl+shift+b",
    "command": "r.install",
    "when": "resourceLangId == 'r'"
  },
  {
    "key": "ctrl+shift+e",
    "command": "r.check",
    "when": "resourceLangId == 'r'"
  },
  {
    "key": "ctrl+shift+t",
    "command": "r.test",
    "when": "resourceLangId == 'r'"
  },
  {
    "key": "ctrl+shift+d",
    "command": "r.document",
    "when": "resourceLangId == 'r'"
  },
  {
    "key": "ctrl+shift+l",
    "command": "r.loadAll",
    "when": "resourceLangId == 'r'"
  },
  {
    "key": "ctrl+alt+p",
    "command": "r.runCommand",
    "when": "editorTextFocus && editorLangId == 'r'",
    "args": ".vsc.browser(httpgd::hgd_url(), viewer = \"Beside\")"
  }
]
Mac的小伙伴看这里,下面是我个人的快捷键设置,大家可以复制走,不用谢!?
[
    {
      "key": "alt+-",
      "command": "type",
      "when": "editorLangId == r && editorTextFocus || editorLangId == rmd && editorTextFocus",
      // if you want using quarto, try this
      // "when": "editorLangId =~ /r|rmd|qmd/ && editorTextFocus",
      "args": {"text": " <- "}
    },
    {
      "key": "cmd+shift+m",
      "command": "type",
      "when": "editorLangId == r && editorTextFocus || editorLangId == rmd && editorTextFocus",
      "args": {"text": " %>% "}
    },
    {
      "key": "cmd+shift+m",
      "command": "-workbench.actions.view.problems"
    },

    // input indicative of r markdown code chunk
    {
      "key": "alt+cmd+i",
      "command": "editor.action.insertSnippet",
      "when": "editorTextFocus && editorLangId == 'rmd'",
      "args": {
          "snippet": "```{r}\n${TM_SELECTED_TEXT}$0\n```"
      },
      "label": "input indicative of r markdown code chunk"
    },

    // you can also input indicative of code chunk in `r` file by inserting "# %% ":
    // specifics in `https://github.com/REditorSupport/vscode-R/pull/662`
    {
      "key": "alt+cmd+i",
      "command": "editor.action.insertSnippet",
      "when": "editorTextFocus && editorLangId == 'r'",
      "args": {
          "snippet": "$LINE_COMMENT %% "
      },
      "label": "input indicative of code chunk"
    }
  ]
9安装和配置过程中的几个坑
基本都是m1的芯片导致的问题,哎,神烦!?
1️⃣ m1 mac的小伙伴在下载VS Code的时候一定要选择ARM版本的。
2️⃣ m1 mac的R也一定也要选择ARM版本的。
3️⃣ m1 mac的小伙伴在配置Radian时候,在输入r.rterm后,需将原来的 --no-save,–no-restore,删掉。
4️⃣ 配置R路径时,不知道具体路径可以在terminal用where查看。
5️⃣ 还有几个坑,以后再和大家介绍吧。。。。。
 最后祝大家早日不卷!~
 点个在看吧各位~ ✐.ɴɪᴄᴇ ᴅᴀʏ 〰
? 往期精彩? ? ComplexHeatmap | 颜狗写的高颜值热图代码!
? ? ComplexHeatmap | 你的热图注释还挤在一起看不清吗!?
? ? Google | 谷歌翻译崩了我们怎么办!?(附完美解决方案)
? ? scRNA-seq | 吐血整理的单细胞入门教程
? ? NetworkD3 | 让我们一起画个动态的桑基图吧~
? ? RColorBrewer | 再多的配色也能轻松搞定!~
? ? rms | 批量完成你的线性回归
? ? CMplot | 完美复刻Nature上的曼哈顿图
? ? Network | 高颜值动态网络可视化工具
? ? boxjitter | 完美复刻Nature上的高颜值统计图
? ? linkET | 完美解决ggcor安装失败方案(附教程)
? ......
本文由 mdnice 多平台发布