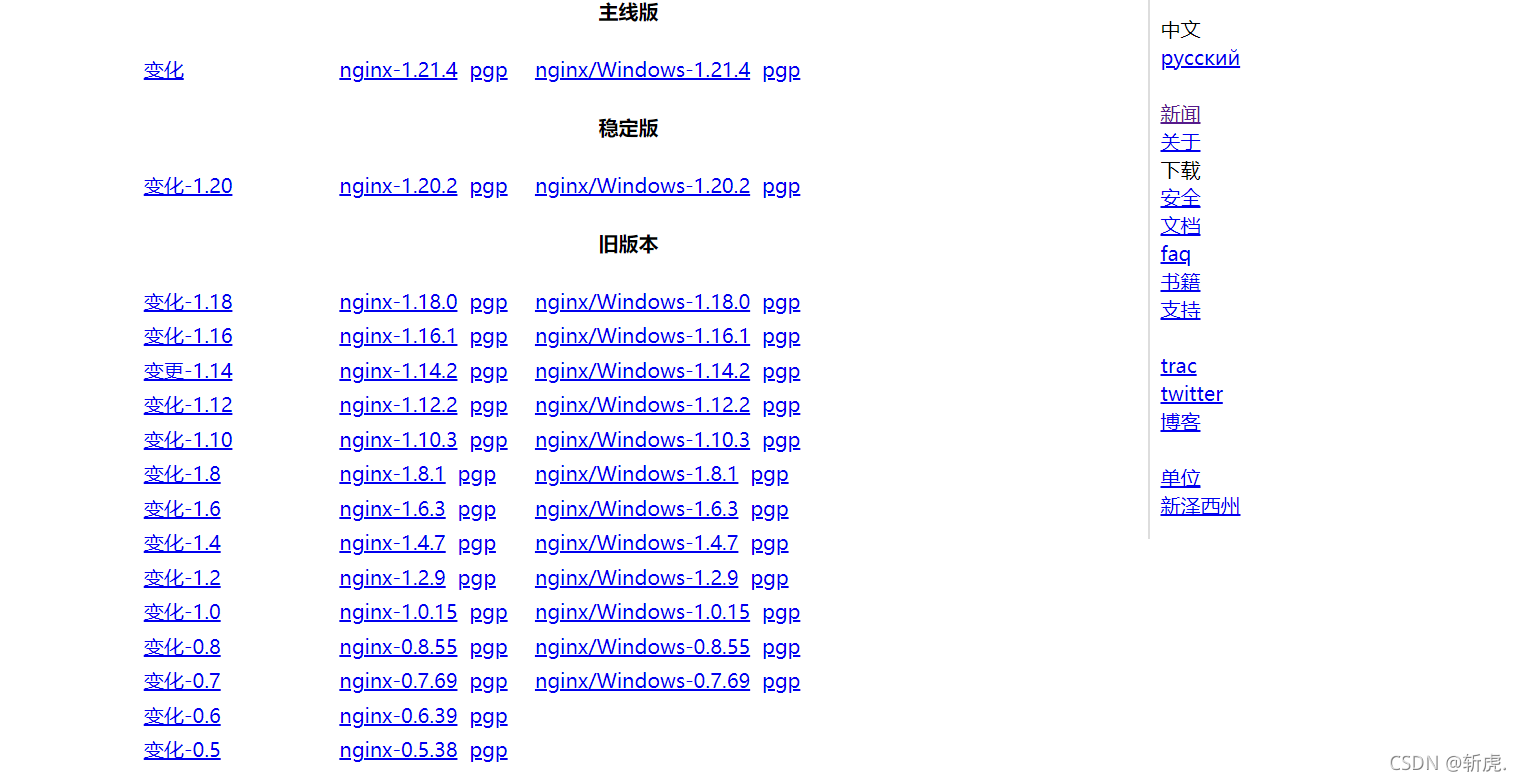
第一步nginx官网下载安装
nginx官网地址: nginx: 下载
也可以直接使用wget命令下载命令如下
wget -c https://nginx.org/download/nginx-1.21.4tar.gz:注意这一步最好在自己的目标目录下进行
安装依赖包
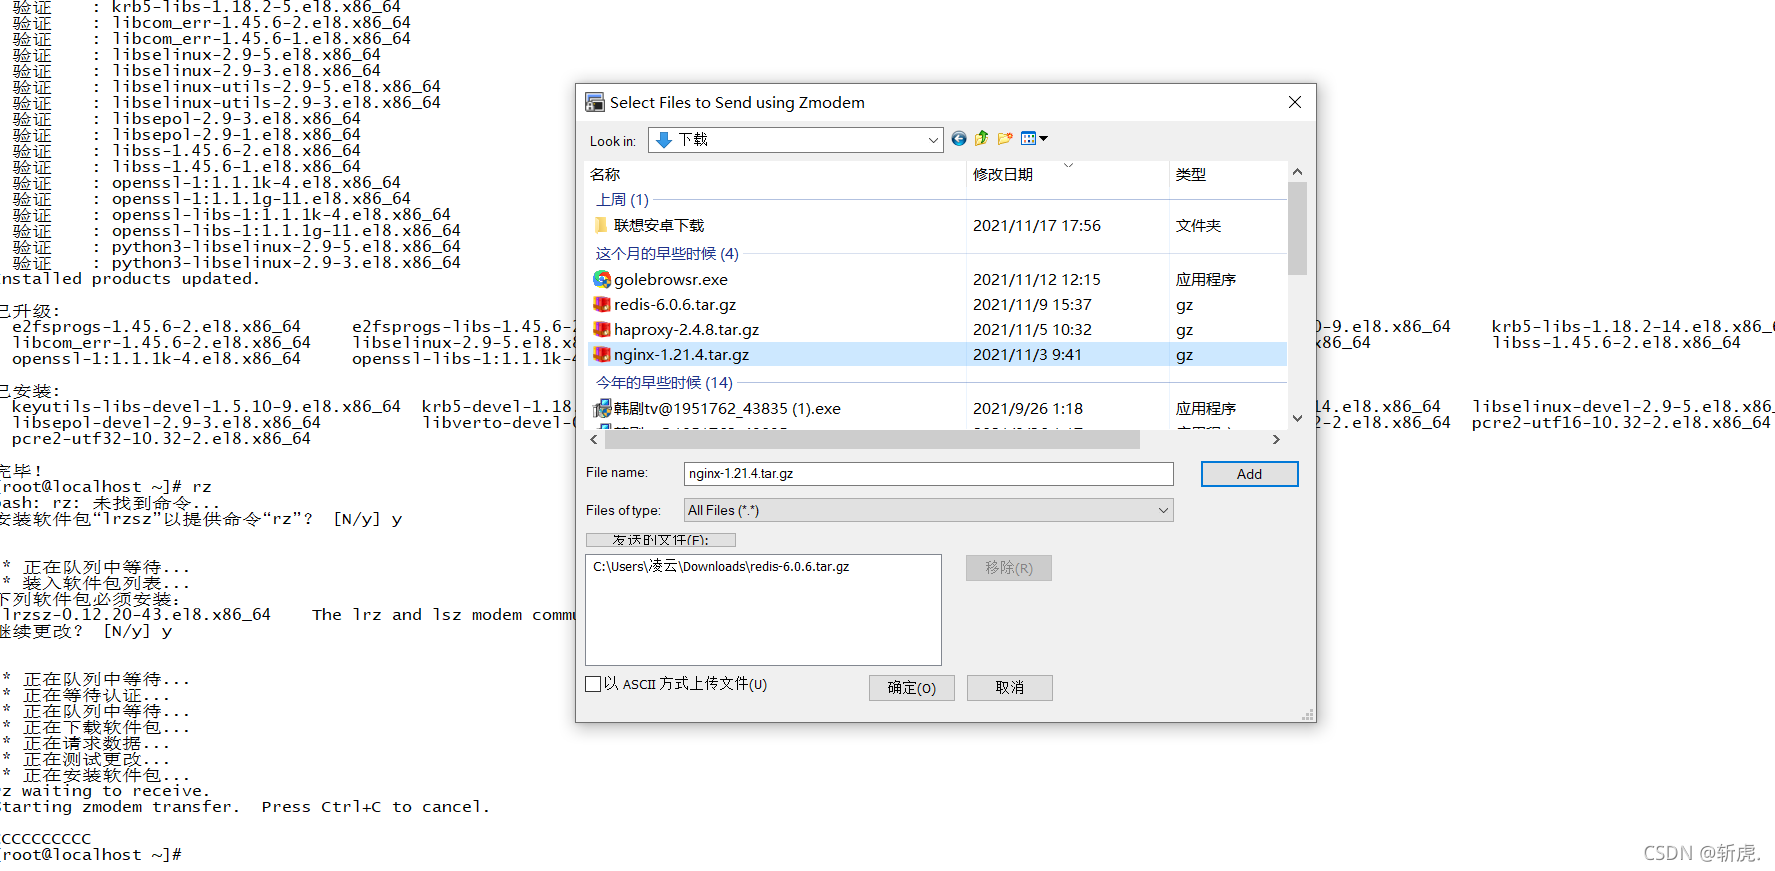
yum install -y gcc-c++ pcre pcre-devel zlib zlib-devel openssl openssl-develrz上传nginx的包
tar -xzvf 文件名进行解压
tar -zxvf nginx-1.21.4.tar.gzcd进入nginx的目录下
cd nginx-1.21.4.检查当前的系统环境
./configure编译将编译后的结果复制到相应目录中
make install7.启动nginx。
cd /usr/local/nginx./sbin/nginx8.将端口号80开放
firewall-cmd --zone=public --add-port=80/tcp --permanent
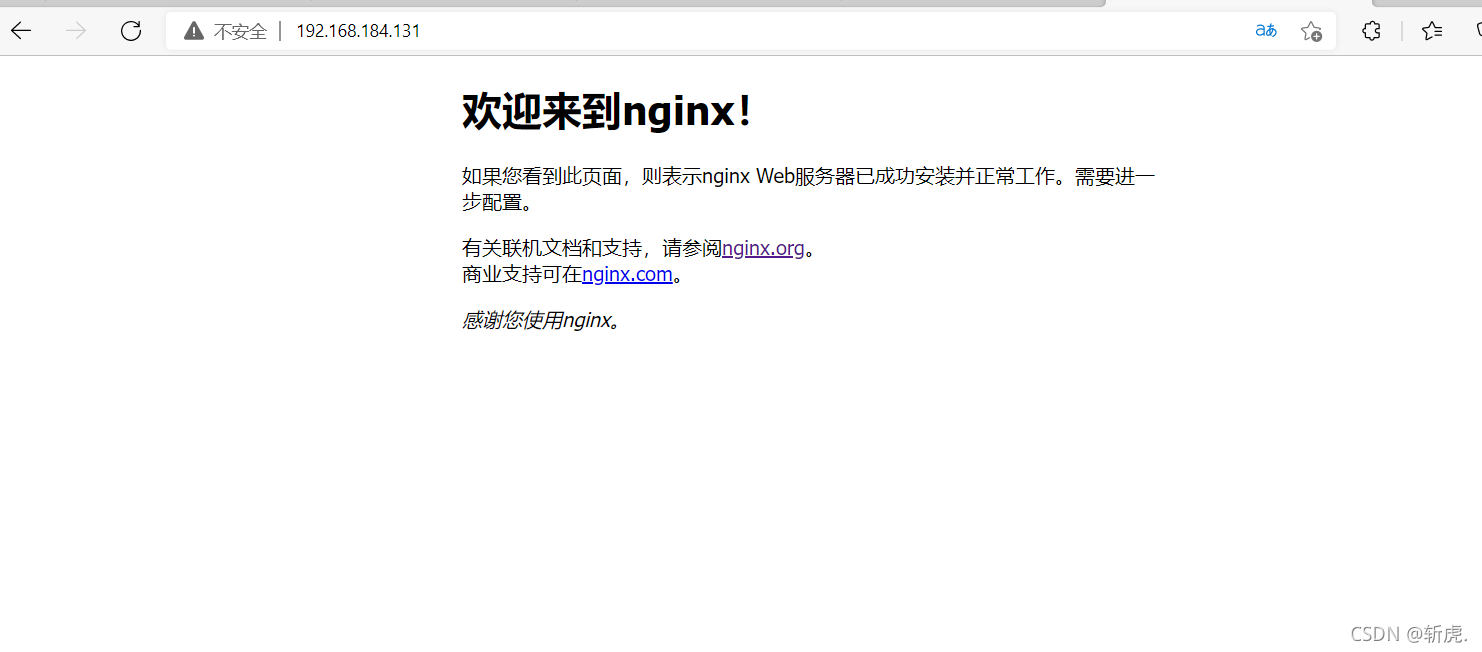
firewall-cmd --reload然后就能通过ip访问到nginx了
安装haproxy
先去官网下载安装包
rz上传安装包
tar zxvf haproxy-1.7.8.tar.gz进行解压进入安装包目录运行make将haproxy编译成可执行文件
cd haproxy-1.7.8
make TARGET=generic
配置环境变量
export PATH=$PATH:/opt/haproxy-1.7.8/haproxy
最后执行source /etc/profile让此环境变量生效。HAProxy配置文件说明
HAProxy配置文件通常分为三个部分,即global、defaults和listen。global为全局配置,defaults为默认配置,listen为应用组件配置。
global为全局配置部分,属于进程级别的配置,通常和使用的操作系统配置相关。
defaults配置项配置默认参数,会被应用组件继承,如果在应用组件中没有特别声明,将使用默认配置参数。
以配置RabbitMQ集群的负载均衡为例,在安装目录下面新建一个haproxy.cfg,将ip地址改为自己的本机ip输入下面配置信息
global
  #日志输出配置,所有日志都记录在本机,通过local0输出
  log 127.0.0.1 local0 info
  #最大连接数
  maxconn 10240
  #以守护进程方式运行
  daemon

defaults
  #应用全局的日志配置
  log global
  mode http
  #超时配置
  timeout connect 5000
  timeout client 5000
  timeout server 5000
  timeout check 2000

listen http_front #haproxy的客户页面
  bind 192.168.72.128:8888
  mode http
  option httplog
  stats uri /haproxy
  stats auth admin:123456
  stats refresh 5s
  stats enable

listen haproxy #负载均衡的名字
  bind 0.0.0.0:5666 #对外提供的虚拟的端口
  option tcplog
  mode tcp
  #轮询算法
  balance roundrobin
  server rabbit1 192.168.72.128:5672 check inter 5000 rise 2 fall 2
  server rabbit2 192.168.72.128:5673 check inter 5000 rise 2 fall 2
  server rabbit3 192.168.72.128:5674 check inter 5000 rise 2 fall 2
启动命令
/opt/haproxy-1.7.8/haproxy -f /opt/haproxy-1.7.8/haproxy.cfg验证是否成功
[root@localhost haproxy-1.7.8]# lsof -i:8888
COMMAND PID USER FD TYPE DEVICE SIZE/OFF NODE NAME
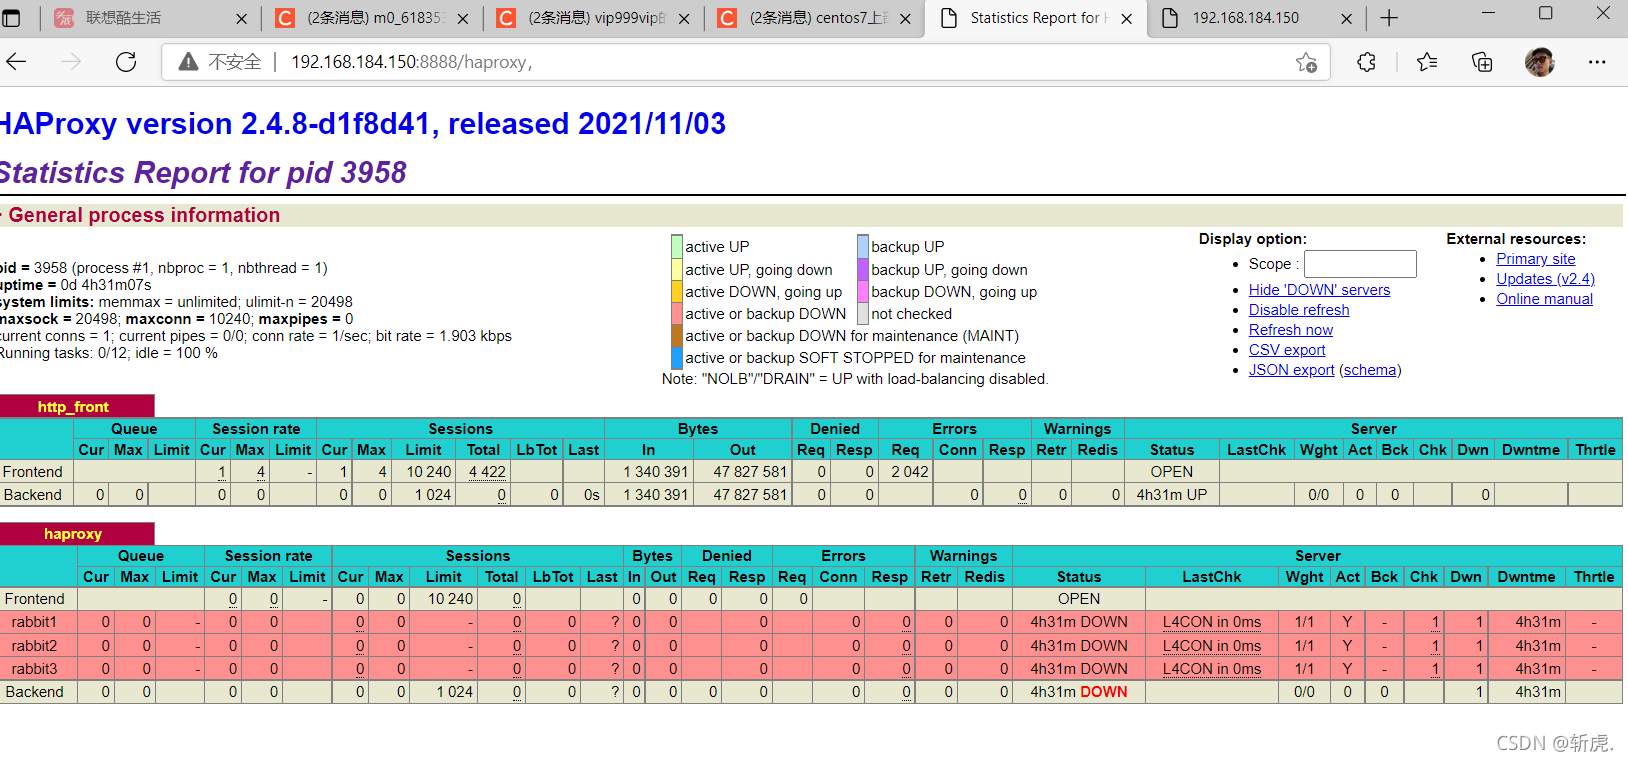
haproxy 45031 root 3u IPv4 228341 0t0 TCP localhost.localdomain:ddi-tcp-1 (LISTEN)在浏览器上访问http://本机ip:8888/haproxy,输入配置的用户名和密码登录以后,可以看到如下画面: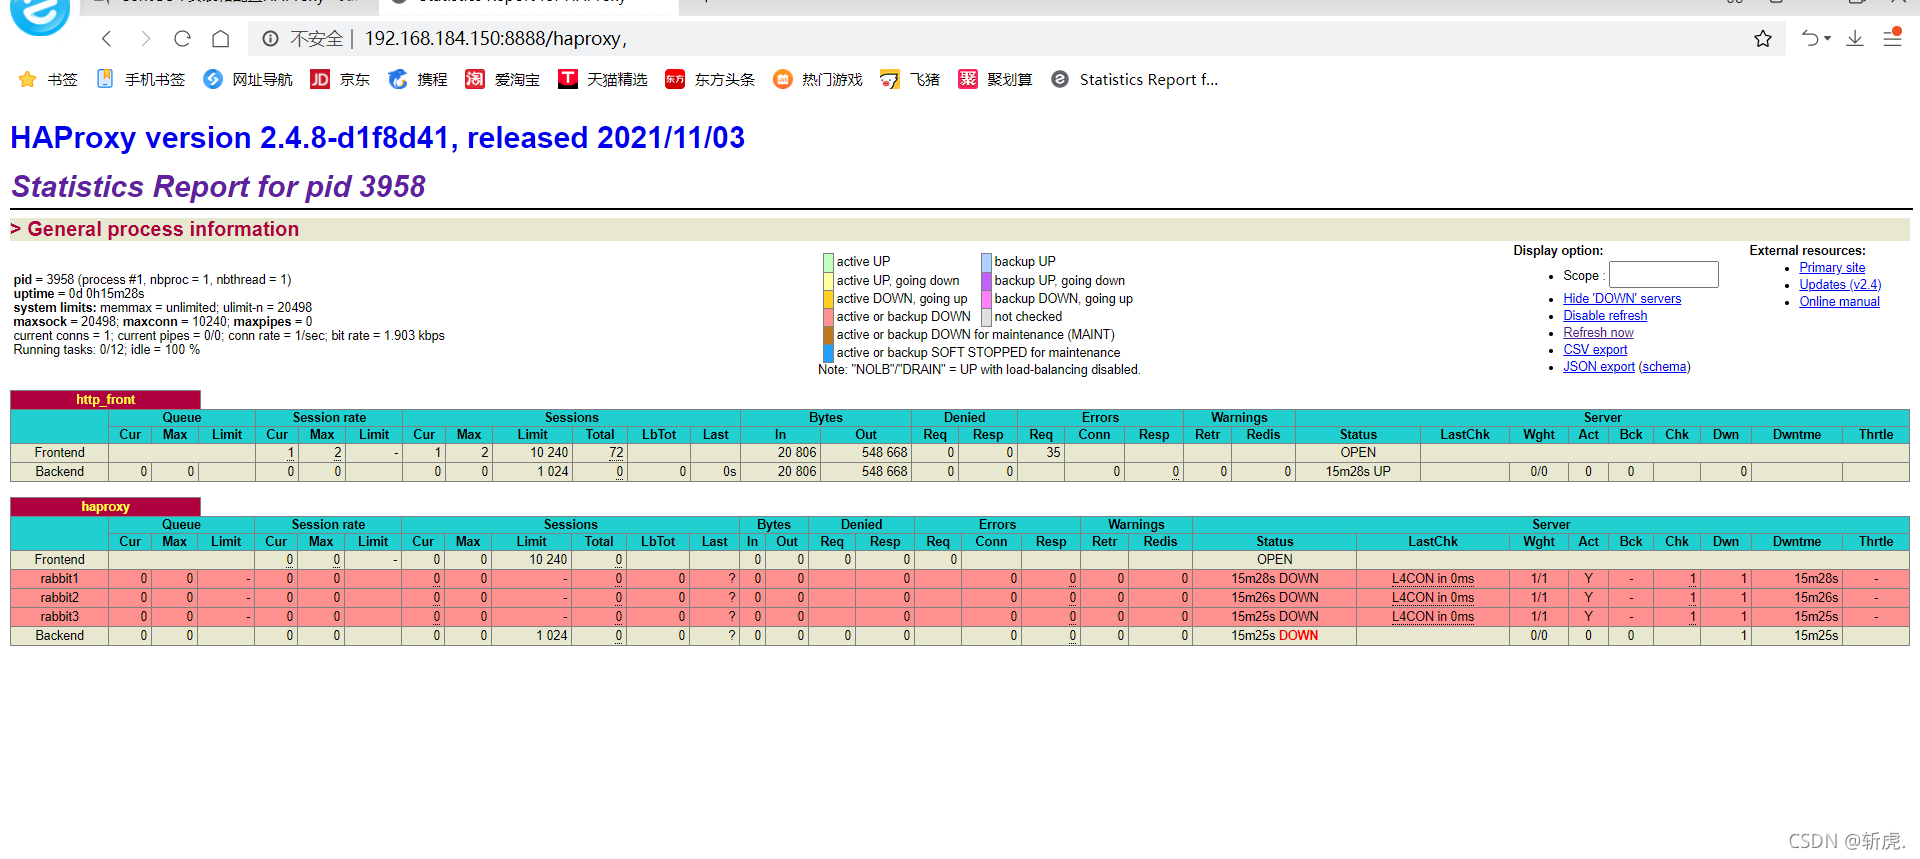
nfs
环境说明
| 主机名 | 操作系统版本 | ip地址 | 说明 |
| centos7 | linux | 192.168.184.156 | nginx |
| centos7 | linux | 192.168.184.157 | nginx |
| centos7 | linux | 192.168.184.150 | haproxy |
| centos7 | linux | 192.168.184.158 | haproxy |
.关闭防火墙
[root@centos7 ~]# systemctl stop firewalld.service
[root@centos7 ~]# systemctl disable firewalld.service
[root@centos7 ~]# firewall-cmd --state
not running
.关闭selinux
[root@centos7 ~]# setenforce 0永久关闭
[root@centos7 ~]# sed -i 's/^ *SELINUX=enforcing/SELINUX=disabled/g' /etc/selinux/config重启后配置生效
sestatus 服务端安装NFS软件
yum -y install nfs-utils编辑参数exports ip修改为两台nginx的
[root@centos7 /]# view /etc/exports
/backup 172.27.34.0/24(rw,sync,no_root_squash)
/backup 172.27.9.0/24(rw,sync,no_root_squash)
.新建共享目录并修改权限
[root@centos7 backup]# mkdir /backup
[root@centos7 backup]# chmod -R 777 /backup/
启动服务并设置为开机启动
[root@centos7 /]# systemctl enable rpcbind.service
[root@centos7 /]# systemctl enable nfs-server.service
[root@centos7 /]# systemctl start rpcbind.service
[root@centos7 /]# systemctl start nfs-server.service
加载配置
exportfs -r查看
exportfs两台客户端配置
安装nfs软件包
yum -y install nfs-utils新建挂载点
mkdir /nfs检查共享目录
showmount -e 服务器ip挂载共享目录
mount -t nfs 服务器ip:/backup /nfs.开启自动挂载
[root@web ~]# view /etc/rc.local
mount -t nfs 服务器ip:/backup /nfs
[root@web ~]# chmod 755 /etc/rc.local