一、cdn引入基本使用
- template的写法
- data属性必须是函数
- 计算属性的使用
- 其他属性(props、watch、emits、setup、生命周期等)
<!DOCTYPE html>
<html lang="en">

<head>
  <meta charset="UTF-8">
  <meta http-equiv="X-UA-Compatible" content="IE=edge">
  <meta name="viewport" content="width=device-width, initial-scale=1.0">
  <title>Vue3_CND引入</title>
</head>

<body>
  <div id="app">呵呵哈哈哈</div>

  <!--
    方式1:
    <script type="x-template" id="template">
      <h2>{{num}}</h2>
      <h2>{{computeNum}}</h2>
      <button @click="add">+</button>
      <button @click="sub">-</button>
    </script>
 -->

  <!-- 方式2: (https://developer.mozilla.org/zh-CN/docs/Web/HTML/Element/template)-->
  <template id="template">
    <h2>{{num}}</h2>
    <h2>{{computeNum}}</h2>
    <button @click="add">+</button>
    <button @click="sub">-</button>
  </template>

  <script src="https://unpkg.com/vue@next"></script>

  <script>
    const data = {
      template: '#template',
      data() {
        return {
          num: 0
        }
      },
      computed: {
        computeNum() { return this.num + 1 }
      },
      methods: {
        add() {
          this.num++
        },
        sub() {
          this.num--
        }
      }
    }
    const app = Vue.createApp(data)
    app.mount('#app')

  </script>
</body>

</html>
二、vue3源码阅读方法
- 首先找到vue3源码仓库,拉取代码到本地
- package.json文件夹中的脚本添加sourcemap:“dev”: “node scripts/dev.js --sourcemap”,执行yarn dev(打包dist)
- 在packages/vue/examples下随便写一个HTML文件,并在其中使用vue,就可以观察具体vue内部运行情况。
<!DOCTYPE html>
<html lang="en">
<body>
  <div id="app"></div>
  <script src="../dist/vue.global.js"></script>
  <script>
    debugger
    Vue.createApp({ template: `<div></div>` }).mount('#app')
  </script>
</body>
</html>
三、methods属性中的方法this绑定源码
vue-next源码packages/runtime-core/src/componentOptions.ts中的600行左右
  if (methods) {
    for (const key in methods) {
      const methodHandler = (methods as MethodOptions)[key]
      if (isFunction(methodHandler)) {
        // In dev mode, we use the `createRenderContext` function to define
        // methods to the proxy target, and those are read-only but
        // reconfigurable, so it needs to be redefined here
        if (__DEV__) {
          Object.defineProperty(ctx, key, {
            value: methodHandler.bind(publicThis),
            configurable: true,
            enumerable: true,
            writable: true
          })
        } else {
          ctx[key] = methodHandler.bind(publicThis)
        }
        if (__DEV__) {
          checkDuplicateProperties!(OptionTypes.METHODS, key)
        }
      } else if (__DEV__) {
        warn(
          `Method "${key}" has type "${typeof methodHandler}" in the component definition. ` +
            `Did you reference the function correctly?`
        )
      }
    }
  }
最重要的一步就是ctx[key] = methodHandler.bind(publicThis),将每一个methods属性中的方法的this都绑定publicThis并存到ctx对象中(在模板引擎中需要从ctx里面取相应的方法来调用)。我们可以在源码中找到const publicThis = instance.proxy! as any,所以是绑定的this是组件实例上的data代理对象。
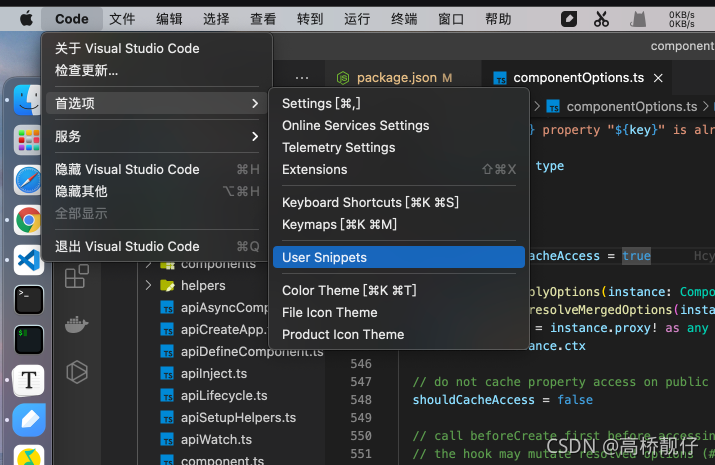
四、vscode快捷添加代码片段
首先找到vscode的user Snippets选项:
可以在snippet-generator中自动生成设置代码:
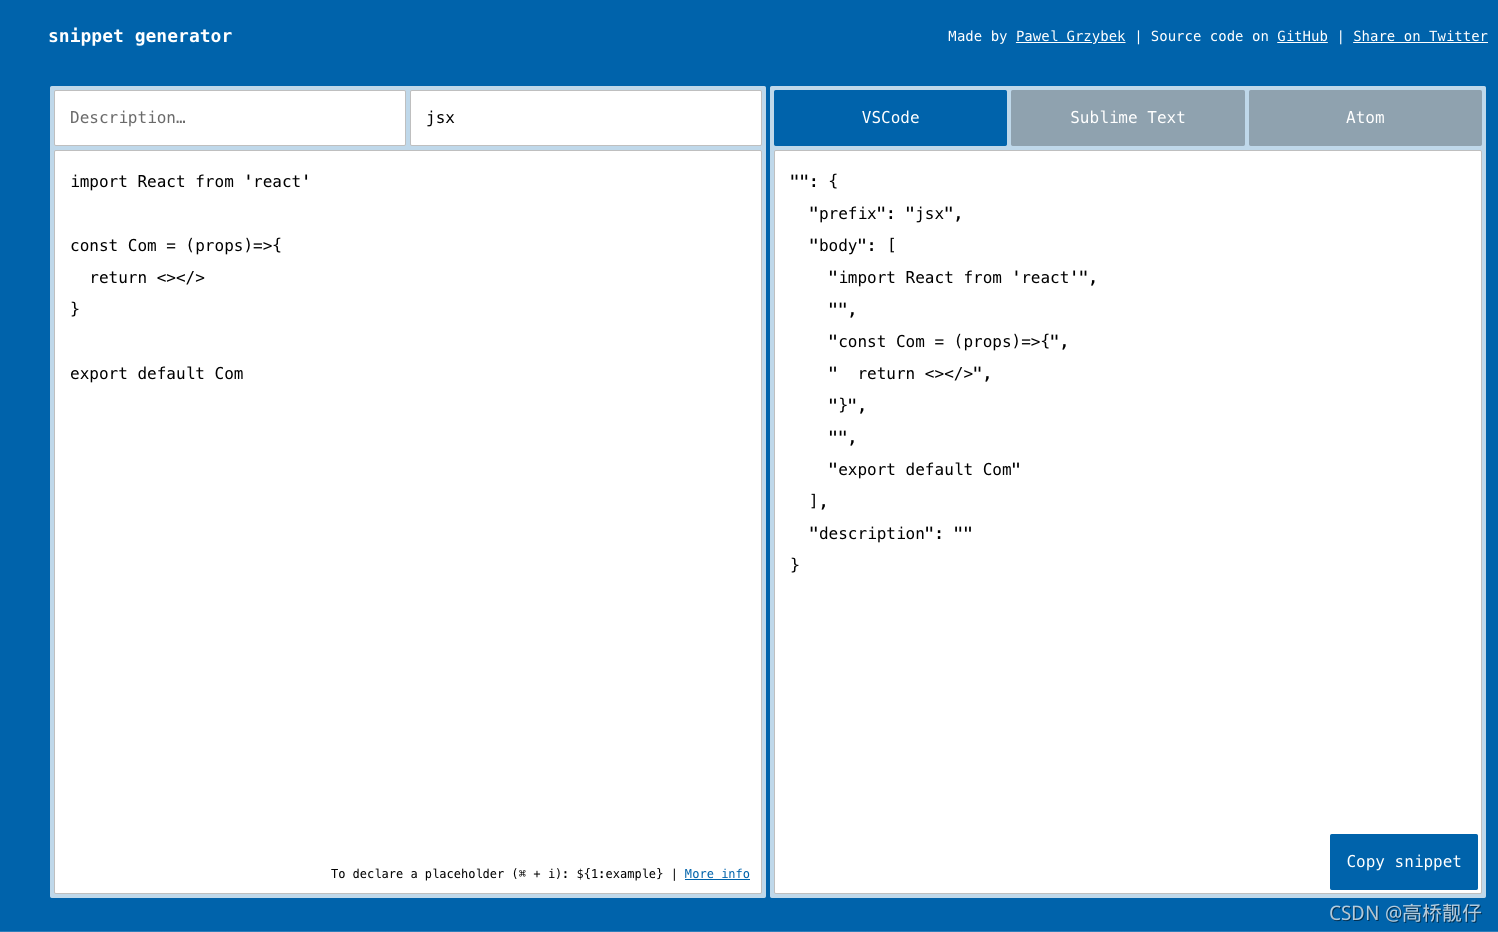
设置完之后就可以,全局使用快捷指令: