
在实际项目中我们需要手动来手写Starter组件的场景相对来说还是比较少的,但是对于自定义Starter组件的原理大家还是需要掌握清楚,第一个是增加自己的自信心,第二个是掌握的自动装配的原理后Starter组件的实现其实就是非常简单的事情了。我们通过Redis的客户端程序来给大家介绍。对于Redis服务我们可以使用的Java客户端还是比较多的,但是在SpringBoot项目中我们怎么来使用呢?
手写SpringBoot Starter组件
1.自定义Starter
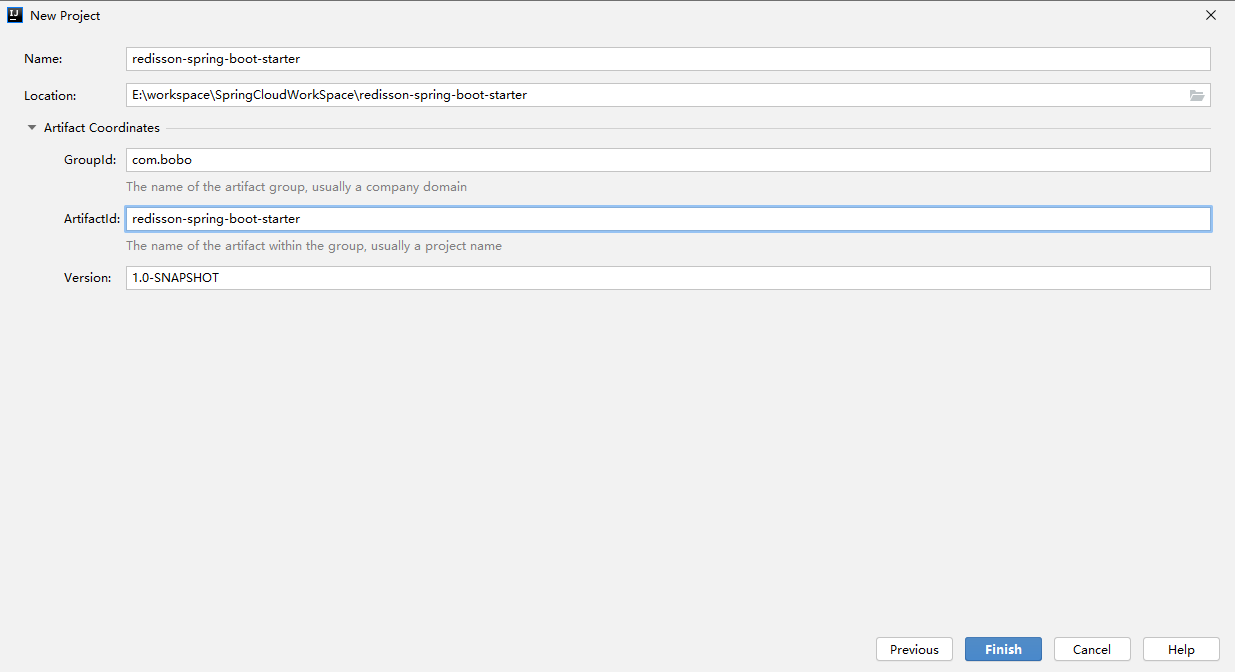
创建一个普通的Maven项目,名称为redisson-spring-boot-starter,命名要注意,第三方starter约定是 xxxx+spring-boot-starter.
添加相关的依赖
    <dependencies>
        <dependency>
            <groupId>org.redisson</groupId>
            <artifactId>redisson</artifactId>
            <version>3.15.6</version>
        </dependency>
        <dependency>
            <groupId>org.springframework.boot</groupId>
            <artifactId>spring-boot-starter</artifactId>
            <version>2.4.8</version>
            <optional>true</optional>
        </dependency>
    </dependencies>
添加属性类
/**
 * 定义属性类
 *    指定前缀为 bobo.redisson
 */
@ConfigurationProperties(prefix = "bobo.redisson")
public class RedissonProperties {

    private String host = "localhost";
    private int port = 6379;
    private int timeout = 0;
    private boolean ssl = false;

    public String getHost() {
        return host;
    }

    public void setHost(String host) {
        this.host = host;
    }

    public int getPort() {
        return port;
    }

    public void setPort(int port) {
        this.port = port;
    }

    public int getTimeout() {
        return timeout;
    }

    public void setTimeout(int timeout) {
        this.timeout = timeout;
    }

    public boolean isSsl() {
        return ssl;
    }

    public void setSsl(boolean ssl) {
        this.ssl = ssl;
    }
}
然后创建对应的配置类。
@ConditionalOnClass(Redisson.class) // 条件装配
// 关联 属性配置类
@EnableConfigurationProperties(RedissonProperties.class)
@Configuration
public class RedissonAutoConfiguration {


    @Bean
    public RedissonClient redissonClient(RedissonProperties redissonProperties){
        Config config = new Config();
        String prefix = "redis://";
        if(redissonProperties.isSsl()){
            prefix = "rediss://";
        }
        // 单节点连接配置
        config.useSingleServer()
                .setAddress(prefix+redissonProperties.getHost()+":"+redissonProperties.getPort())
                .setConnectTimeout(redissonProperties.getTimeout());
        return Redisson.create(config);
    }

}
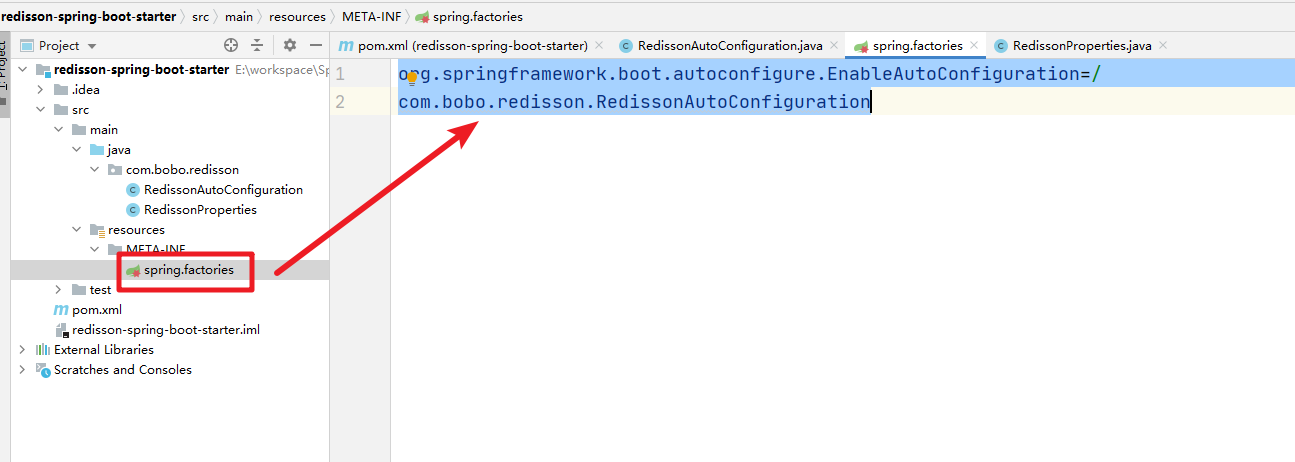
这样我们的自定义Starter的功能就差不多了,然后是要创建spring.factories文件。来实现和SpringBoot项目的自动装配。
最后为了增加在添加属性文件的时候有提示信息。我们可以先导入依赖
        <dependency>
            <groupId>org.springframework.boot</groupId>
            <artifactId>spring-boot-configuration-processor</artifactId>
            <version>2.4.8</version>
        </dependency>
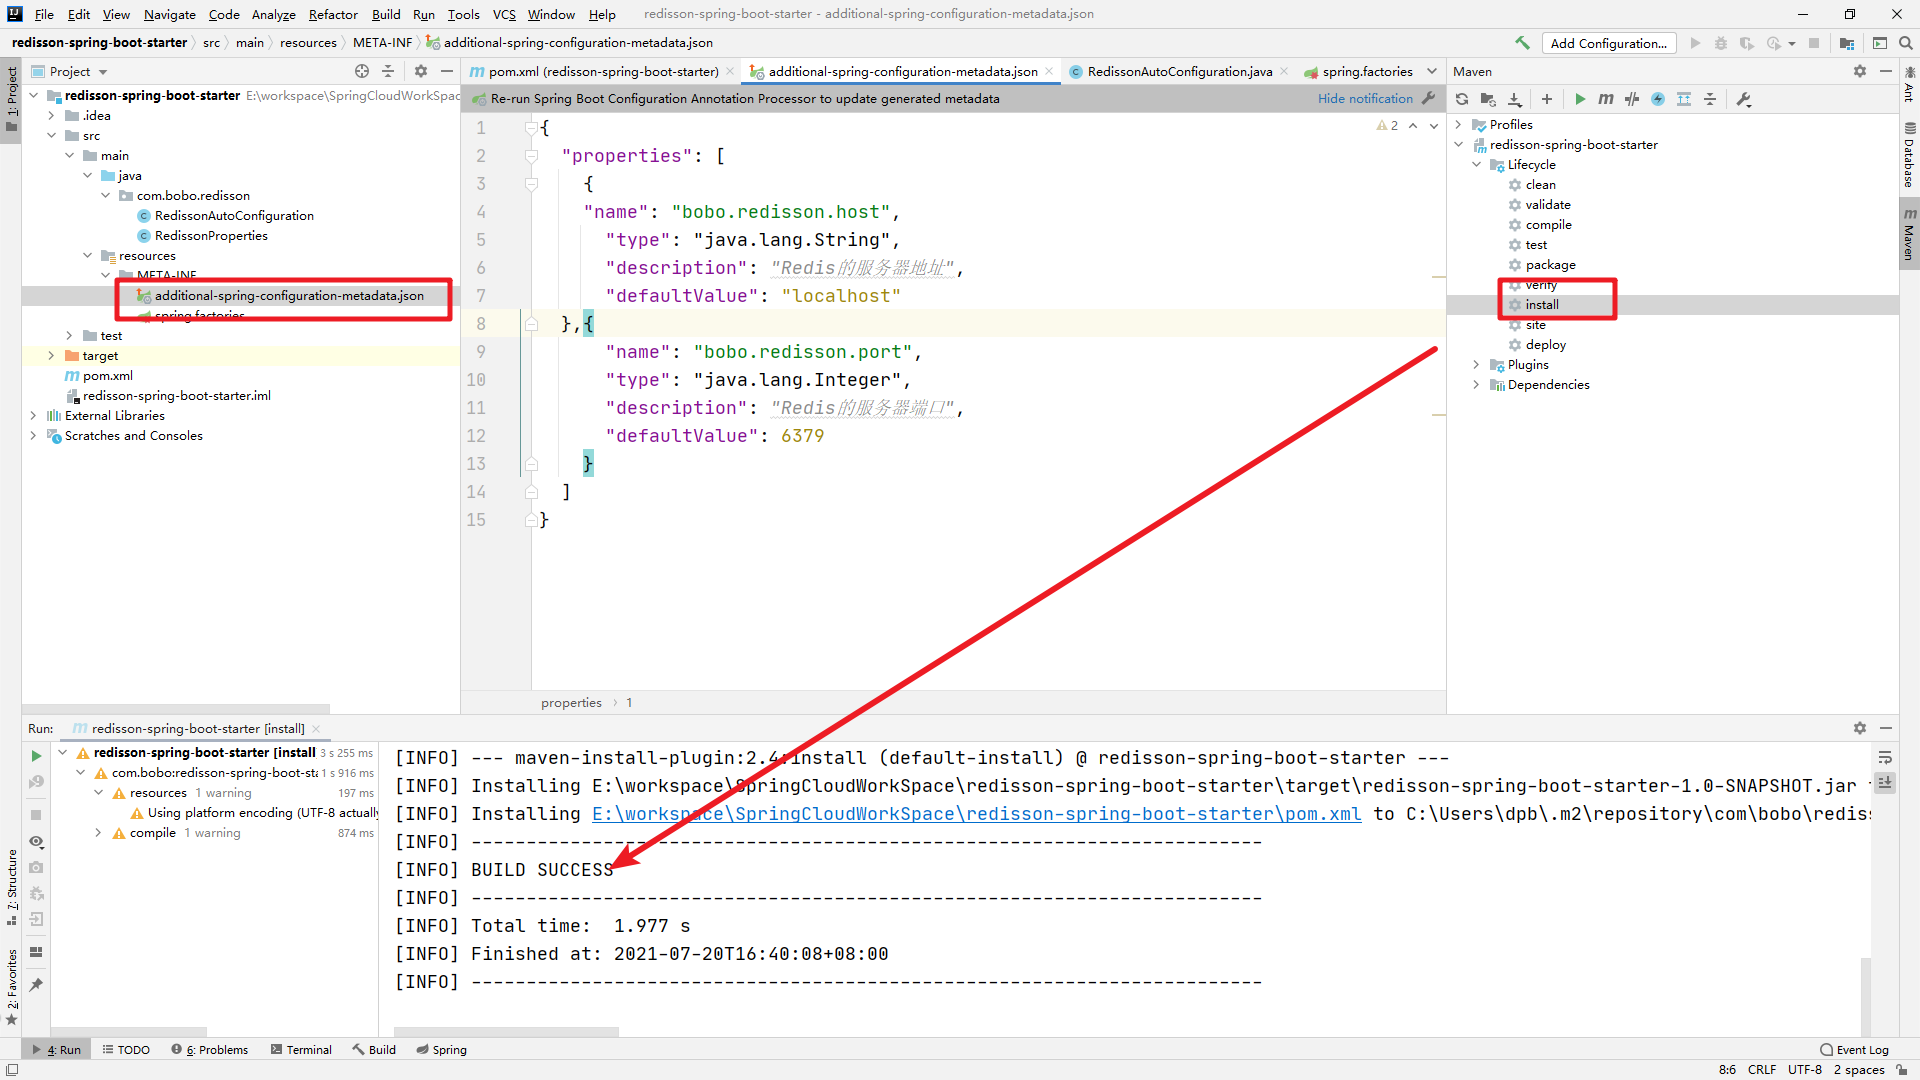
然后添加json文件,名称必须为additional-spring-configuration-metadata.json
{
  "properties": [
    {
    "name": "bobo.redisson.host",
      "type": "java.lang.String",
      "description": "Redis的服务器地址",
      "defaultValue": "localhost"
  },{
      "name": "bobo.redisson.port",
      "type": "java.lang.Integer",
      "description": "Redis的服务器端口",
      "defaultValue": 6379
    }
  ]
}
到这儿就可以了install了,然后就可以使用了。
2.SpringBoot项目使用
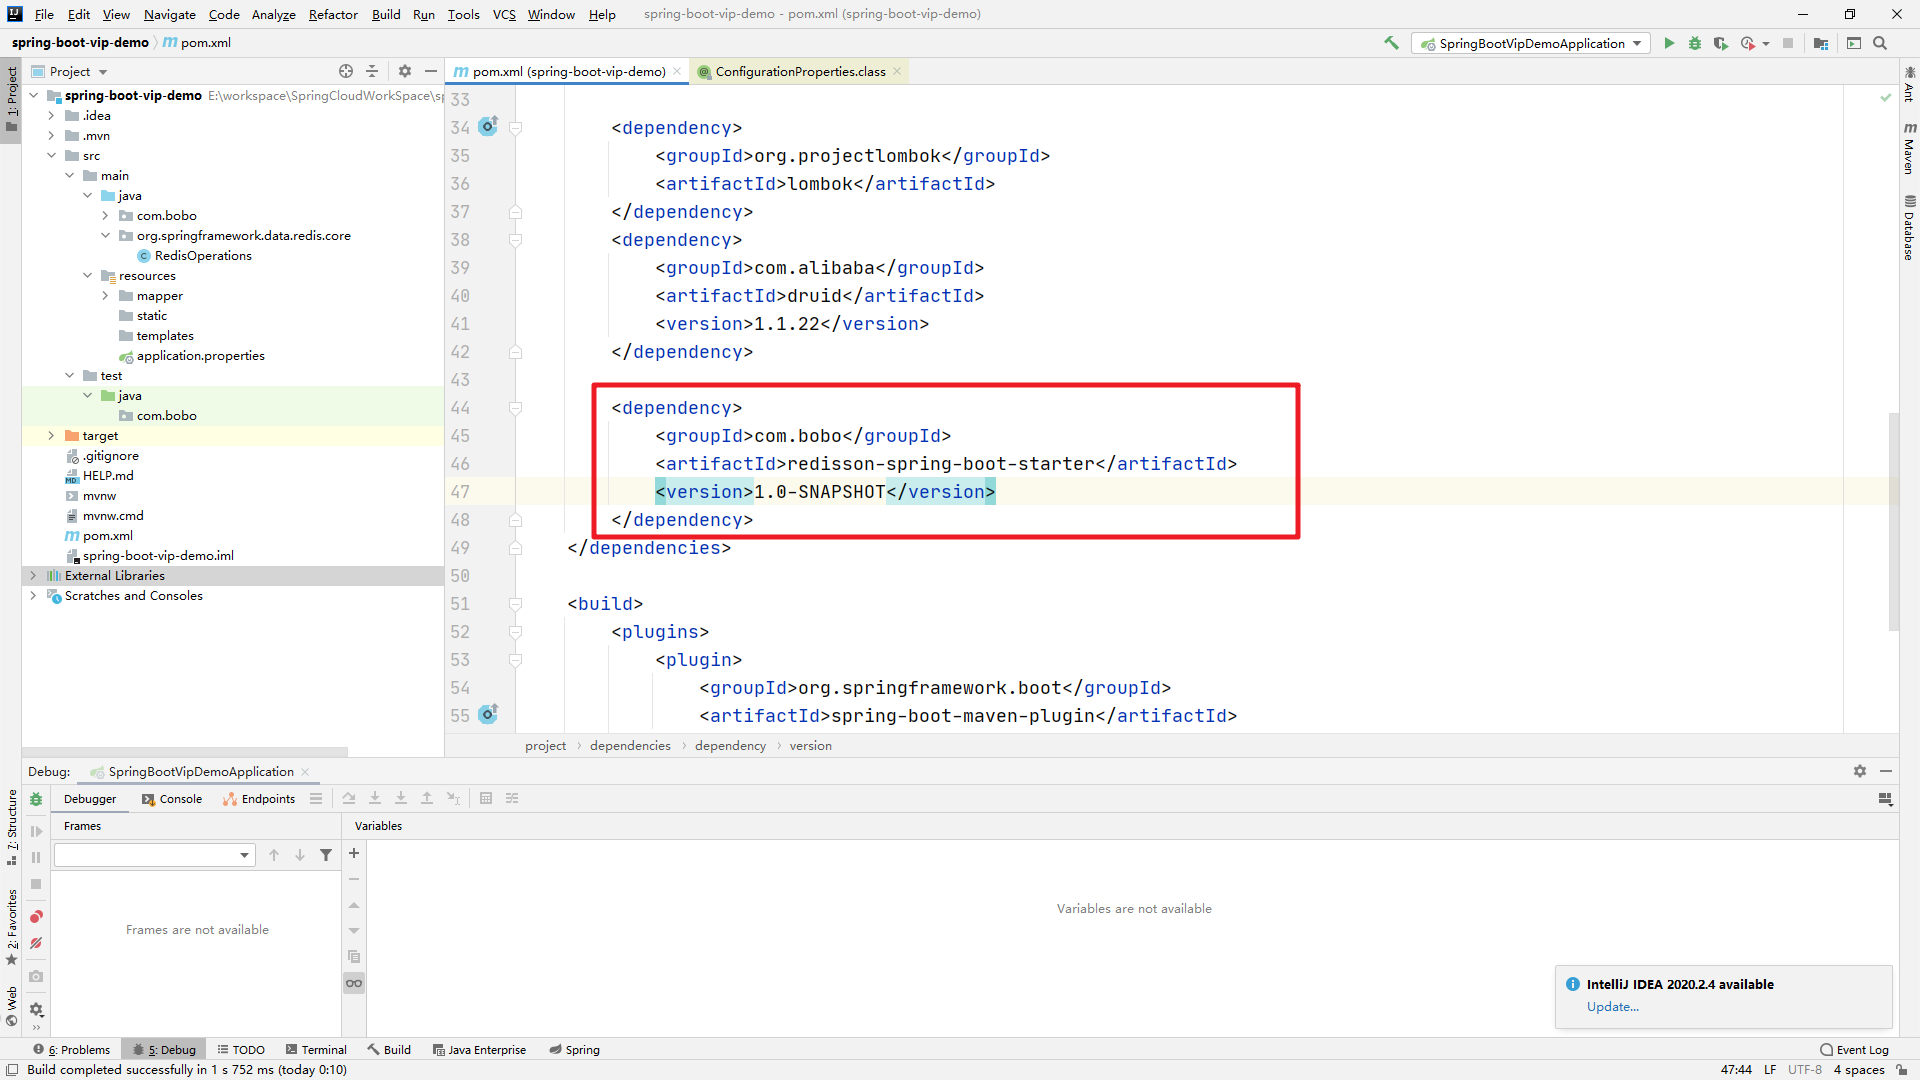
自定义Starter项目创建完成后,我们就可以在SpringBoot项目中来使用了。先导入对应的依赖。
然后我们在属性文件中配置Redis的连接信息,首先可以看到提示信息了
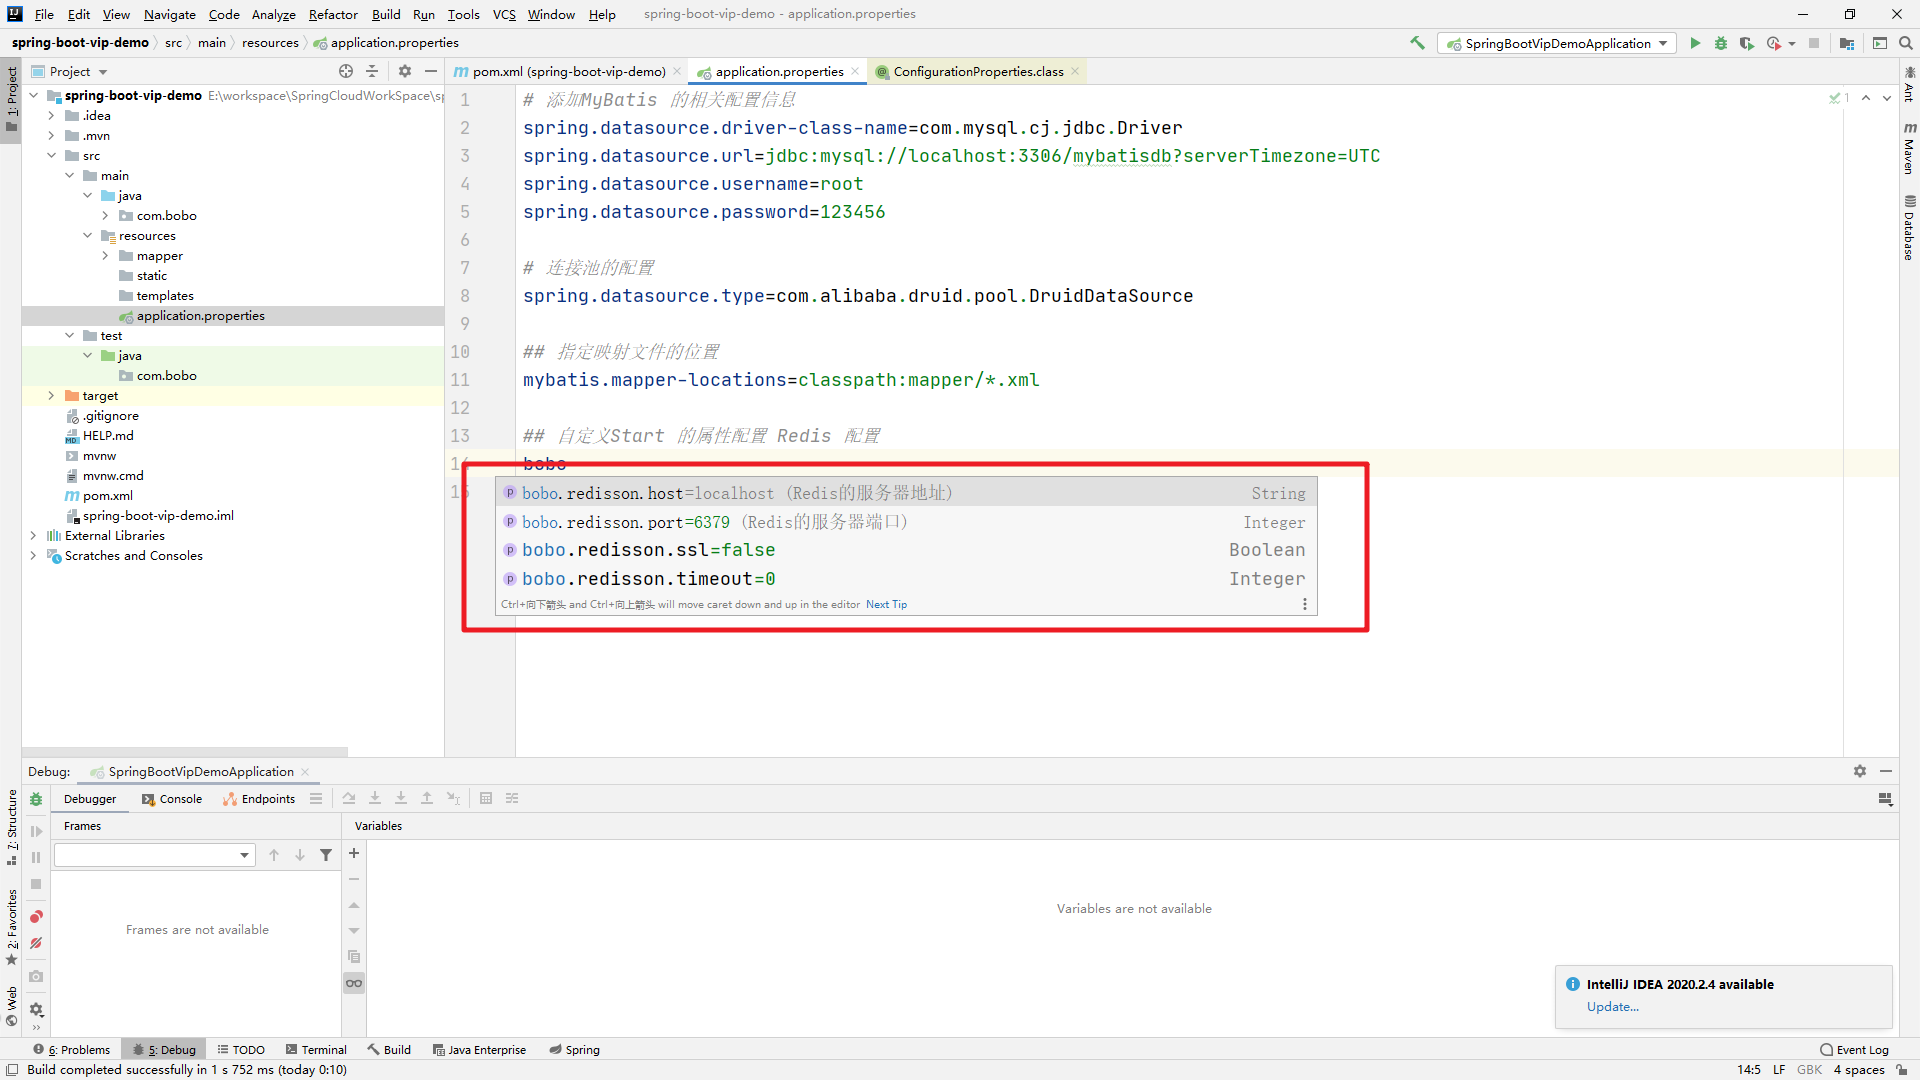
完整的配置信息
# 添加MyBatis 的相关配置信息
spring.datasource.driver-class-name=com.mysql.cj.jdbc.Driver
spring.datasource.url=jdbc:mysql://localhost:3306/mybatisdb?serverTimezone=UTC
spring.datasource.username=root
spring.datasource.password=123456

# 连接池的配置
spring.datasource.type=com.alibaba.druid.pool.DruidDataSource

## 指定映射文件的位置
mybatis.mapper-locations=classpath:mapper/*.xml

## 自定义Start 的属性配置 Redis 配置
bobo.redisson.host=192.168.100.120
bobo.redisson.port=6379
bobo.redisson.timeout=5000
然后创建控制器测试。
@RestController
public class UserController {
@Autowired
private IUserService userService;
@Autowired
private RedissonClient redissonClient;
@GetMapping("/hello")
public List<User> hello(){
return userService.query();
}
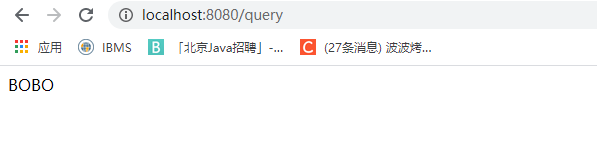
@GetMapping("/query")
public String query(){
RBucket<Object> name = redissonClient.getBucket("name");
if(name.get() == null){
name.set("BOBO");
}
return name.get().toString();
}
}
启动服务测试:
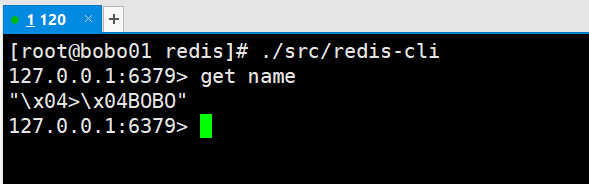
进入Redis中也可以看到对应的数据信息
SpringBoot的自定义Starter搞定!!!