
定时器介绍与使用
先简单介绍一下什么是定时器:定时器类似生活中的闹钟,当时间一到,我们就会去做某些事情。
在代码层面理解就是,当我们设置的时间一到,程序就会执行我们固定的代码片段(也就是任务)
在Java 标准库中给我们提供了定时器的类 Timer
下面是构造方法:
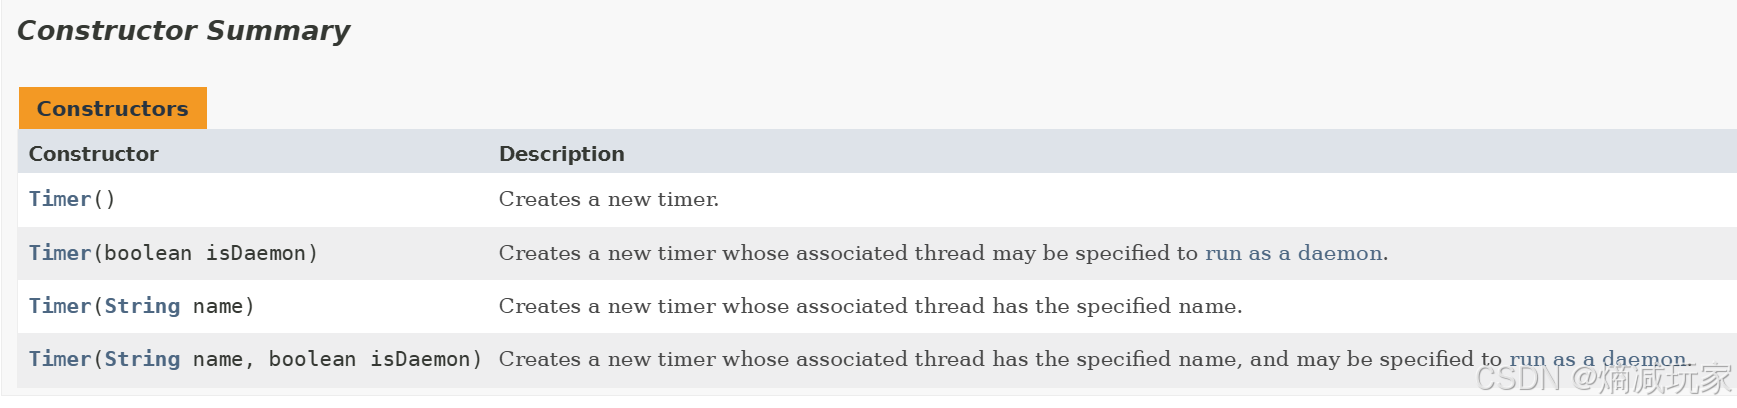
Timer() 就是直接创建一个定时器,里面的属性都是默认值
Timer(boolean isDaemon) 设置定时器里的线程是否为守护线程(后台线程)
Timer(String name) 给你的定时器设置一个名字
schedule
schedule 方法是 Timer 的核心方法,这里介绍第一个schedule 方法的参数含义。

首先 TimerTask task 是 要执行的任务,delay 是时间设置,单位是毫秒(ms)
意思就是在多少毫秒之后就会执行哪些任务。
TimerTask 其实就是对 Runnable 的进一步封装
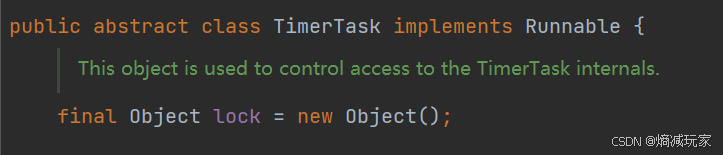
因此我们在传递task 的时候,要重写 run 方法
代码演示:
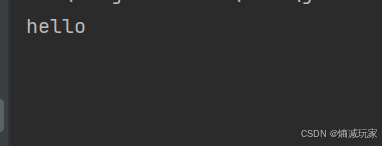
public class Demo3 { public static void main(String[] args) { Timer timer = new Timer(); timer.schedule(new TimerTask() { @Override public void run() { System.out.println("hello"); } }, 5000); }}程序启动之后,5s 之后就会打印 hello
模拟实现
定时器需要定时执行一些任务,这些任务按照各自的时间执行,因此我们可以使用优先级队列来管理这些任务。
为了便于我们实现任务类(MyTimerTask)这里就不采用抽象类的写法,直接定义两个成员变量,一个是 Runnable 任务,一个是 delay 时间,并且在 MyTimerTask 这里实现 Comparable 接口,当然你也可以自己实现一个 Comparator
class MyTimerTask implements Comparable<MyTimerTask>{ private Runnable task; private long delay; public MyTimerTask(Runnable task, long delay) { this.task = task; this.delay = delay; } @Override public int compareTo(MyTimerTask o) { return (int)(this.delay - o.delay); } public Runnable getTask() { return task; } public long getDelay() { return delay; }}在模拟实现定时器类中,先定义一个优先级队列。
接着我们来写schedule 方法,首先schedule 需要传入两个参数,在Java 源码里是直接传入 task 对象,这里简单一点,直接传入 Runnable ,然后再传入一个 delay 延时时间。
在这个方法中实例化我们的 MyTimerTask 对象,注意时间我们不能直接传过去,我们需要处理一下时间,把 delay + System.currentTimeMillis() 作为时间传入,System.currentTimeMillis() 是系统此时的时间,加上 delay 就是这个任务要在哪个时刻开始执行。
为了避免因为多个线程同时传入任务而导致线程安全问题,这里我们进行加锁,为什么要使用 notify ,后面会提到。
public synchronized void schedule(Runnable task, long delay) { MyTimerTask timerTask = new MyTimerTask(task, System.currentTimeMillis() + delay); queue.offer(timerTask); this.notify(); }最后就是在定时器里创建一个线程,这里我直接在定时器实例化的时候把线程创建出来。
线程的任务就是不断从队列里获取任务然后去执行,因此当队列没有元素的时候,我们需要进行线程等待状态,什么时候结束等待呢?就是当队列添加了一个元素之后,就发出 notify 信号结束等待,所以上面的 schedule 方法最后一行代码是 this.notify() 就是为了提醒这里要结束等待。
结束等待之后,我们就要获取堆顶元素,这里先不着急 poll(),因为我们还不确定这个任务是否是现在就立刻执行,所以我们先 peek(),接着进行判断,如果 task.getDelay() <= System.currentTimeMillis() 的时候就执行任务,否则就是 task.getDelay() > System.currentTimeMillis() 那就进入线程等待,此时我们不能采取死等策略,因为这时候可能没人会发出 notify() 来唤醒这个线程,除了 schedule 方法里 有 notify 之外,可是 schedule 方法的 notify 是起到因为 队列添加了元素,队列不为空唤醒上一个 wait 的作用,因此如果这时候没有人 schedule 的话,这个线程就永远都不会被唤醒了。
因此这里采取有时间的 wait ,this.wait(task.getDelay() - System.currentTimeMillis());,可是我们知道这个 wait 是有可能因为 schedule 唤醒的,这时候后面的代码不能直接写 任务执行,万一此时队列添加了一个更早的元素的话,按道理你执行的任务就应该更新,**并且此时时间一定没到,wait 提前被唤醒,也是不能执行任务的,**所以这里我们采取 if - else 代码块来写这里的代码,当线程确实被唤醒之后,没事,再走一遍上面的流程重新获取堆顶元素即可。
public MyTimer() { Thread t = new Thread(() -> { try { while(true) { synchronized (this) { while (queue.isEmpty()) { this.wait(); } MyTimerTask task = queue.peek(); if(task.getDelay() > System.currentTimeMillis()) { this.wait(task.getDelay() - System.currentTimeMillis()); } else { task.getTask().run(); queue.poll(); } } } } catch (InterruptedException e) { throw new RuntimeException(e); } }); t.start(); }最终定时器模拟实现的代码:
class MyTimerTask implements Comparable<MyTimerTask>{ private Runnable task; private long delay; public MyTimerTask(Runnable task, long delay) { this.task = task; this.delay = delay; } @Override public int compareTo(MyTimerTask o) { return (int)(this.delay - o.delay); } public Runnable getTask() { return task; } public long getDelay() { return delay; }}class MyTimer { private PriorityQueue<MyTimerTask> queue = new PriorityQueue<>(); public MyTimer() { Thread t = new Thread(() -> { try { while(true) { synchronized (this) { while (queue.isEmpty()) { this.wait(); } MyTimerTask task = queue.peek(); if(task.getDelay() > System.currentTimeMillis()) { this.wait(task.getDelay() - System.currentTimeMillis()); } else { task.getTask().run(); queue.poll(); } } } } catch (InterruptedException e) { throw new RuntimeException(e); } }); t.start(); } public synchronized void schedule(Runnable task, long delay) { MyTimerTask timerTask = new MyTimerTask(task, System.currentTimeMillis() + delay); queue.offer(timerTask); this.notify(); }}