登录布局设定
制作一个简单登录页面
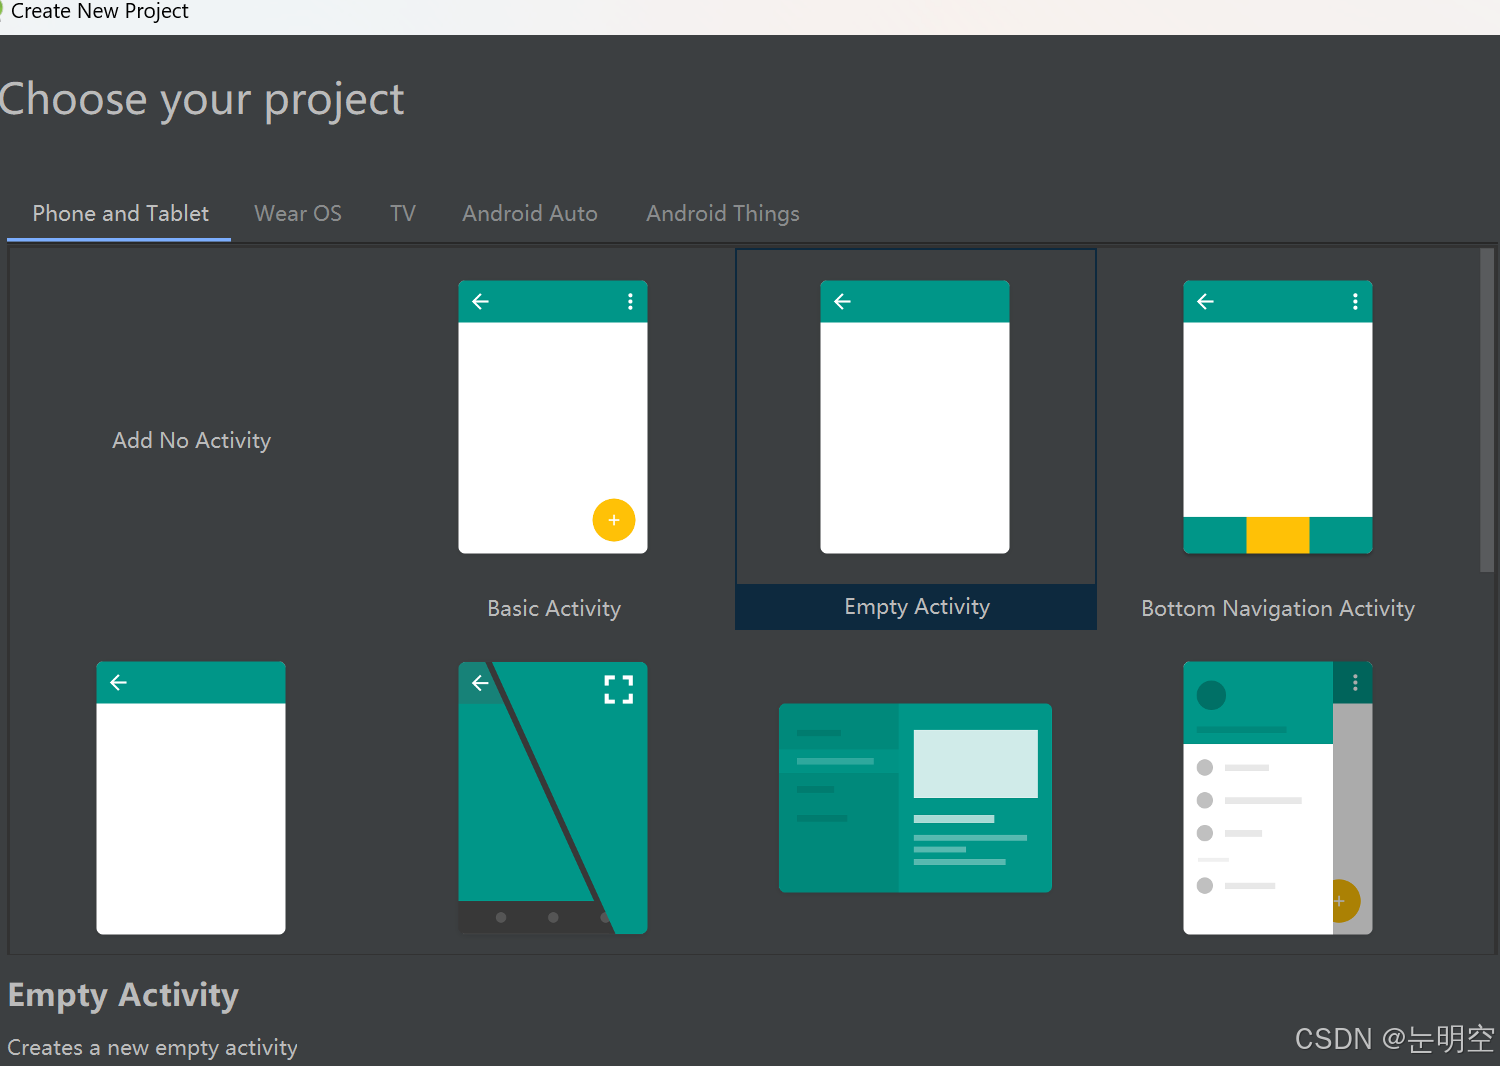
首先创建模板,这里选择Empty Activity(可根据自身需求来选择)
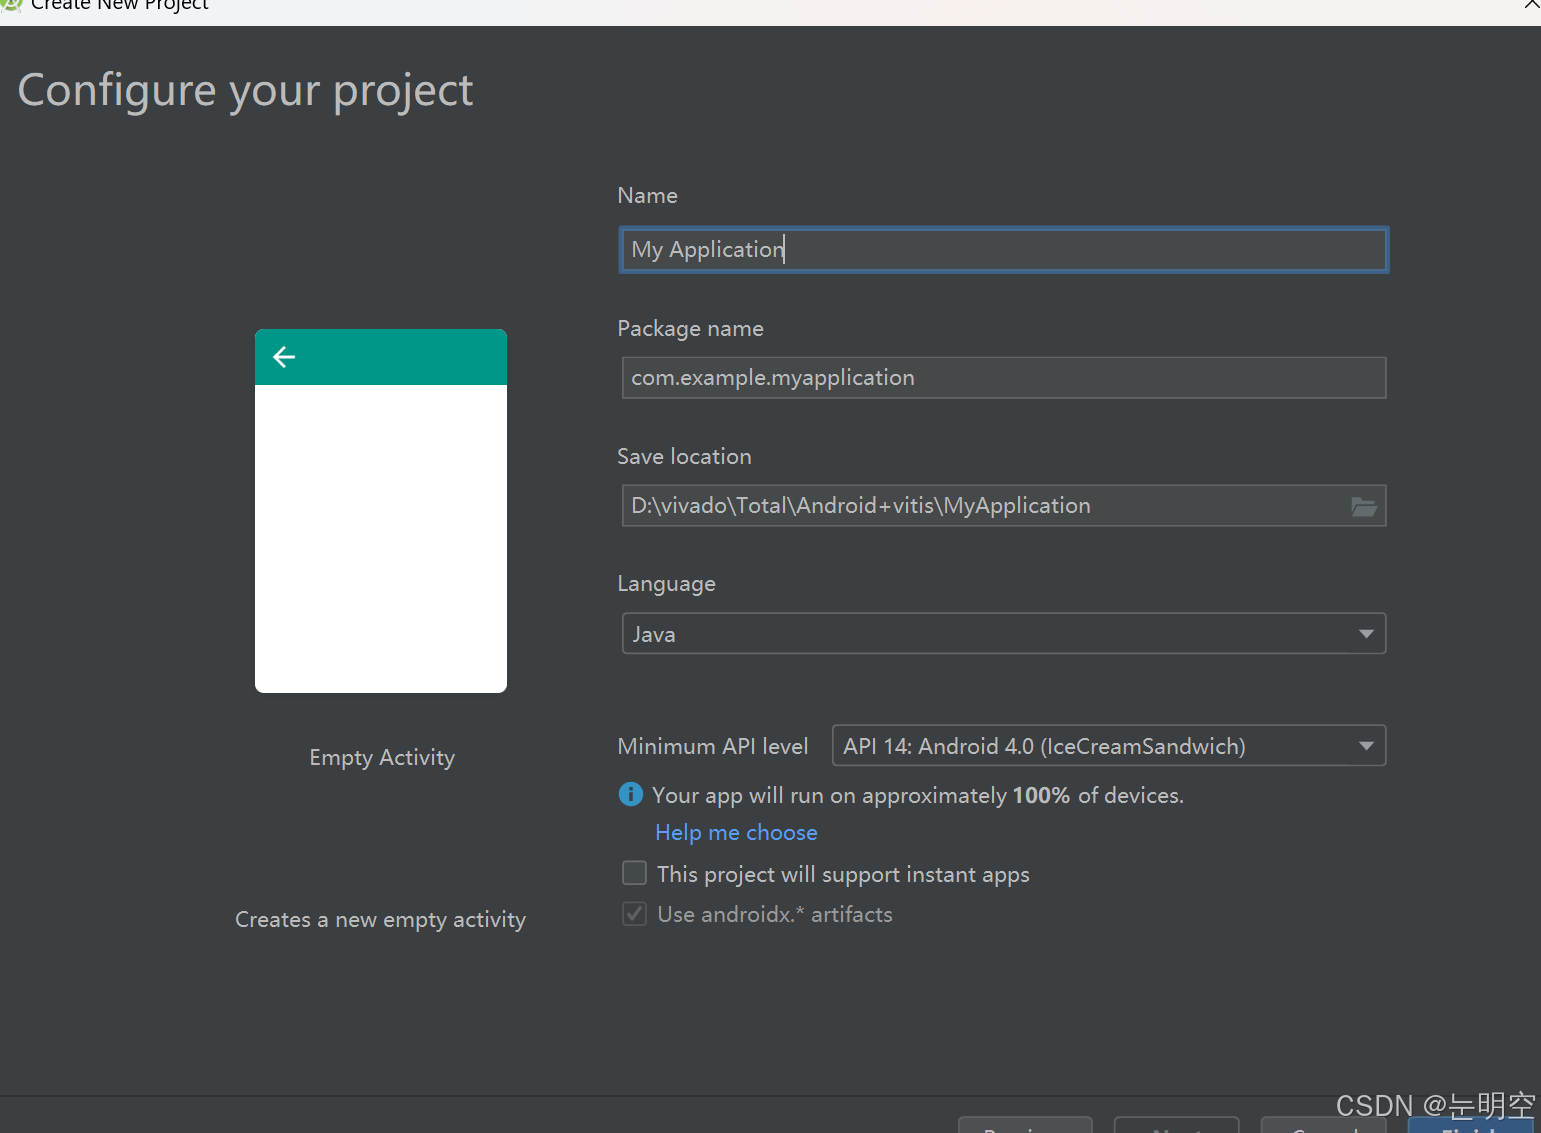
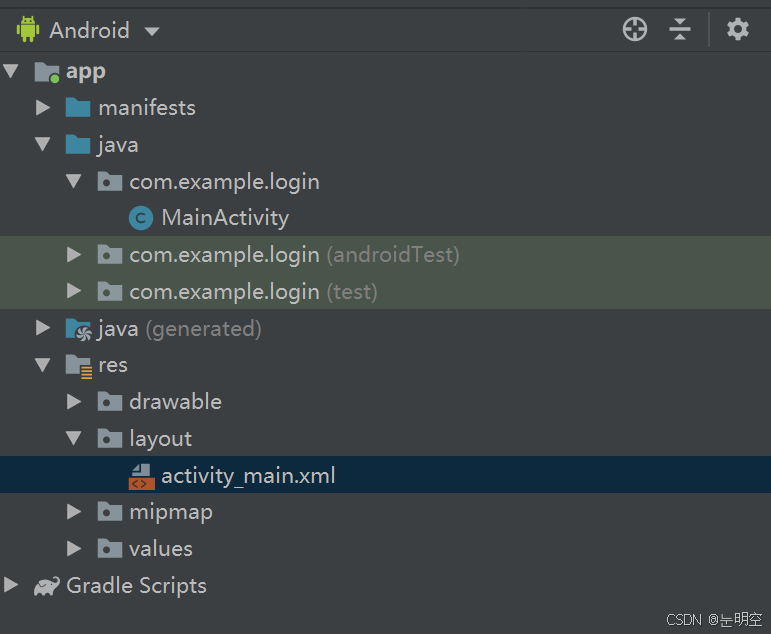
根据功能修改命名login(登录功能),打开菜单显示,我们可以找到主函数MainActivity和对应的布局函数activity_main
我们打开布局函数,可以根据要求设计布局,在design和Text界面切换界面视图和代码视图
代码如下,根据自己爱好可以设置高度、宽度、水平竖直布局、背景图片等等
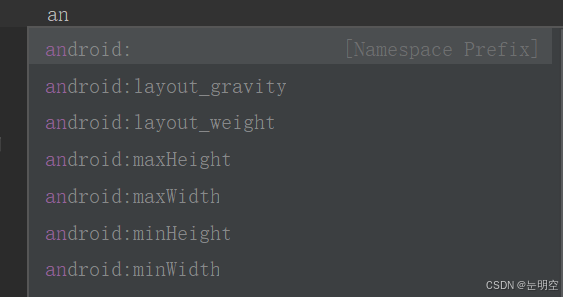
LinearLayout:允许以水平或垂直的方式排列子视图(widgets),可以通过android:orientation属性设置LinearLayout的方向,horizontal表示水平排列,vertical表示垂直排列。通过给子视图设置android:layout_weight属性,可以控制子视图在LinearLayout中占据的空间比例。
TextView:用于显示文本的UI组件。通过android:text属性设置TextView显示的文本内容。可以通过android:textSize、android:textColor等属性设置文本的样式,如字体大小、颜色等。
EditText:一个允许用户输入文本的UI组件。通过android:inputType属性,可以指定EditText接受的输入类型,如数字、文本、密码等。android:hint属性用于设置当EditText为空时显示的提示文本。
<?xml version="1.0" encoding="utf-8"?><LinearLayout xmlns:android="http://schemas.android.com/apk/res/android" xmlns:app="http://schemas.android.com/apk/res-auto" xmlns:tools="http://schemas.android.com/tools" android:layout_width="match_parent" android:layout_height="match_parent" android:orientation="vertical" android:padding="10dp" android:background="@drawable/background1" tools:context=".MainActivity"> <TextView android:id="@+id/TV_title" android:layout_width="match_parent" android:layout_height="50dp" android:layout_marginTop="100dp" android:gravity="center" android:text="明空" android:textColor="#090808" android:textSize="18sp" /> <EditText android:id="@+id/ET_userName" android:layout_width="match_parent" android:layout_height="50dp" android:textSize="16sp" android:hint="用户名" android:textColor="#000000" android:maxLines="1" android:padding="5dp" android:background="@drawable/bg_username" android:layout_marginTop="30dp" /> <EditText android:id="@+id/ET_password" android:layout_width="match_parent" android:layout_height="50dp" android:textSize="16sp" android:textColor="#000000" android:hint="密码" android:maxLines="1" android:padding="5dp" android:inputType="textPassword" android:background="@drawable/bg_username" android:layout_marginTop="20dp" /> <LinearLayout android:layout_width="match_parent" android:layout_height="wrap_content" android:orientation="horizontal" android:layout_marginTop="20dp" > <Button android:id="@+id/btn_login" android:layout_width="0dp" android:layout_weight="1" android:layout_height="wrap_content" android:text="登录" android:textColor="#000000" android:layout_gravity="center" android:background="@drawable/btn_left" /> <Button android:id="@+id/btn_register" android:layout_width="0dp" android:layout_weight="1" android:layout_height="wrap_content" android:text="注册" android:textColor="#000000" android:layout_marginLeft="4dp" android:layout_gravity="center" android:background="@drawable/btn_right" /> </LinearLayout></LinearLayout>
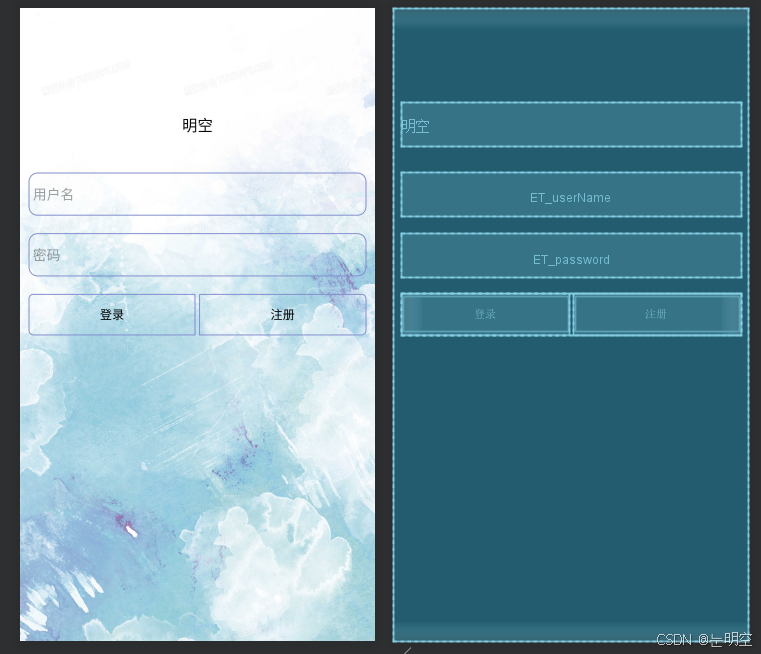
接下来我们来看一下布局中透明框的设置,为方便后期调用这里在drawable封装3个xml布局,分别是bg_username,btn_left,btn_right
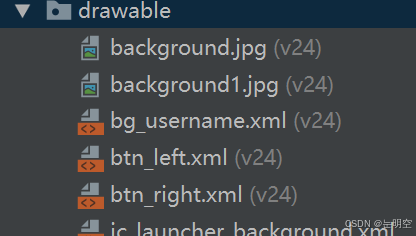
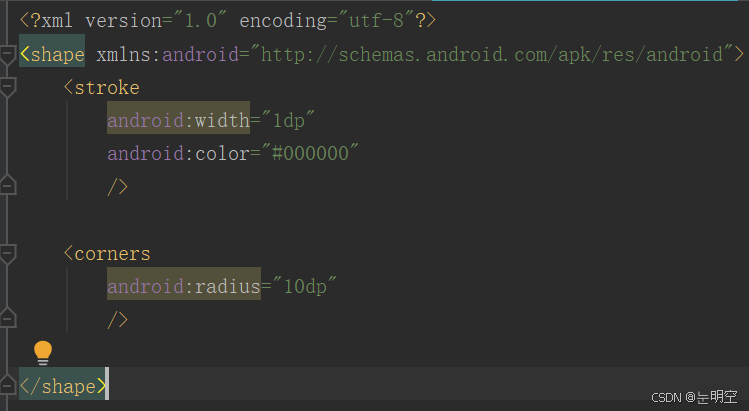
<stroke>元素定义了形状的边框,<corners>元素定义了形状的边角如何被圆角化
bg_username
btn_left
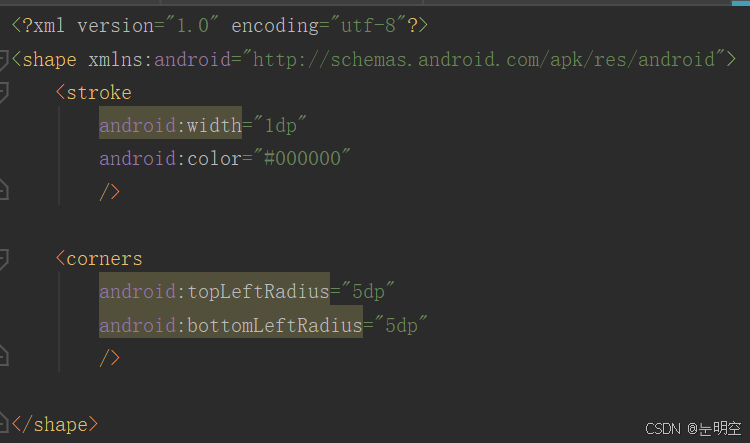
btn_right
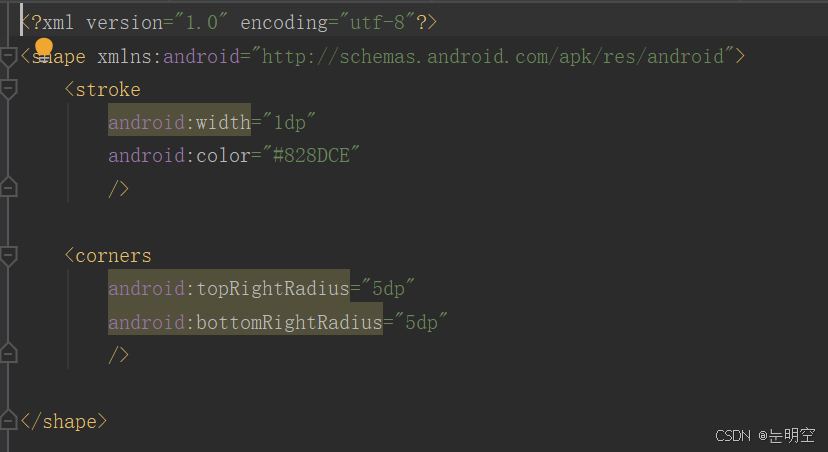
当然,这些颜色定义声明以及模板边框之类的都可以自由更改
values中colors,点击左边颜色框就可以更改选择其他颜色,为了方便起见,我们可以自定义一些常用的颜色,便于之后布局中使用
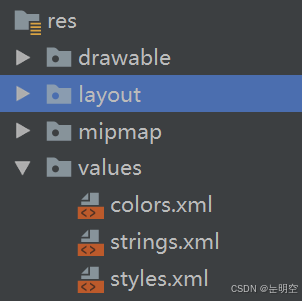
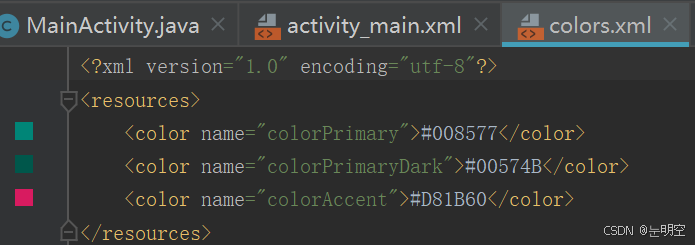
自定义常用颜色
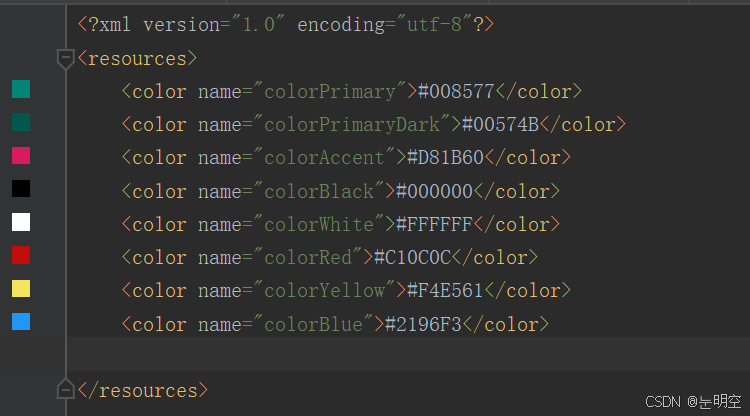
点击values中styles.xml可以看到模板风格,如果你不想要上面自带的绿色显示,可以进入styles

将
<style name="AppTheme" parent="Theme.AppCompat.Light.DarkActionBar">
更换为
<style name="AppTheme" parent="Theme.AppCompat.Light.NoActionBar">
实机演示登录界面如下:(颜色大小高度宽度等设置不同,显示有差异,可自行调整)
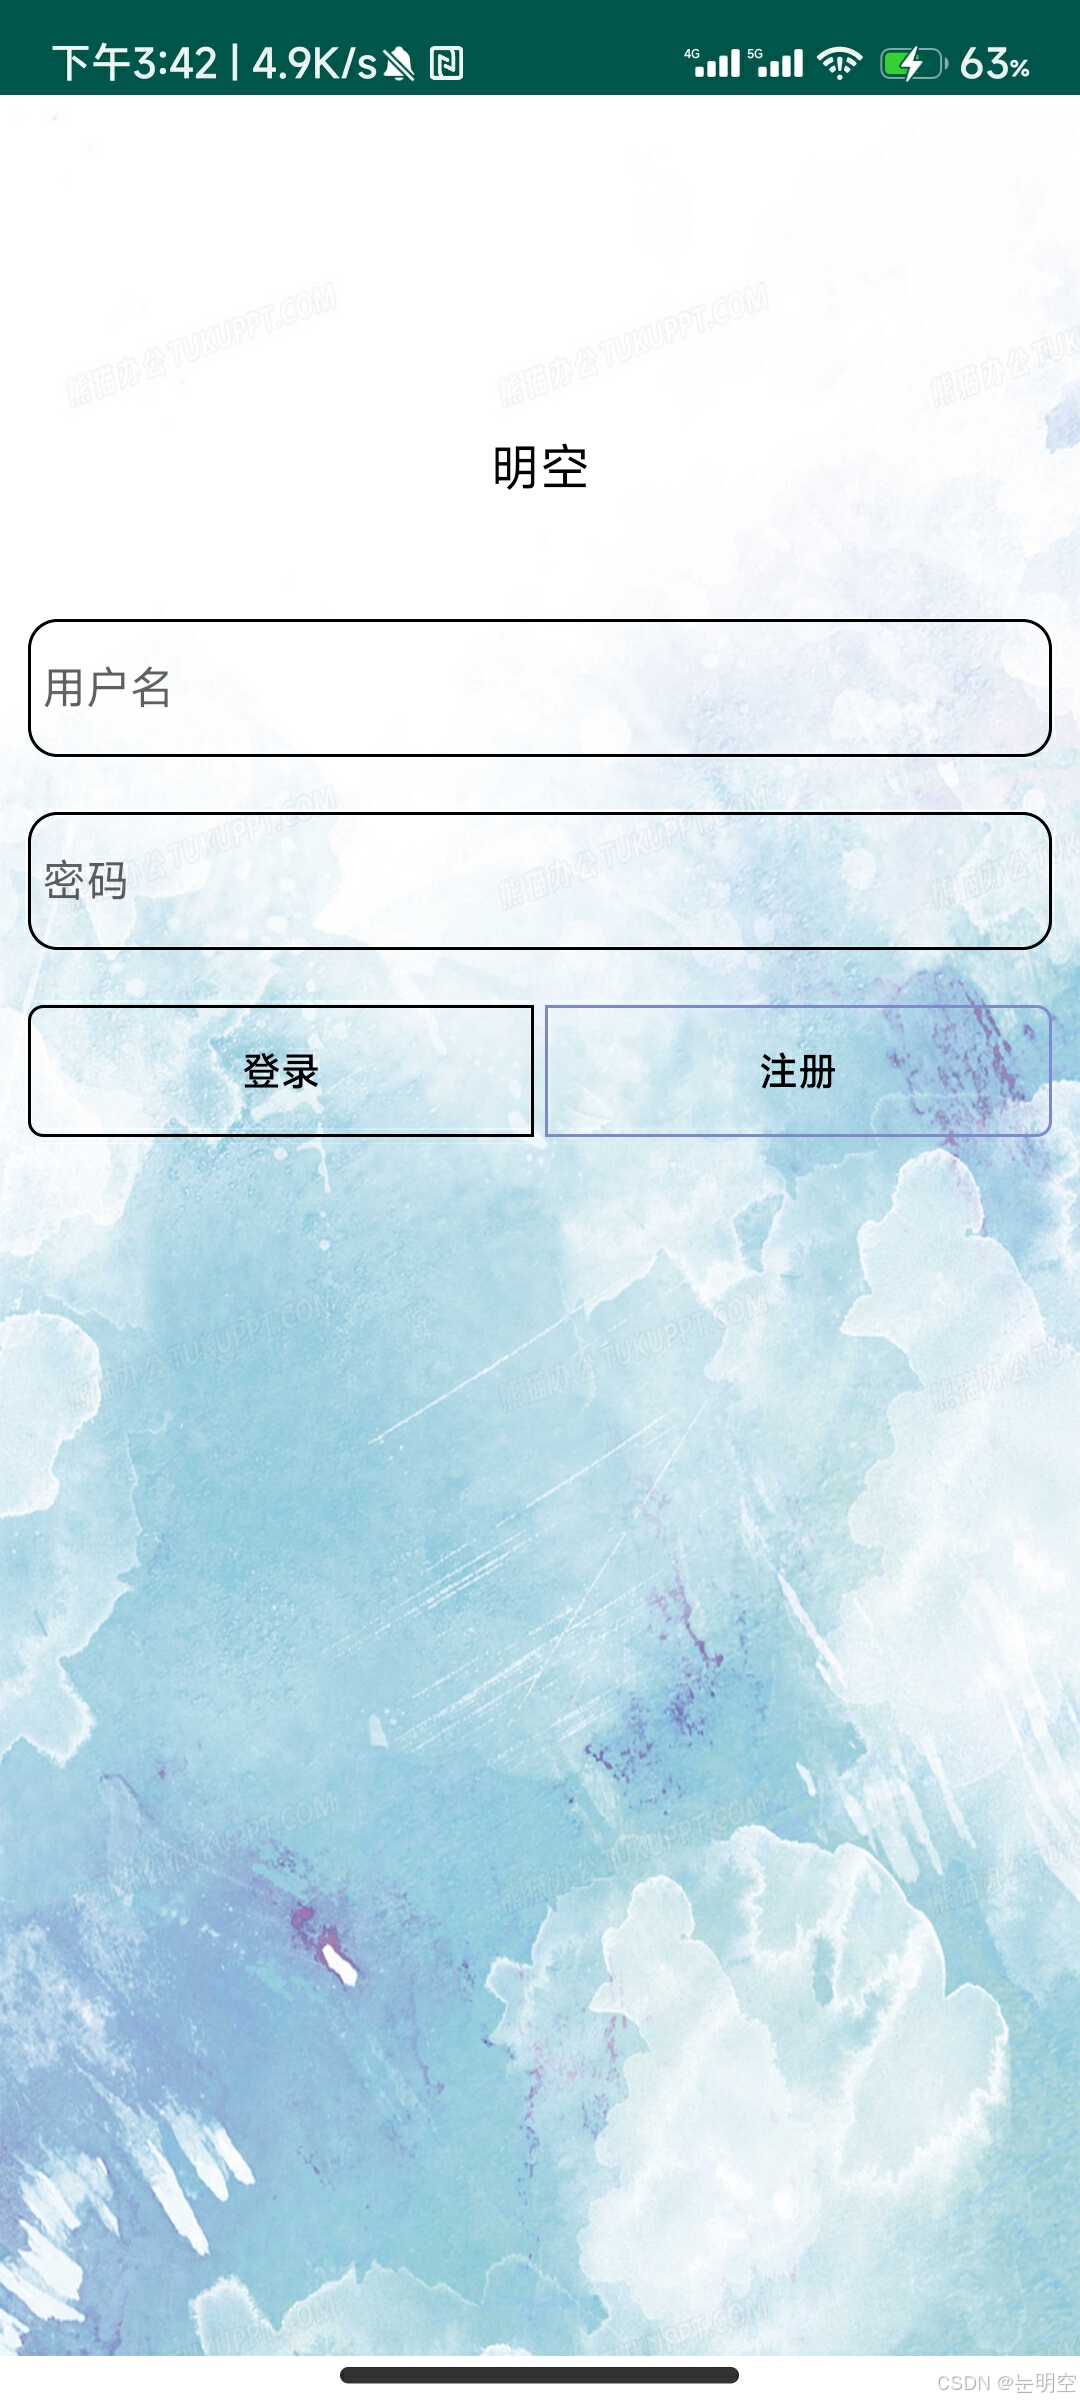
好的,到这里我们完美的设计了一个界面,那么如何实现他的登录功能呢,点击后如何调转
MainActivity函数功能
在布局函数中,我们设置了两个EditText和两个Button,所以我们首先要声明控件,让程序能够找到我们定义的控件,再给他增加点击功能。
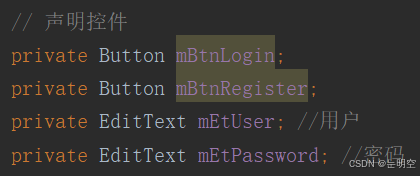
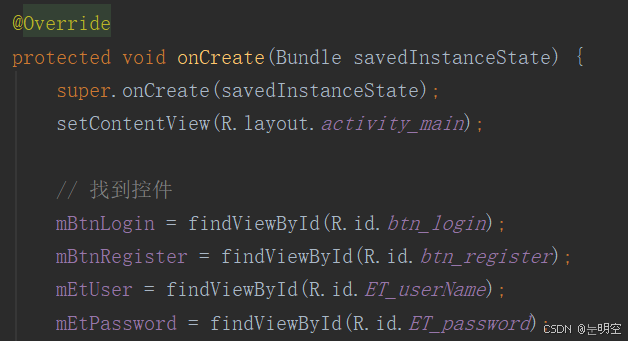
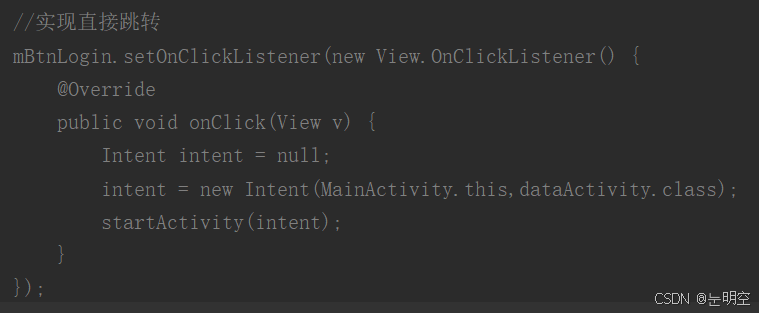
直接实现点击跳转,我们为登录按钮增加点击功能,但是我们不仅仅要跳转,还要匹配正确的用户名,密码(可以自己设置,也可以注册存储利用数据库(此方法我们下篇介绍))
自定义用户名,密码:
public void onClick(View v){ String username = mEtUser.getText().toString(); String password = mEtPassword.getText().toString(); //弹出内容设置 String success = "登陆成功"; String fail = "账号或密码有误,请重新登录"; Intent intent = null; //假设正确账号密码 (***后面可用数据库连) if(username.equals("mk")&&password.equals("123456")){ showMsg(MainActivity.this,success); //如果正确,跳转 intent = new Intent(MainActivity.this,dataActivity.class); startActivity(intent); } else { showMsg(MainActivity.this,fail); }}public void showMsg(Context context, String msg) { if(mToast==null) { mToast = Toast.makeText(context,msg,Toast.LENGTH_SHORT); }else { mToast.setText(msg); } mToast.show();}
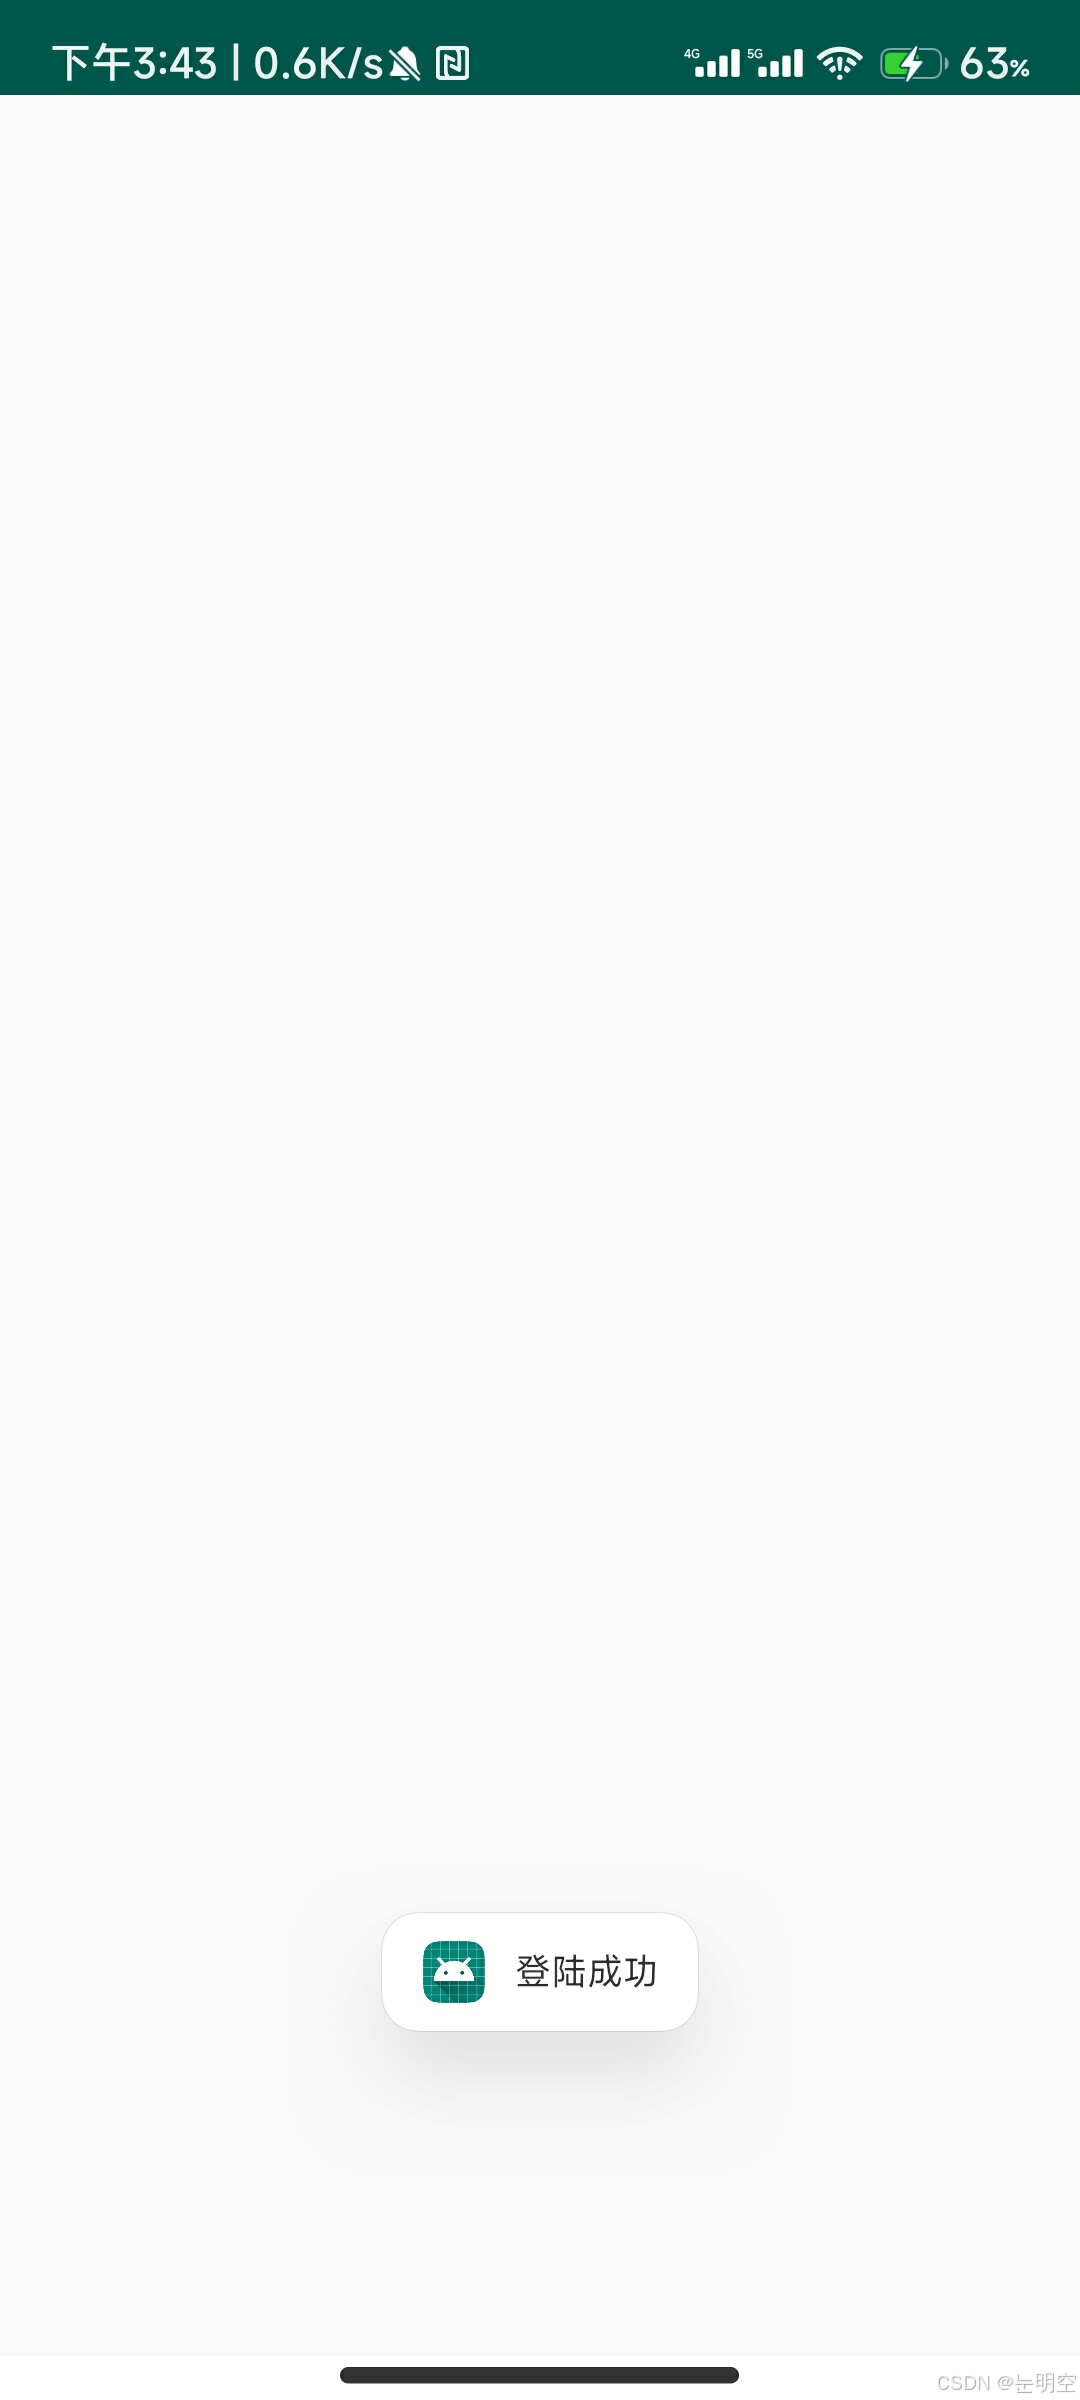
跳转后界面为dataActivity,可根据自身要求按照上面主函数布局来设定跳转后界面布局
intent = new Intent(MainActivity.this,dataActivity.class);(这边跳转界面没有设置,所以是空白)

完整代码如下
MainActivity.java
package com.example.login;import androidx.appcompat.app.AppCompatActivity;import android.content.Context;import android.content.Intent;import android.os.Bundle;import android.view.View;import android.widget.Button;import android.widget.EditText;import android.widget.Toast;import com.example.login.R;public class MainActivity extends AppCompatActivity implements View.OnClickListener { // 声明控件 private Button mBtnLogin; private Button mBtnRegister; private EditText mEtUser; //用户 private EditText mEtPassword; //密码 // 弹窗 private Toast mToast; @Override protected void onCreate(Bundle savedInstanceState) { super.onCreate(savedInstanceState); setContentView(R.layout.activity_main); // 找到控件 mBtnLogin = findViewById(R.id.btn_login); mBtnRegister = findViewById(R.id.btn_register); mEtUser = findViewById(R.id.ET_userName); mEtPassword = findViewById(R.id.ET_password);// //实现直接跳转// mBtnLogin.setOnClickListener(new View.OnClickListener() {// @Override// public void onClick(View v) {// Intent intent = null;// intent = new Intent(MainActivity.this,dataActivity.class);// startActivity(intent);// }// }); //匹配对应用户名和密码进行跳转登录 mBtnLogin.setOnClickListener(this); } public void onClick(View v){ String username = mEtUser.getText().toString(); String password = mEtPassword.getText().toString(); //弹出内容设置 String success = "登陆成功"; String fail = "账号或密码有误,请重新登录"; Intent intent = null; //假设正确账号密码 ***后面可用数据库连 if(username.equals("lyj")&&password.equals("123456")){ showMsg(MainActivity.this,success); //如果正确,跳转 intent = new Intent(MainActivity.this,dataActivity.class); startActivity(intent); } else { showMsg(MainActivity.this,fail); } } public void showMsg(Context context, String msg) { if(mToast==null) { mToast = Toast.makeText(context,msg,Toast.LENGTH_SHORT); }else { mToast.setText(msg); } mToast.show(); }}activity_main.xml
<?xml version="1.0" encoding="utf-8"?><LinearLayout xmlns:android="http://schemas.android.com/apk/res/android" xmlns:app="http://schemas.android.com/apk/res-auto" xmlns:tools="http://schemas.android.com/tools" android:layout_width="match_parent" android:layout_height="match_parent" android:orientation="vertical" android:padding="10dp" android:background="@drawable/background1" tools:context=".MainActivity"> <TextView android:id="@+id/TV_title" android:layout_width="match_parent" android:layout_height="50dp" android:layout_marginTop="100dp" android:gravity="center" android:text="明空" android:textColor="#090808" android:textSize="18sp" /> <EditText android:id="@+id/ET_userName" android:layout_width="match_parent" android:layout_height="50dp" android:textSize="16sp" android:hint="用户名" android:textColor="#000000" android:maxLines="1" android:padding="5dp" android:background="@drawable/bg_username" android:layout_marginTop="30dp" /> <EditText android:id="@+id/ET_password" android:layout_width="match_parent" android:layout_height="50dp" android:textSize="16sp" android:textColor="#000000" android:hint="密码" android:maxLines="1" android:padding="5dp" android:inputType="textPassword" android:background="@drawable/bg_username" android:layout_marginTop="20dp" /> <LinearLayout android:layout_width="match_parent" android:layout_height="wrap_content" android:orientation="horizontal" android:layout_marginTop="20dp" > <Button android:id="@+id/btn_login" android:layout_width="0dp" android:layout_weight="1" android:layout_height="wrap_content" android:text="登录" android:textColor="#000000" android:layout_gravity="center" android:background="@drawable/btn_left" /> <Button android:id="@+id/btn_register" android:layout_width="0dp" android:layout_weight="1" android:layout_height="wrap_content" android:text="注册" android:textColor="#000000" android:layout_marginLeft="4dp" android:layout_gravity="center" android:background="@drawable/btn_right" /> </LinearLayout></LinearLayout>其他
三个透明框布局已经在上文中以图片形式给出,跳转后界面自己创建即可
(欢迎讨论,有错误地方请指出,博主也是接触不久小白一枚,感谢!)