我们已经创建了一个core webapi项目,基于.net6.0,默认包含WeatherForecastController控制器。(可参见前几期的博文)。
1.项目发布
使用命令 dotnet publish -o publish来发布项目。(也可以右击项目->发布->文件夹,来进行发布)

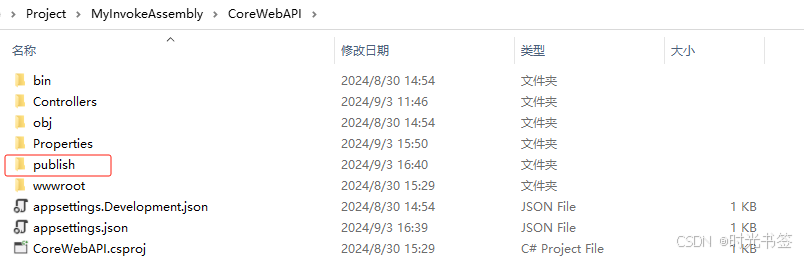
发布后,在项目根目录下创建了“publish”文件夹。
2.项目启动
打开publish文件夹,双击CoreWebAPI.exe启动项目。

http默认访问地址:http://localhost:5000/WeatherForecast
https默认访问地址:https://localhost:5001/WeatherForecast

3.更改发布地址
更改appsettings.json文件,添加Kestrel,我们设置http为5003端口。重新生成、发布。
{ "Logging": { "LogLevel": { "Default": "Information", "Microsoft.AspNetCore": "Warning" } }, "AllowedHosts": "*", "Kestrel": { "Endpoints": { "Http": { "Url": "http://localhost:5003" } } }}http访问地址:http://localhost:5003/WeatherForecast

4.运行环境,采用swagger访问
更改appsettings.json文件,添加配置。
"AppSettings": { "Swagger": { "Enabled": true } }在Program.cs文件(或者StartUp.cs文件),通过配置判断是否启用Swagger方式。重新生成、发布
var swaggerEnabled = app.Configuration.GetValue<bool>("AppSettings:Swagger:Enabled");if (swaggerEnabled){ app.UseSwagger(); app.UseSwaggerUI();}采用 swagger地址访问。为了安全起见,一般会把swagger方式关闭。

设置swagger访问的标题:
builder.Services.AddSwaggerGen(c =>c.SwaggerDoc("v1", new OpenApiInfo { Title = "我的webAPI项目", Version = "v1" }));重新生成、发布:
