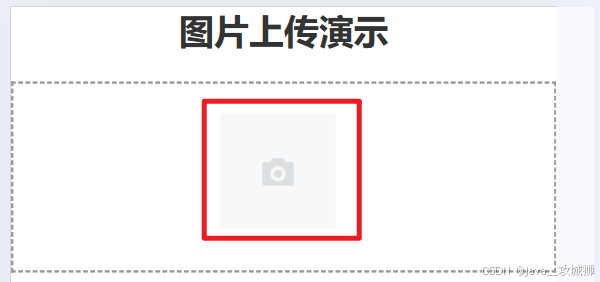
前端效果图

图片上传演示
1 前端代码
<template> <div> <!-- 页面标题 --> <h1 class="page-title">图片上传演示</h1> <div class="upload-container"> <!-- 使用 van-uploader 组件进行文件上传,v-model 绑定 fileList 数据,支持多选文件,afterRead 属性指定读取文件后的回调函数 --> <van-uploader v-model="fileList" multiple :after-read="afterRead" /> </div> <button class="submit-button" @click="submitUpload">提交上传</button> </div> </template><script>import axios from 'axios'export default { data () { return { // 存储上传文件列表 fileList: [] } }, methods: { afterRead (file) { // 此时可以自行将文件上传至服务器 // 设置文件状态为上传中,并添加提示信息 file.status = 'uploading' file.message = '上传中...' const fd = new FormData() // 将文件添加到 FormData 对象中,准备上传 fd.append('file', file.file) axios .post('http://localhost:8081/api/upload', fd, { headers: { // 设置请求头为 multipart/form-data,用于文件上传 'Content-Type': 'multipart/form-data' } }) .then((res) => { console.log(res.data.code) // 判断服务器返回的状态码,如果为 200 表示上传成功 if (res.data.code === 200) { file.status = 'done' file.message = '上传成功' file.content = res.data.data } else { file.status = 'failed' file.message = '上传失败' } }) .catch((error) => { console.error(error) }) }, submitUpload () { // 遍历数组返回新数组 const imgs = this.fileList.map(item => item.content) // 可以在这里添加提交上传的逻辑,比如确认所有文件上传状态等 axios.post('http://localhost:8081/api/submit', JSON.stringify({ imgs }), { headers: { 'Content-Type': 'application/json' } } ).then((res) => { console.log(res.data) }).catch((error) => { console.error(error) }) } }}</script> <style scoped lang="less"> h1 { text-align: center; } .page-title { font-size: 24px; font-weight: bold; color: #333; margin-bottom: 20px; } .upload-container { border: 2px dashed #999; padding: 20px; display: flex; flex-direction: column; align-items: center; } .submit-button { margin-top: 20px; padding: 10px 20px; background-color: #007bff; color: #fff; border: none; border-radius: 5px; cursor: pointer; } </style>这是基于vue脚手架开发的,用于将本地的图片上传至服务器,并在上传过程中展示预览图。
注意:van-uploader标签是vant的一个组件,不会使用可以参考下列链接:vant
2 后端代码
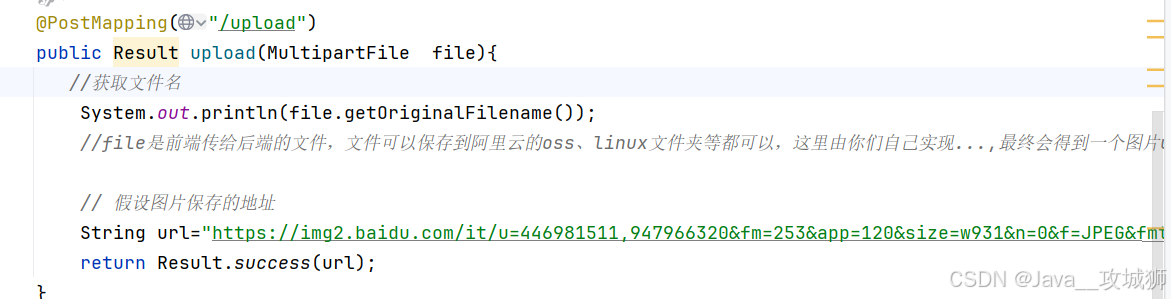
@RestController@CrossOrigin("*")@RequestMapping("/api")public class FileController { @PostMapping("/upload") public Result upload(MultipartFile file){ //file是前端传给后端的文件,文件可以保存到阿里云的oss、linux文件夹等都可以,这里由你们自己实现...,最终会得到一个图片url // 假设图片保存的地址 String url="https://img2.baidu.com/it/u=446981511,947966320&fm=253&app=120&size=w931&n=0&f=JPEG&fmt=auto?sec=1727197200&t=3fc1e64aa5ec768a5bf721d5f131d60f"; return Result.success(url); } @PostMapping("/submit") public Result add(@RequestBody ImagesDTO images) throws Exception{ for (String img : images.getImgs()) { System.out.println(img); } return Result.success(); }}3 实现思路
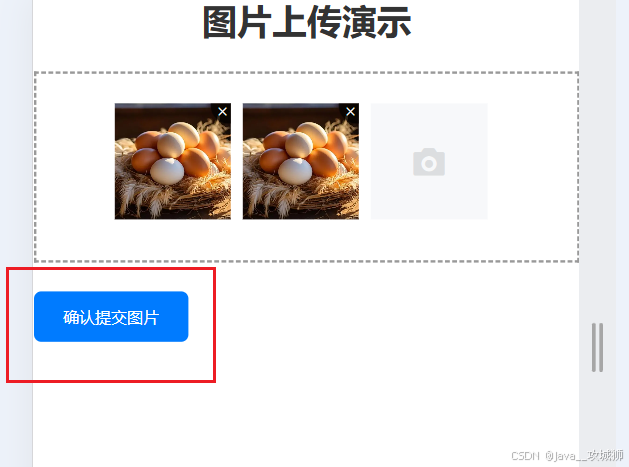
步骤一:点击下方按钮
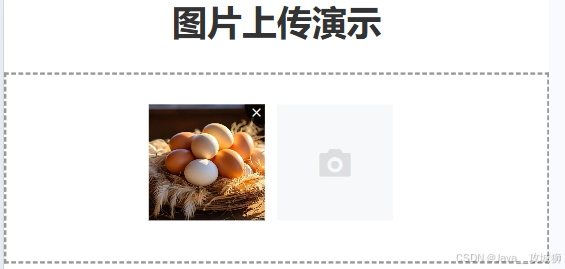
步骤二:选择图片,选中图片后,前端就会调用methods中afterRead(file)函数,最终将图片文件传给http://localhost:8081/api/upload后端接口,后端将图片存储,并返回图片的存储地址给前端。
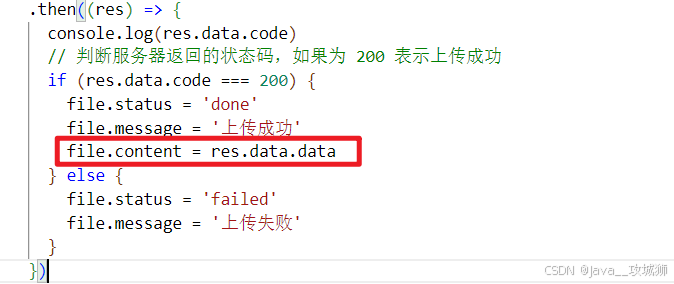
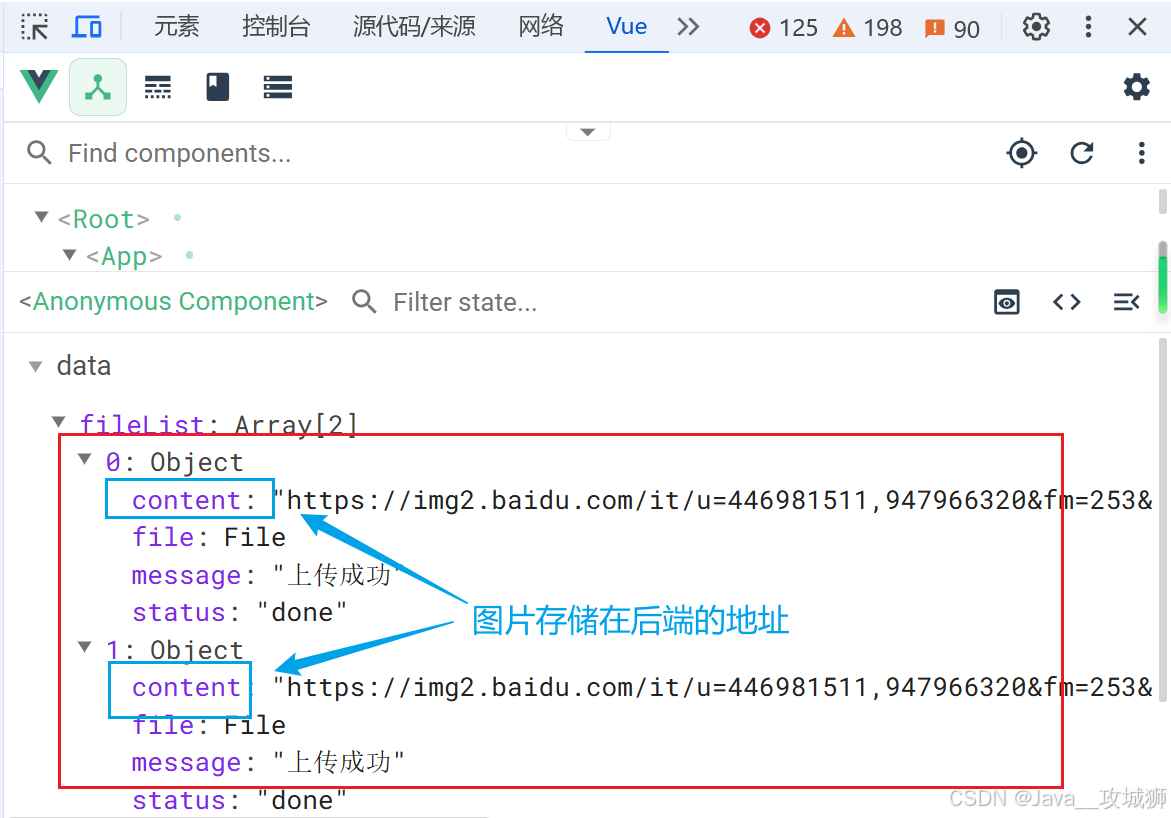
 步骤三:前端会判断后端的响应,对不同响应做出不同处理,如果成功的话,前端可以拿到图片的存储地址,并将本张图片的后端地址,存储到本地。
res.data.data是图片后端地址
所有的图片信息会存储在下列数组中,包括图片后端地址。

数组格式如下:
步骤四:点击提交上传后,会遍历flieList数组,将各元素的content(图片地址)的拿出,创建新的数组,将数组传给后端接口。
后端收到前端的请求
