Visual Studio(vs)下载安装C/C++运行环境配置和基本使用注意事项
基本安装
点击跳转到vs官网点击箭头所指的按钮进行下载 双击运行刚才下载好的下载器
 点击继续
点击继续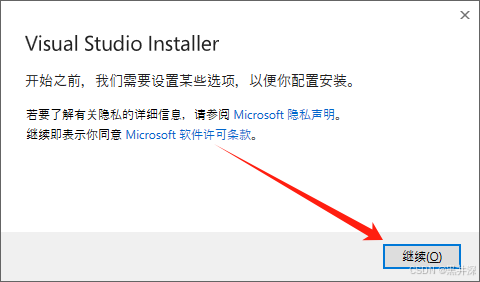 勾选“使用C++的桌面开发”和“Visual Studio扩展开发”
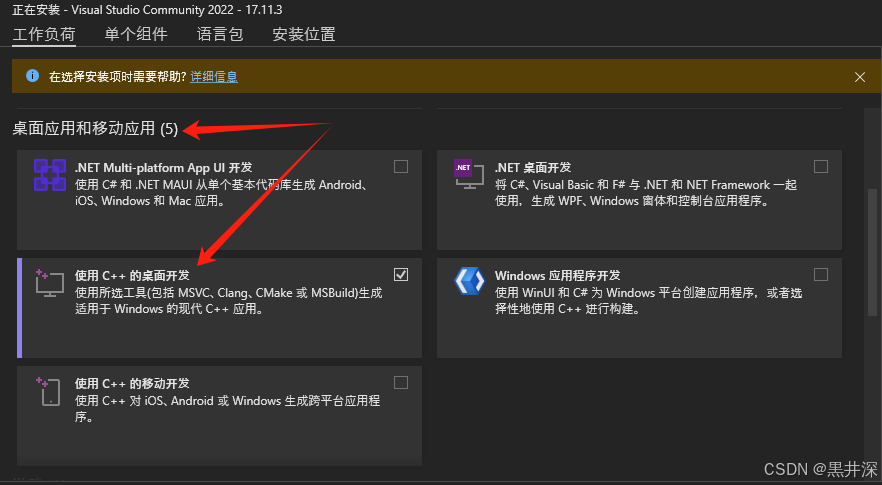
 点击“安装位置”,对vs的安装位置进行更改。你可以跟我一样只选择D盘或者其他你空闲的盘,然后将默认的路径复制过去,安装器在进行安装时若发现没有对应文件夹会自动创建,非常方便。其次是注意右下角的安装大小,虽然已经把能改位置的都改到非C盘了,但是vs有些东西还是必须默认安装在C盘,所以请注意一下你的C盘是否够用
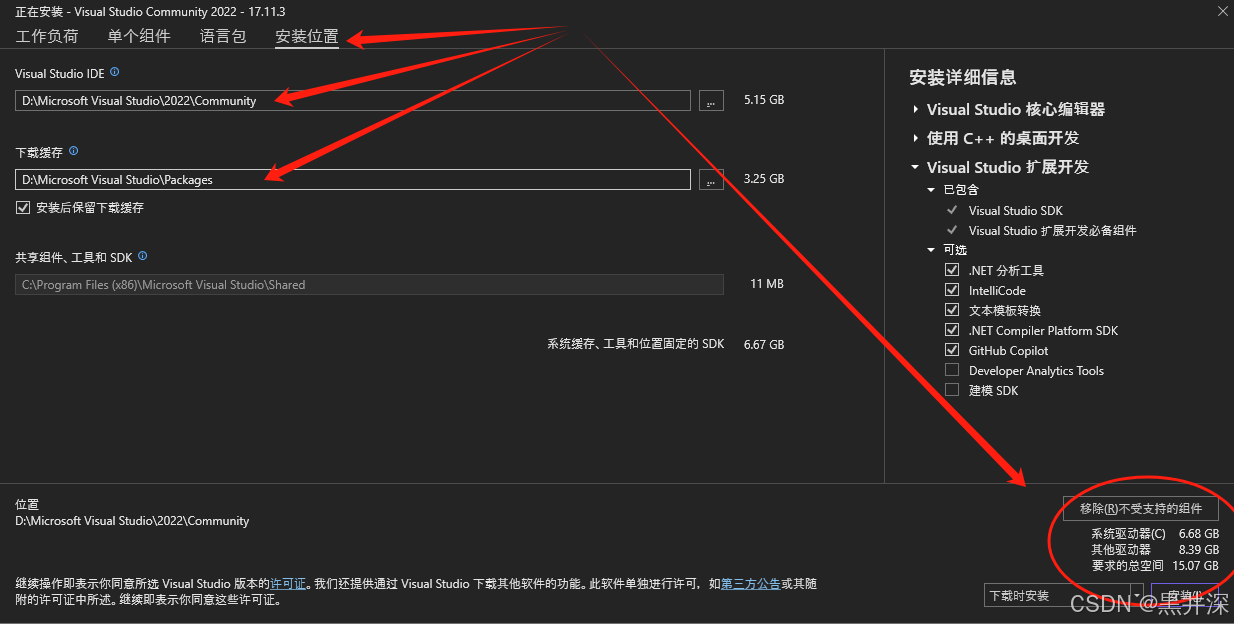 点击右下角的安装,然后等待安装完成安装好后点击“启动”即可打开vs启动页面
基本使用
点击创建新项目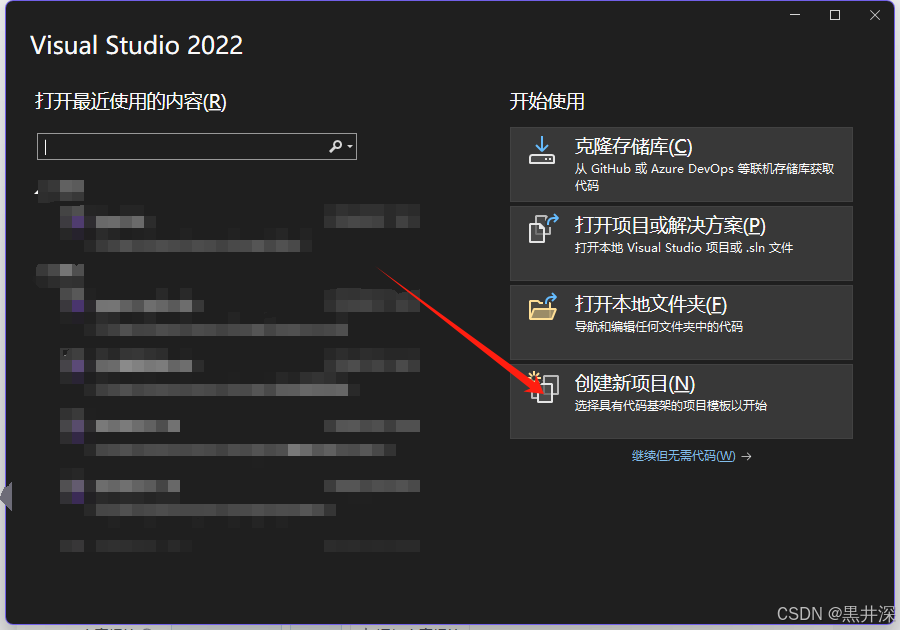 点击“空项目”并点击“下一步”
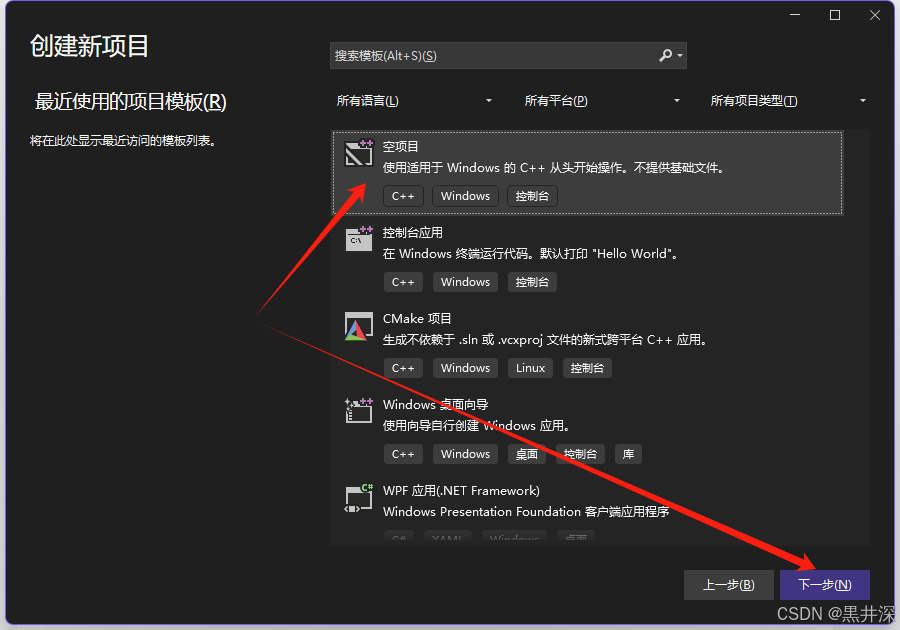 自己输入项目名称和存放位置,这里推荐勾选“将解决方案和项目放在同一目录中”,随后点击右下角“创建”
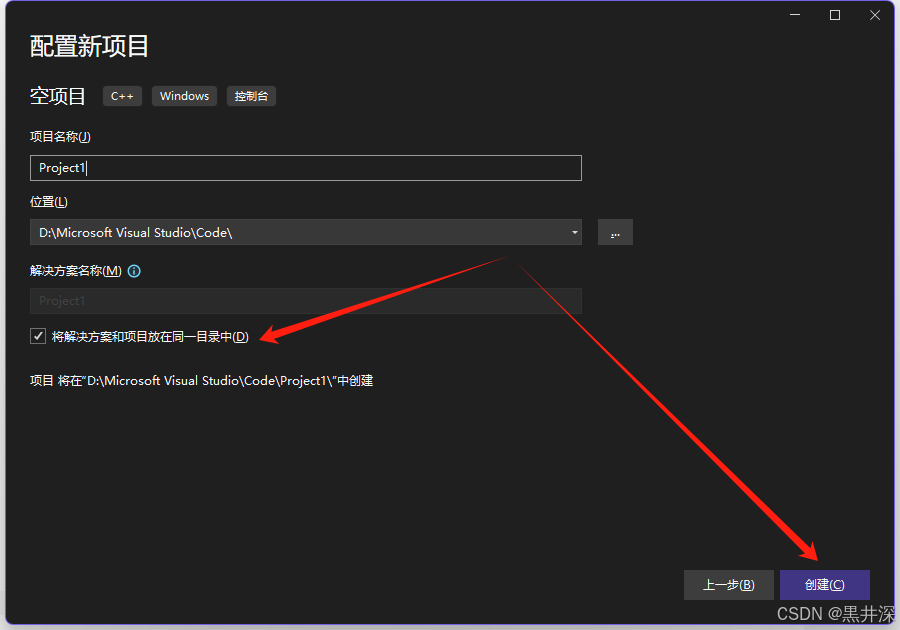 点击源文件->右键->添加->新建项
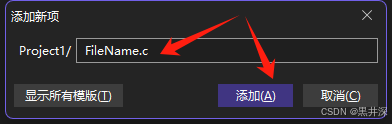
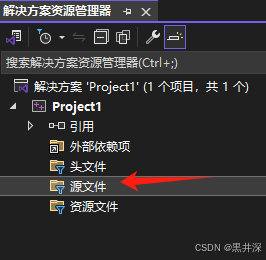 将cpp后缀改成c后缀并点击“添加”(文件名随意,不过一般都是main)
注意:如果想写C语言代码就将后缀改成c如果想写c++那后缀就是cpp
 写点测试代码
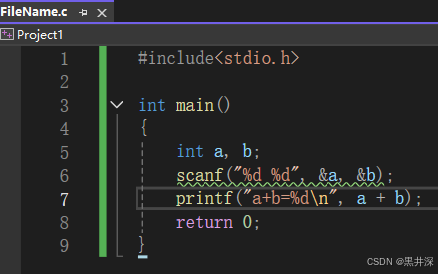 运行试一下
运行试一下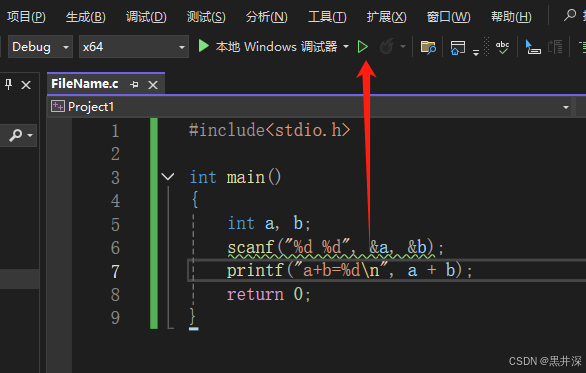 此时你会发现这个看起来没错误的测试代码居然会报错
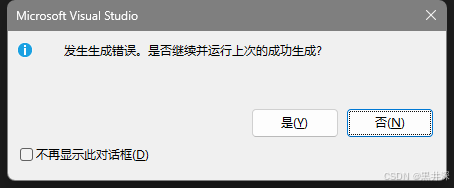
 这里就不多赘述原因了,感兴趣的可以翻译一下英文并点击错误代码查看(或者百度),解决办法只推荐一种:左上角菜单栏找到并点击项目->点击最后一个“属性”
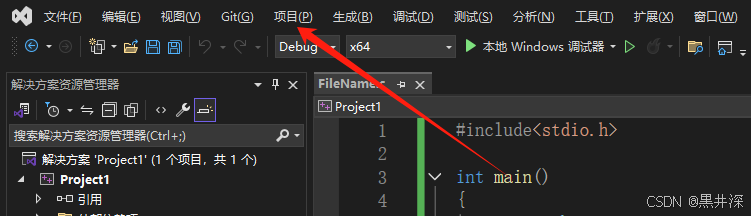 在属性菜单页面:点开“C/C++”->点击“常规”->下面找到“SDL检查”->改成否->点击“应用”->点击“确定”
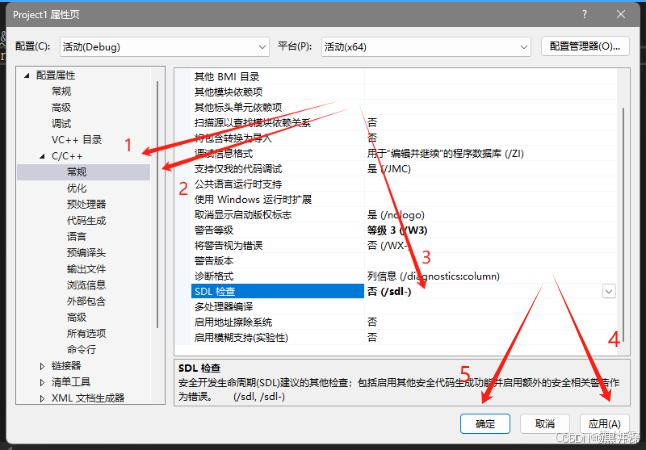 现在再运行就没事了
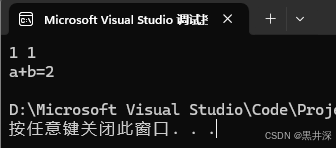
登录后可发表评论
点击登录