目录
一、YOLOv8下载和环境搭建(Python版本为3.8)
二、Pycharm中YOLOv8模型导出
1.pytorch模型pt导出为onnx格式
2.官方COCO数据集coco.yaml介绍
3.yolov8的onnx格式介绍
注:使用C++库为17,onnxruntime、opencv等各版本要大于等于官方推荐
三、QT中的配置(UI不介绍了)
1.opencv库和onnxruntime库安装
2.QMake配置
注: +=后面不要有注释以及不要空一行;除最后一个路径的之后都要加\
3.动态链接库导入(注意)
四、QT+opencv视频流获取代码
1.视频捕获
CameraDetect.h
CameraDetect.cpp
2.视频显示(缺乏的类直接include)
五、YOLOv8官方cpp源码介绍和修改
1.(推理)inference.cpp/h(写在注释里)
2.YOLO_V8::TensorProcess需要修改(坑)
3.创建myYoloDetect(目前先试用检测功能,暂不分类)
myYoloDetect.h
myYoloDetect.cpp
代码解释和补充
4.运行调试(意料之内有点卡,我的CPU推理速度很慢)
六、QT打包
1.使用MSVC终端打包
2.使用工具打包工具再次封装
一、YOLOv8下载和环境搭建(Python版本为3.8)
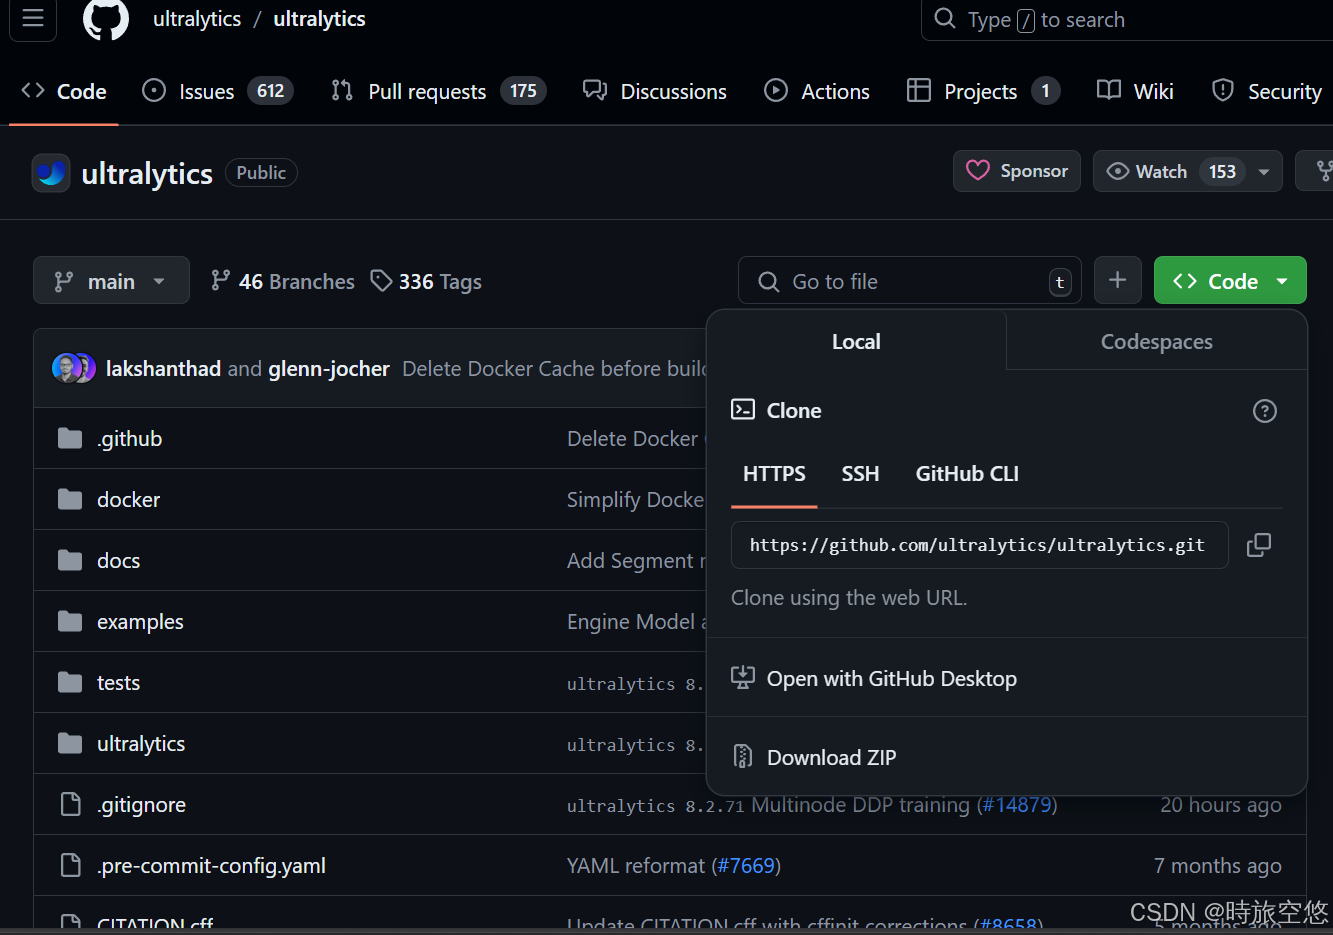
二、Pycharm中YOLOv8模型导出
1.pytorch模型pt导出为onnx格式
对于不同平台需要,如嵌入式、移动端等需要的模型需要推理有更快的速度,官方也给出了C++和onnxruntime构建代码例子example,如下:
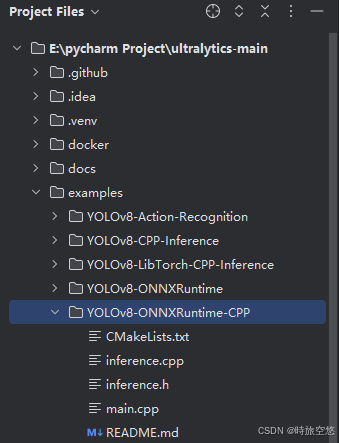
直接将cpp和h文件拷贝进入qt就可以了,CMakeLists.txt用来配置需要的链接库和路径,在QT中也可以换成QMake(.pro)使用,README.md有指出怎么导出onnx模型,如下(32位)
from ultralytics import YOLO# Load a YOLOv8 modelmodel = YOLO("yolov8n.pt")# Export the model,参数opset为导出版本,dynamic=True表示输入图片是否可以是动态的,反之则限制为一定尺寸,imgsz即是限定尺寸为640x640(没有onnx就pip install onnx)model.export(format="onnx", opset=12, simplify=True, dynamic=False, imgsz=640)如果你想使用16位浮点数的模型,一般是用NVDIA训练和推理的模型,而可以简化计算量而加快推理,得使用以下代码,导出的模型默认都在工作目录或当前运行的.py文件的同级目录
import onnxfrom onnxconverter_common import float16model = onnx.load(R"YOUR_ONNX_PATH")model_fp16 = float16.convert_float_to_float16(model)onnx.save(model_fp16, R"YOUR_FP16_ONNX_PATH")其中模型文件yolov8n.pt的n对应的是网络参数特征(深度,宽度,最大输出特征图数量),可以见cfg/models/v8/yolov8.yaml,详细代码如下
scales: # model compound scaling constants, i.e. 'model=yolov8n.yaml' will call yolov8.yaml with scale 'n' # [depth, width, max_channels] n: [0.33, 0.25, 1024] # YOLOv8n summary: 225 layers, 3157200 parameters, 3157184 gradients, 8.9 GFLOPs s: [0.33, 0.50, 1024] # YOLOv8s summary: 225 layers, 11166560 parameters, 11166544 gradients, 28.8 GFLOPs m: [0.67, 0.75, 768] # YOLOv8m summary: 295 layers, 25902640 parameters, 25902624 gradients, 79.3 GFLOPs l: [1.00, 1.00, 512] # YOLOv8l summary: 365 layers, 43691520 parameters, 43691504 gradients, 165.7 GFLOPs x: [1.00, 1.25, 512] # YOLOv8x summary: 365 layers, 68229648 parameters, 68229632 gradients, 258.5 GFLOPs2.官方COCO数据集coco.yaml介绍
yolov8模型共有80个检测目标,在coco.yaml(可以在这里coco数据集下载)中names里面就是检测到类别总数,不过在后面qt中使用它替换成txt文件也可以,只是用来读取类别并显示。
3.yolov8的onnx格式介绍
yolov8的onnx模型输出结构为1x84x8400,其中1为batch size即一次处理图片数量,84前4个分别是锚框中心的坐标位置(x,y),宽度、高度,后面80个为类别,8400为锚框总数,后面的80x8400个数为类别得分。
注:使用C++库为17,onnxruntime、opencv等各版本要大于等于官方推荐
三、QT中的配置(UI不介绍了)
1.opencv库和onnxruntime库安装
官网下载Releases - OpenCV,本人使用的是4.8.0,试过4.0.0也可以
官网下载https://github.com/microsoft/onnxruntime/releases/tag/v1.16.0,1.14.1也行,下载win-x64不带GPU的zip
2.QMake配置
在.pro文件中使用LIBS配置lib的位置,onnxruntime.lib,opencv_world480.lib以及opencv_world480d.lib,具体取决于你的路径,不过我直接装在E和F盘下所以看后面大部分即可
CONFIG(release,debug|release):LIBS +=-LE:/ONNX/onnxruntime-win-x64-1.16.0/onnxruntime-win-x64-1.16.0/lib/ -lonnxruntime\ -LF:/opencv/build/x64/vc16/lib/ -lopencv_world480else:CONFIG(debug,debug|release):LIBS += -LE:/ONNX/onnxruntime-win-x64-1.16.0/onnxruntime-win-x64-1.16.0/lib/ -lonnxruntime\ -LF:/opencv/build/x64/vc16/lib/ -lopencv_world480d配置头文件路径
INCLUDEPATH += F:/opencv/build/include\ F:/opencv/build/include/opencv2\ E:/ONNX/onnxruntime-win-x64-1.16.0/onnxruntime-win-x64-1.16.0/includeDEPENDPATH +=F:/opencv/build/include\ F:/opencv/build/include/opencv2\ E:/ONNX/onnxruntime-win-x64-1.16.0/onnxruntime-win-x64-1.16.0/include注: +=后面不要有注释以及不要空一行;除最后一个路径的之后都要加\
3.动态链接库导入(注意)
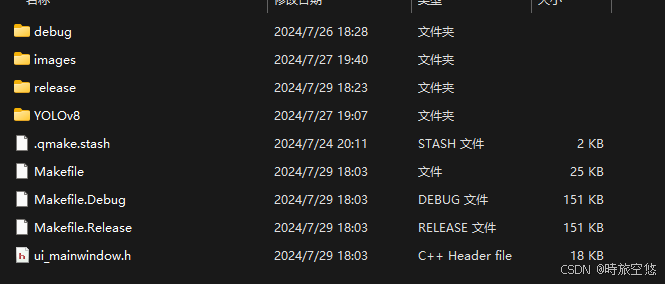
在debug和release目录中要导入onnxruntime.dll和带shared的dll(在下载的),因为win系统中也有同名的dll库而会冲突,而如果环境变量里没有配置opencv的路径时也需要导入
四、QT+opencv视频流获取代码
1.视频捕获
CameraDetect.h
#ifndef CAMERADETECT_H#define CAMERADETECT_H#include "mainwindow.h"#include "QObject"#include "QTimer"#include "QPixmap"#include "myYoloDetect.h"using namespace cv;using namespace std;class MainWindow;class CameraDetect:public QObject{ Q_OBJECTpublic: explicit CameraDetect(QObject *parent=nullptr); void openCamera(); void closeCamera();private: VideoCapture *cap;//捕获视频流 QTimer *capTimer; bool iSOpen=false; //是否打开相机标志signals: void cameraShowImage(QPixmap); void cameraIsOpen(bool);};#endif // CAMERADETECT_HCameraDetect.cpp
#include "cameraDetect.h"#include "QDebug"#include "QThread"CameraDetect::CameraDetect(QObject *parent):QObject(parent){}void CameraDetect::openCamera(){ //开启相机 int cameraDevId=0; cap=new VideoCapture; //使用默认相机,CAP_DSHOW表示win系统下的DirrectShow cap->open(cameraDevId,CAP_DSHOW); if(!cap->isOpened()) { cap->release(); return; } else iSOpen=true; //将相机打开的信号发送出去 emit cameraIsOpen(true); //qDebug()<<QString("相机参数:(%1,%2),%3 FPS").arg(cap->get(3)).arg(cap->get(4)).arg(cap->get(5)); //使用定时器定时捕获视频并显示,节省负载 capTimer=new QTimer; connect(capTimer,&QTimer::timeout,[=]{ cv::Mat frame; cap->read(frame); if(frame.empty()) { closeCamera(); return; } //导入YOLOv8时需要的检测 frame=myDetectTest(frame); //相机RGB的转换,opencv默认是BGR的 cvtColor(frame,frame,COLOR_BGR2RGB); QPixmap pixmap=QPixmap::fromImage(QImage((const uchar*)(frame.data),frame.cols,frame.rows,frame.step,QImage::Format_RGB888)); //将显示图像的信号发送出去 emit cameraShowImage(pixmap); }); //采样时间 capTimer->start(1);}//关闭摄像头void CameraDetect::closeCamera(){ if(!iSOpen) return; if(capTimer->isActive()) { capTimer->stop(); capTimer->deleteLater(); iSOpen=false; emit cameraIsOpen(false); cap->release(); cv::destroyAllWindows(); }}2.视频显示(缺乏的类直接include)
/*********实时检测************/CameraDetect* camera;QThread* cameraThread;void MainWindow::time_Detect(){ camera=new CameraDetect; cameraThread=new QThread; //将相机捕获放进新的线程中 camera->moveToThread(cameraThread); //绑定线程与对象,如当线程发送finished信号时自动结束线程和删除相机对象,释放内存 connect(cameraThread,&QThread::finished,cameraThread,&QThread::deleteLater); connect(cameraThread,&QThread::finished,camera,&CameraDetect::deleteLater); //将camera对象的cameraShowImage函数与主界面的展示视频绑定在一起 connect(camera,&CameraDetect::cameraShowImage,this,&MainWindow::showVideoImage); cameraThread->start(); //将自己设定的捕获开启按钮和结束按钮绑定在一起 connect(ui->startDetButton_2,&QPushButton::clicked,camera,&CameraDetect::openCamera); connect(ui->clearButton_2,&QPushButton::clicked,camera,&CameraDetect::closeCamera);}void MainWindow::showVideoImage(QPixmap img){ //这是使用QGraphicsPixmapItem,QGraphicsScene和QGraphicView这样显示能够缩放 item1=new QGraphicsPixmapItem(img); scene1->clear(); scene1->addItem(item1); ui->input_Image->setScene(scene1); //适应窗口缩放 ui->input_Image->fitInView(item1,Qt::KeepAspectRatio);}MainWindow::~MainWindow(){ //结束时要先退出线程释放内存 if(cameraThread->isRunning()) { cameraThread->quit(); cameraThread->wait(); } delete ui;}五、YOLOv8官方cpp源码介绍和修改
1.(推理)inference.cpp/h(写在注释里)
typedef struct _DL_INIT_PARAM{ std::string modelPath; MODEL_TYPE modelType = YOLO_DETECT_V8; std::vector<int> imgSize = { 640, 640 }; float rectConfidenceThreshold = 0.1; //选择锚框的置信度阈值 float iouThreshold = 0.5;//锚框如果重叠,其交并比如果大于0.5,则置信度低的会被抑制,不显示 intkeyPointsNum = 2;//Note:kpt number for pose bool cudaEnable = false;//选择你是否使用CUDA,需要在开头宏定义USE_CUDA int logSeverityLevel = 3; int intraOpNumThreads = 1;} DL_INIT_PARAM;2.YOLO_V8::TensorProcess需要修改(坑)
在onnx模型提取时要注意它的结构,使用yolov8时要对rawData进行一次翻转rawData.t(),如下。
cv::Mat rawData; if (modelType == YOLO_DETECT_V8) { // FP32 rawData = cv::Mat(strideNum, signalResultNum, CV_32F, output); rawData=rawData.t();//需要翻转 }而在遍历得分时,源码的strideNum(84)和signalResultNum(8400)要调换,因为如上所述84是锚框中的位置大小和类别个数,8400这是锚框的数量(感觉它名字好像起错了?),每个点则是得分,得分最高的类别则存储它的框的坐标位置和大小,遍历8400次。修改如下
for (int i = 0; i < signalResultNum; ++i) { float* classesScores = data+4; //获取得分,前4个是坐标宽长 cv::Mat scores(1, this->classes.size(), CV_32FC1, classesScores); //80个类别的得分 cv::Point class_id; double maxClassScore=0; cv::minMaxLoc(scores, 0, &maxClassScore, 0, &class_id); //根据得分找出id索引 /***测试max***/ // QString test=QString::fromStdString(std::to_string(maxClassScore)); // qDebug()<<"测试max:"<<test; if (maxClassScore > rectConfidenceThreshold) { confidences.push_back(maxClassScore); class_ids.push_back(class_id.x); float x = data[0]; float y = data[1]; float w = data[2]; float h = data[3]; // qDebug()<<x<<" "<<y<<" "<<w<<" "<<h<<" "<<data[4]; int left = int((x - 0.5 * w) * resizeScales); int top = int((y - 0.5 * h) * resizeScales); int width = int(w * resizeScales); int height = int(h * resizeScales); boxes.push_back(cv::Rect(left, top, width, height)); } data += strideNum; //地址跳转到下一个框 }3.创建myYoloDetect(目前先试用检测功能,暂不分类)
myYoloDetect.h
#ifndef MYYOLODETECT_H#define MYYOLODETECT_H#include <iostream>#include <iomanip>#include "inference.h"#include <filesystem>#include <fstream>#include <random>#include "QImage"cv::Mat videoDetector(YOLO_V8*& p,cv::Mat &img);int ReadCocoYaml(YOLO_V8*& p);cv::Mat myDetectTest(cv::Mat &img);//目标检测使用#endif // MYYOLODETECT_HmyYoloDetect.cpp
#include "myYoloDetect.h"#include "QString"#include "QDebug"#include "QDir"#include "QFile"#include "QTemporaryFile"#include "QCoreApplication"//实时视频检测cv::Mat videoDetector(YOLO_V8*& p,cv::Mat &img) { std::vector<DL_RESULT> res; p->RunSession(img, res); for (auto& re : res) { cv::RNG rng(cv::getTickCount()); cv::Scalar color(rng.uniform(0, 256), rng.uniform(0, 256), rng.uniform(0, 256)); cv::rectangle(img, re.box, color, 3); float confidence = floor(100*re.confidence) / 100; std::cout << std::fixed << std::setprecision(2); std::string label = p->classes[re.classId] + " " + std::to_string(confidence).substr(0, std::to_string(confidence).size() - 4); //标签绘制 cv::rectangle( img, cv::Point(re.box.x, re.box.y - 25), cv::Point(re.box.x + label.length() * 15, re.box.y), color, cv::FILLED ); cv::putText( img, label, cv::Point(re.box.x, re.box.y - 5), cv::FONT_HERSHEY_SIMPLEX, 0.75, cv::Scalar(0, 0, 0), 2 ); // QString labelstr=QString::fromStdString(std::to_string(re.classId)+p->classes[re.classId]); // qDebug()<<"类别为:"<<labelstr; } return img;}int ReadCocoYaml(YOLO_V8*& p) { // Open the YAML file,用来创建临时文件 QString relativePath=":/Yolov8/build/Desktop_Qt_6_2_4_MSVC2019_64bit-Release/YOLOv8/coco.yaml"; QString tempPathDir=QCoreApplication::applicationDirPath(); QString tempFileName=tempPathDir+"/temp_coco_xx.yaml"; QString copyFileName=tempPathDir+"/temp_coco.txt"; QFile copyFile(copyFileName); QTemporaryFile tempfile(tempFileName); if(copyFile.size()==0) //打开临时文件进行写入 { if(tempfile.open()) { copyFile.setPermissions(QFileDevice::ReadUser | QFileDevice::WriteUser); tempfile.setPermissions(QFileDevice::ReadUser | QFileDevice::WriteUser); QFile resourceFile(relativePath); resourceFile.open(QIODevice::ReadOnly); tempfile.write(resourceFile.readAll()); tempfile.flush(); tempFileName=tempfile.fileName(); tempfile.close(); QFile::copy(tempFileName,copyFileName); } } std::ifstream file(copyFileName.toStdString()); if (!file.is_open()) { std::cerr << "Failed to open file" << std::endl; return 1; } // Read the file line by line std::string line; std::vector<std::string> lines; while (std::getline(file, line)) { lines.push_back(line); } // Find the start and end of the names section std::size_t start = 0; std::size_t end = 0; for (std::size_t i = 0; i < lines.size(); i++) { if (lines[i].find("names:") != std::string::npos) { start = i + 1; } else if (start > 0 && lines[i].find(':') == std::string::npos) { end = i; break; } } // Extract the names std::vector<std::string> names; for (std::size_t i = start; i < end; i++) { std::stringstream ss(lines[i]); std::string name; std::getline(ss, name, ':'); // Extract the number before the delimiter std::getline(ss, name); // Extract the string after the delimiter names.push_back(name); } p->classes = names; return 0;}cv::Mat myDetectTest(cv::Mat &img){ YOLO_V8* yoloDetector = new YOLO_V8; QString relativePath=":/Yolov8/build/Desktop_Qt_6_2_4_MSVC2019_64bit-Release/YOLOv8/yolov8n.onnx"; // 获取应用程序目录 QString appDirPath = QCoreApplication::applicationDirPath(); // 指定临时文件的路径和文件名模板 QString tempFileTemplate = appDirPath + "/temp_yolov8n_xxx.onnx"; QTemporaryFile tempfile(tempFileTemplate); QString tempFileName,onnxName= appDirPath + "/temp_yolov8n.onnx"; QFile file(onnxName); //打开临时文件进行写入 if(file.size()==0) { if(tempfile.open()) { tempfile.setPermissions(QFileDevice::ReadUser | QFileDevice::WriteUser); QFile resourceFile(relativePath); resourceFile.open(QIODevice::ReadOnly); tempfile.write(resourceFile.readAll()); tempfile.flush(); tempFileName=tempfile.fileName(); tempfile.close(); //复制文件至onnx文件格式,否则临时文件随机后缀加载不出来 QFile::copy(tempFileName,onnxName); tempfile.destroyed(); } } //QString relativePath=modelPathQstr+"/YOLOv8/yolov8n.onnx"; ReadCocoYaml(yoloDetector); DL_INIT_PARAM params; params.rectConfidenceThreshold = 0.1; params.iouThreshold = 0.5; params.modelPath = onnxName.toStdString(); params.imgSize = { 640, 640 };#ifdef USE_CUDA params.cudaEnable = true; // GPU FP32 inference params.modelType = YOLO_DETECT_V8; // GPU FP16 inference //Note: change fp16 onnx model //params.modelType = YOLO_DETECT_V8_HALF;#else // CPU inference params.modelType = YOLO_DETECT_V8; params.cudaEnable = false;#endif yoloDetector->CreateSession(params); cv::Mat detect_Img= videoDetector(yoloDetector,img); return detect_Img;}代码解释和补充
由于考虑需要打包处理,模型onnx文件和yaml文件都最好以资源形式导入,即添加到资源管理器中,但是资源文件的路径不能被yolov8使用的标准文件IO流读取,故创建临时文件读取并复制,复制后就不会临时再创建了,不过其实可以直接复制资源文件出来,只是当时笔者想偏了又改了。
YOLO_V8* yoloDetector = new YOLO_V8; QString relativePath=":/Yolov8/build/Desktop_Qt_6_2_4_MSVC2019_64bit-Release/YOLOv8/yolov8n.onnx"; // 获取应用程序目录 QString appDirPath = QCoreApplication::applicationDirPath(); // 指定临时文件的路径和文件名模板 // QString tempFileTemplate = appDirPath + "/temp_yolov8n_xxx.onnx"; // QTemporaryFile tempfile(tempFileTemplate); QString tempFileName,onnxName= appDirPath + "/temp_yolov8n.onnx"; QFile file(onnxName); //打开临时文件进行写入 if(file.size()==0) { // tempfile.setPermissions(QFileDevice::ReadUser | QFileDevice::WriteUser); // QFile resourceFile(relativePath); // resourceFile.open(QIODevice::ReadOnly); // tempfile.write(resourceFile.readAll()); // tempfile.flush(); // tempFileName=tempfile.fileName(); // tempfile.close(); //复制文件至onnx文件格式,否则临时文件随机后缀加载不出来 QFile::copy(relativePath,onnxName); }4.运行调试(意料之内有点卡,我的CPU推理速度很慢)
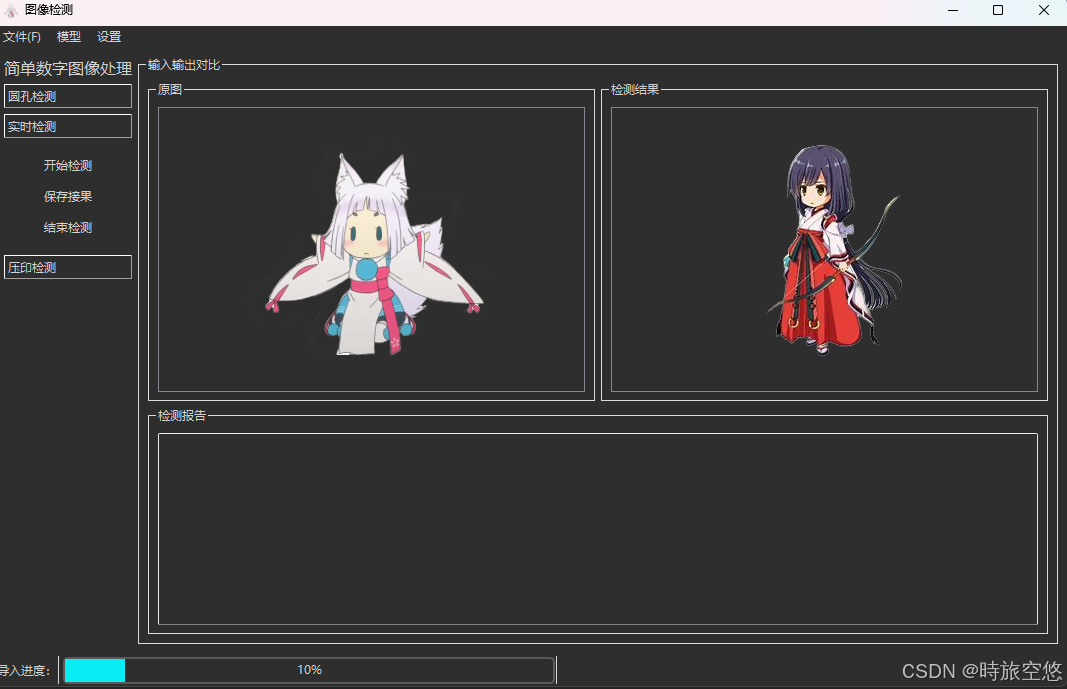
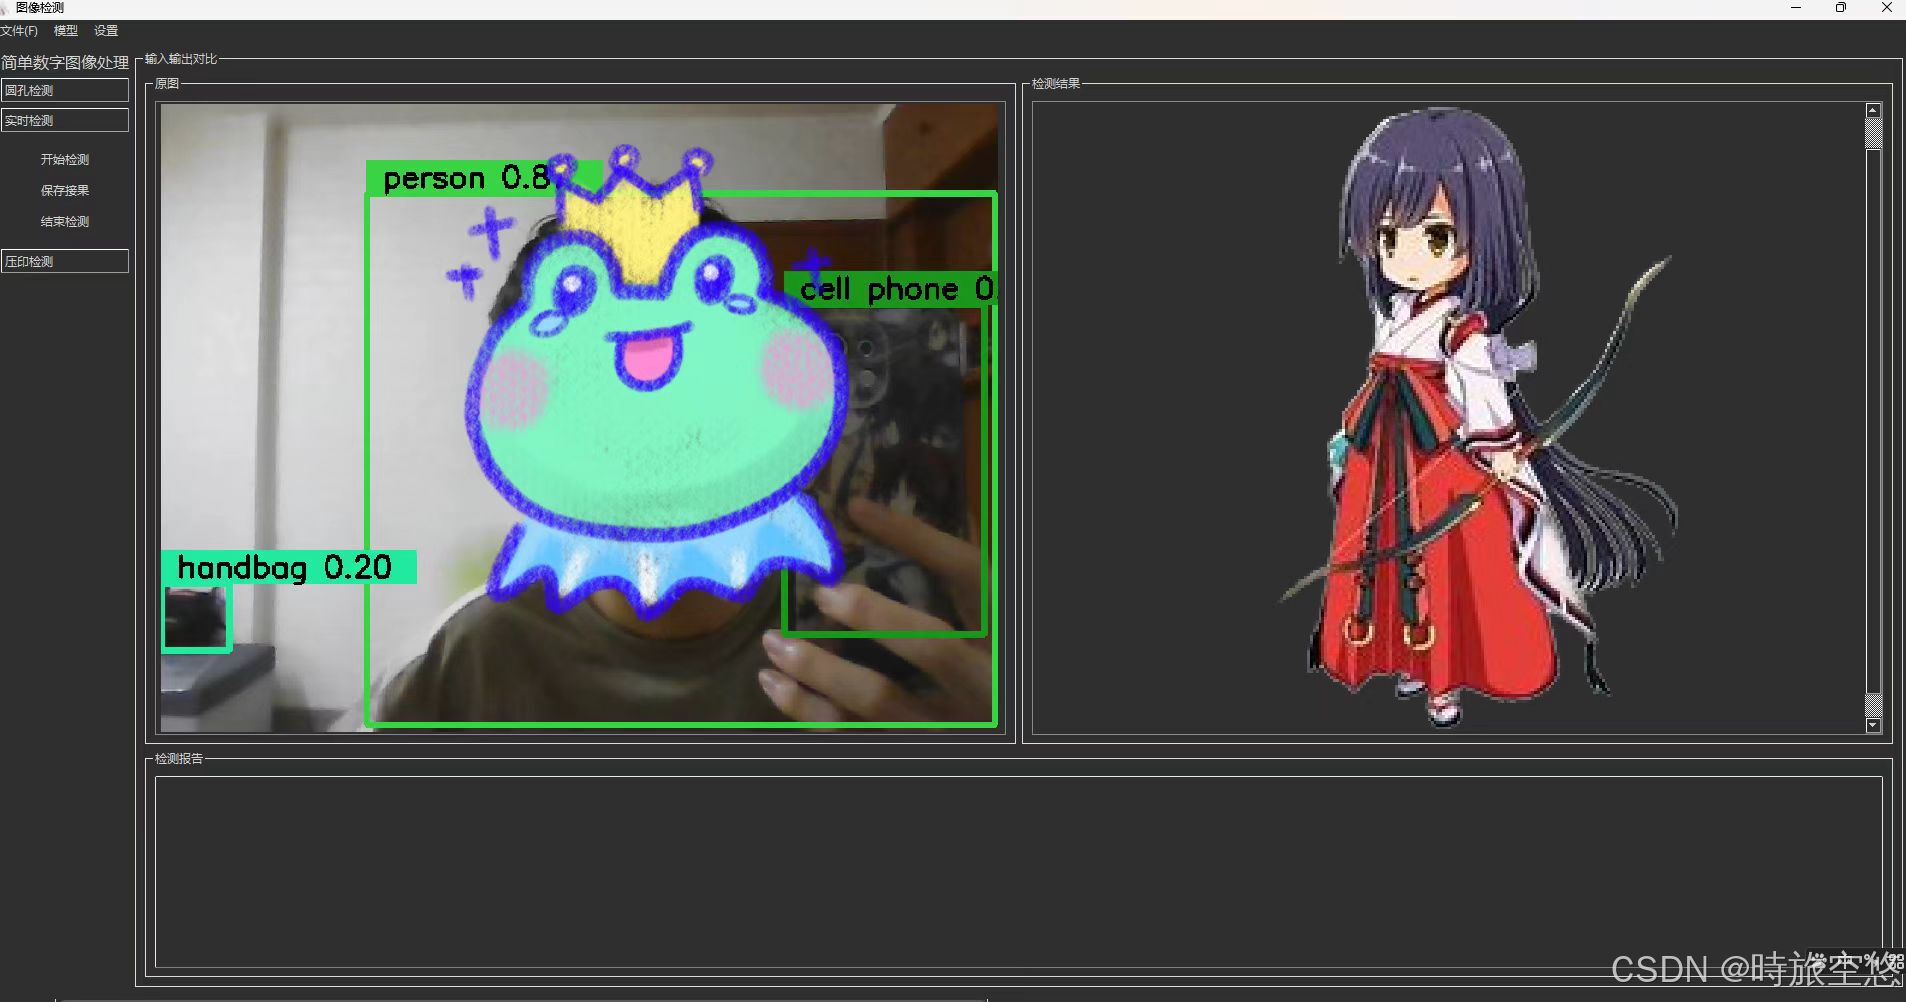
六、QT打包
1.使用MSVC终端打包
将build中release里的exe复制到新的文件夹里,然后打开MSVC终端(如果你用的是MSVC构建的)并到达当前exe的目录,输入命令windeployqt xxx.exe,就会初步打包完成
2.使用工具打包工具再次封装
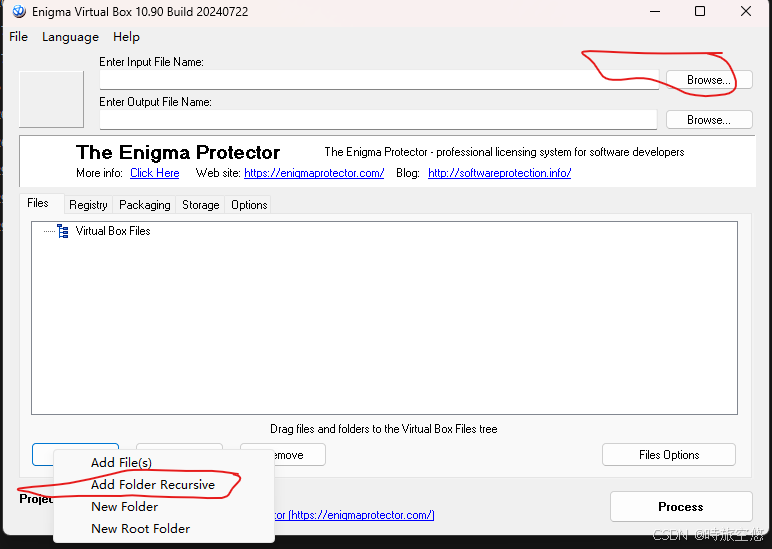
Software Protection, Software Licensing, Software Virtualization在官网下载Enigma Virtual Box,同时,要把opencv_world480.dll,onnxruntime.dll,onnxruntime_xxx_shared.dll复制到刚刚到exe打包后的目录,然后在这个打包工具中添加这个目录,点击Browse添加exe等等之类的操作,具体可以看别的朋友的链接http://t.csdnimg.cn/HsZet,注意动态链接库导入就行,不然没有该环境变量的电脑打不开的。
