文章目录
一、写组件1、注册全局组件方法2、组件13、组件2 二、测试三、发布1、配置package.json2、生成库包3、配置发布信息4、发布 四、使用1、安装2、使用 五、维护1、维护和更新2、注意事项
一、写组件
确定组件库的需求和功能:在开始构建组件库之前,你需要明确你的组件库需要包含哪些组件,以及这些组件应该具备哪些功能。这有助于你更好地规划你的开发工作。
编写组件代码:使用你熟悉的前端框架(如React、Vue等)编写组件代码。确保你的代码具有良好的可读性和可维护性,并遵循相关的编码规范。
创建组件库的结构:为了组织和管理你的组件,你需要创建一个清晰的目录结构。这可以包括组件的源代码、样式文件、文档和示例等。
1、注册全局组件方法
plugins/index.js
const requireComponent = require.context('./', true, /\.vue$/)const install = (Vue) => { if (install.installed) return install.installed requireComponent.keys().forEach(element => { const config = requireComponent(element) if (config && config.default.name) { const componentName = config.default.name Vue.component(componentName, config.default || config) } });}if (typeof window !== 'undefined' && window.Vue) { install(window.Vue)}export default { install}2、组件1
plugins/msg/index.vue
<template> <div> vue-msg </div></template><script>export default { name: "vue-msg", data() { return { }; }, methods: { }, mounted() { },};</script><style scoped></style>3、组件2
plugins/button/index.vue
<template> <div> <button @click="onStart">点击</button> </div></template><script>export default { name: "vue-button", data() { return { }; }, methods: { onStart() { console.log("测试"); }, }, mounted() { },};</script><style scoped></style>二、测试
编写文档和示例:为你的组件编写清晰的文档和示例,这有助于其他开发者理解和使用你的组件库。main.js
import install from './plugins'Vue.use(install)app.vue
<template> <div> <vue-msg></vue-msg> <vue-button></vue-button> </div></template><script>export default { data() { return { }; }, methods: { }, mounted() { },};</script><style scoped></style>三、发布
1、配置package.json
"scripts": { "serve": "vue-cli-service serve", "build": "vue-cli-service build", "lib": "vue-cli-service build --target lib --name zouComponent --dest zouComponent/lib src/plugins/index.js", },2、生成库包
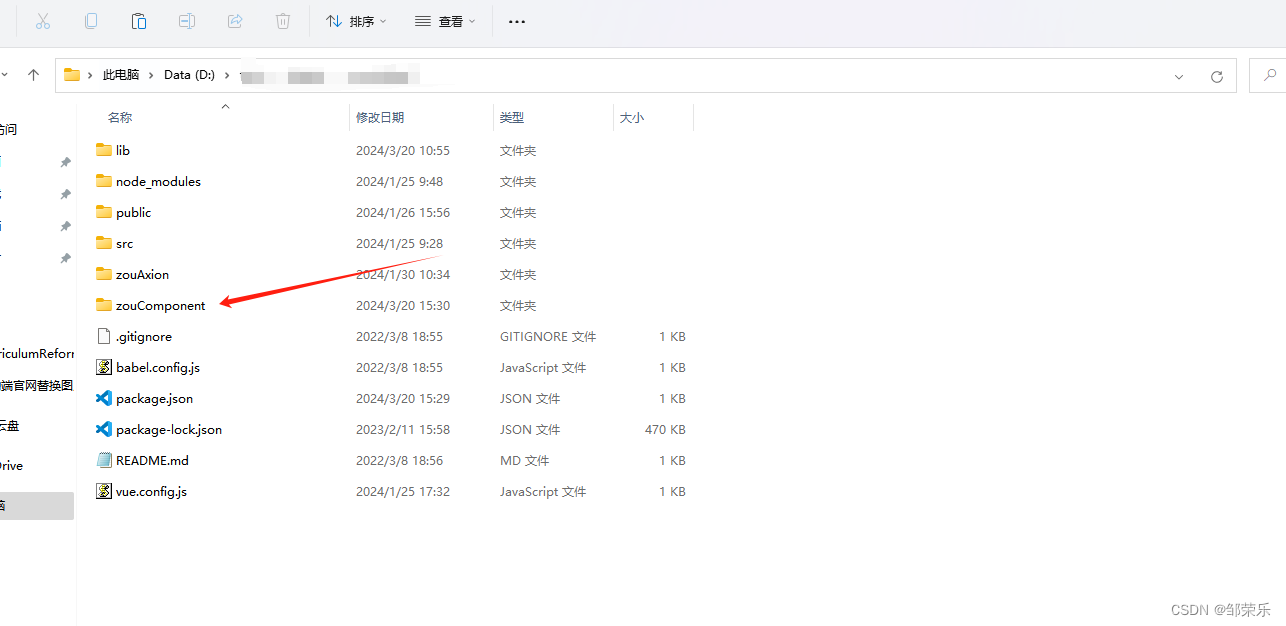
打包组件库:运行打包命令,将你的组件库打包成一个npm包。这通常会在你的项目根目录下生成一个目录,其中包含打包后的文件。
npm run lib这是生成的zouComponent文件夹。
3、配置发布信息
配置package.json:在项目的根目录下创建一个package.json文件,并配置相关的元信息,如组件库的名称、版本、描述、入口文件等。
在zouComponent文件夹里面创建package.json文件配置发布信息:
{ "name": "zou-component", "version": "0.1.2", "private": false, "license": "MIT", "description": "今天我发布一个zouComponent组件库", "main": "lib/zouComponent.umd.min.js", "scripts": { }, "dependencies": { }, "devDependencies": { } }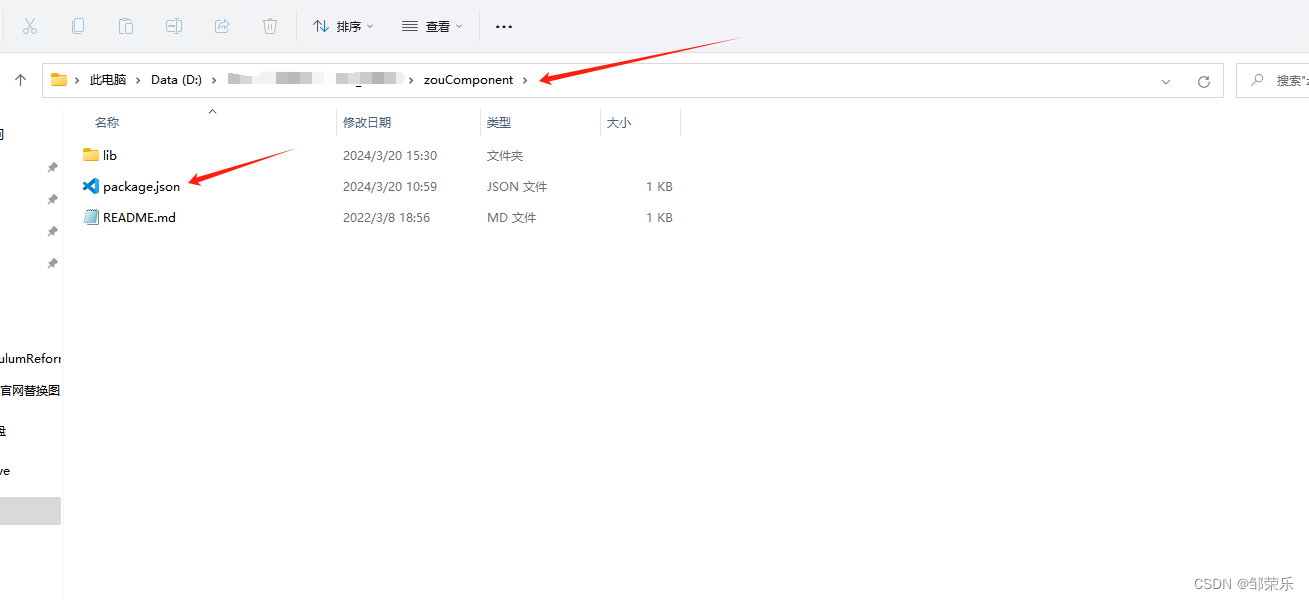
4、发布
配置npm仓库:如果你还没有一个私有的npm仓库,你需要先搭建一个。你可以使用Verdaccio等工具来快速搭建一个私有的npm仓库。
配置npm源:在你的本地开发环境中,将npm的源配置为你的私有仓库地址。这可以确保当你发布组件库时,它会被上传到你的私有仓库而不是公共的npm仓库。
登录到npm仓库:在终端中运行npm login命令,并按照提示输入你的npm仓库的用户名、密码和邮箱地址。这将使你能够发布包到你的私有仓库。
发布组件库:在终端中运行npm publish命令来发布你的组件库。这会将你的组件库上传到你的私有npm仓库中。
配置npm源
npm set registry http://localhost:4873/在zouComponent文件夹里面执行发布命令
npm publish或者
npm publish --registry http://localhost:4873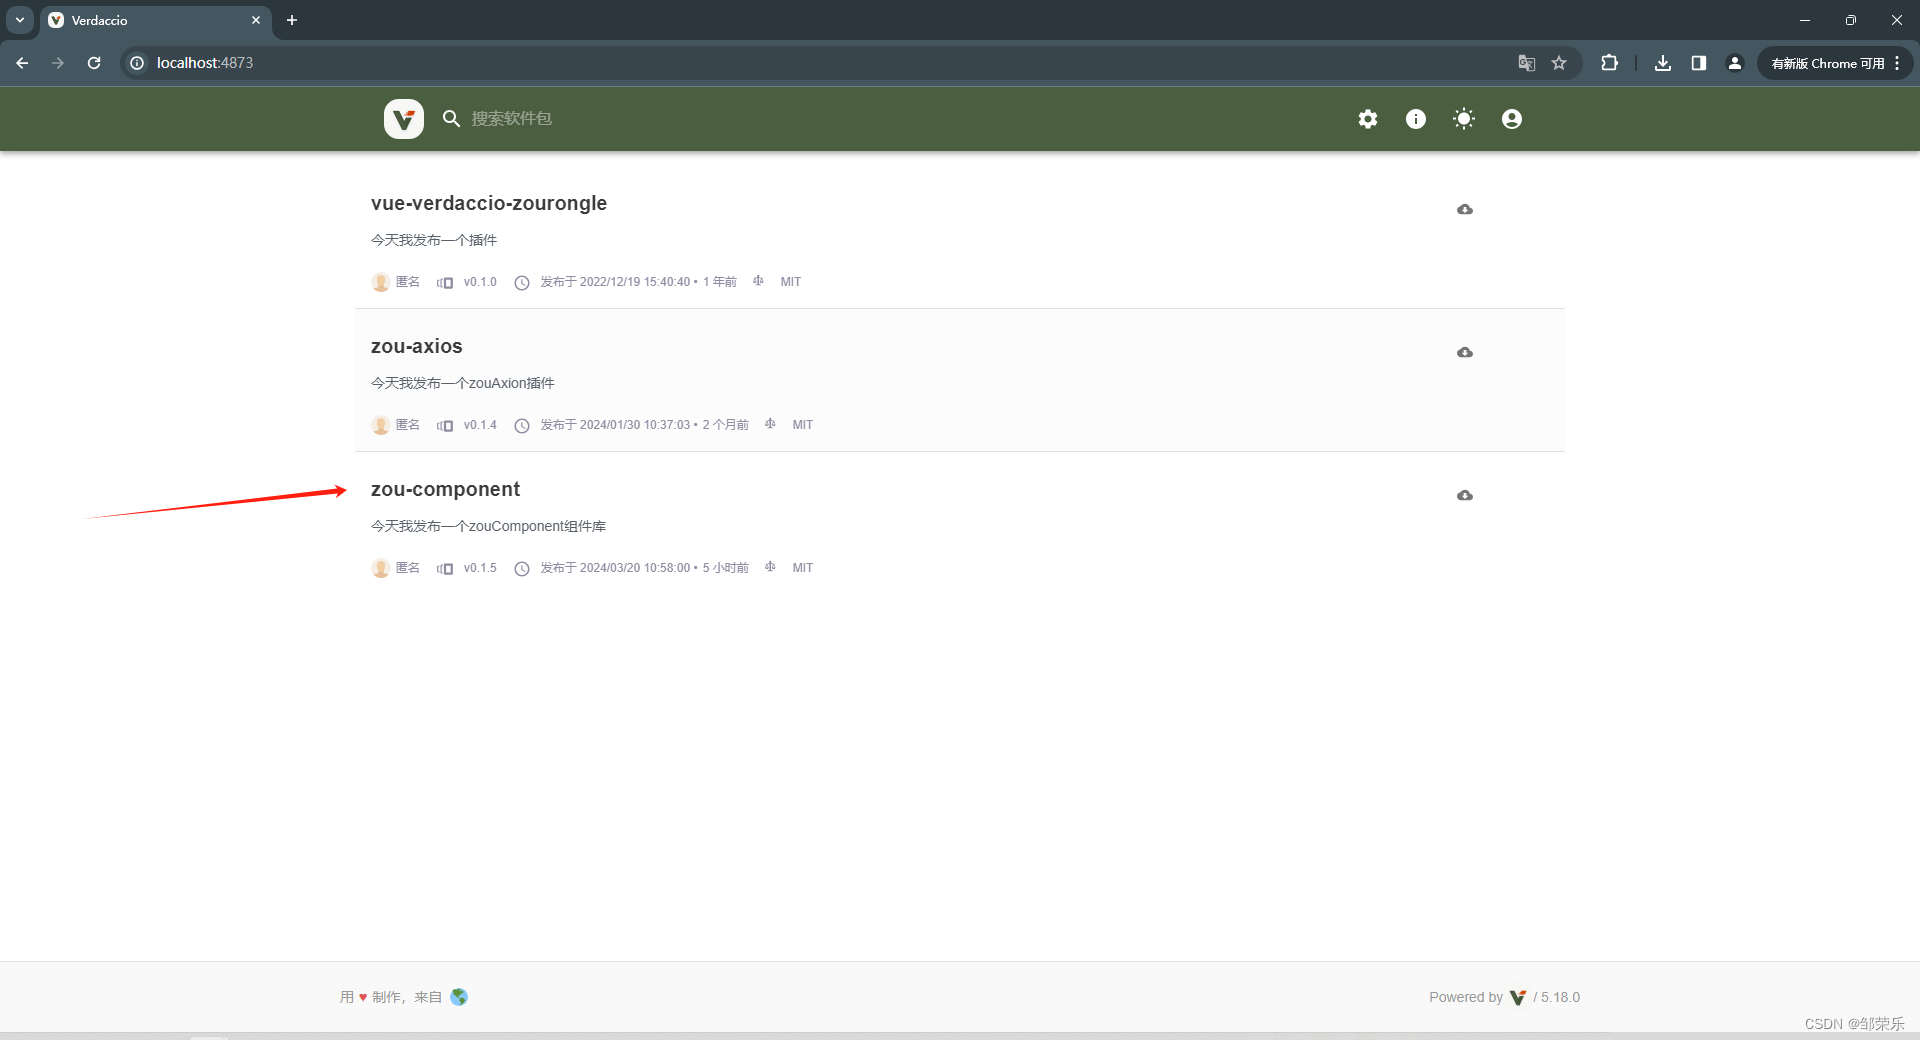
四、使用
一旦你的组件库被发布到私有npm仓库,你就可以在其他项目中使用它了。只需在项目中使用npm install命令来安装你的组件库,然后按照文档中的说明来使用它即可。
1、安装
npm install zouComponent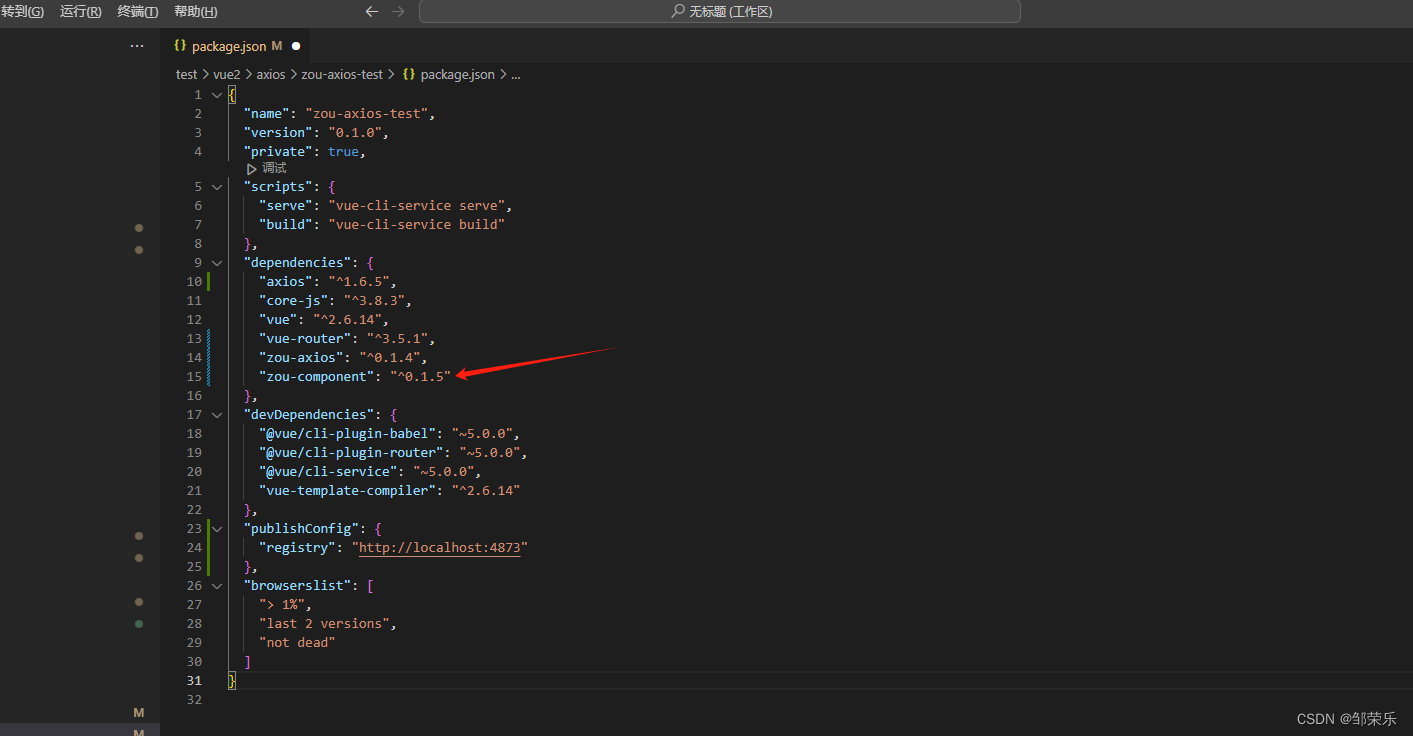
2、使用
main.js
import zouComponent from 'zou-component'Vue.use(zouComponent)app.vue
<template> <div> <vue-msg></vue-msg> <vue-button></vue-button> </div></template><script>export default { data() { return { }; }, methods: { }, mounted() { },};</script><style scoped></style>五、维护
1、维护和更新
随着项目的进行,你可能需要对你的组件库进行维护和更新。这包括修复bug、添加新功能、更新文档等。在每次更新后,记得重新打包并发布你的组件库,以便其他项目能够使用到最新的版本。
2、注意事项
版本控制:确保你的组件库使用版本控制(如Git),以便你可以追踪和管理不同版本的代码。
测试:在发布组件库之前,确保进行充分的测试,以确保其稳定性和可用性。
文档和示例:持续更新和维护你的文档和示例,以帮助其他开发者更好地理解和使用你的组件库。
记得在开发过程中保持代码质量和可维护性,并定期更新和维护你的组件库。