我用的是 yolov5 v6.0 版本。
虚拟机为 VM。
Ubuntu 的版本是 20.04。
相应的 onnx 各种包的版本如下图。

1)导出 onnx 格式的模型。
TIPS: 一定要加 --weights yolov5s.pt ,否则将从 Yolov5 的官网下载最新的你现在使用 yolov5 的对应的权重文件,而这权重文件的版本可能不会和你的 yolov5 的版本相对应,臂如你的 yolov5 是 v5 版本的,而下载的权重文件是 v7 版本的,而你拿这个权重文件去推理官方给的图片时,Pycharm 就会出现报错。
python export.py --weights yolov5s.pt --img 640 --batch 1 --dynamicpython -m onnxsim input_onnx_model output_onnx_model会得到结果如下:

出现以上结果,就证明模型已经成功导出。
2)简化模型。
python -m onnxsim input_onnx_model output_onnx_modeleg: python -m onnxsim yolov5s.onnx sim_yolov5s.onnx会得到结果如下:

出现以上结果,就证明模型已经成功简化。
3)创建相应的软件包。
catkin_create_pkg yolov5_detect cv_bridge rospy sensor_msgs
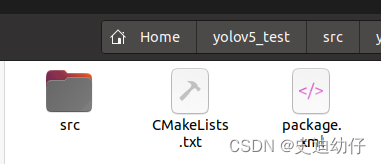
4) 编译生成软件包(在工作空间的根路径下执行)。
catkin_make5)连接 usb 摄像头(也可以使用笔记本摄像头,本文用 usb 摄像头做示例):
1)点击 VM 软件上方的选项的 “虚拟机” 选项,再点击 “可移动设备” 选项,再点击 “Sunplus Innovation USB2.0 Camera” (本人设备的名称) 选项,最后点击 “连接主机” 选项。
( “Sunplus Innovation USB2.0 Camera” 选项的下边的 “IMC Networks Integrated Camera” 就是笔记本摄像头,也可以选择它)
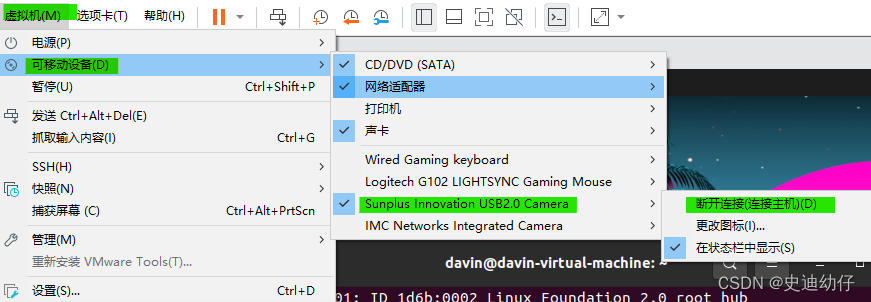
2)查看虚拟机是否正确的连接上了外接的 usb 摄像头。
ls /dev/video*![]()
显示 /dev/video1 就证明已经连接上了 usb 摄像头。
3)特殊情况:可能不正常显示 “Sunplus Innovation USB2.0 Camera” 选项。这可能是因为没有开启 “VMware USB Arbitration Service” 服务。
解决方法:[Ctrl]+[Alt]+[Del] 打开任务管理器,然后点击 “服务” 选项。在“名称”那栏找到“VMware USB Arbitration Service” ,然后右击->“启动”。即可。
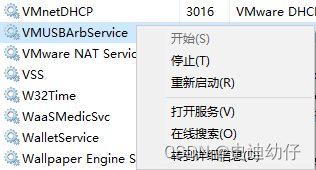
这时应该能正常看到 “Sunplus Innovation USB2.0 Camera” 选项。
6) 在刚创建的软件包 yolov5_detect 下新建一个 scripts 文件夹用于存放 Python 文件, 然后在 scripts 中用 Python 编写用 onnx 模型推理视频的节点。
以下为源码:
#!/usr/bin/env python3import os # must import "os"import rospyimport cv2from sensor_msgs.msg import Imagefrom cv_bridge import CvBridgeimport numpy as npimport onnxruntime as ortclass ObjectDetector: """ Class of Object detecting """ def __init__(self, model_path): self.model_path = model_path self.session = ort.InferenceSession(model_path) # find model by path. self.input_name = self.session.get_inputs()[0].name self.output_names = [o.name for o in self.session.get_outputs()] self.bridge = CvBridge() # Tool of transforming ROS Image message into OpenCV message, which is convinent to dispose images. # create a ROS publisher class named "self.publisher", which publish ROS message of tyoe "image" to topic"/detections". queue_size=1 indicates the publisher queue has a size of 1. self.publisher = rospy.Publisher('/detections', Image, queue_size=1) def detect(self, image): # Convert ROS image message to OpenCV format cv_image = self.bridge.imgmsg_to_cv2(image, desired_encoding='rgb8') # Preprocess image # Use transpose function to transform dimension of "resized_image" (height, width, channels) to a dimension (channels, height, width) in order to match with input format of model. # 使用np.expand_dims函数将维度为1的新轴添加到input_data的第0维,以将其转换为模型期望的四维张量格式(batch_size, channels, height, width)。 # 将input_data的数据类型转换为np.float32并将其值缩放到[0,1]范围内。这是因为模型在训练时是在此范围内的像素值上训练的。 resized_image = cv2.resize(cv_image, (416, 416)) input_data = np.expand_dims(resized_image.transpose((2, 0, 1)), axis=0).astype(np.float32) / 255.0 # Run inference outputs = self.session.run(self.output_names, {self.input_name: input_data}) # Postprocess outputs # Here you can implement your own logic to extract object detection results from the model outputs # need to be improved. # Visualize results # Here you can implement your own logic to draw bounding boxes, labels, etc. on the input image # need to be improved. # Publish detection results detection_image = self.bridge.cv2_to_imgmsg(cv_image, encoding='rgb8') self.publisher.publish(detection_image)def main(): # Initialize ROS node rospy.init_node('object_detector') # Load ONNX model model_path = '/home/davin/yolov5_test/src/yolov5_detect/sim_yolov5s.onnx' # The absolute path to your own onnx file. detector = ObjectDetector(model_path) # Subscribe to input image topic input_topic = '/usb_cam/image_raw' # the topic name of image message from usb-cam node. image_subscriber = rospy.Subscriber(input_topic, Image, detector.detect) # Spin ROS node rospy.spin()if __name__ == '__main__': main()我这个代码中的需要更改的代码的地方有两处:
first)onnx 模型绝对路径。
如果你不知道自己的 onnx 模型的绝对路径,可以通过我的方法来找它的绝对路径:
1)把 onnx 文件放在 yolov5_detect 文件夹下。

2)在该文件夹下进入终端,再进入 Python。
python3)再导入 os 包。
import os4) 使用 os.path.abspath()方法获取文件的绝对路径。
os.path.abspath('<path of onnx model>')
Second)摄像头话题名。
7)设置你的 Python 文件的权限(进入 scripts 文件夹),不然 ROS 使用不了这个文件。
chmod +x <name>.py8)在 Ubuntu 中安装通过 ROS 使用 USB 摄像头的 ROS 包:usb-cam(这个包也可以使用笔记本摄像头)。
sudo apt-get install ros-<your ROS version>-usb-cam9)运行 usb_cam 节点:在终端中输入以下命令来运行usb_cam节点(将摄像头连接到计算机,并确保它可以正常工作)。
roslaunch usb_cam usb_cam-test.launch如果一切正常,界面中会出现摄像头画面。
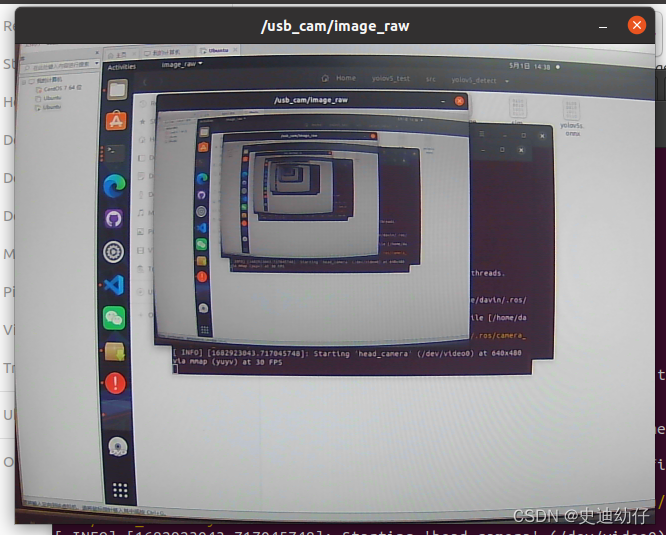
同时可以查看是否正确发布话题了。
rostopic list 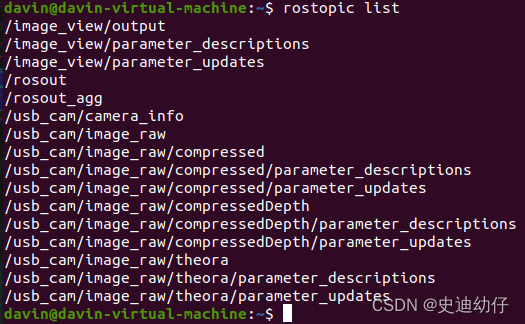
TIPS: 在该 launch 文件中已经包含启动 ROS Master 的代码,不必另开一个终端来开启 ROS Master。
10)进入你创建的 ROS 工作空间,source 环境变量。
seource devel/setup.bash11)再重新构建该工作空间。
catkin_make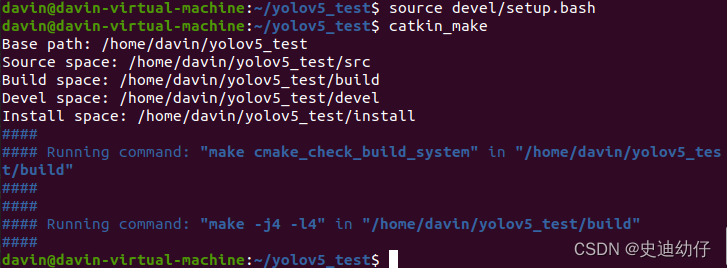
12)接下来启动你自己创建的 onnx 模型推理节点。
rosrun yolov5_detect detector2.py没有报错就说明节点启动成功。
13)查看通过推理节点发布的话题。
rostopic list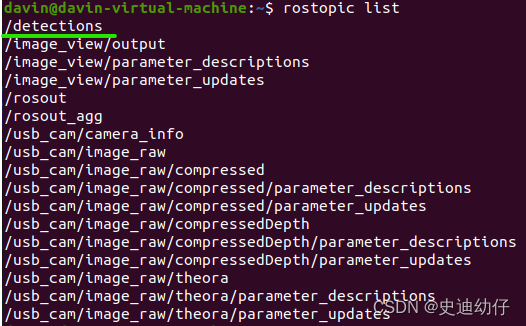
发现多了 /detections 话题。
14)查看话题内容。
rostopic echo /topic_name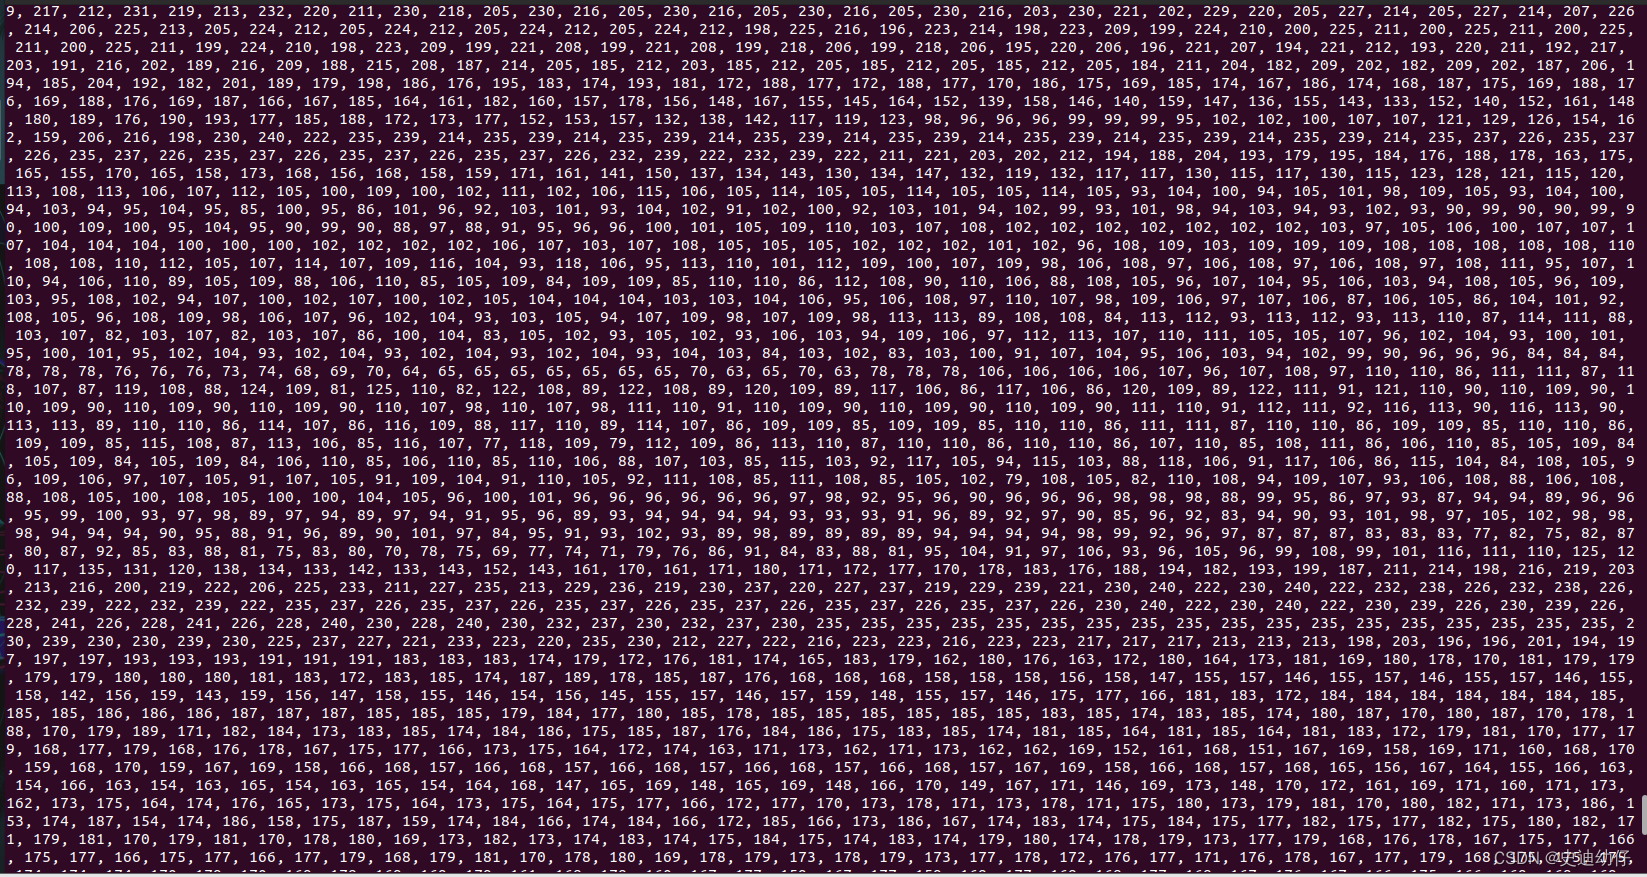
出现密密麻麻的数字证明节点已经成功解析了图像。
15)可以查看话题的数据类型。
rostopic info /topic_name
至此,我们已经成功将 yolov5 的模型结合到了 ROS 中。
关于在 ROS 上用 Onnx 模型来实时检测摄像头中的物体类别名,详见笔者的另一篇文章。