前端和后端权限控制【笔记】
前端权限设置【笔记】
前言版权推荐前端权限设置需求效果实现资源 后端权限控制1.给所有前端请求都携带token2.添加拦截器3.配置到WebMvcConfiguration4.更多的权限验证 最后
前言
2024-3-15 18:27:26
以下内容源自《【笔记】》
仅供学习交流使用
版权
禁止其他平台发布时删除以下此话
本文首次发布于CSDN平台
作者是CSDN@日星月云
博客主页是https://jsss-1.blog.csdn.net
禁止其他平台发布时删除以上此话
推荐
无
前端权限设置
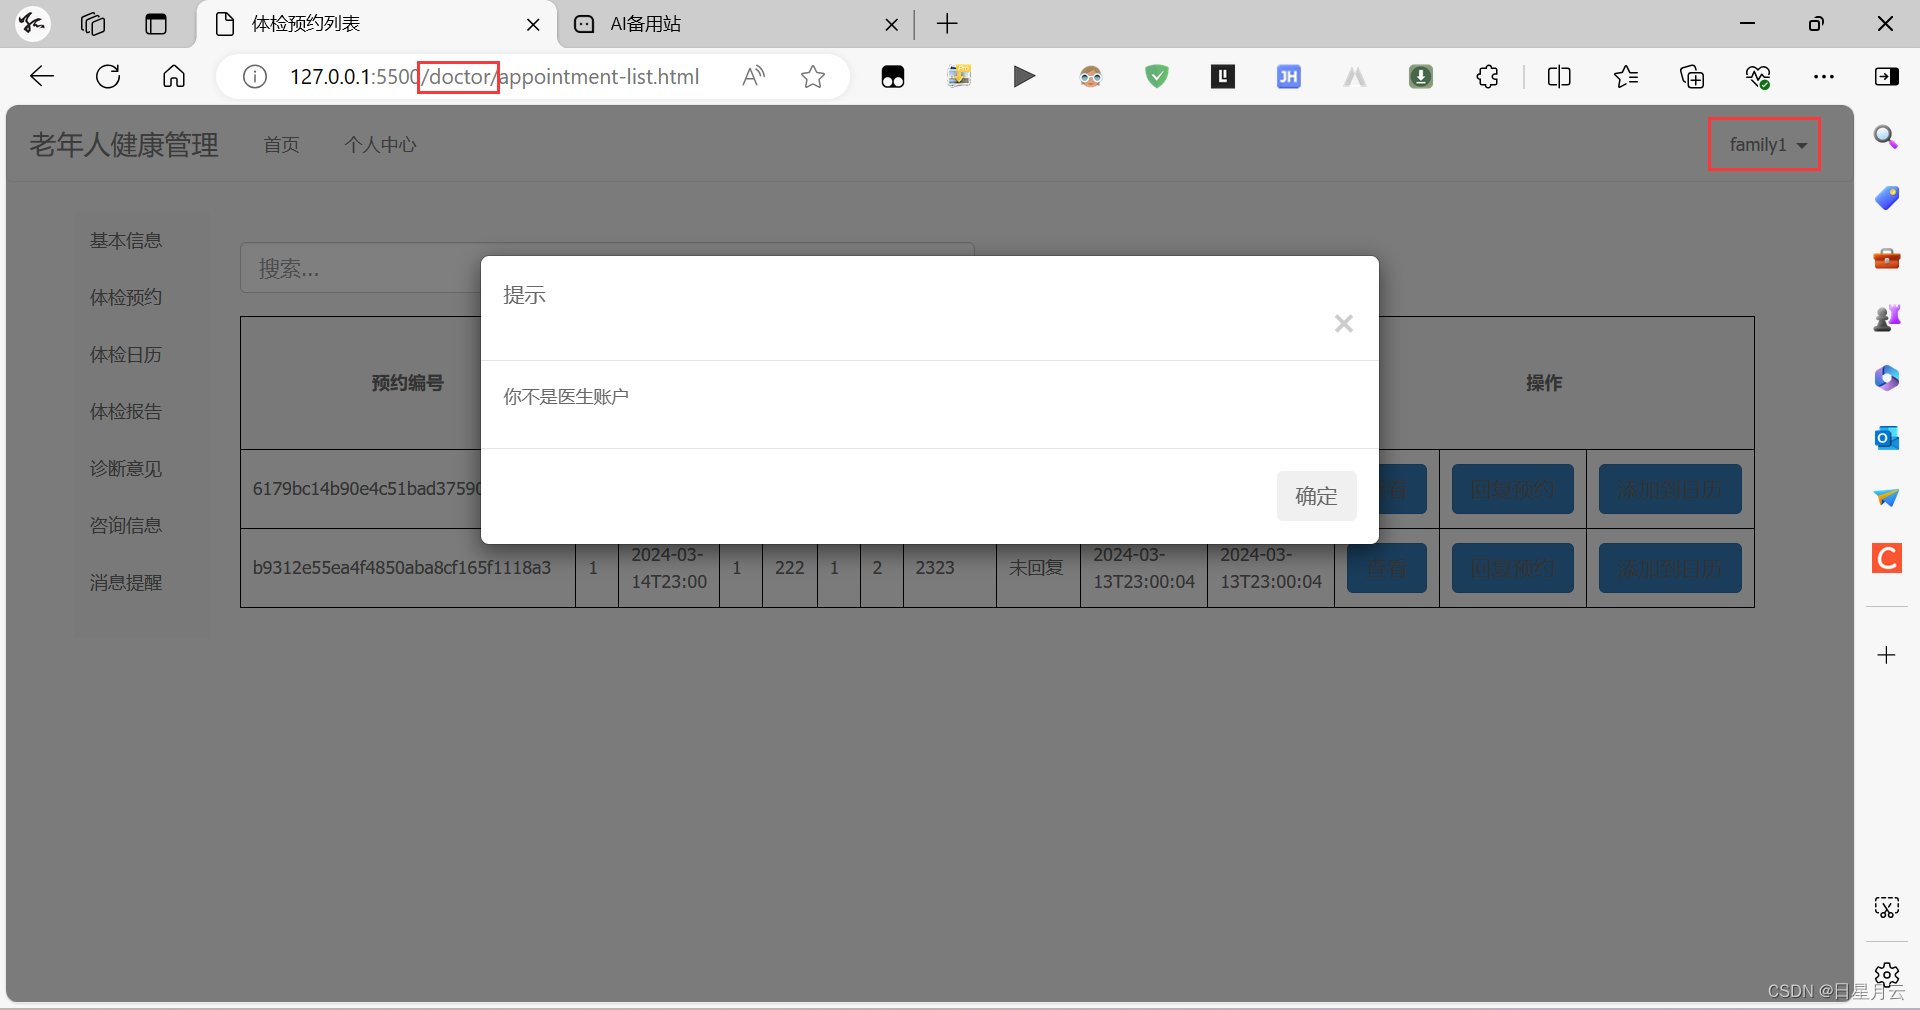
需求
family权限的用户不能访问doctor/*.html …
效果
访问doctor/*.html弹出“你不是医生账户”,
重定向到home.html
实现
获取到当前路径currentURL
获取到当前用户角色userRole
判断这个路径是否是该角色能访问的
function onload(){ var currentURL = window.location.href; // console.log("当前页面路径是:" + currentURL); // console.log(userRole); var adminMatch = currentURL.match(/\/admin\//); if (adminMatch&&userRole!='admin'){ alertBox("你不是管理员账户",function(){ window.location.href="../home.html"; }); } var doctorMatch = currentURL.match(/\/doctor\//); if (doctorMatch&&userRole!='doctor'){ alertBox("你不是医生账户",function(){ window.location.href="../home.html"; }); } var familyMatch = currentURL.match(/\/family\//); if (familyMatch&&userRole!='family') { alertBox("你不是家属账户",function(){ window.location.href="../home.html"; }); } }资源
模块结构
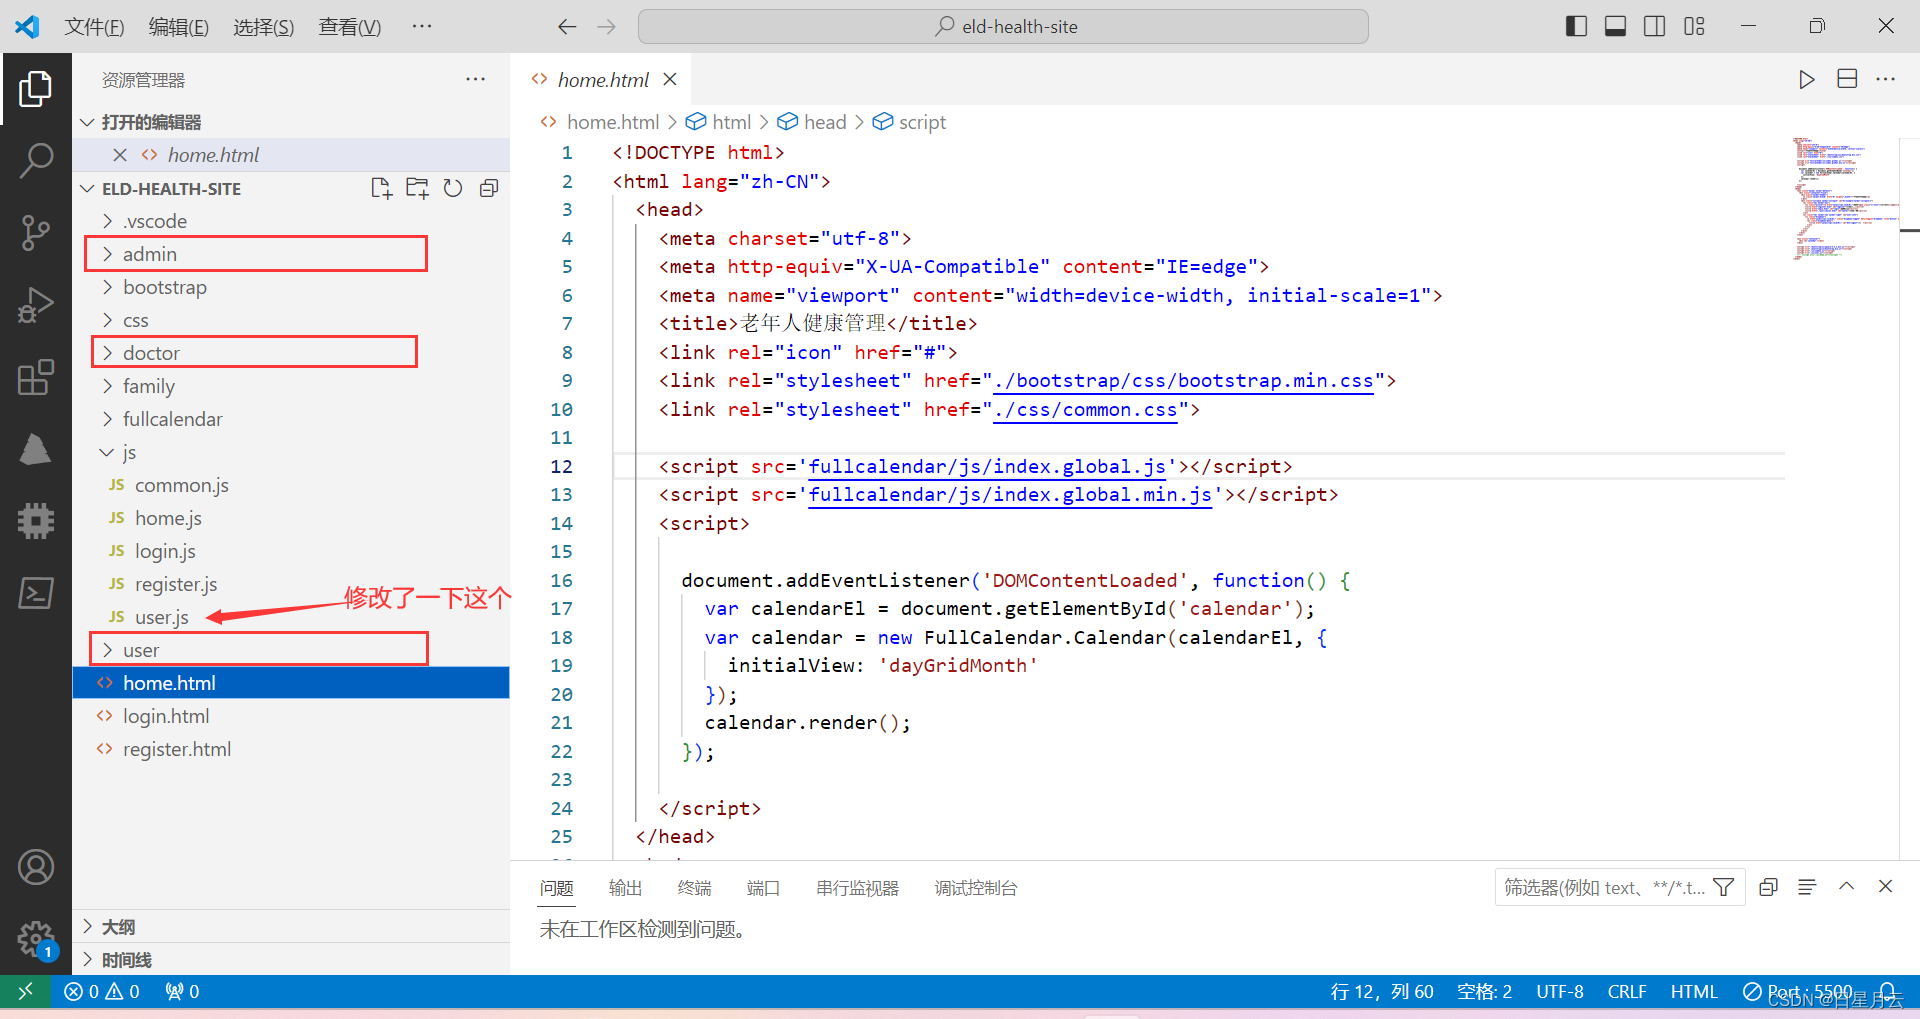
具体的user.js实现
调用栈
$(document).ready(function () {set_login_status();{storage(result.data);{onload(userRole);}}}每一个页面都有这个的引入
<script src="./js/user.js"></script>$(document).ready(function () { // 设置用户登录状态 set_login_status(); // 注销按钮单击事件 $("#btn-logout").click(function (e) { logout(); });});function set_login_status() { var $A = $(".user-name"); if (!$A) return false; $.ajax({ type: "GET", url: SERVER_PATH + "/user/status", xhrFields: {withCredentials: true}, success: function (result) { if (result.status == "0" && result.data) { $A.text(result.data.nickname); $("#user-info").show(); $("#center").show(); $("#register").hide(); $("#login").hide(); window.sessionStorage.setItem("id", result.data.userId); storage(result.data); // 根据用户的 userGroup 来设置跳转路径 var centerLink; if (result.data.userGroup === "管理员") { centerLink = "./admin/center.html"; } else if (result.data.userGroup === "医生") { centerLink = "./doctor/center.html"; } else if(result.data.userGroup === "老人家属"){ centerLink = "./family/center.html"; } else { centerLink = "./user/center.html"; // 默认路径 } $("#center").attr("href", centerLink); // 设置跳转路径 } else { $("#user-info").hide(); $("#center").hide(); $("#register").show(); $("#login").show(); } } }); }var userRole;//根据用户id查到用户组中返回 account 存入sessionStoragefunction storage(user) { var id=user.userId; var token=sessionStorage.getItem("token"); $.ajax({ type: "GET", url: SERVER_PATH + "/user/account", data: { "userId":id, "token": token }, xhrFields: {withCredentials: true}, success: function (result) { if (result.status == "0" && result.data) { //存储Account window.sessionStorage.setItem(result.data.type, result.data.account); if(result.data.type=='adminAccount'){ userRole='admin'; }else if(result.data.type=='doctorAccount'){ userRole='doctor'; }else if(result.data.type=='familyAccount'){ userRole='family'; }else if(result.data.type=='userAccount'){ userRole='user'; } onload(userRole); } } }); }function onload(){ var currentURL = window.location.href; // console.log("当前页面路径是:" + currentURL); // console.log(userRole); var adminMatch = currentURL.match(/\/admin\//); if (adminMatch&&userRole!='admin'){ alertBox("你不是管理员账户",function(){ window.location.href="../home.html"; }); } var doctorMatch = currentURL.match(/\/doctor\//); if (doctorMatch&&userRole!='doctor'){ alertBox("你不是医生账户",function(){ window.location.href="../home.html"; }); } var familyMatch = currentURL.match(/\/family\//); if (familyMatch&&userRole!='family') { alertBox("你不是家属账户",function(){ window.location.href="../home.html"; }); } }后端权限控制
主要是依赖token得到用户信息
然后到拦截器进行验证
1.给所有前端请求都携带token
首先,怎么让每一个前端请求都携带token数据呢
在common.js中添加一下代码
// 设置全局AJAX参数// 把token加入索引的请求中,后端会有权限验证$.ajaxSetup({data: {"token": window.sessionStorage.getItem("token")}});这样就会使得所有前端请求都携带token数据呢
注意一点:用来在路径中直接携带token数据将会被影响
类似于一下这个
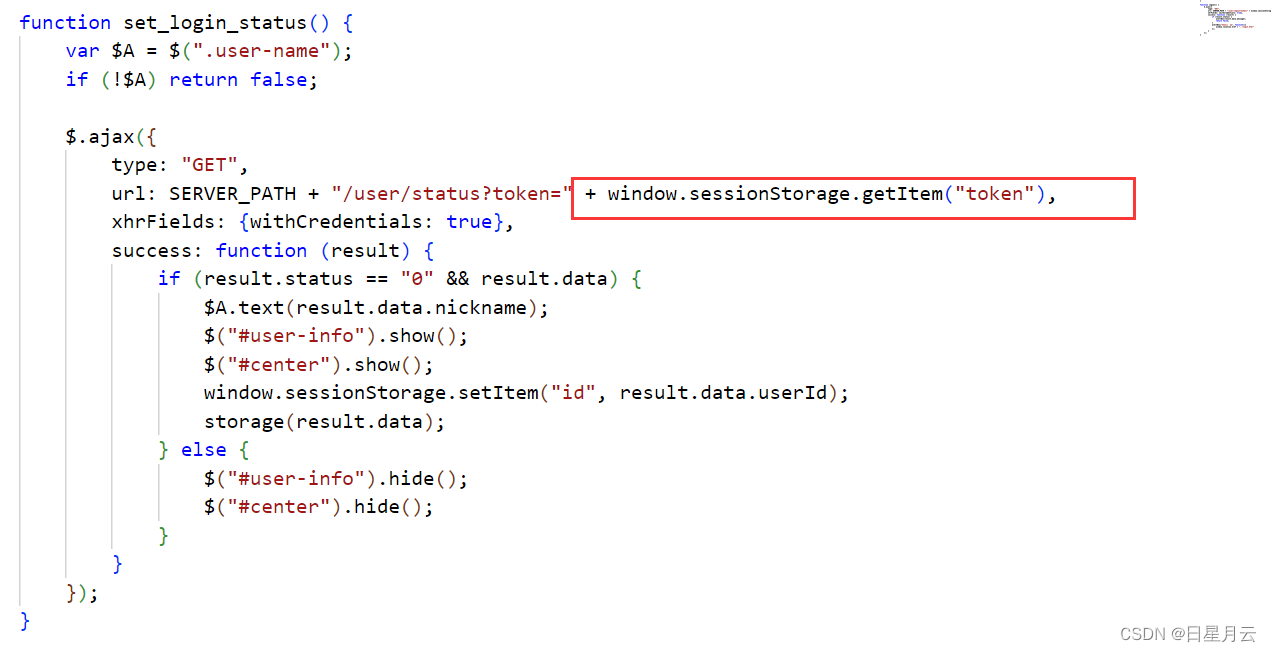
他会导致token变成复选框这样的请求
token=xxx,xxx前端请求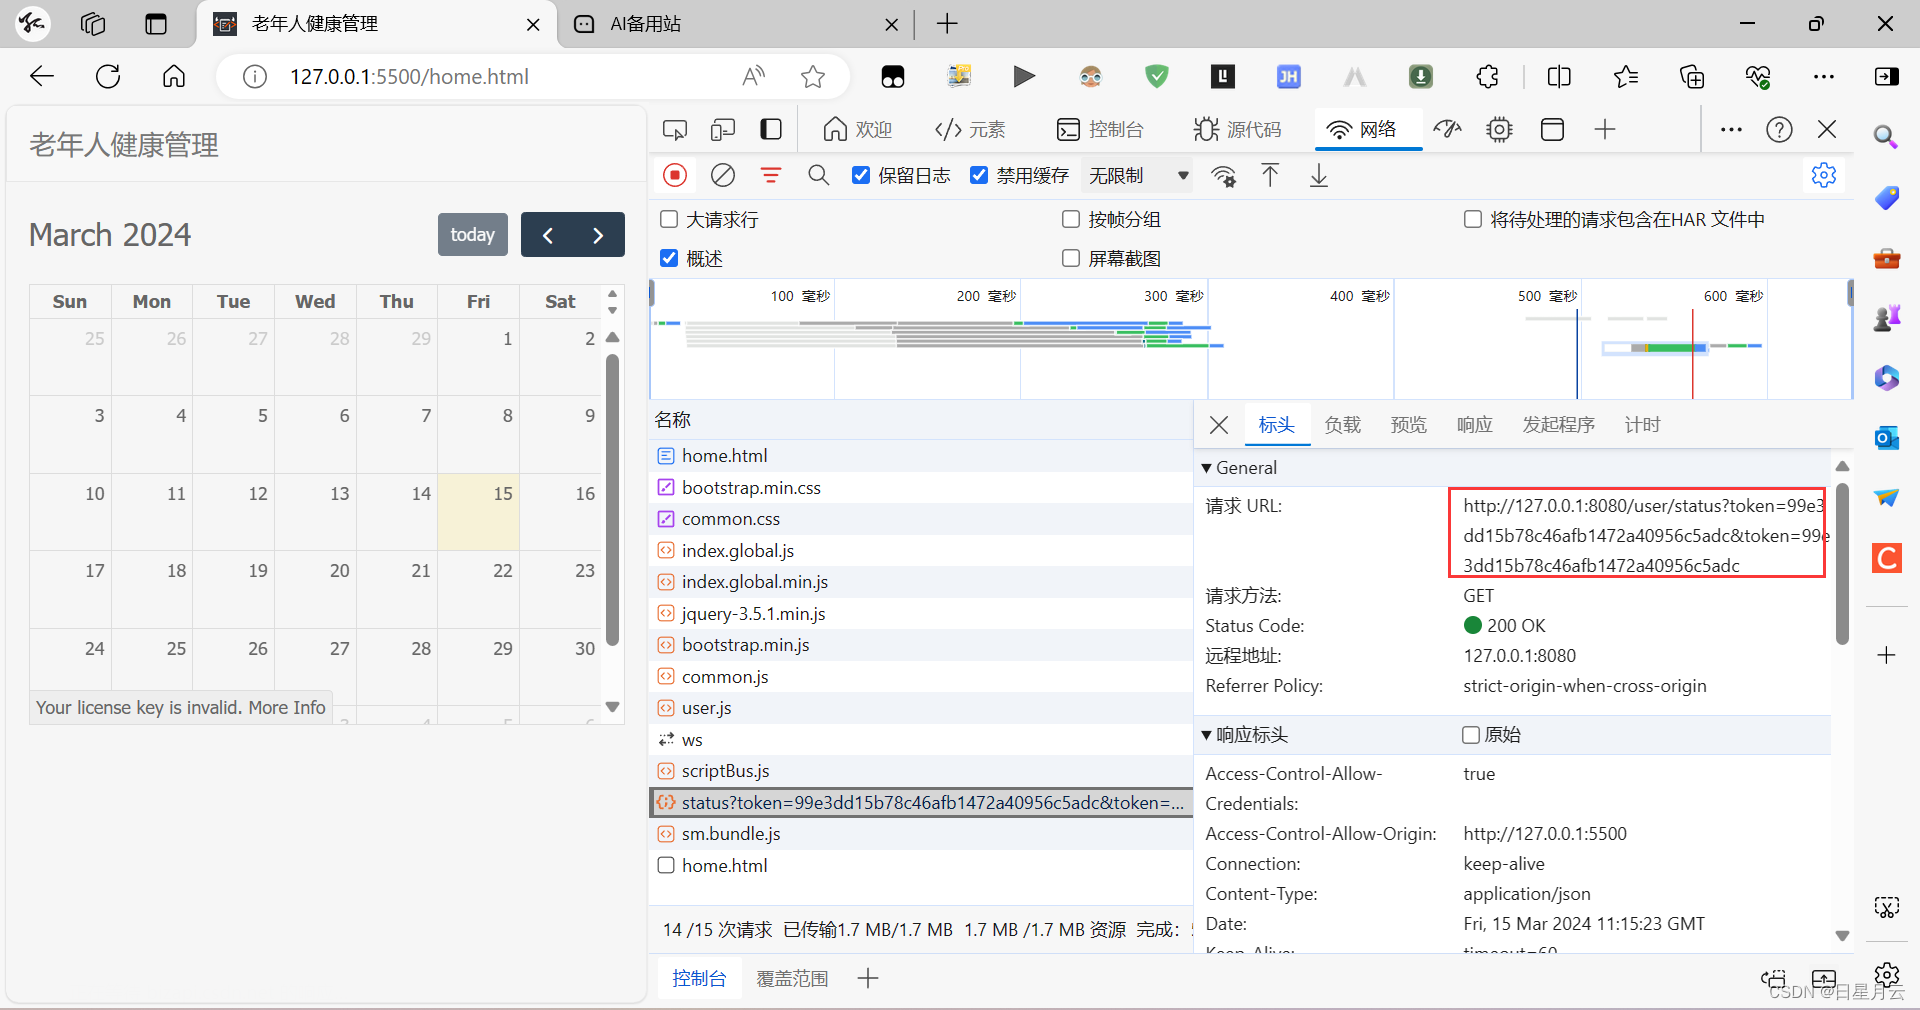
后端响应: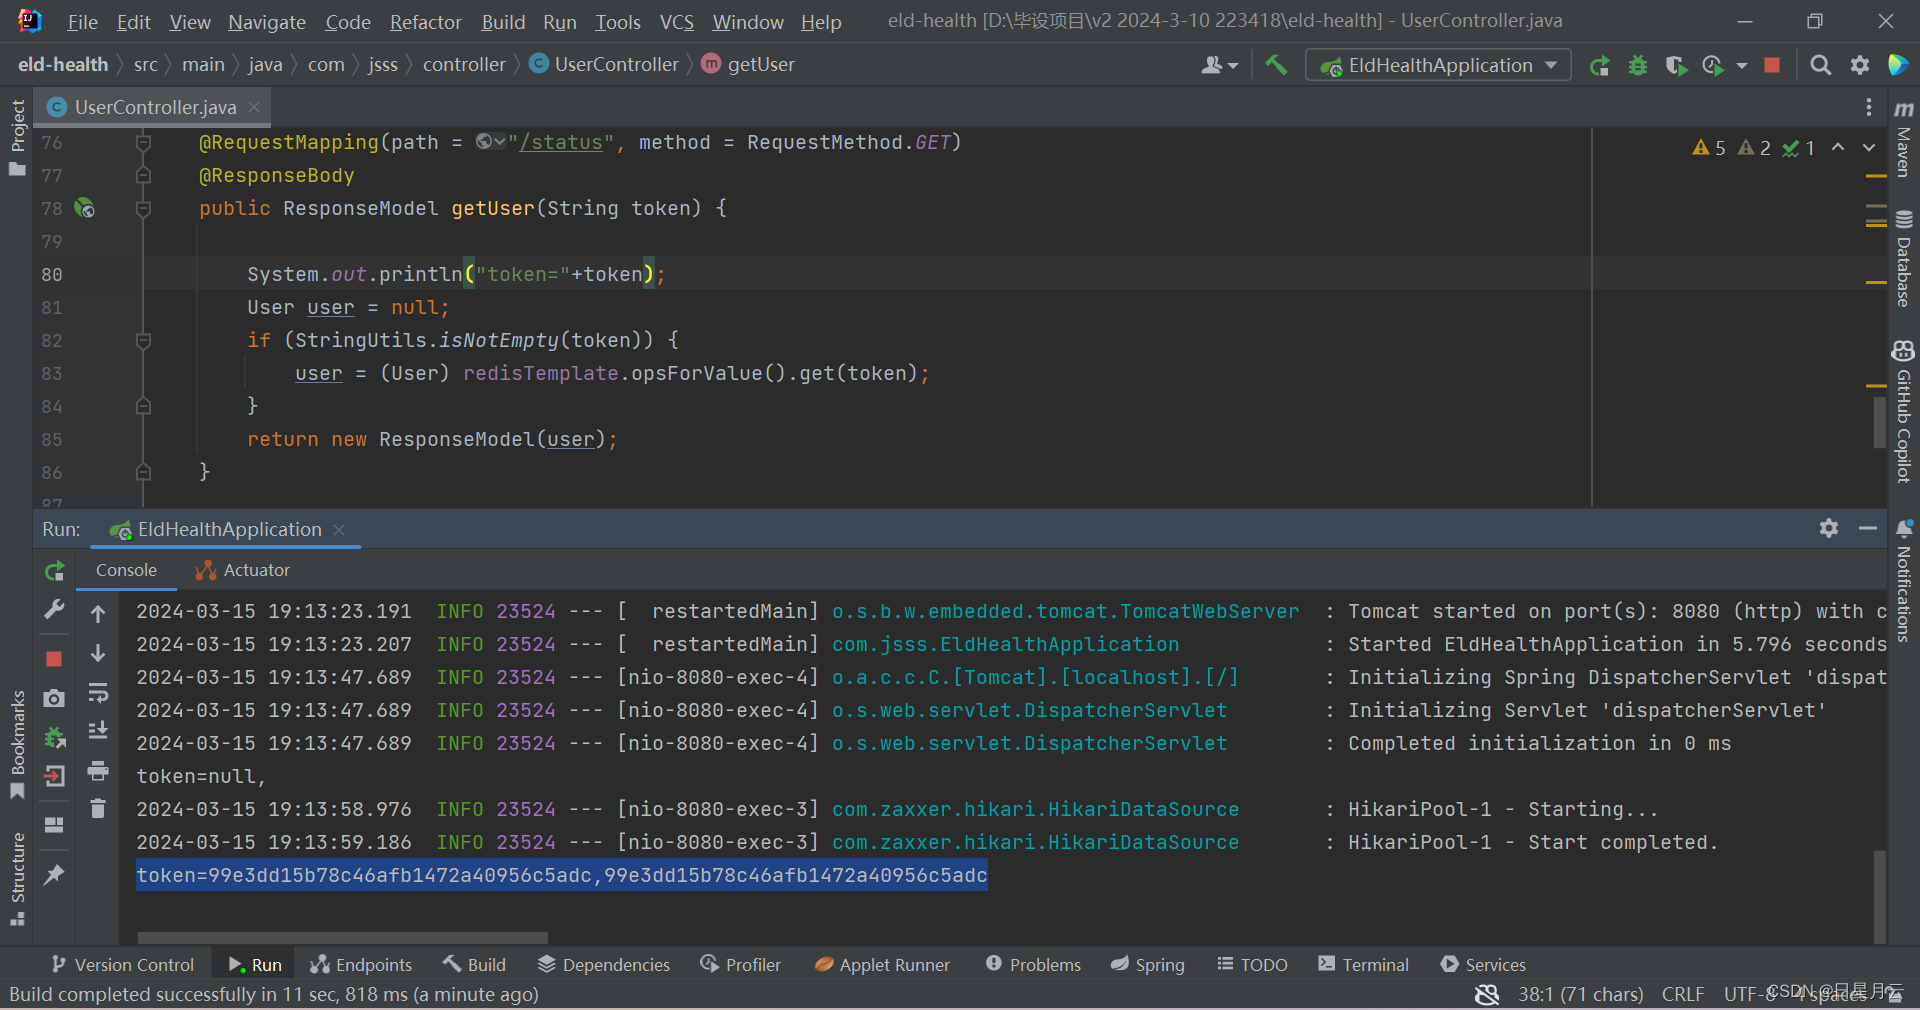
如果是原先的data中请求还是有效的
只不过会覆盖原来的token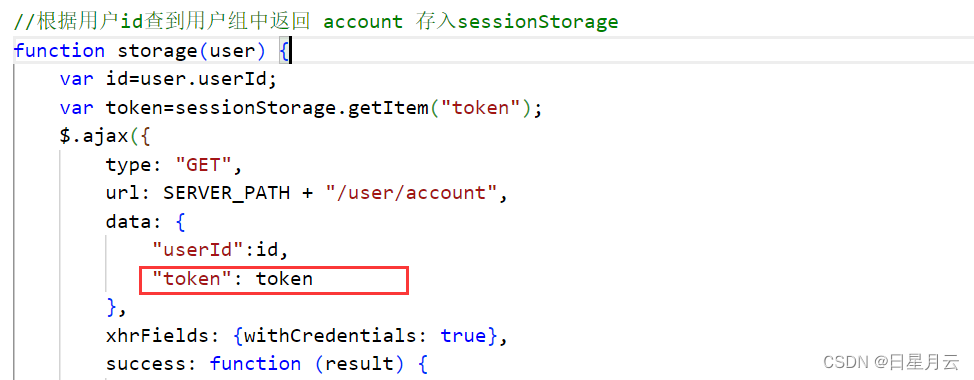
2.添加拦截器
package com.jsss.controller.Interceptor;import com.alibaba.fastjson.JSONObject;import com.jsss.common.ErrorCode;import com.jsss.common.ResponseModel;import org.apache.commons.lang3.StringUtils;import org.springframework.beans.factory.annotation.Autowired;import org.springframework.data.redis.core.RedisTemplate;import org.springframework.stereotype.Component;import org.springframework.web.servlet.HandlerInterceptor;import javax.servlet.http.HttpServletRequest;import javax.servlet.http.HttpServletResponse;import java.io.PrintWriter;import java.util.HashMap;import java.util.Map;@Componentpublic class LoginCheckInterceptor implements HandlerInterceptor, ErrorCode { @Autowired private RedisTemplate redisTemplate; @Override public boolean preHandle(HttpServletRequest request, HttpServletResponse response, Object handler) throws Exception { String token = request.getParameter("token"); if (token == null || StringUtils.isBlank(token) || !redisTemplate.hasKey(token)) { response.setContentType("application/json"); response.setCharacterEncoding("utf-8"); PrintWriter writer = response.getWriter(); Map<Object, Object> data = new HashMap<>(); data.put("code", USER_NOT_LOGIN); data.put("message", "请先登录!"); ResponseModel model = new ResponseModel(ResponseModel.STATUS_FAILURE, data); writer.write(JSONObject.toJSONString(model)); return false; } return true; }}3.配置到WebMvcConfiguration
package com.jsss.configuration;import com.jsss.controller.Interceptor.*;import org.springframework.beans.factory.annotation.Autowired;import org.springframework.context.annotation.Configuration;import org.springframework.web.servlet.config.annotation.InterceptorRegistry;import org.springframework.web.servlet.config.annotation.WebMvcConfigurer;@Configurationpublic class WebMvcConfiguration implements WebMvcConfigurer { @Autowired private LoginCheckInterceptor loginCheckInterceptor; @Override public void addInterceptors(InterceptorRegistry registry) { //登录拦截器配置 registry.addInterceptor(loginCheckInterceptor) .addPathPatterns("/**") .excludePathPatterns("/user/login", "/user/register"/*,"/{path}/captcha"*/);}}4.更多的权限验证
后端配置拦截器的一个问题【问题】
最后
2024-3-15 19:27:22
迎着日光月光星光,直面风霜雨霜雪霜。
登录后可发表评论
点击登录